
1913 Model T Van – part 6
Continuing work on the Model T van. The kit includes adhesive backed micro wood to simulate the parts that were wood on the real van. Since I have two kits, I have some excess. One of the kits had the pieces pre-cut and the other was not cut but had a printed pattern. So, I basically had the proper amount I need but with some extra wood to use otherwise. I wanted the option to add more wood where it was lacking and have some extra in case of disaster, so I bought two sheets of adhesive backed wood veneer from eBay. One was likely more than enough, but why pay for shipping twice? This is also a good material to have in my stash for other projects as well.

I like to talk in correct terminology, but as of writing this post I am still trying to figure out which parts are which…so bear with me. The original kit fire wall has the wood on the outside (like the original auto). There is no wood piece for the interior, though you can certainly paint the simulation. I used the pre-cut wood for the exterior fire wall. I finished all of the micro wood pieces in Minwax Cherry with Delta Ceramcoat gloss varnish. The cherry is a warm finish without being too dark. I painted the raised details gloss black since there would not have been a way to get matching brass accents.
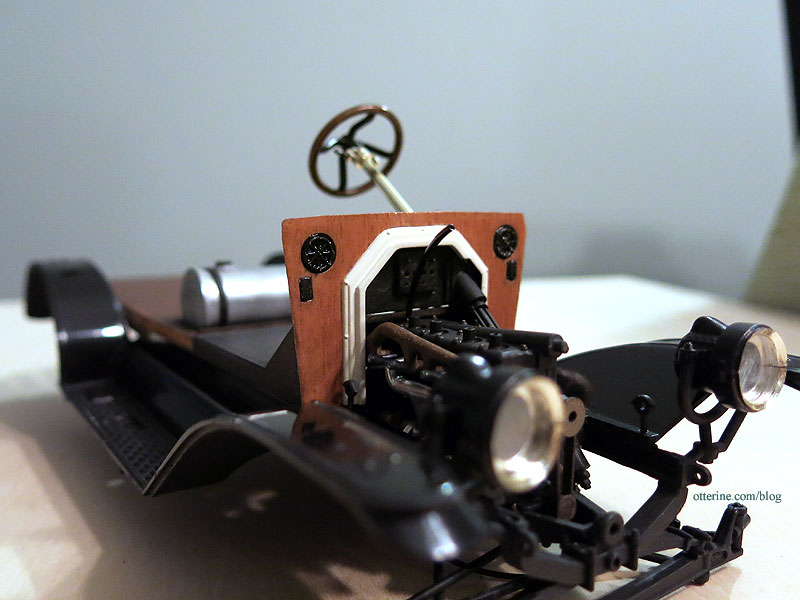
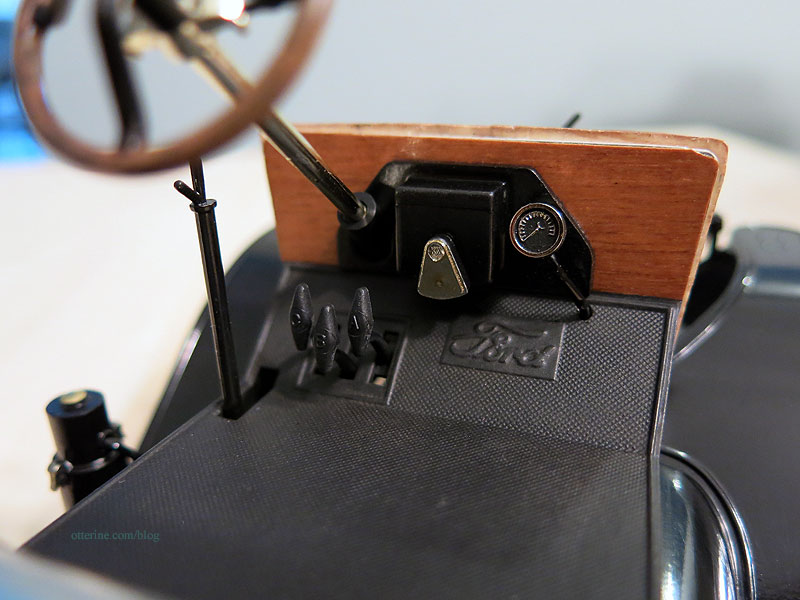
Unlike the real auto, the kit dash is molded in two pieces. The front piece has the coil box molded in place. I’ve seen these boxes in wood (with dovetail joints) and black. As a compromise, I painted the front dash piece black in its entirety since masking would have been difficult. I cut micro wood for the back dash piece. I masked the front cabin floor and sprayed it flat black. After the paint dried, I dry brushed some browns and greys to add some weathering to make it seem like a separate mat. The speedometer was molded in brass, and I added black to the face to make the details stand out.
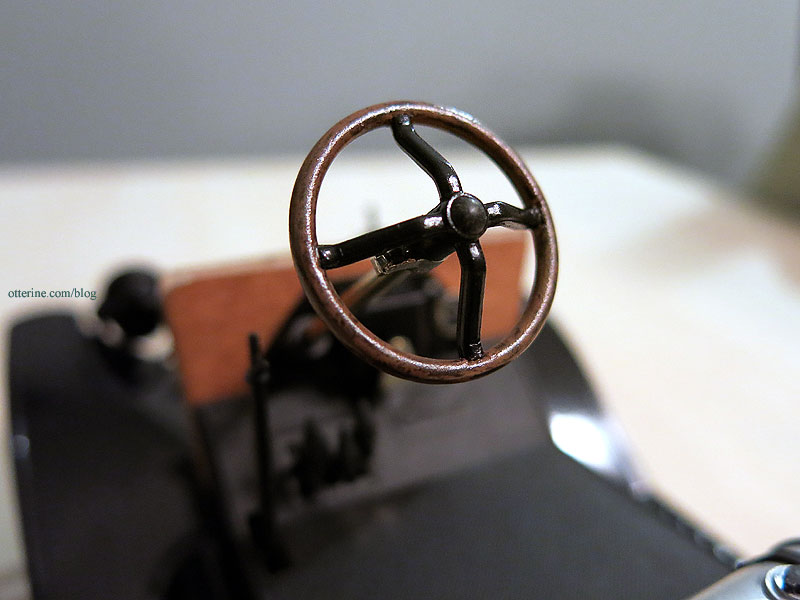
I painted a faux wood finish to the steering wheel.
I painted the wood grain portions of the floor board with Krylon Brown Boots satin spray paint. I used acrylic washes to accent the grain and add weathering.

I showed the ga tank in a previous post, but now it’s time to install it. The kit didn’t come with the straps, so I’ve fashioned those from paper. This great video details how to check the gas level (no dash indicator) and the oil (no built-in dipstick). :D The video shows a later model than what I am building, so there’s a lot less wood on it.

The bottom has darker washes from road exposure. I haven’t yet aged the bottom of the gas tank.

Looks like we’re getting somewhere! :D

Categories: Model Cars, Vehicles
October 23, 2016 | 0 comments1913 Model T Van – part 5
Continuing work on the Model T Van. The past couple of steps have used the “brass” finish parts that are factory painted in high gloss. While having the brass parts modeled in shiny color is great, sometimes they are not attached to the sprue in the best locations. When you separate them, you can end up with bare plastic showing in spots. Additionally, sometimes the kit manufacturer will put parts on the “brass” sprue that weren’t brass on the original automobile.
I want a reasonably accurate model, though I am willing to fudge for the sake of sanity and aesthetics in many places. For parts that are supposed to be brass but end up with bare plastic showing, my fix is to paint black accents. Accurate? It’s questionable. Does it look better on the model? Definitely. For parts that aren’t supposed to be brass but come with that finish, you can just repaint them the proper color.
The lamps and acetylene generator are made from multiple pieces, so you end up with seams and bare spots from the sprue connections. I briefly read about the lights here, but I am certainly no expert and didn’t do exhaustive research. I have seen some lamps in partial black and some in all black. The same applies to the acetylene generator. This seems dependent on year of manufacture. So, I am using some artistic license and going with black housings accented in brass. This will allow me to make the seams less noticeable and cover the bare spots as needed. I’ll sacrifice complete accuracy for a model that looks more polished and realistic.
The original acetylene generator looks cheap and plastic in the factory brass finish.
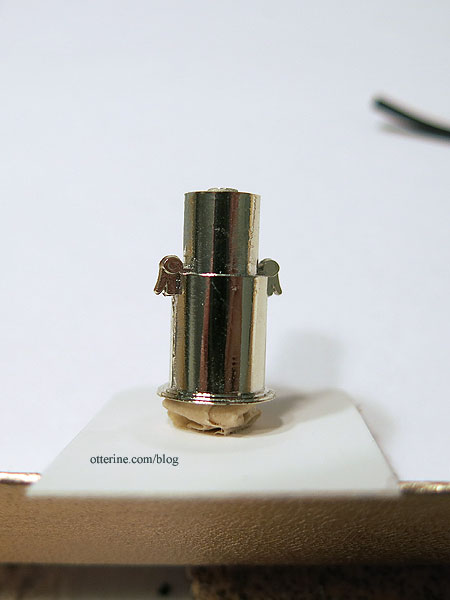
After two coats of Testors semi-gloss black, it looks more like a metal canister (I masked the side clips to leave them brass). The emergency brake and clutch lever as shown in this informative video on how to drive a Model T is black but the kit part was brass. I painted it Testors semi-gloss black.
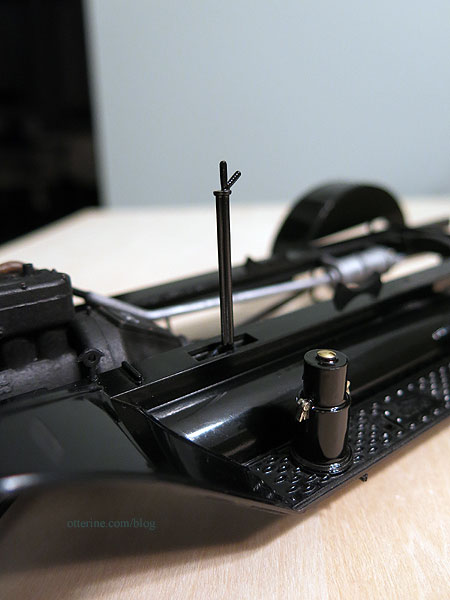
I added a jewelry finding to the top of the generator since there was no way to paint a topper to match the side clips. I bought this box of bits at one of the local mini shows.
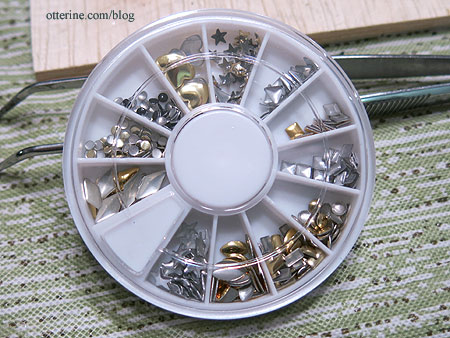
Here’s one headlight with some of the brass finish missing after cutting from the sprue.
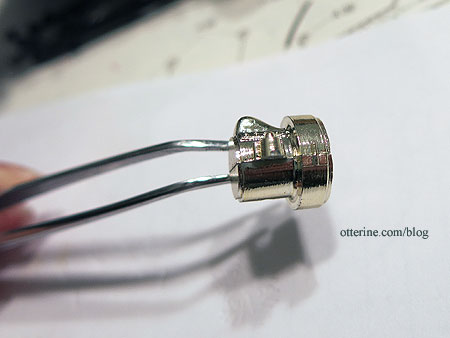
I painted the inside of the housings silver to add realism and reflective surface. I also added punched metal circles to the backs to make the seam less obvious. I had to sand the edges of the glass inserts to get the right fit then carefully glued the housings together. I primed them in flat black and painted gloss black.
I then glued the housings to the lamp brackets already attached to the chassis in an earlier step. I’m thinking brass jewelry findings can be added to the front to clean up the frame and make for a more convincing lamp, but for now this will work. One of the lenses fogged from the glue, but it’s not terrible. We’ll just say that it’s dusty. :D
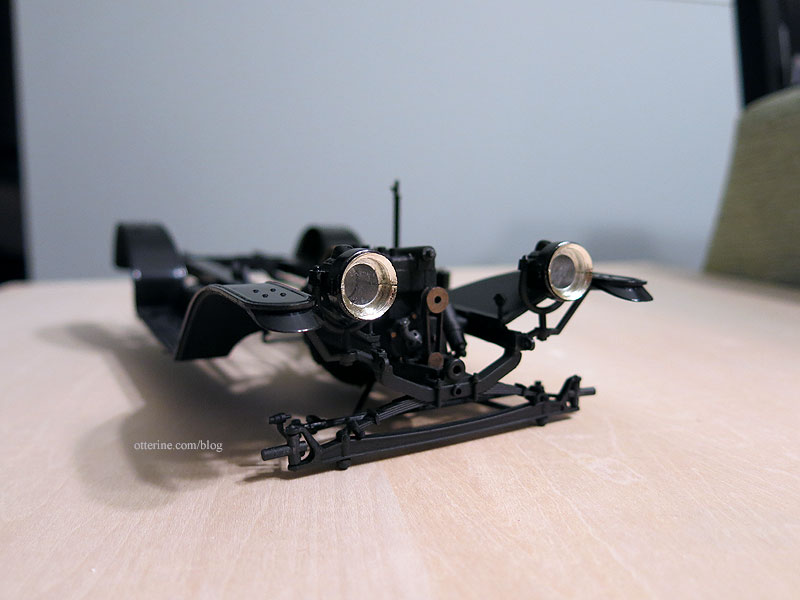
I like the black, though the light body color should make them stand out a bit more than they do right now.
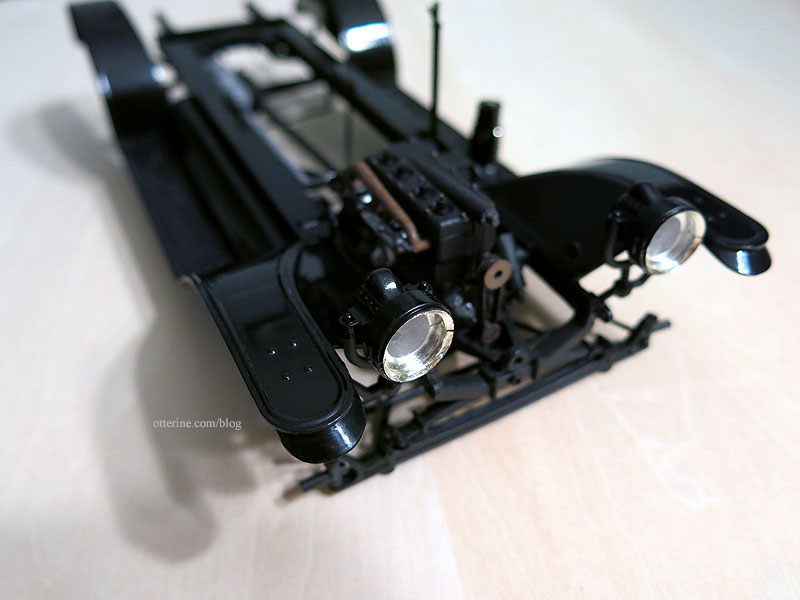
Once the glue sets overnight I’ll add the gas lines. The kit comes with thin tubing to simulate these.
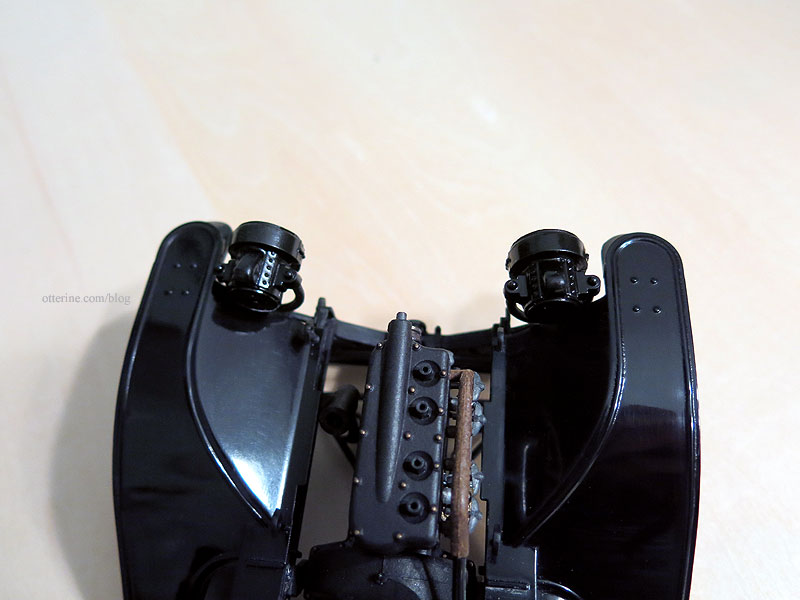
Next up, some front cabin work.
Categories: Model Cars, Vehicles
October 20, 2016 | 0 comments1913 Model T Van – part 4
Continuing work on the Model T Van. We’ve reached page two of the instructions! The frame has been attached to the fenders and the engine glued in place. This is all extremely fiddly after removing the stabilizing sprue connectors from the fender/chassis part. I was (am) concerned about the van sitting level on a surface, but maybe this setup will act like the original and make it conform to any surface? Fingers crossed. As a fix, I can always pack some serious ballast into the rear cabin.
As feared, I ended up getting super glue on the black fender paint even though I was trying to be so careful. It’s in a not-so-obvious spot and should be covered when the hood is in place so it’s not the worst that could have happened. I polished it as best I could.

Worded instructions and drawings get you only so far. Sometimes it is hard to tell how something is meant to be aligned and you won’t know you’ve done it wrong until a later part or assembly doesn’t fit. This was the case of hanging the engine in place. There are two brackets on either side that sit neatly into the frame.

My best guess is that the engine should be level based on viewing the real life autos and well, logic. But, there didn’t seem to be an attachment point for the front of the engine assembly that allowed for the engine to be level. Mounted too low in the front, and it rubbed against some moving parts, which didn’t seem right. Too high, and it was probable that the hood wouldn’t fit over it. I ended up shaving away a bit of plastic and then glued the engine in place so it was mostly level. I couldn’t shave any more plastic without causing issues, so let’s hope it works.

I mention moving parts as I think this contraption is meant to have working steering once I’m done. Considering the delicate nature of plastic parts, if I end up with a solid model with good suspension, I’ll consider myself successful. Anything beyond that will be gravy. It’s looking good so far, though.
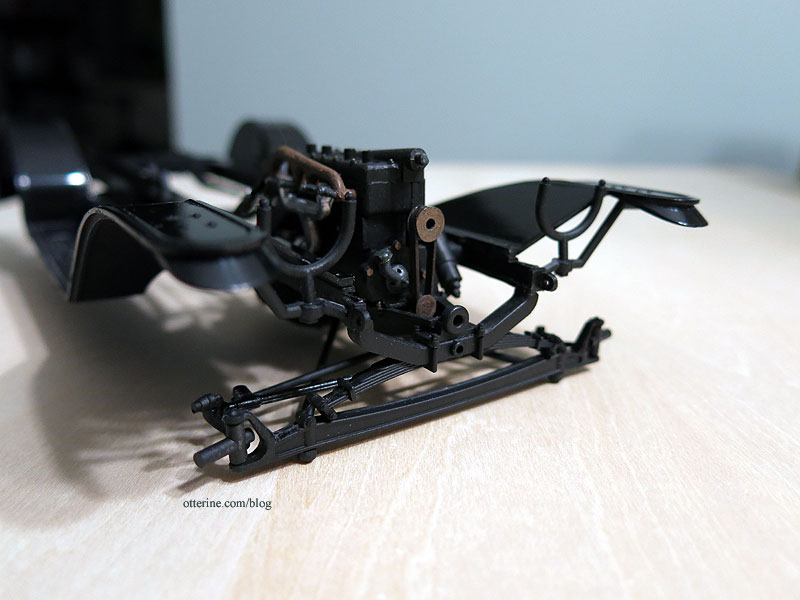
And, here’s the underside.
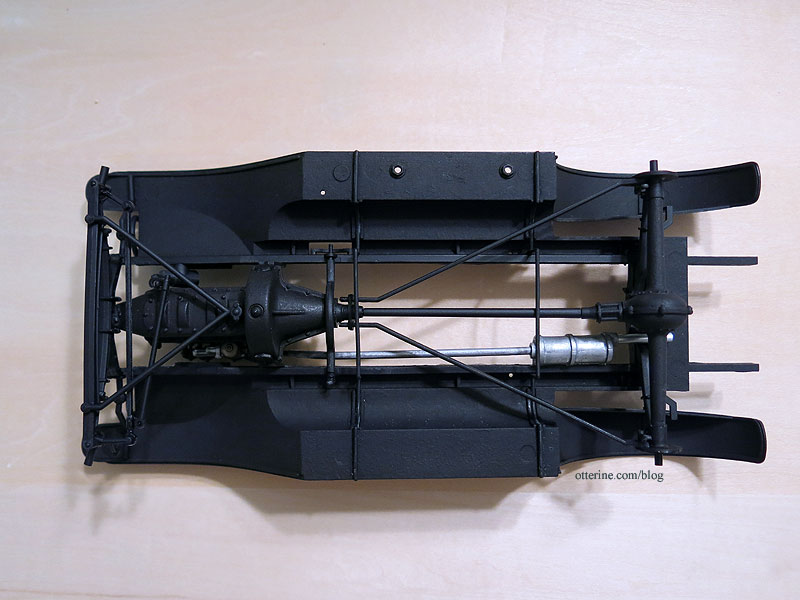
Categories: Model Cars, Vehicles
October 18, 2016 | 0 comments1913 Model T Van – part 3
Continuing work on the Model T Van. The gas tank in a Model T sits under the seat and likely won’t be seen much in my model, but that’s no reason to skimp on detailing. The pieces that make up the tank were primed in flat black since they were on the sprue of parts that were mostly that color. I assembled the two halves and then sprayed it with Model Master Metalizer Lacquer in Aluminum Plate.
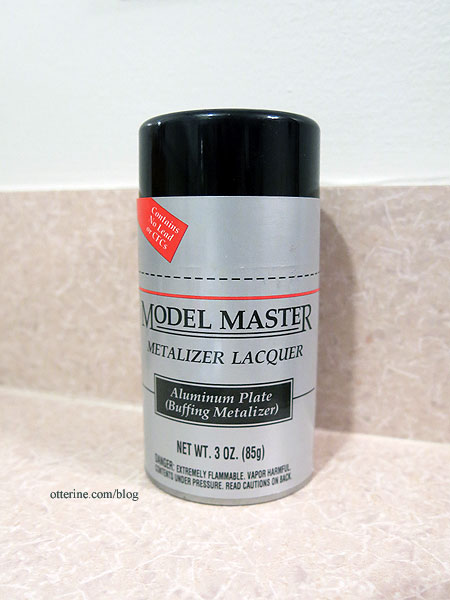
The initial finish is light matte silver. I didn’t worry much about the join lines along the sides since they will be hard to see once the part is in place.
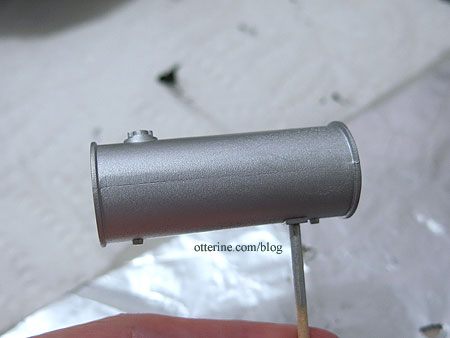
Once you buff it with a paper towel, it gets all shiny. :D
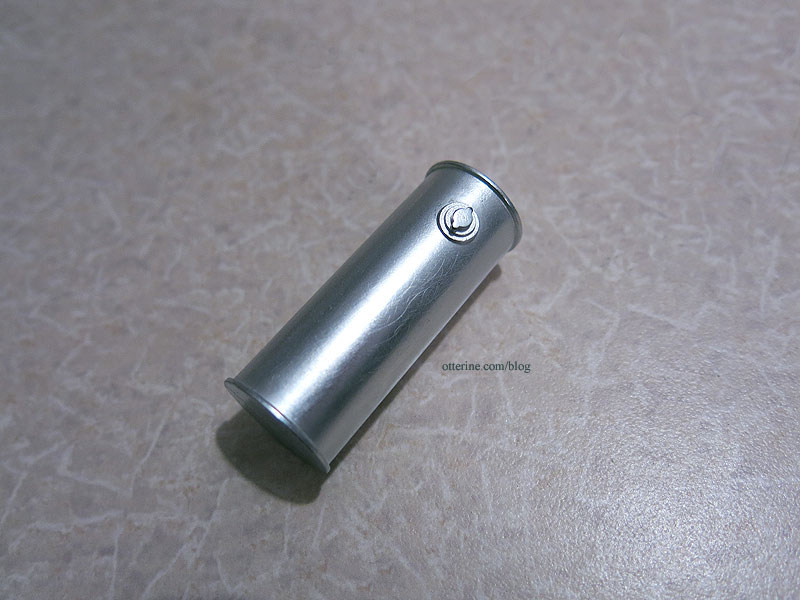
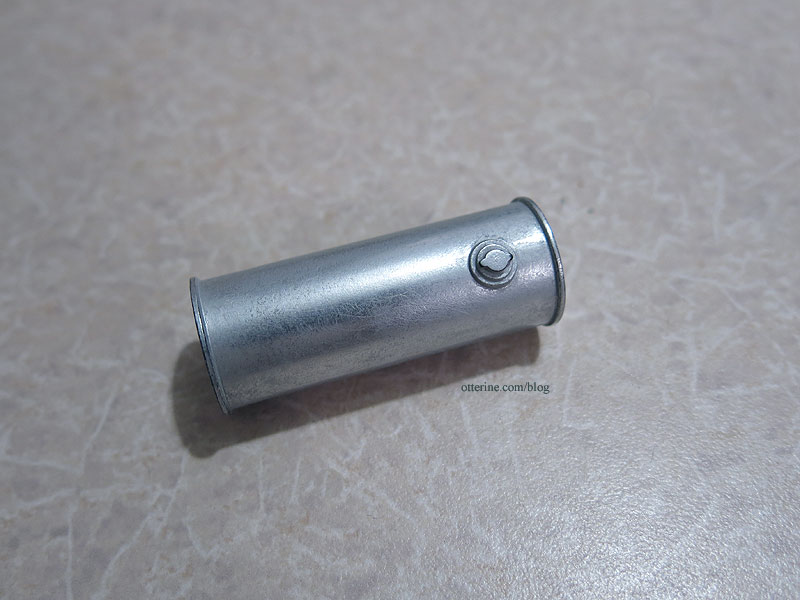
That’s just a little too new, so I added a couple of grey acrylic paint washes dabbed with a paper towel. A bit of dust and light weathering always adds depth and visual weight.
I also painted the exhaust system with the Aluminum Plate spray.
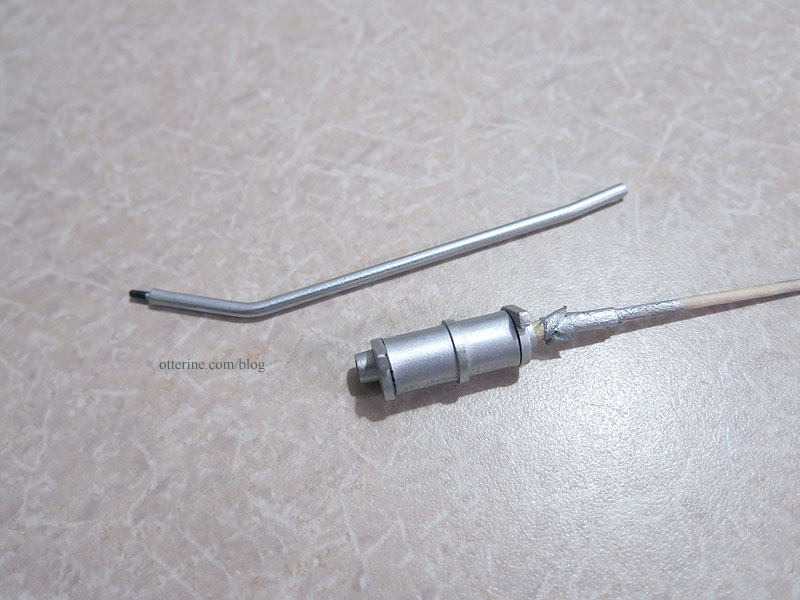
I then added a bunch of colored acrylic paint washes to tone down the color and shine. It also has more depth now.
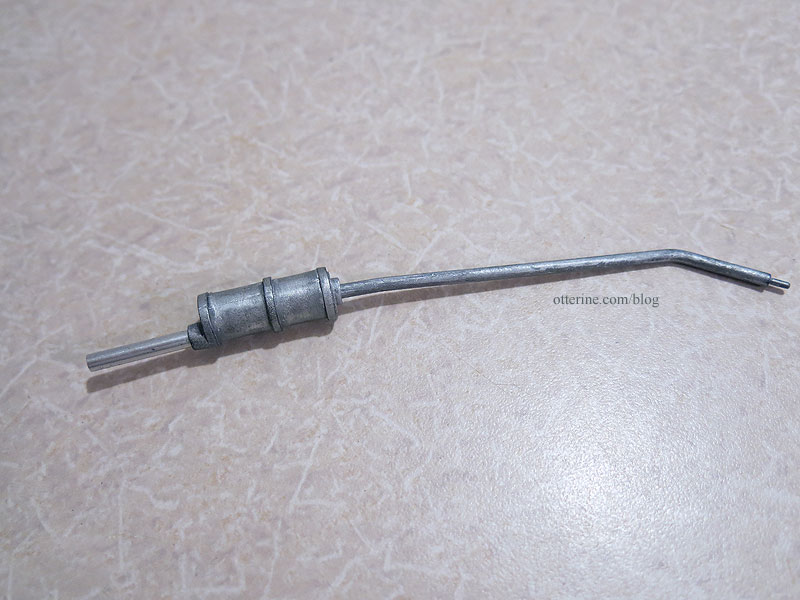
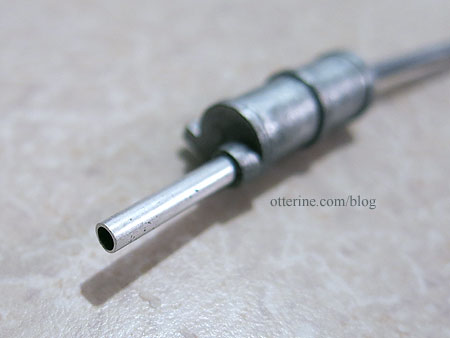
I swapped out the original tail pipe and cut a piece of aluminum tubing to take its place.
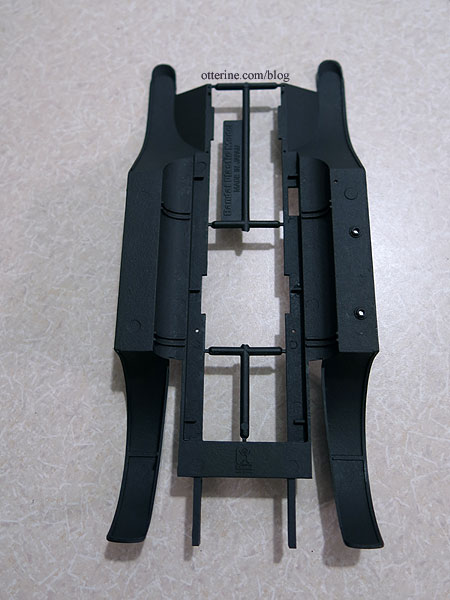
I also painted the underside of the chassis and fenders a mix of flat black, brown and grey. From the restored cars I’ve seen, the undersides are all glossy. This might be for showroom condition, but mine has been on the road and our owner doesn’t wash the underside. :D
Categories: Model Cars, Vehicles
October 17, 2016 | 0 commentsBird perches
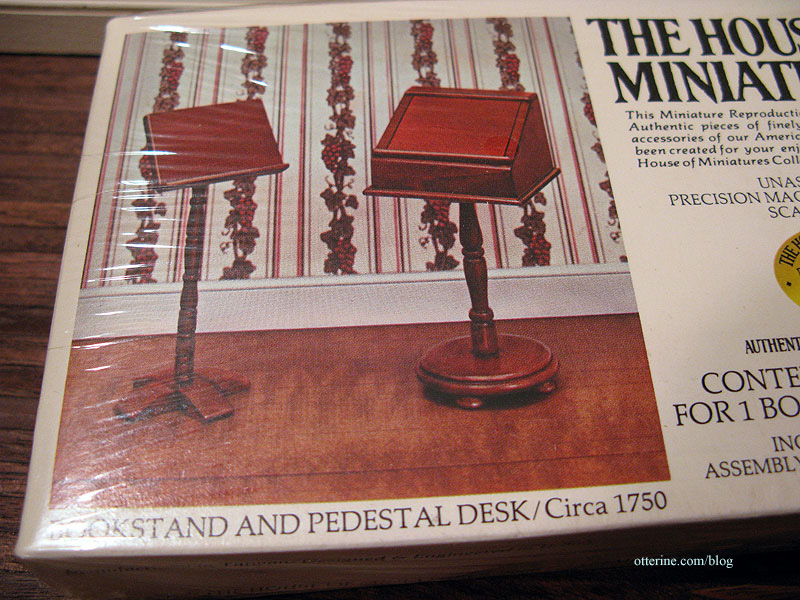
I re-purposed two House of Miniatures kits for Clyde and Sam — a bookstand and pedestal desk. I’ve kept the tops for other uses.
I finished them in dark walnut with a satin varnish. Pretty birdies!

To make the perches, I used pieces from the old tree branch I used in The Artist’s Studio. The wood is stained to match.
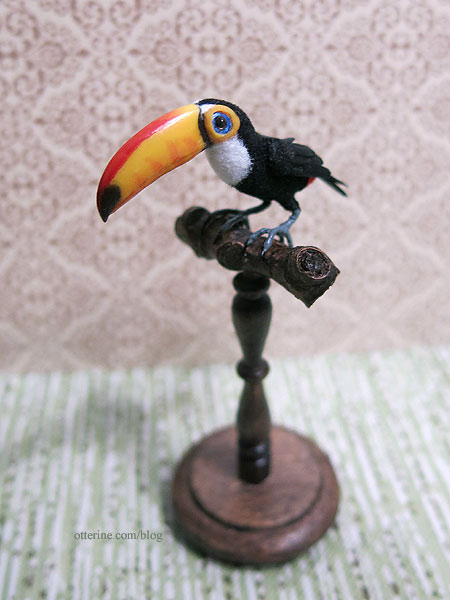
Now I can have them on the bookshelf instead of packed away in their boxes. :D
Categories: Animals and birds, Furniture
October 13, 2016 | 0 comments
NOTE: All content on otterine.com is copyrighted and may not be reproduced in part or in whole. It takes a lot of time and effort to write and photograph for my blog. Please ask permission before reproducing any of my content. Please click for copyright notice and Pinterest use.


