
Hell on wheels
I’ve been rather busy the past couple of weekends socially and have another busy one ahead, but I am mulling ideas and of course buying minis behind the scenes. I even got a NEW CAR (now I have The Price is Right theme song in my head).
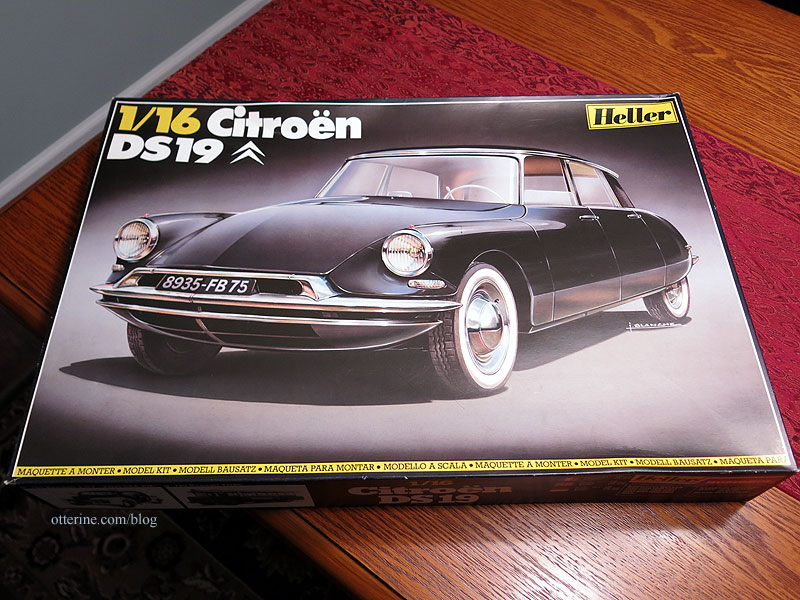
Errmmm, some assembly required. The Citroën DS19 is one of my favorite vintage autos, and I know I’m not alone.
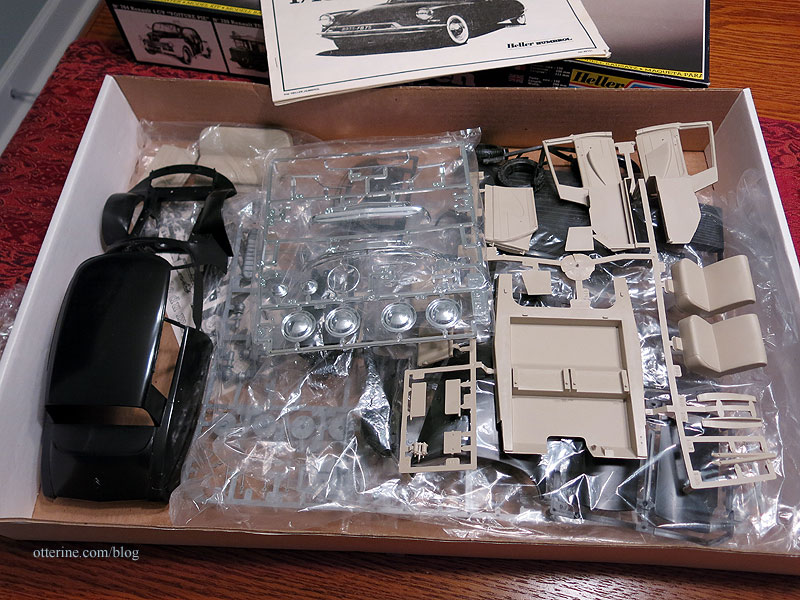
It’s 1/16 scale like the Model T Van, but it’s longer still. Who knew? :]

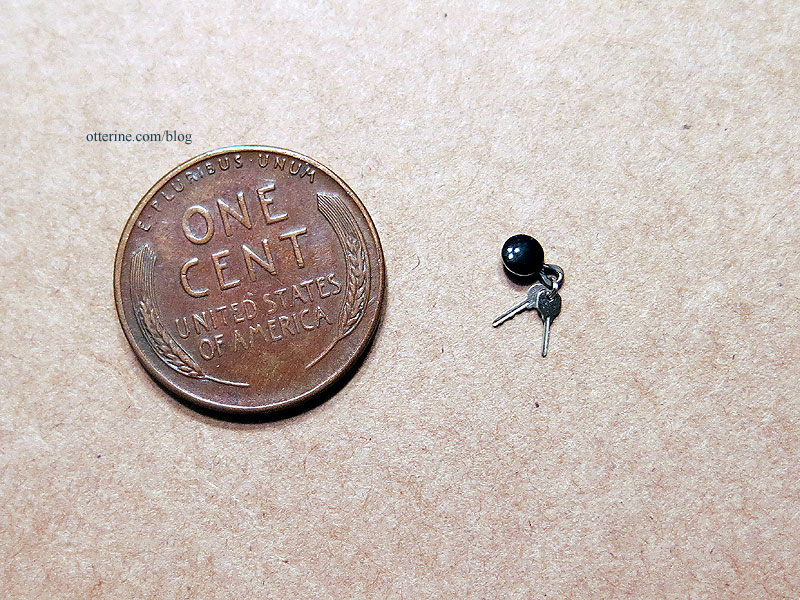
The reviews on this kit range from “if you’re an experienced builder, you can get a decent result with a lot of work” all the way to “I threw it in the trash and said ‘see you in hell!'” So, we shall see. But, the car keys from Whimsy Cottage Minis are fabulous anyway even if they end up belonging to a different car.
A new model car, especially one with cautionary reviews, always starts with extensive research. I look at many forums, blogs and online photo albums from people who have built, or attempted to build, the same kit. I even look at other scales of the same car for ideas on additional detailing and color schemes. While I do look at real life examples and vintage literature, sometimes it’s nice to build a car without adhering to the limitations of the real life examples. This modeler built one to completion, and it’s gorgeous. If I can get even close to this result, I will call it a success. :D
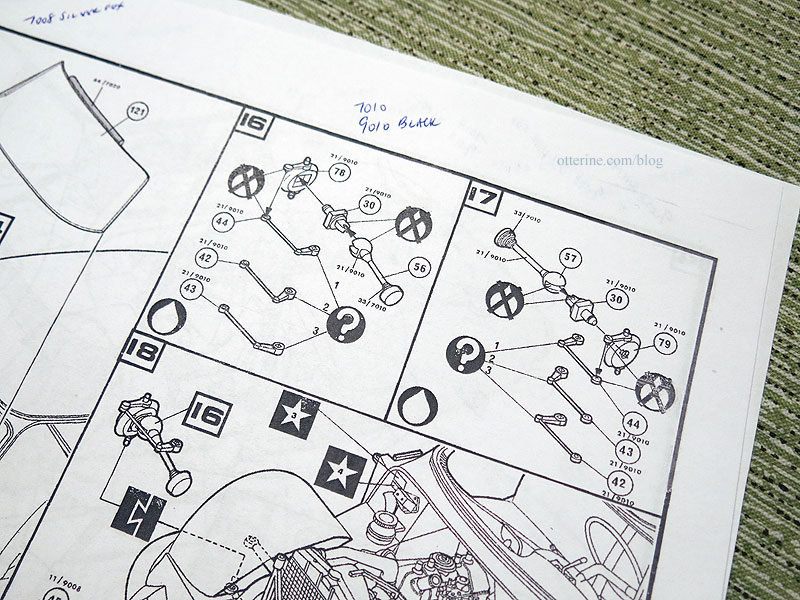
The other thing I do is make a copy of the instructions to mark up along the way. These particular instructions have symbols, arrows and numbers, none of which are indicated in any legend so there’s some guesswork to be done. Fat teardrop is likely glue; fat teardrop with X through it is likely “don’t” glue. Squares with stars are decals; circled numbers are part numbers, though there will still be a lot of hunting around.
The tiny numbers are paint indicators, which meant nothing until I found an online post that I printed out for desk reference and marked up the directions for ease of keeping it all straight. I don’t know why some are 70 numbers and some are 90 numbers when they indicate the same color, i.e., 7010 and 9010 are both black. =shrug= I googled the other colors to see if I could find an approximation online so I could make an educated substitution from my existing stash of paints (or shop for new ones).
The other thing to do is figure out which sprues or parts of sprues will be primed in which color. Spraying primer on an intact sprue always makes for an easiest start. You can scrape paint for gluing parts and touch up a lot easier with a good base coat. Sometimes you have loose parts that you’re better off removing cleanly so they don’t end up in the grass when you’re spray painting outside.
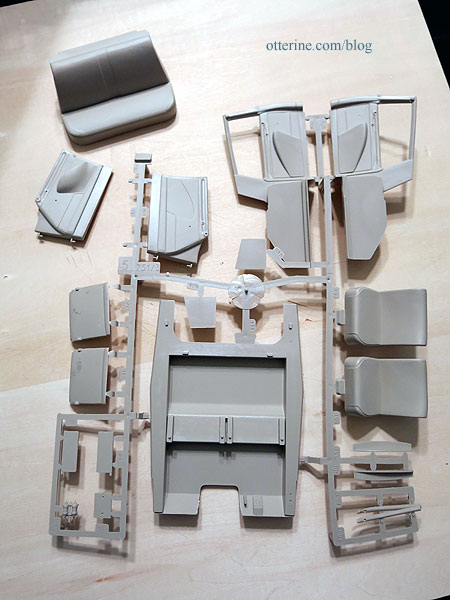
Large sprues can be unwieldy and make parts prone to overspray from one side to the next, so I cut those down, too. There aren’t a whole lot of pieces to this model, so for the larger parts I might end up with a lot of popsicle stick mounts and spray them individually for even better paint control.
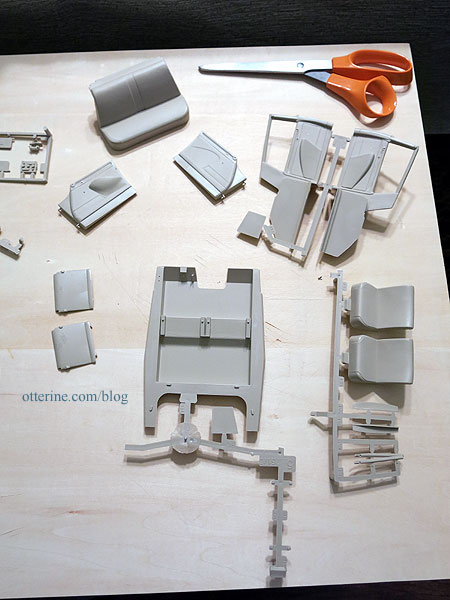
Of course, sometimes you need to fill in injection marks (or sand them down). I try to determine early on which are worth doing and which won’t be seen later on anyway. Why do the work if it won’t show? At first glance, this one doesn’t seem to have many unruly spots, just a few scratches to buff and a bubble or two to sand and fill.
Dry fitting parts also makes a lot of sense for a car touted as being difficult, though you want to remove tape right away to keep the residue from marring the surfaces. This one does appear to have a bit of gap-itis, so I will likely follow suit of the builder who glued the doors in place from the beginning. I want “pretty to look at” over functional at this point. And, no, this will not stay a black car in the end. While black looks sleek, it’s a pain to photograph and keep clean. :\
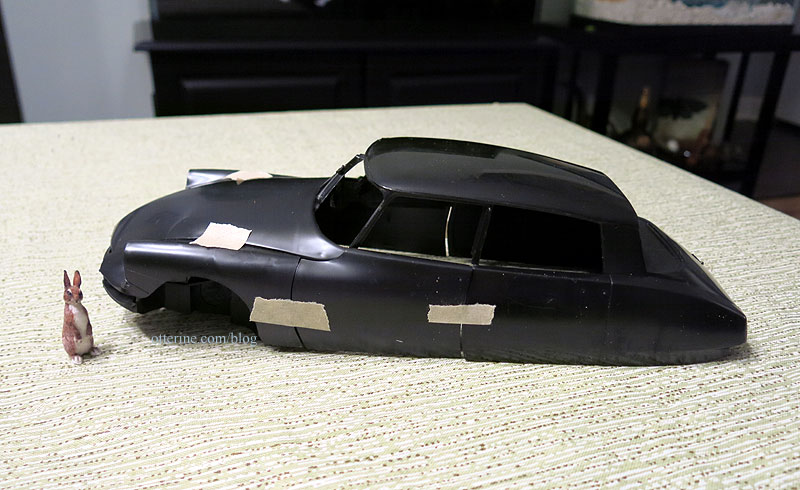
The last part of the initial process is to give yourself permission to launch the project into high speed traffic if it truly becomes a bear that you just know you can’t tackle any longer. :]
Categories: Model Cars, Vehicles
March 2, 2017 | 0 commentsBlanket Chest from Minimum World
The fine folks at Minimum World Dolls House Furniture Ltd contacted me about doing a feature on their unfinished furnishings and sent me a bare wood blanket chest free to try.

The wood was in great condition and needed minimal sanding to prep. I did use my Tweezerman tweezers to remove the hinge pins to make finishing easier, though this might not be possible for everyone to do.

I painted the chest a base color of Heritage Brick mixed with Staining Medium, both by Americana.

It’s a rusty red that will fit with just about any décor. I lightly sanded the chest with a scrap of paper bag material to smooth the surface raised by the paint application.

As with many pieces of unfinished furniture, there can be glue spots on the wood that don’t take stain well. Painting is no issue in covering these, and I’ve detailed methods for covering these spots in a past post. For me, it didn’t much matter since I wanted to try a different type of finishing. I scanned the front and sides of the chest and then printed templates from those scans.
I found wonderful art on The Graphics Fairy to add to the chest. I have hand painted designs previously, but I wanted to give this technique a try. I always print a few copies of the final images and then cut the panels to fit until I am happy with the end result.

I didn’t worry too much about being precise because the final finishing will cover minor mistakes and the shadow of the overhang will help disguise as well. I skipped the side panels, keeping the focus on the front. The panels are glued in place using MiniGraphics Wallpaper Mucilage and covered in a thin layer of Delta Ceramcoat Satin Varnish.

I also cut pieces of parchment paper for the interior and glued them in place with the same mucilage and varnish layer. I used a tiny bit of Antiquing Medium to age the crevices and give some depth to the piece. By varnishing the paper first, I could wipe away excess without marring the paper or over-staining it.

After a final coat of Delta Ceramcoat Satin Varnish inside and out, I was ready to reattach the lid. Blocks from Andrea Thieck.

Now I have a delightful country blanket chest for books and other treasures. The books are from L. Delaney, and the tin man doll is from Sir Thomas Thumb.

I am very pleased with the end result and would definitely recommend giving their unfinished furniture a try. Thank you, Minimum World! :]

As for the Putitto tabby cat, I blame Keli (and a complete lack of will power). :D

Categories: Furniture, Miniatures
March 1, 2017 | 0 commentsDrafting table
A few years ago, I saw a fabulous drafting table on Recréation Miniature. I put it on the someday to try list. I loved that it was a working, adjustable table. Another fine example is the table from Boutique Miniatures. I own two of the adjustable stools from this shop. I put the table on my wish list as a splurge in case I didn’t get around to making one.
Not too long ago, Mike Adamson was downsizing a few miniatures he didn’t intend to use, and the drafting table from Boutique Miniatures was one of those items. I was lucky enough to nab it. :D You must see the beautiful work that Mike does as well. His exacting replications for kitchens, living rooms and other modern settings are top notch!
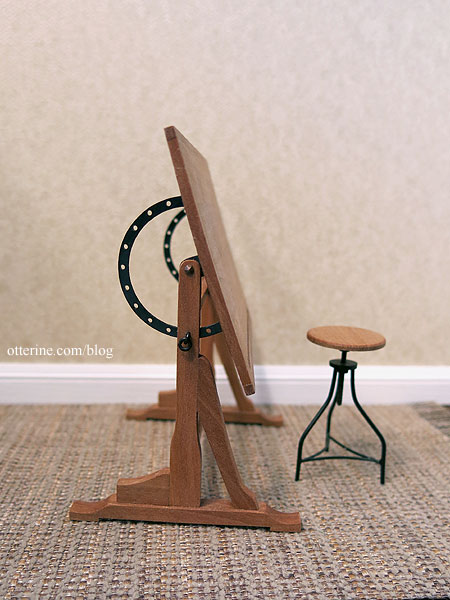
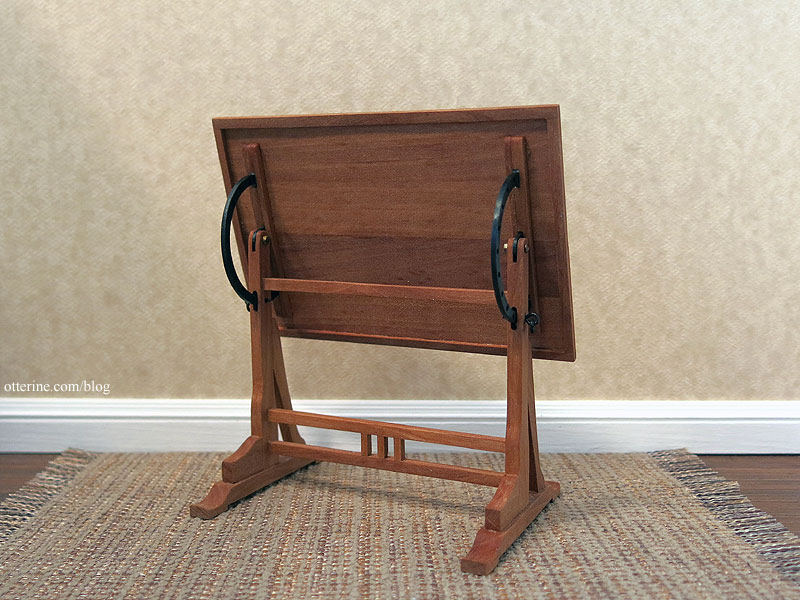
The table is a superb reproduction.
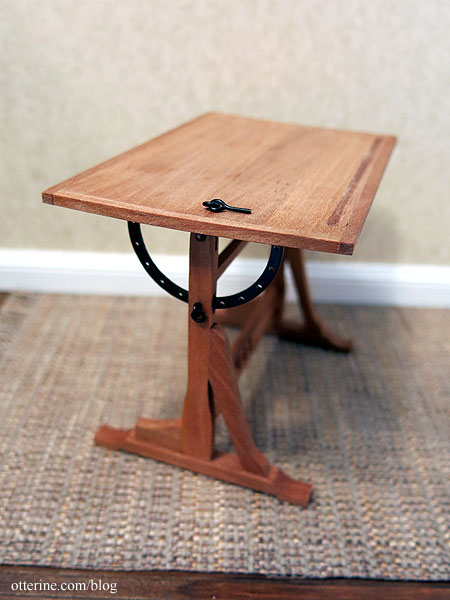
There are tiny ringed pins to adjust the table from flat to angled.
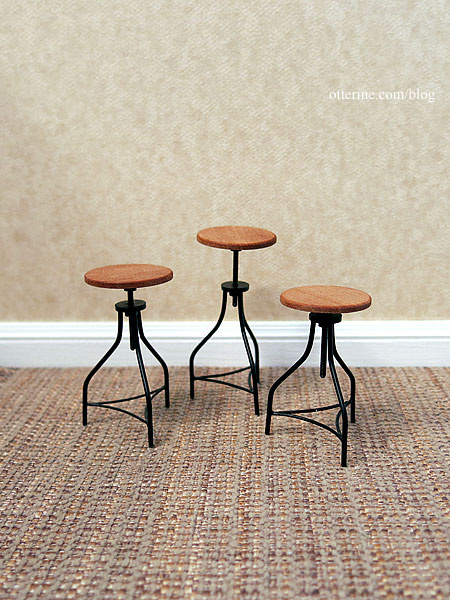
There was another stool in the set, so now I have three. The tops actually adjust up and down.
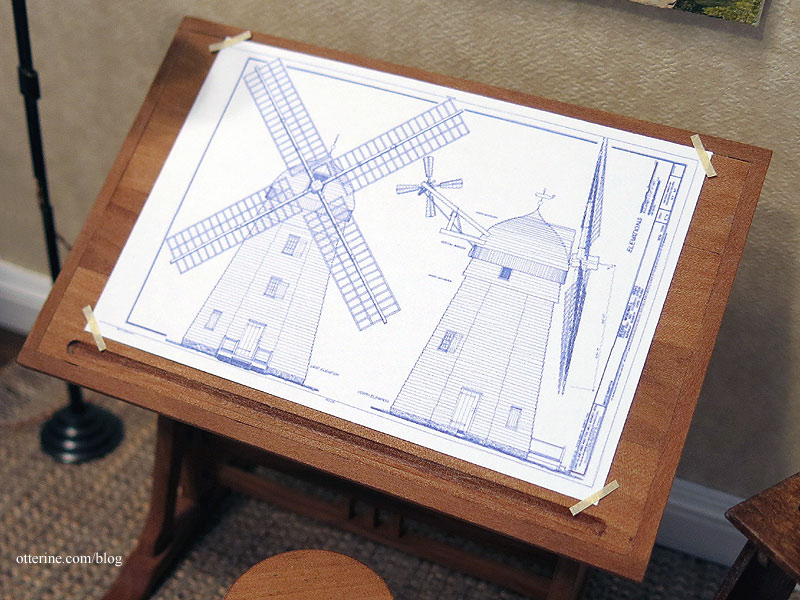
I’ve printed out a Beebe Windmill technical drawing for today’s scene, though I recolored it in PhotoShop.
Mike sent me one of his marvelous paintings as well. :]
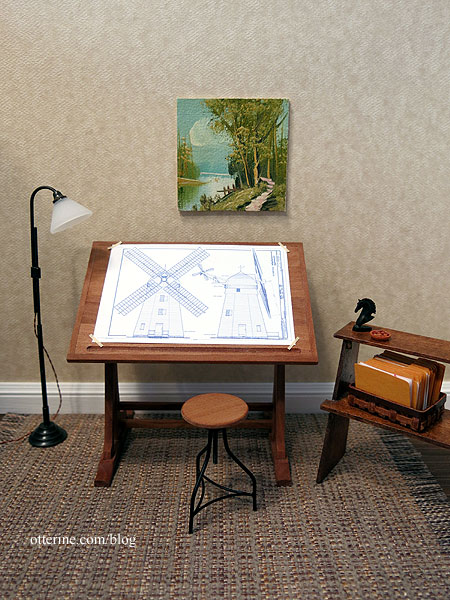
Lamp from Ray Storey, bowl of nuts from Hartland Miniatures, modern shelf from Debbie Ohm, rug from Iklectic Kollectibles, horse bust from Art Forge. I made the file folders. Windmill plans image from Wikimedia.
Categories: Miniatures
February 4, 2017 | 0 commentsHappy Groundhog Day 2017
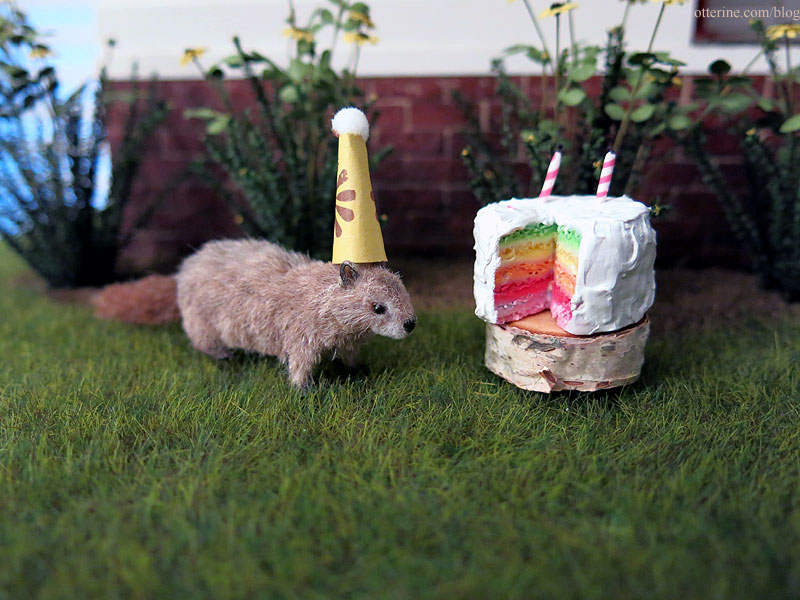
According to legend, if the groundhog sees his shadow on this day, there will be six more weeks of winter. If he doesn’t, then there will be an early spring. Since it’s a bright sunny morning here, I am distracting Woodrow with cake! :D Happy Groundhog Day!
Categories: Animals and birds
February 2, 2017 | 0 commentsThe Persian – introduction
Quite awhile back, I saw a vintage needlepoint rug on eBay from an estate sale. It was miniature, though done on a lower count of 18 or 22 and therefore a large rug for 1:12 scale. I loved the pattern but knew nothing about it. There was some discussion on the PetitPointers group I belong to, and one of the members Frances said it was from an old purse kit by Patons. She had made up a miniature rug for herself on higher count silk gauze from the pattern.
After some sleuthing, I found some further information. This was the C201 Persian Needlepoint Tapestry chart made in Patons Beehive Tapestry Wool. It was a kit that made a clutch purse. I’ve seen partially finished kits on eBay along with another miniature rug rendition in slightly different colors.
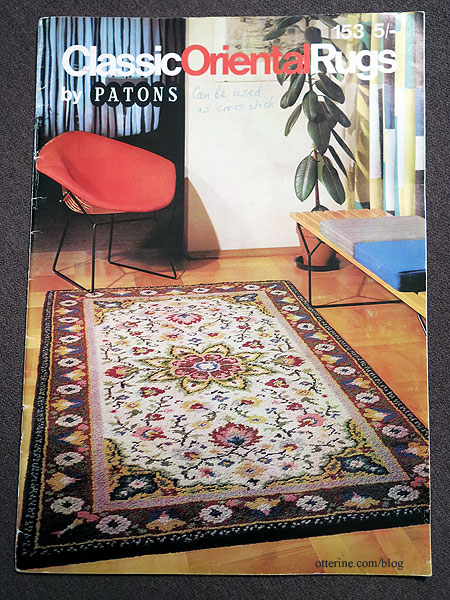
Luckily, this pattern is also found in the latch hook patterns booklet Classic Oriental Rugs By Patons No. 153 (it’s pattern 2001 in the booklet and featured on the cover). I picked up an inexpensive copy and now can get to work on my own version. I will be changing the colors slightly, though I do think the original is lovely.
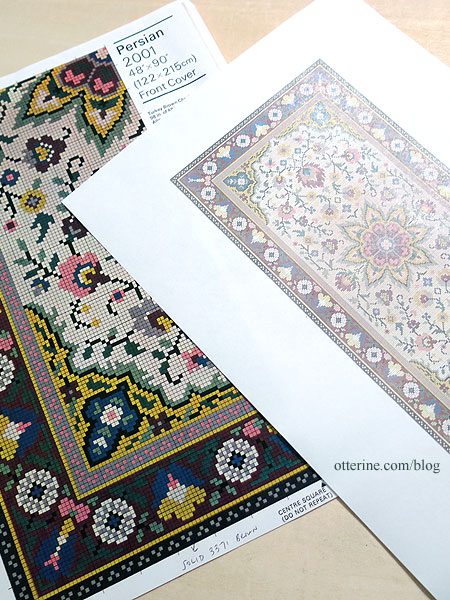
There are nine colors listed on the original Persian chart, but I have added a few additional colors to bring my total to sixteen. I opted to print the existing pattern directly on fabric. I scanned the pattern from the book on a high DPI setting and then copied the quadrant in PhotoShop to make a whole chart image. I edited the image for contrast, brightness, hue and saturation to make a very pale version. After resizing in Word, I printed a facsimile of the rug measuring approximately 8″ x 4 3/8″ on regular paper. This seemed a bit tight to me considering the fine details of the chart versus knot size, so I printed a second version at 8.5″ x 5 3/8″ on regular paper. Using this method, you can make the rug a custom size without being limited by thread count of your fabric. This will be a large rug, but lovely.
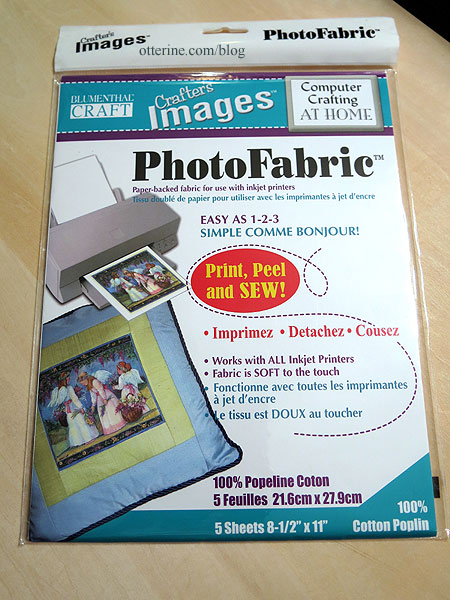
I’ve printed on fabric in the past with mixed results. In this instance, it doesn’t much matter if the color is true or vibrant since my threads will provide the final color and texture. I recently helped a family friend with a fabric printing project, and she gave me the leftovers. This is the particular brand of printable fabric I will use for this project.
After printing on the finest settings, I let it dry completely. Here it is before removing the paper backing.
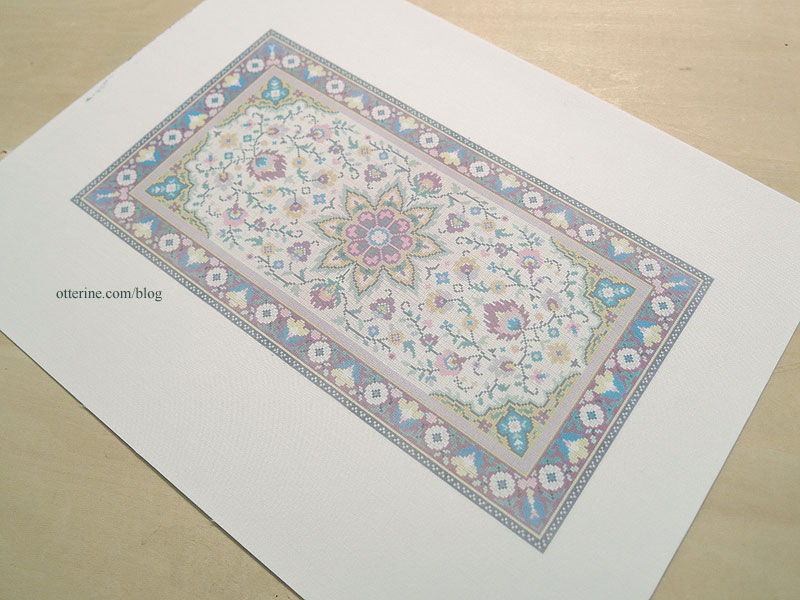
Per the instructions, I ran the fabric under water. Ink residue discoloring my stitching over time would be bad, bad, bad. I sped up the drying process with a hairdryer. There’s a hint of the grid in the whiter areas and even the color areas are boxy from the chart image.
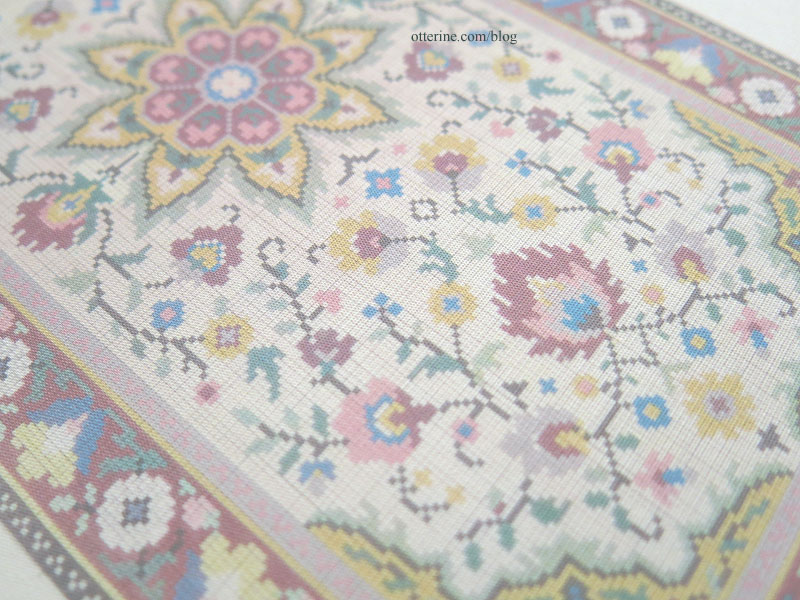
It’s a faint pattern but good enough to follow. The advantages are the precise replication of the original design and the fact that the colors are printed in place, so I can keep better track of which colors to use where. I’m not following the exact grid here, but it will help with knot placement overall.
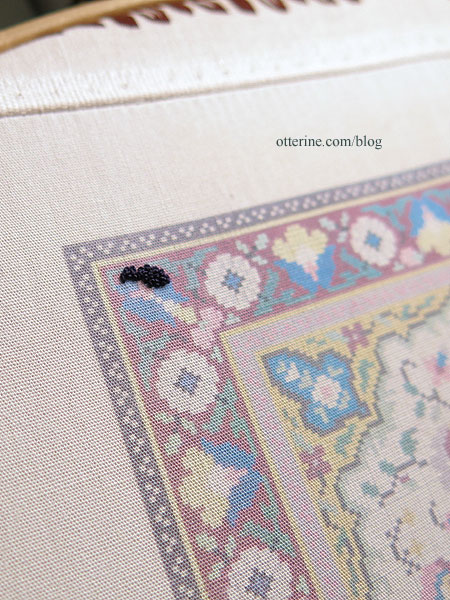
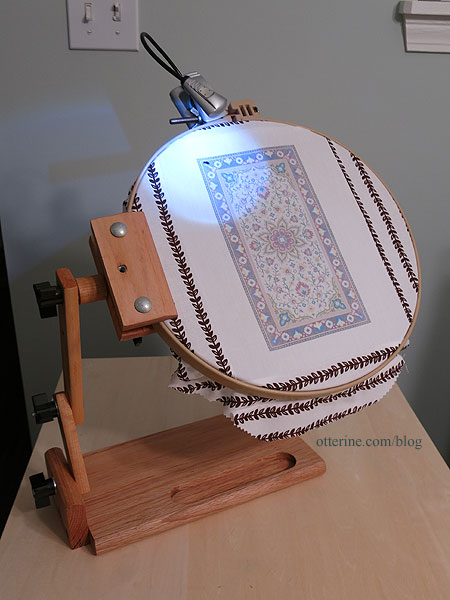
Since the printer fabric measures 8.5 x 11″, I sewed on scrap fabric to mount the print in the Morgan 12″ No-Slip Hoop (as an Amazon Associate, I earn from qualifying purchases). It has a groove in the middle that keeps the hoop from coming apart until you loosen the wingnut. (My review here.) I use this hoop with the Baby Z Lap Frame. I have a clip-on LED and can use my magnifying readers for needlework. :]
Categories: Needlework - French knot rugs
January 31, 2017 | 0 comments
NOTE: All content on otterine.com is copyrighted and may not be reproduced in part or in whole. It takes a lot of time and effort to write and photograph for my blog. Please ask permission before reproducing any of my content. Please click for copyright notice and Pinterest use.


