

The Scale Cabinetmaker
The Scale Cabinetmaker was a periodical printed from 1976 – 1996 on fine miniature making. I’ve perused the occasional volume here and there, but there are 80 issues in total so collecting them one at a time seemed rather daunting. You can find them in digital form from Dorsett Publications, but I prefer the physical booklets. As luck would have it, during one of the online shows there was a gal selling her mother’s estate. Included was a large selection of The Scale Cabinetmaker booklets. She was asking a good price, so I bought the lot. I found a smaller lot of 10 booklets on eBay, so I now have 61 of the 80 volumes. :] I still hope to collect the remaining 19.
I set out making a list of the projects that I wanted to try and noting the volumes with general instruction. I admit many of the projects are either over my head or are from eras I don’t plan to build. However, there is a wealth of information on techniques and tools as well as plenty of items I do want to make. The metal fire screen, jeweler’s saw and drill press classes opened up the possibilities as well. More things make sense to me now, so the classes more than pay for themselves. :]

I bought a triangular architect’s scale since most of the drawings are in full size measurements, though they do list the thicknesses of materials to be used. I understand the appeal of true to life measurements, but it will be a learning experience for me. It is great training for taking other real life projects and transferring them to mini.

Of course, the project that really appeals to me is a double black diamond. It’s a combination wardrobe, desk and Murphy bed. I never do things halfway. :D

But, I shall start with smaller projects like a coffee table and magazine rack to get a feel for the scale measurements and instruction. Then I can move on to the Big Cheese.

Categories: Books and media
May 12, 2017 | 0 commentsWatson Mill – Vintage Lundby and pulleys
I searched through my collection for items to add to the mill. I ran across this vintage Lundby piece I picked up a few years ago. (Note: this might actually be a Lisa of Denmark piece.)
Being a slightly smaller scale, it has never worked well in any build to date. The mill, however, provides a perfect spot for it.

Its hinge pins show on the top surface, but I can cover that well enough with a runner.

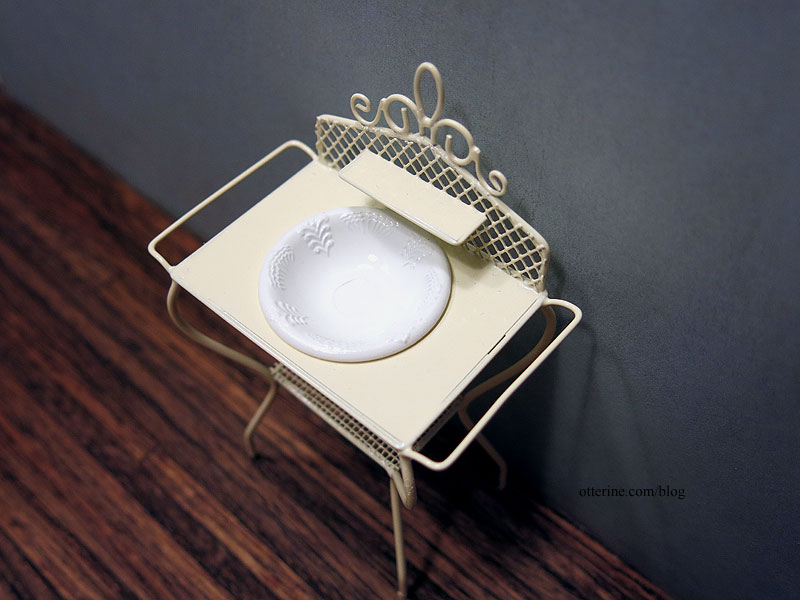
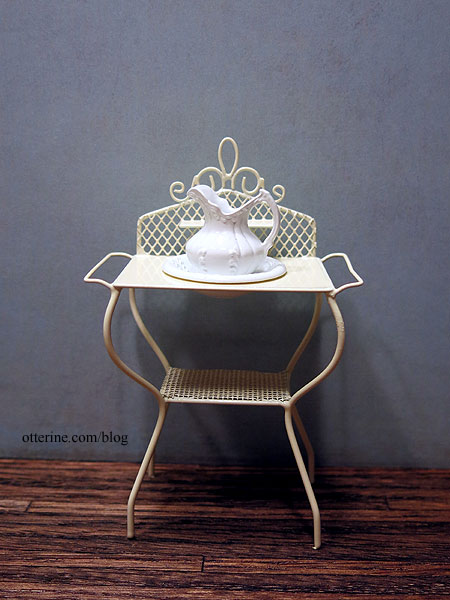
I bought this pale yellow metal wash stand from The Dolls House Emporium some time ago mainly because I liked the shape and color (looks like they don’t have it anymore). It didn’t come with a bowl, but I didn’t have a home in mind for it anyway so it went into storage.
I’ll be using this for the upper room of the mill and needed to find a bowl. The small shelf in the back and the size of the hole limited what would fit. The ceramic bowls I had were either too small around and fell through the hole or were too tall and wouldn’t fit under the shelf. Debora said she had the Chrysnbon chamber set and would send me the bowl and pitcher. They are plastic but very well detailed. They also were a perfect fit.
I sprayed them with white gloss spray paint followed by several coats of gloss sealer.
They look fairly convincing as porcelain if you don’t look inside the pitcher to see the mold lines.
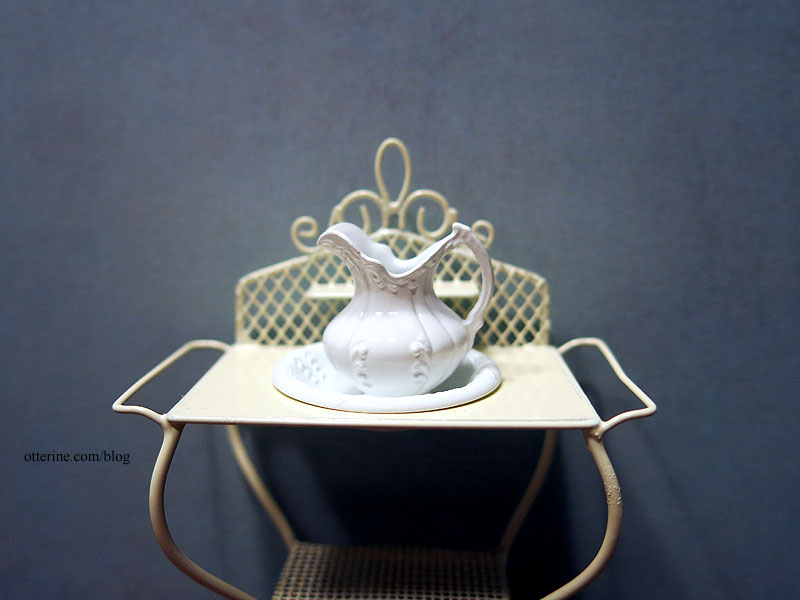
Thank you, Debora, for helping Gustav stay clean and fresh! :D
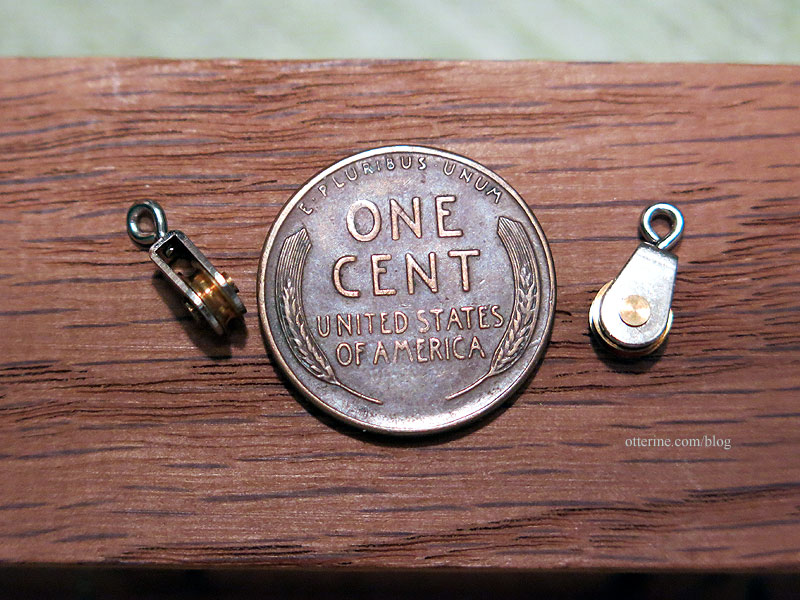
I also received the model ship single sheave blocks I had ordered from the UK from Maritime Models. Yep, they actually work. These will be perfect for my dumbwaiter pulley system. So wee.
At the 3 Blind Mice show, they always have a tray of inexpensive little items to choose from with your entry fee. I thought this was perfect for Gustav. Always so much to do!

Ever feel like you’re being watched? hmm

Categories: Watson Mill
May 11, 2017 | 0 commentsCitroën DS19 1/16 – part 3
After applying putty to even out the body panels and letting the Citroën DS19 sit for a few days, I came to the realization that I don’t need this kind of stress. pffft. If there’s one thing I do well, it’s making junkers.
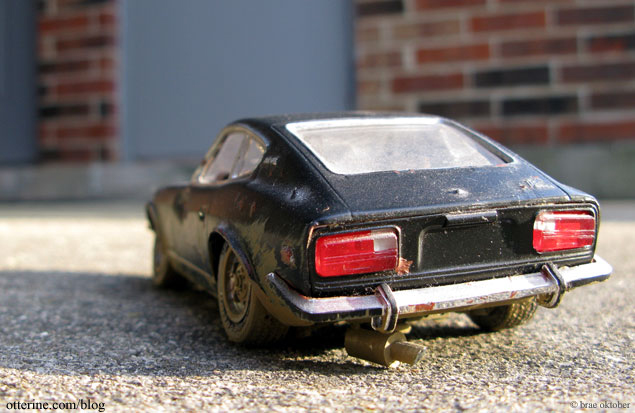
So, let’s have some fun and aim for making this a rally car. :D I sanded out the mini bondo, and I’m still glad I put in the effort. A better overall fit makes for better realism, but a rally car can get away with an ill-fitting hood. It’s likely a replacement anyway. Thus, I move on.
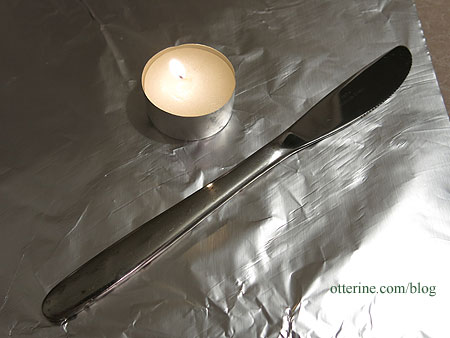
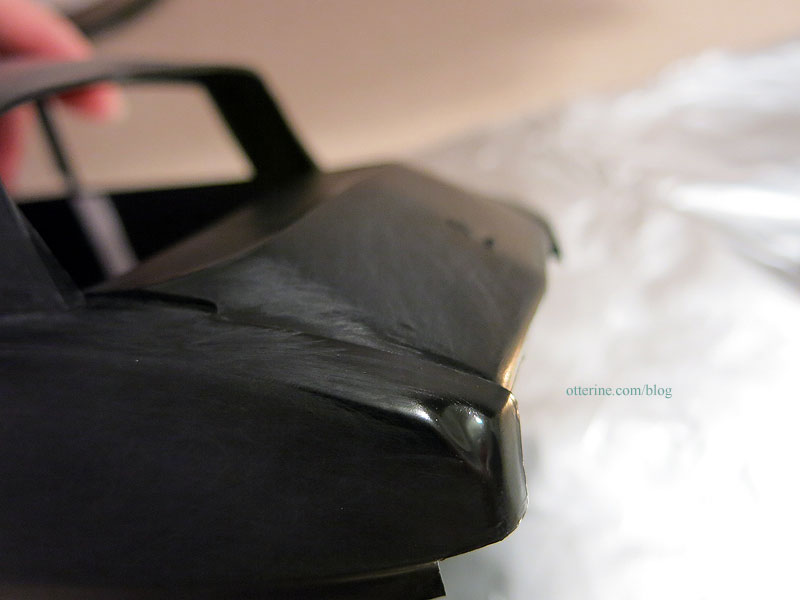
First order of business, perhaps a dent or two. This is done by heating the plastic with a candle and using the rounded end of a butter knife to push the plastic into shape. You do have to take care not to cause problems with the fit later. Only a tiny bit of heat and soft pressure with the knife are needed.
Fenders are a good place since there aren’t usually parts inside. I’m being modest with the damage, just a little road wear for our experienced trophy winner. I can’t recall what we hit that dented the hood.
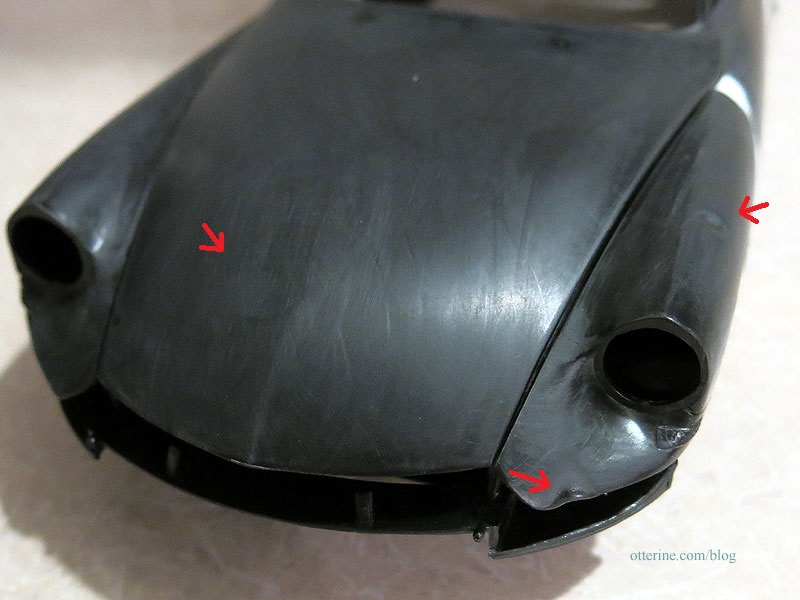
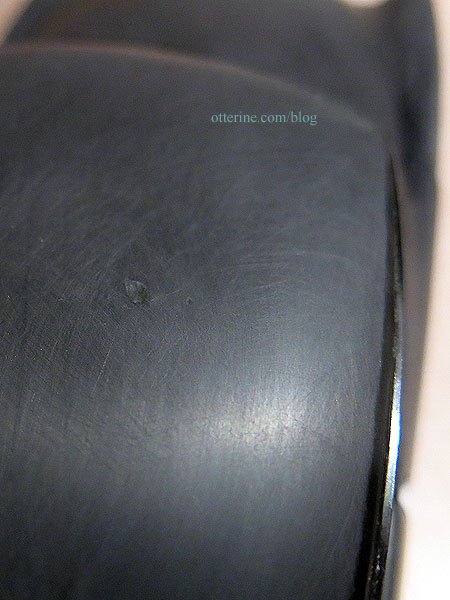
You can melt a corner and let it sink in for a realistic back up collision. Just wait for it to cool completely before touching or sanding since you can tear the plastic or leave your fingerprint in the finish.
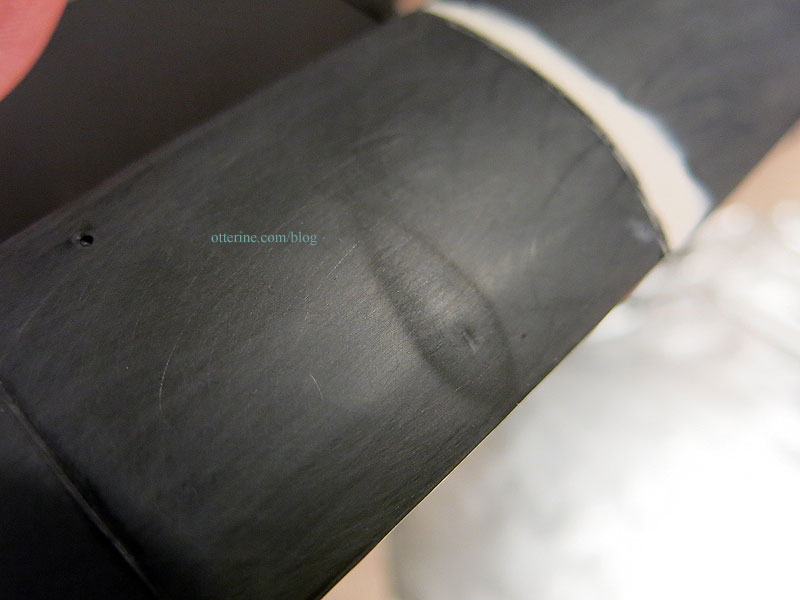
Sometimes branches fall on the roof.
The candle heat can raise the plastic around the dent.
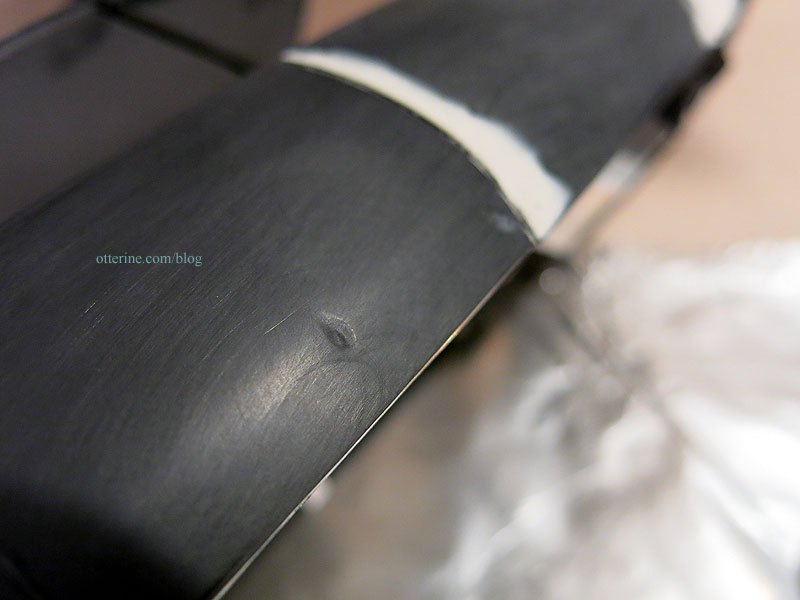
Just sand to get it smooth again so the dent takes center stage.
Next up, priming the various engine sprues for assembly, painting and aging. I’ll still follow the assembly instructions from the modeler who made the closed door new Citroën, but I will have different painting and aging techniques along the way. I already feel more relaxed and ready to enjoy the build.
Categories: Model Cars, Vehicles
May 4, 2017 | 0 commentsWhat’d you call me?
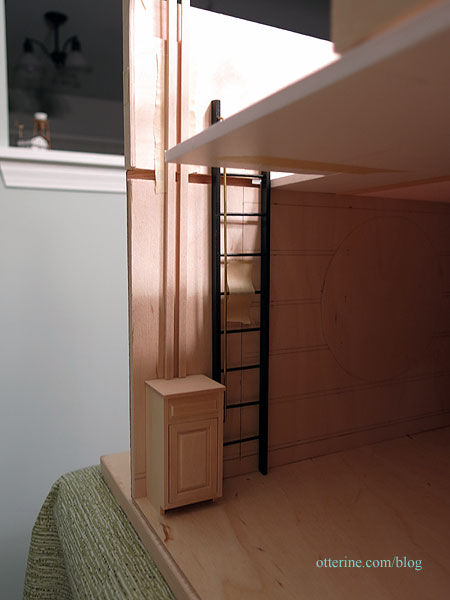
A dumbwaiter, that’s what. :D As I mentioned previously, Gustav will have only a ladder leading to the upper room, so it would be cumbersome for him to bring up late night milk and cookies while maintaining safe practices on the ladder. I rigged up a bucket on a rope for the purpose of mockups, but the final setup needed to be more elegant, like a functional dumbwaiter.
I’ve had dumbwaiters in my idea file for some time now. There’s a great example of the mechanism here at Old House Online. The basic premise is relatively straightforward with just a lot of wood construction. I was planning to put the ladder to the upper room near the open back, so I’ll construct the dumbwaiter beside the ladder toward the open back so I can operate it without having to reach in through the house. Parlor tricks are so much better when there’s no fuss.
The problem is, a fully enclosed dumbwaiter would block a significant part of the modest back opening, especially on the upper floor. So, I shall make a compromise between the bucket on a rope and an enclosed dumbwaiter. I’ll have an open dumbwaiter car running on a track along the wall with a pulley system. This way, the car will move smoothly up and down to carry milk (or Scotch) upstairs and yet take up less visual space overall.
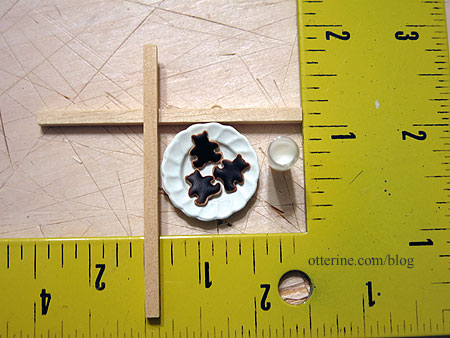
I started with the car measurements. To carry milk and cookies, the tray needed to be roughly 1 1/8″ deep x 1 1/2″ wide.
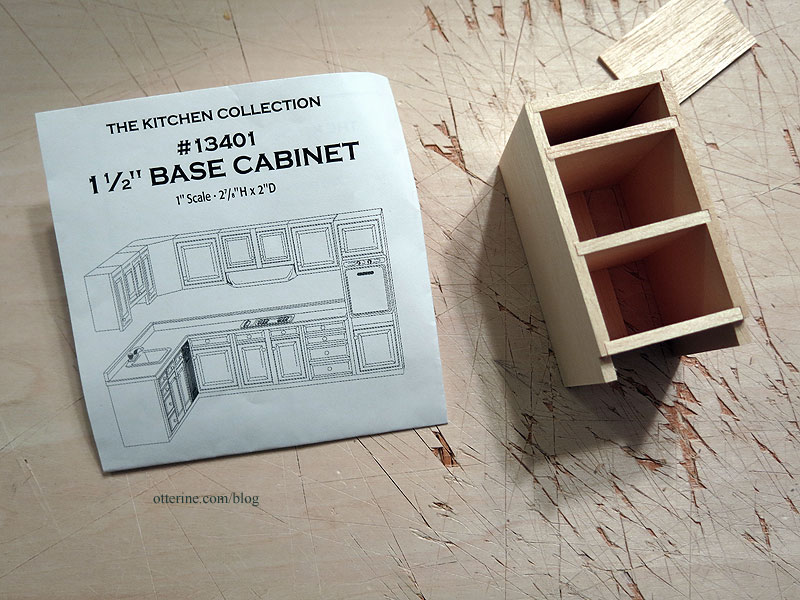
The car should rest at counter height when on the lower floor, so I bashed a 1 1/2″ Houseworks base cabinet by cutting down the depth. This also gives Gustav some storage in his small home.
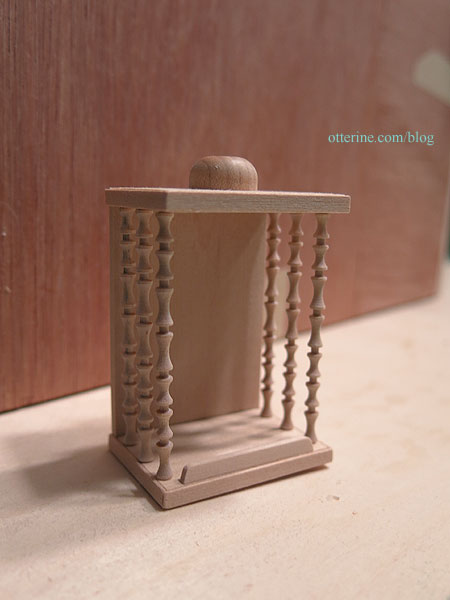
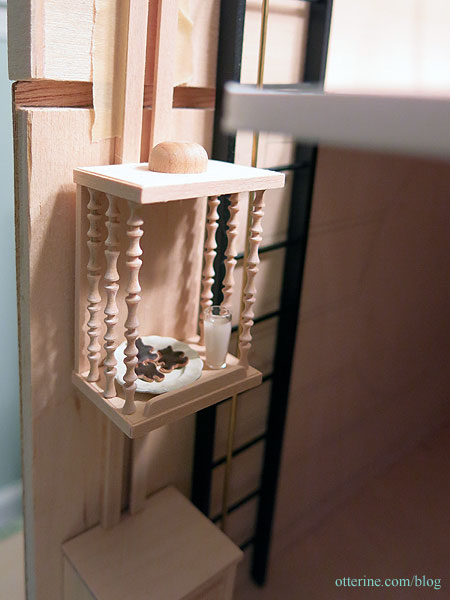
I built a fancy car from tiny turnings and basswood.
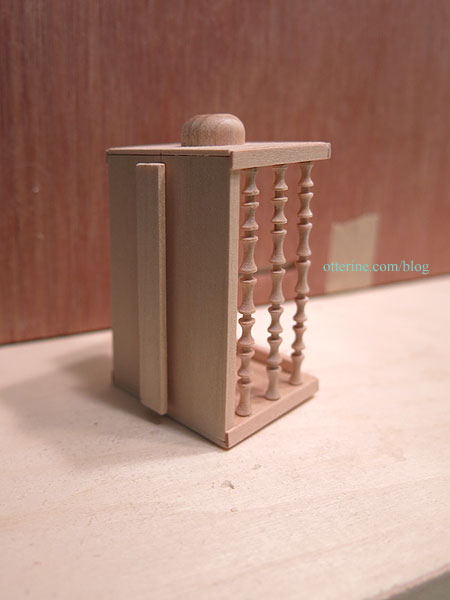
I added a slider bar to the back of the car.
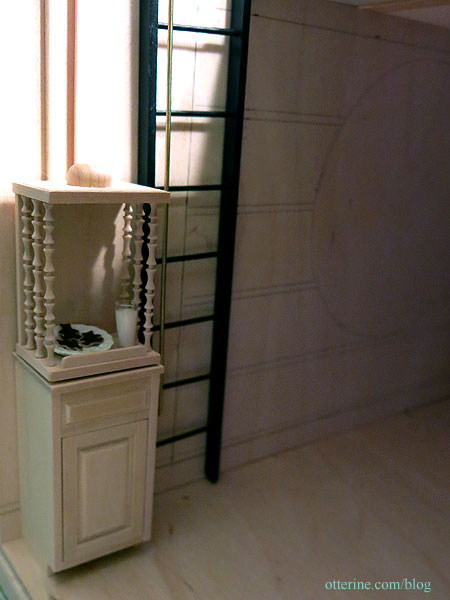
The track was formed from strip wood to make two channels facing one another. When I install the tracks after decorating, I plan to leave space enough at the top so I can slide the car off the track for cleaning, repairs or replacement.
The plate doesn’t quite fit anymore, so I’ll just use a slightly smaller one.
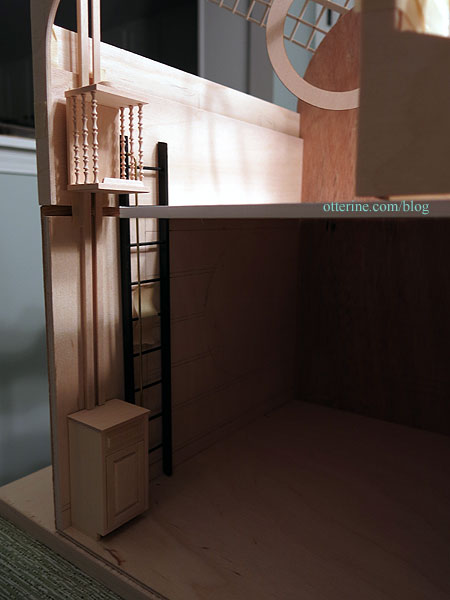
I love the way it looks so far, though. In fact, it’s such a nice element, I will try one more time to move the ladder so the dumbwaiter can be more easily photographed away from the open back edge.
Pulley rigging and final stain finishes to come later, but it’s already better than just a bucket on a rope. :D
Categories: Watson Mill
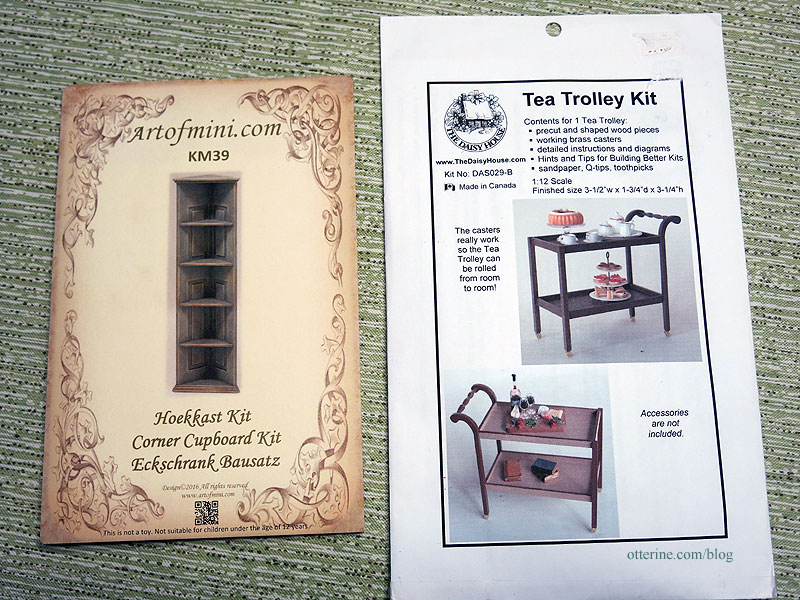
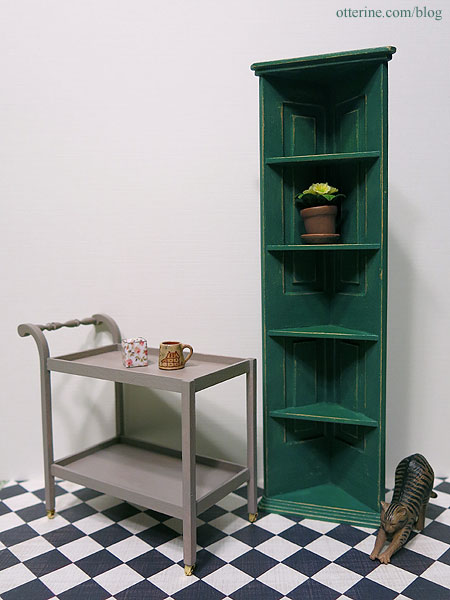
May 2, 2017 | 0 commentsCorner cupboard and tea trolley
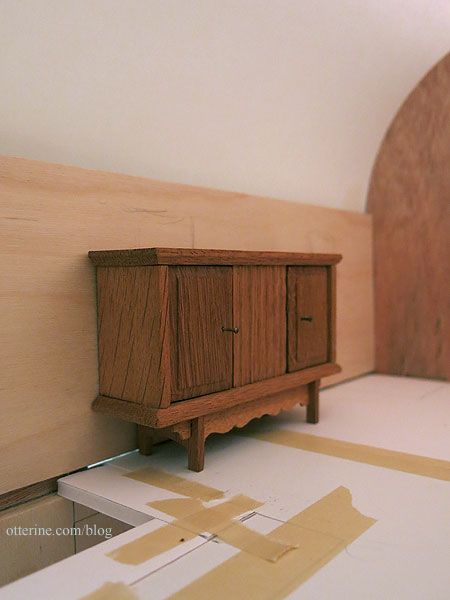
The first two items I’m making are a corner cupboard from Art of Mini and a tea trolley by Daisy House.
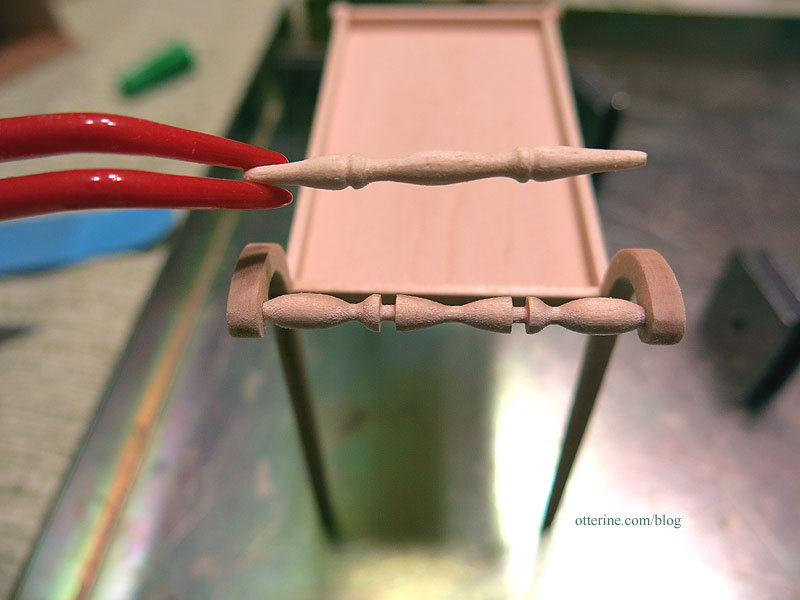
The tea trolley was fiddly, but it ended up being rather sturdy for such a delicate piece. It has casters so it can be wheeled anywhere it is needed. It can be a shelf for storage as well as a table for meals. The spreader bar included in the kit was not in good condition, so I cut a new section from Tiny Turnings.
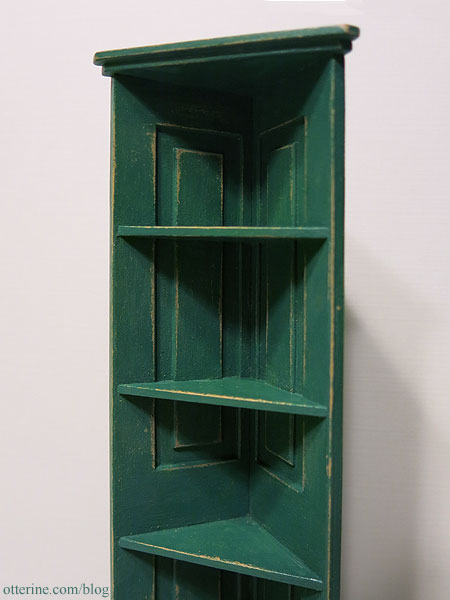
I sanded the edges of the cupboard pieces prior to assembly. This softened the overall look and made it seem assembled from old doors. I mounted my doors opposite to the kit photo since I liked that aesthetic better. I painted it a base coat of Camel by Americana and then followed that with custom mixed color using Turquoise by Anita’s and Plantation Pine by Americana. I sanded the edges to expose the color beneath for a worn look.
I painted the tea cart a mix of Battleship with Staining Medium, both by Americana. Where the glue prevented staining, I touched up with undiluted paint. I love the sun-bleached look to the color achieved after a very light sanding. For now, I’ve just pushed in the brass casters. I want to try a blackening solution on them before I glue them permanently. I’ll write up the results on that separately.
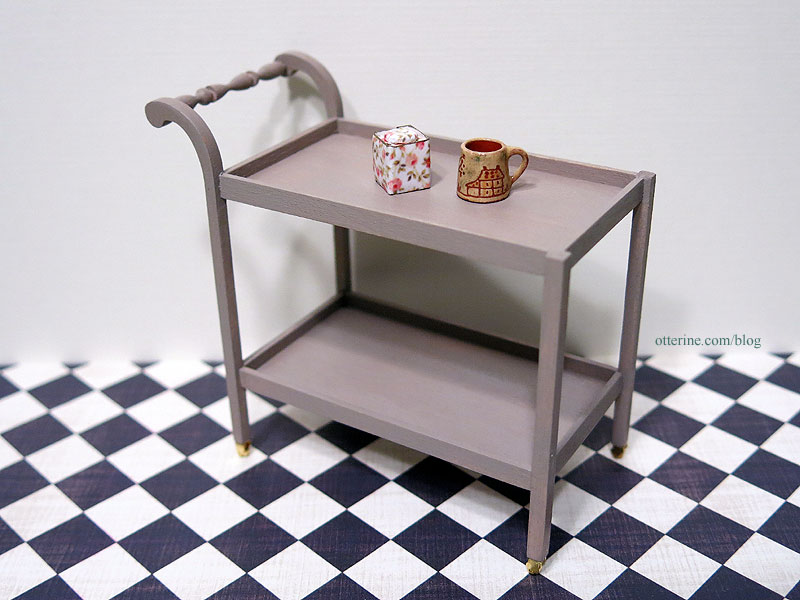
I finished both pieces with Delta Ceramcoat Satin Varnish.
Categories: Furniture
April 27, 2017 | 0 comments


NOTE: All content on otterine.com is copyrighted and may not be reproduced in part or in whole. It takes a lot of time and effort to write and photograph for my blog. Please ask permission before reproducing any of my content. Please click for copyright notice and Pinterest use.


