

Bishop Show – April 2018
I headed to the Chicago International Bishop Show for preview day.
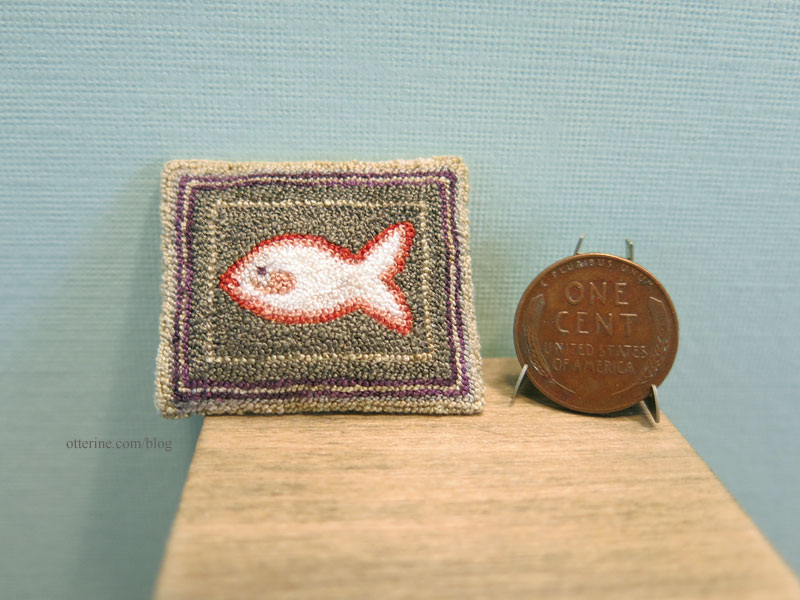
Annelle Ferguson – Mini Stitches – fish pillow
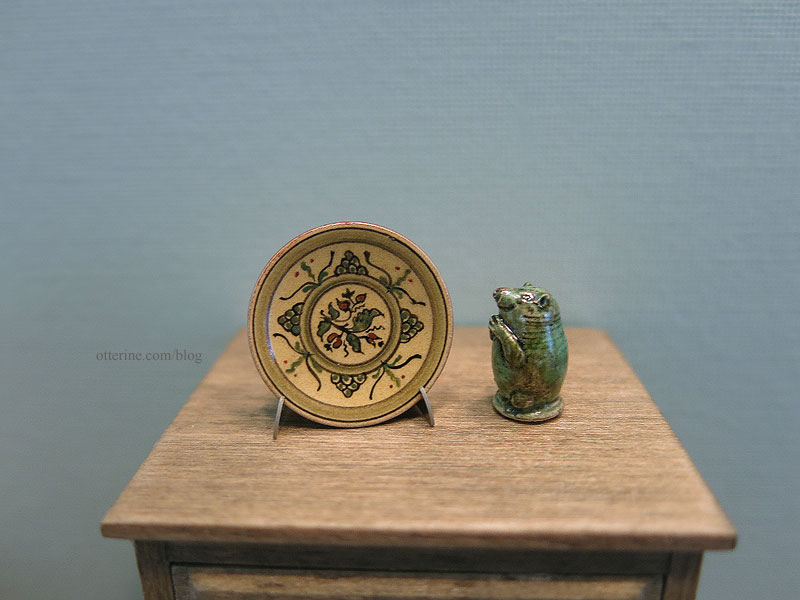
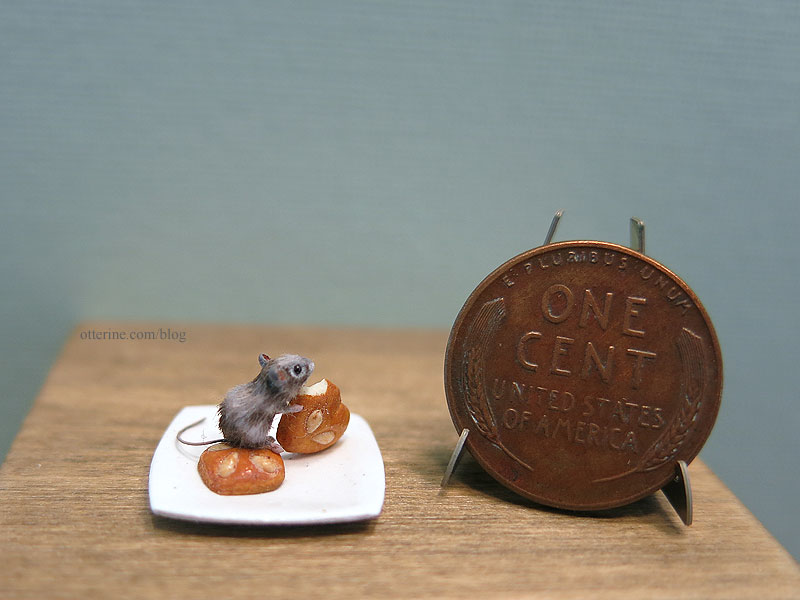
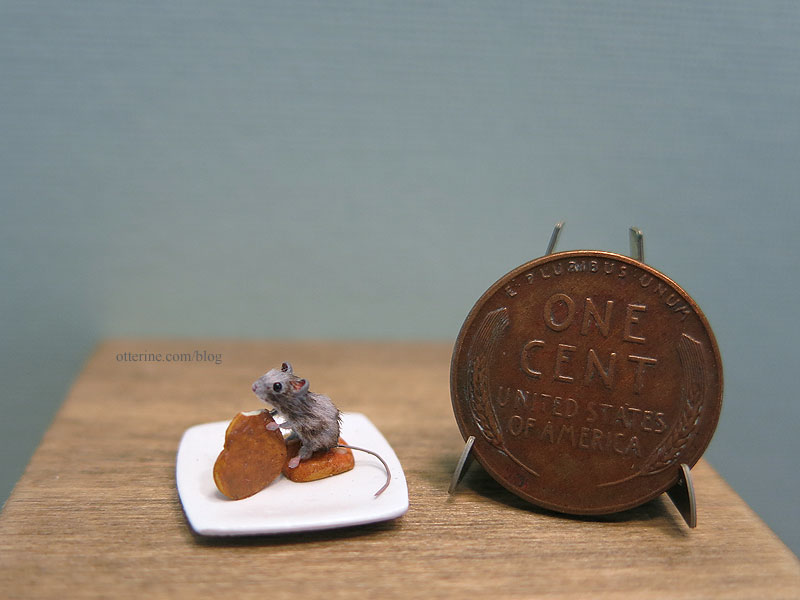
Jane Graber – plate and cute critter
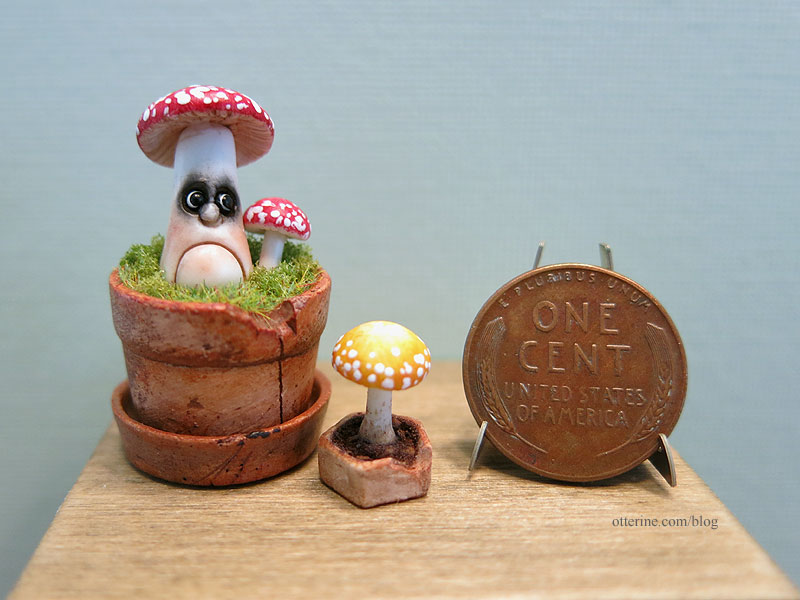
64tnt Miniatures – potted mushrooms
Taller Targioni – vintage camera

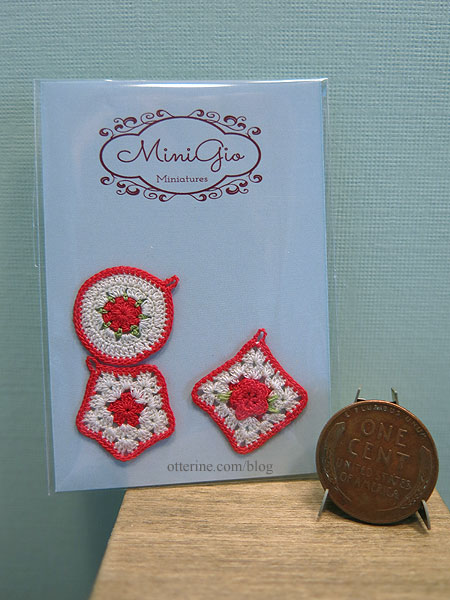
Mini Gio – potholders
FannimiNiATURE – tiny mouse stealing cookies
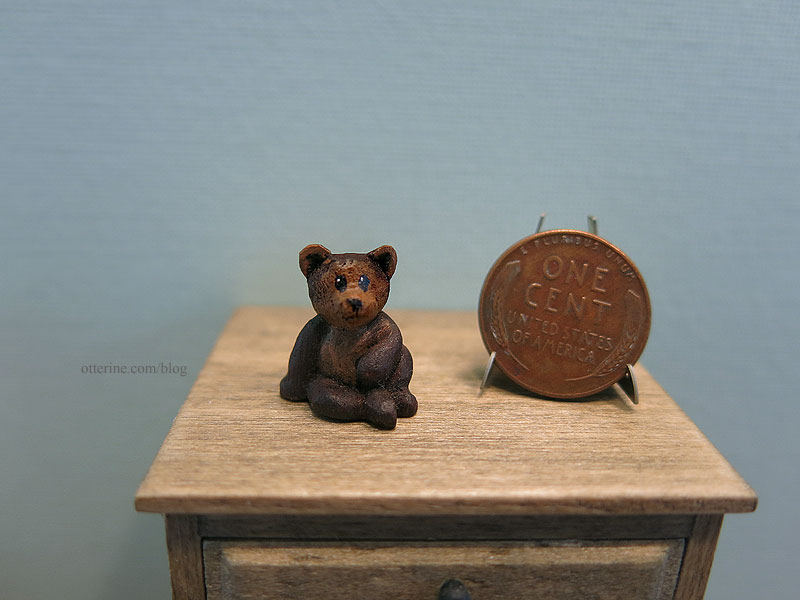
Miracle Chicken – carved wood bear
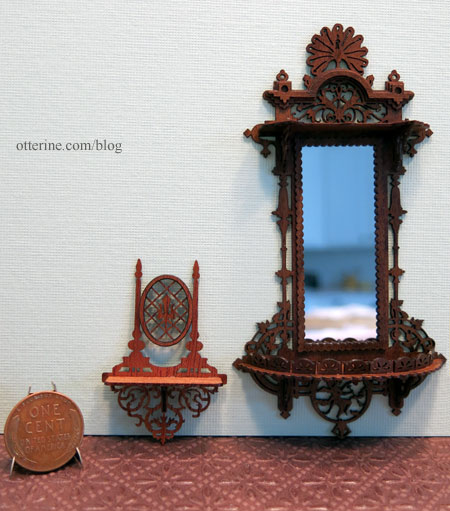
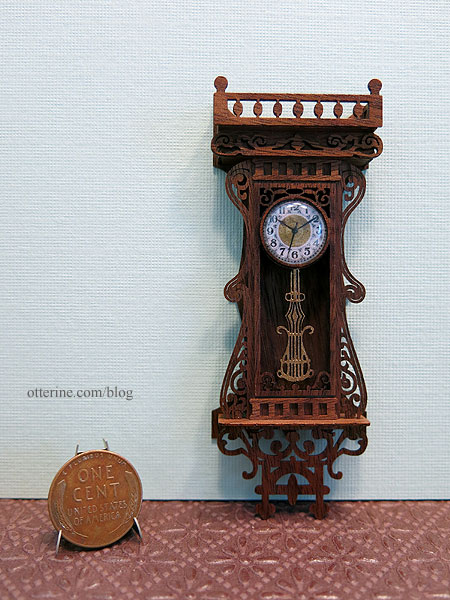
D-Tales Miniatures – wall shelves and clock
Categories: Miniature Shows and Shops
April 27, 2018 | 0 comments3 Blind Mice show – April 2018
I headed to the 3 Blind Mice show for opening night. I love this show — always a good mix of goodies in need of discovery.
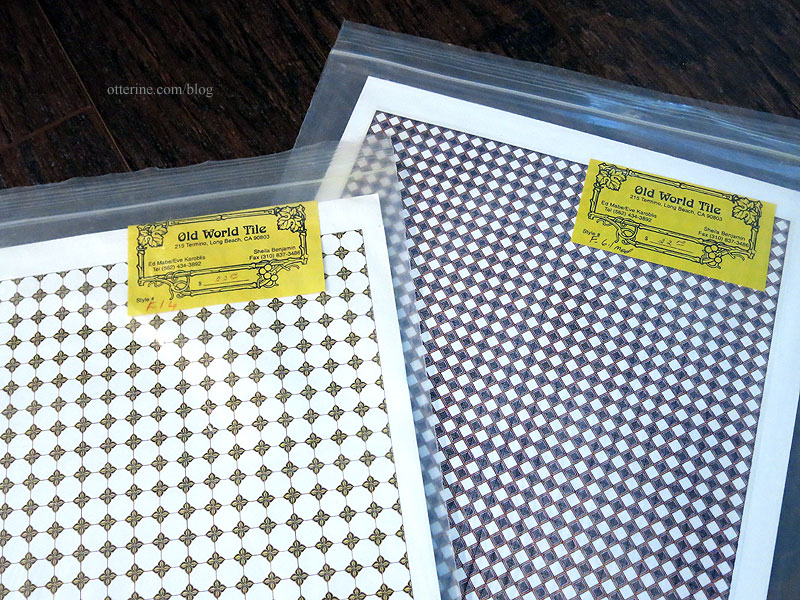
All About Miniatures. Old World Tile kits.
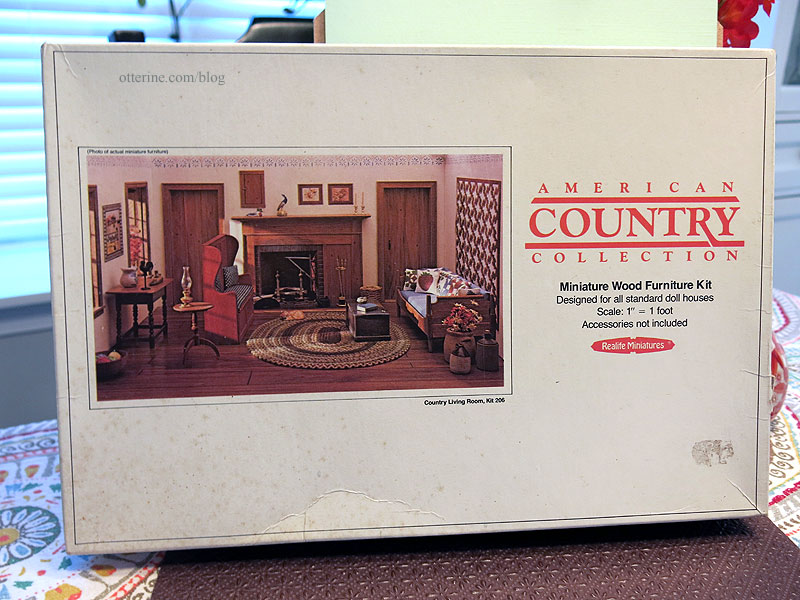
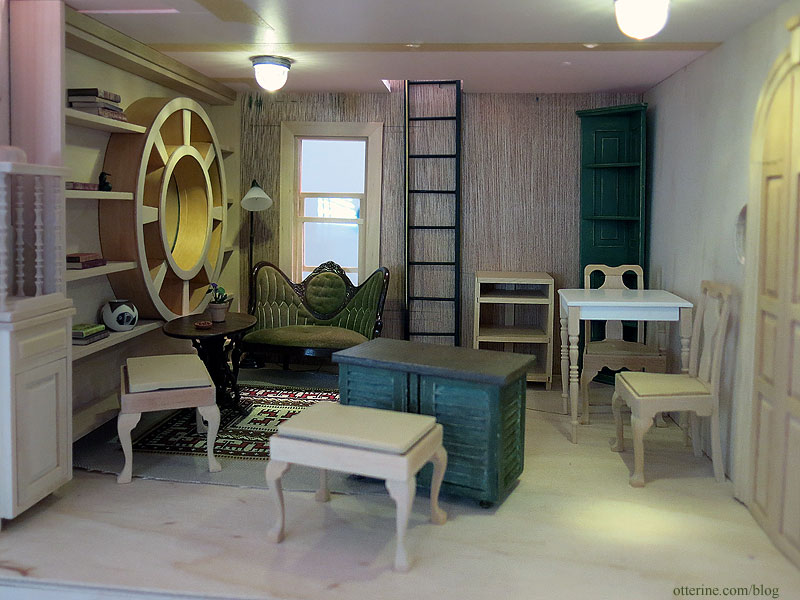
Hartland Miniatures. Lots of goodies here! Realife Country Living Room kit.
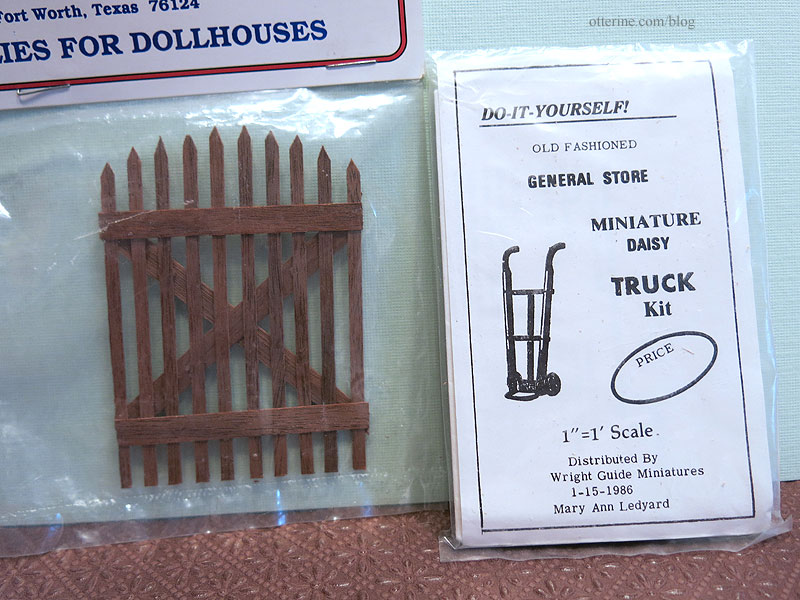
Dark wood gate and a wood truck kit (wheeled dolly).
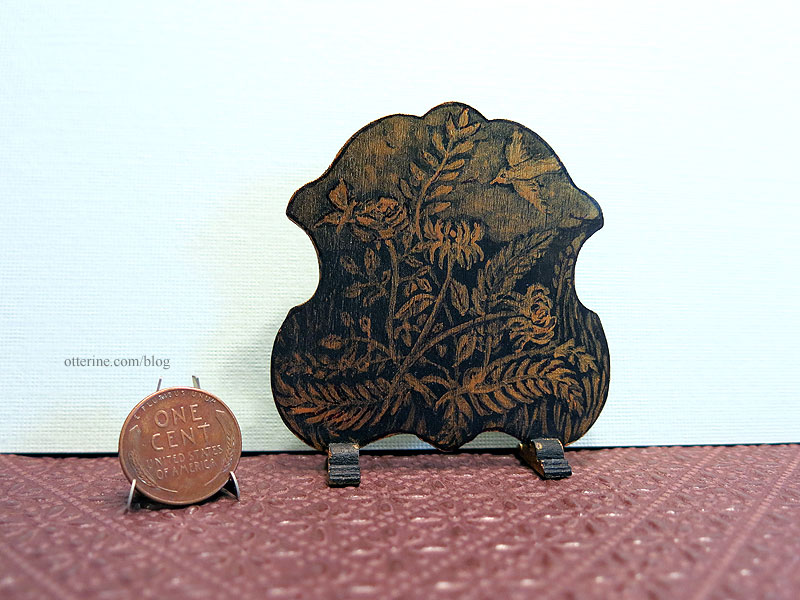
Debra Rundle. Vintage finds, including this firescreen by Ellen Moore.
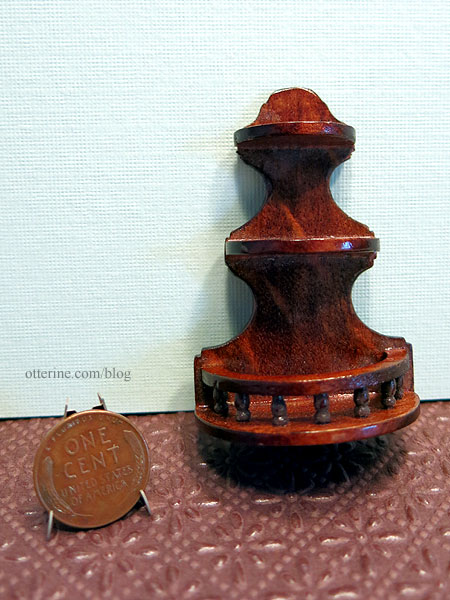
Semi-circular wall shelf.
Unknown vendor – love this settee!

Categories: Miniature Shows and Shops
April 27, 2018 | 0 commentsRX-7 in half scale – chassis work
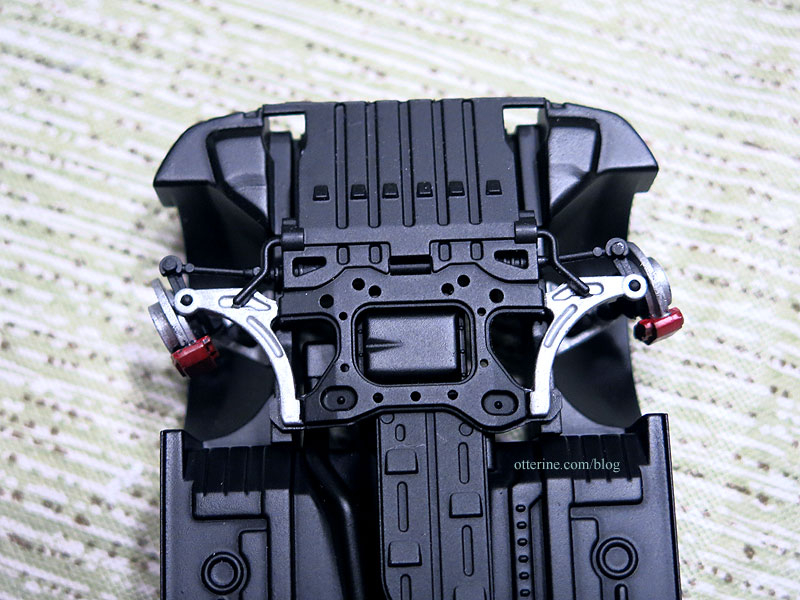
Continuing work on the RX-7 in half scale. A smaller scale model has less detailing and fewer individual parts, but they are often sturdier because so much is molded as one piece. Case in point, I could not get the delicate suspension of the 1:16 scale Model T to work and ended up gluing the whole thing as a solid assembly. The RX-7, though, has an articulated front that actually works. The wheels angle from side to side.
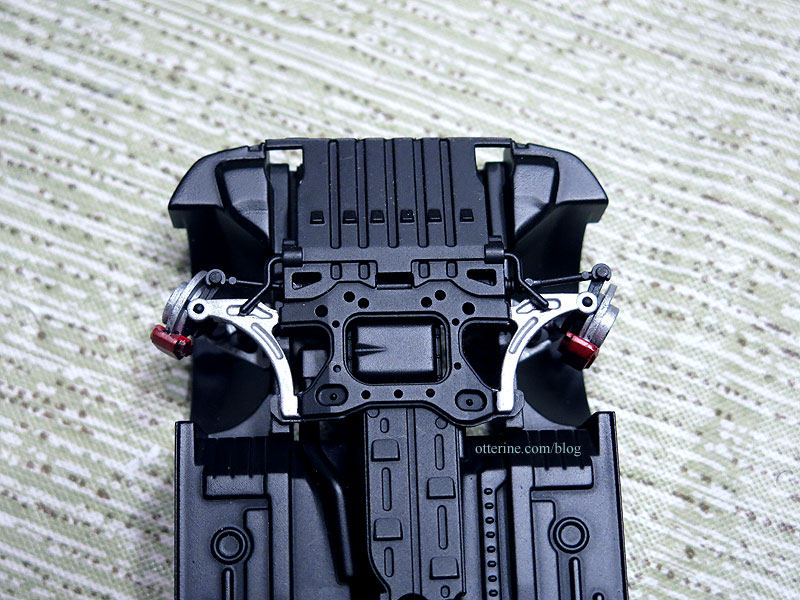

I’ve put on the fancy chrome muffler that is included with the kit.
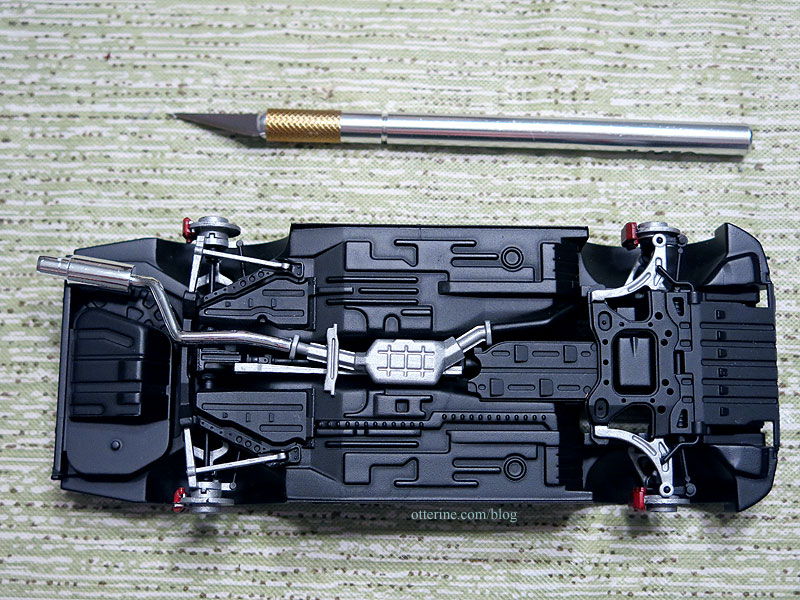
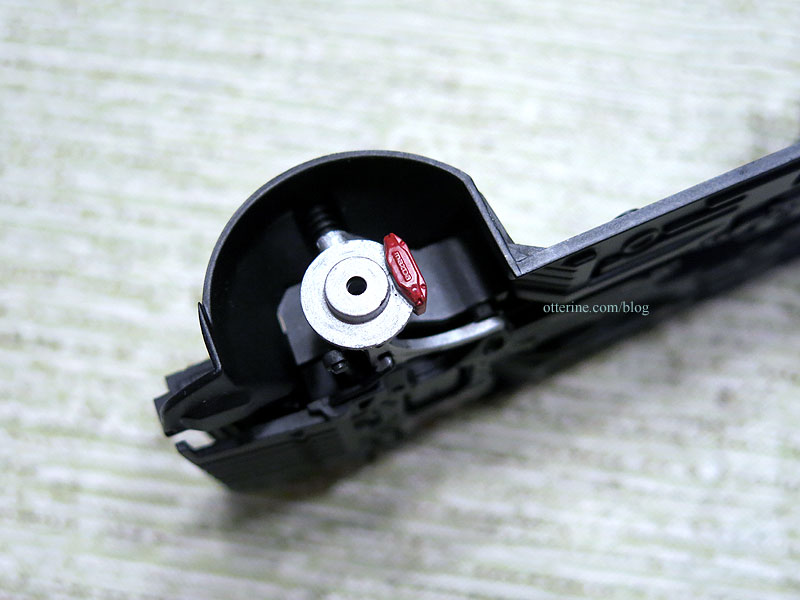
I also painted the brake calipers red. :]
Next up in assembly is the interior, and I need to get back to the body paint.
Categories: Model Cars, Vehicles
April 19, 2018 | 0 commentsHappy Groundhog Day 2018
Woodrow is busy looking for signs of spring on this cold Groundhog Day, and I think he’s found something! Fingers crossed for an early Spring!!! Actually, I’d even settle for a temperature consistently out of the holy-crap-it’s-bitter range. :\

Categories: Animals and birds
February 2, 2018 | 0 commentsWatson Mill – ladder, part 1
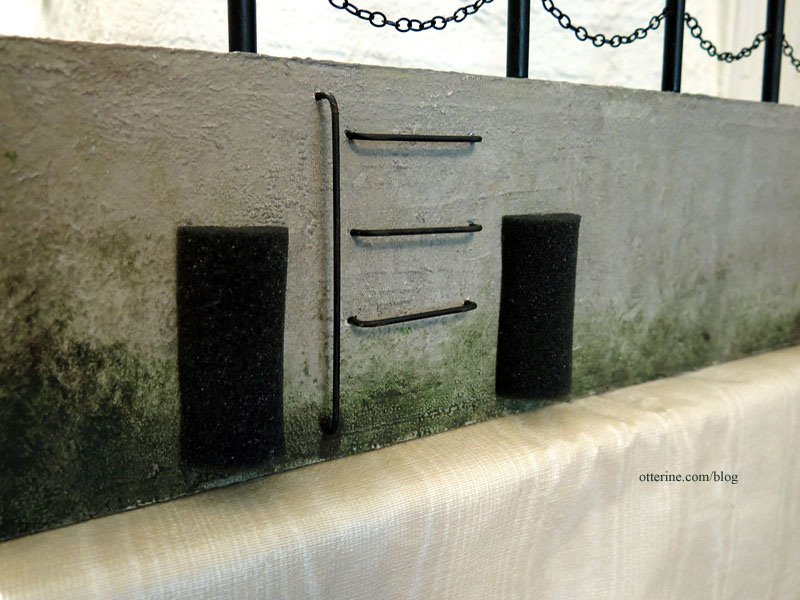
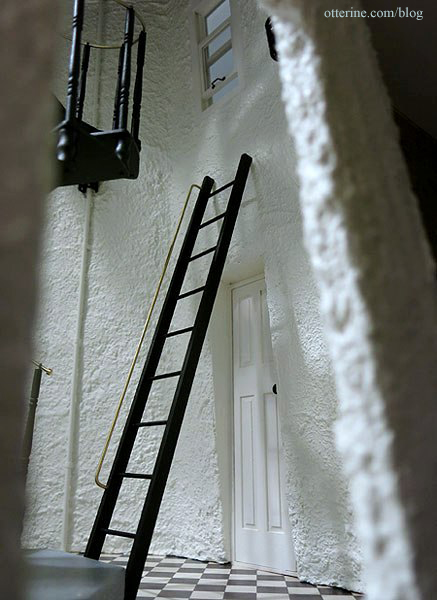
The ladder to the bedroom will sit on the front wall between the library window and the kitchen cabinet. The next choice is to determine the type of ladder.
I considered a simple set of metal rungs and a railing like the dock ladder I made for Walnut Bay Light. These are bent brass rod painted black. The hardest part with these is getting each rung uniform. These take up the least amount of room but are also hard to use. Is Gustav up to the daily workout challenge?
I considered a wood ladder like the one from Baslow Ranch.
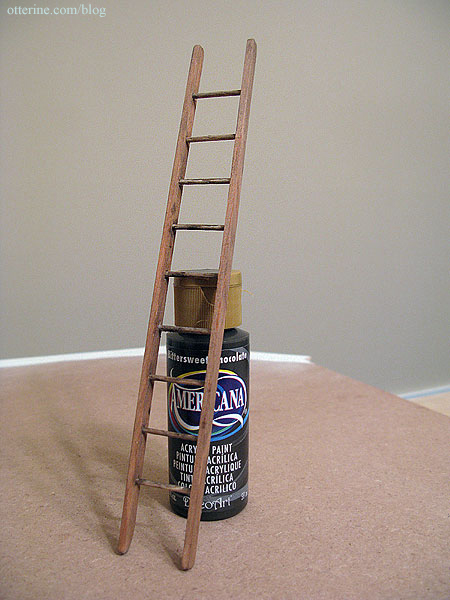
Or the moveable ladder from Walnut Bay Light, which has a railing built in. They take up a bit more floor space away from the wall due to the angle but are also thin enough to blend into the background. I used this one in the mockup shots for Watson Mill.
I think I will go for a mix of the two – rungs on the wall upstairs to give Gustav something to hold onto while moving to and from the upper room and a wood ladder leading up from the first floor. It will add a nice visual element to the build without taking up too much space. And, I will attempt to make the wood ladder moveable so it can be pushed against the wall to open up the floor space. More on that to come…off to engineer.
Categories: Watson Mill
January 19, 2018 | 0 comments


NOTE: All content on otterine.com is copyrighted and may not be reproduced in part or in whole. It takes a lot of time and effort to write and photograph for my blog. Please ask permission before reproducing any of my content. Please click for copyright notice and Pinterest use.


