
Miss Lydia Pickett Cottage Clock – part 3
Continuing work on the Miss Lydia Pickett Cottage Clock in 1:12 scale by Robin Betterley’s Miniatures.
While I was looking through my stash of craft goodies, I found this package of clock face pendants.
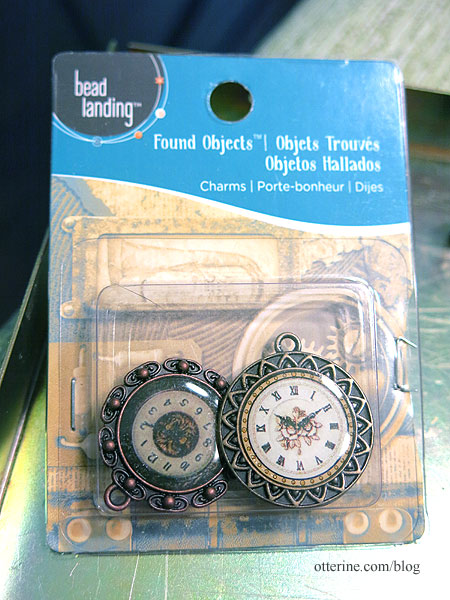
I cut the bails from the sides and filed the edges smooth. It fits perfectly, so perhaps it was meant to be. I’ve set it aside as a strong possibility for the final clock face. I know there are watch movements that can be added, but I’m opting to forego making this a working clock.
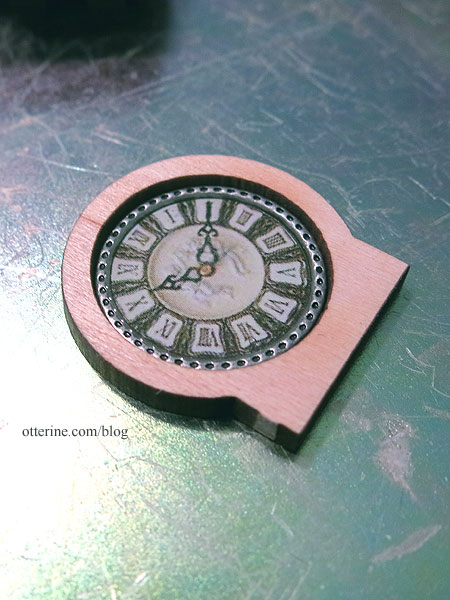
The instructions have you bevel the top edge of the base, but I beveled the top edges of the lower base, lower top and body base for added detailing.
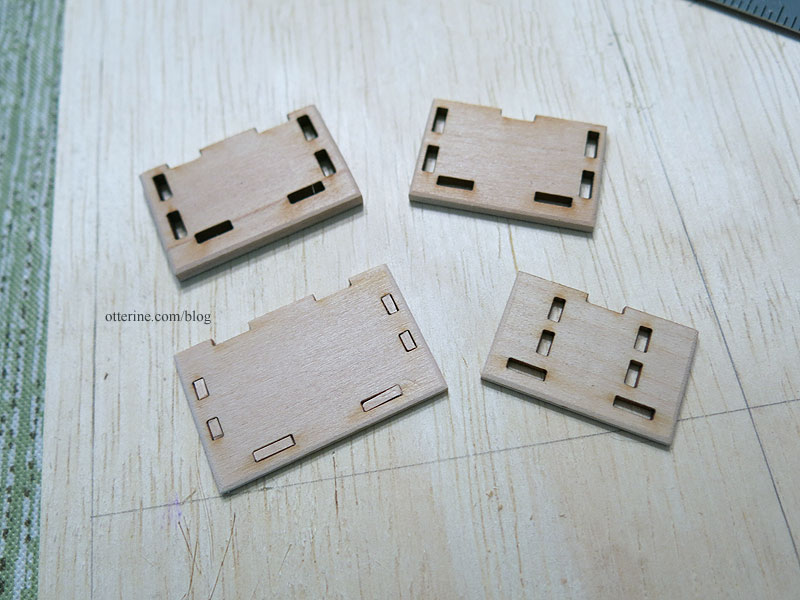
For the top part of the clock, I beveled the lower edge of the body top and head base.
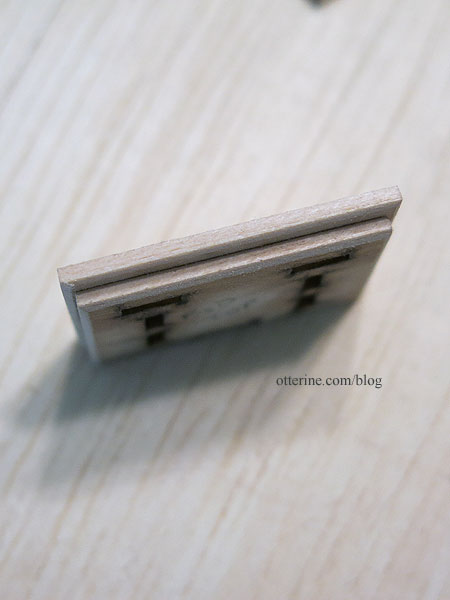
The base and body are simple boxes that needed very little adjustment before gluing.
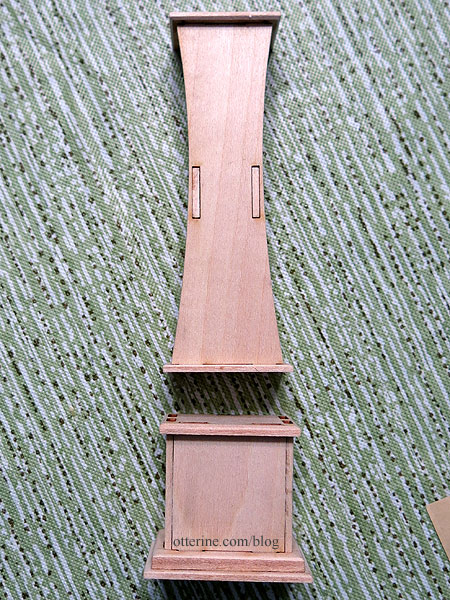
The curved door doesn’t open and making opening doors wasn’t something I wanted to spend time on, but there’s no reason you can’t add faux detailing. :D I took some 3/16″ hinges and made notches to insert them later after painting.
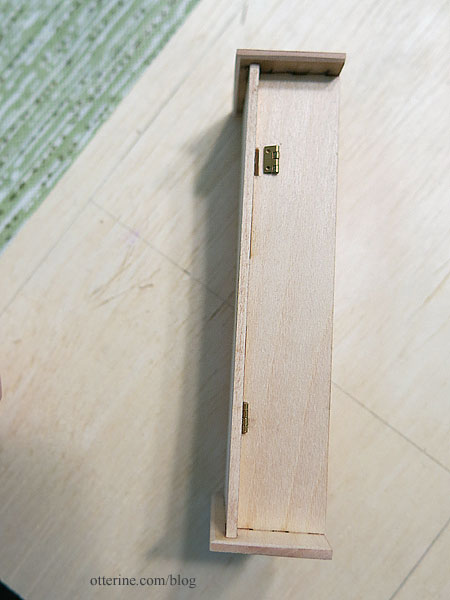
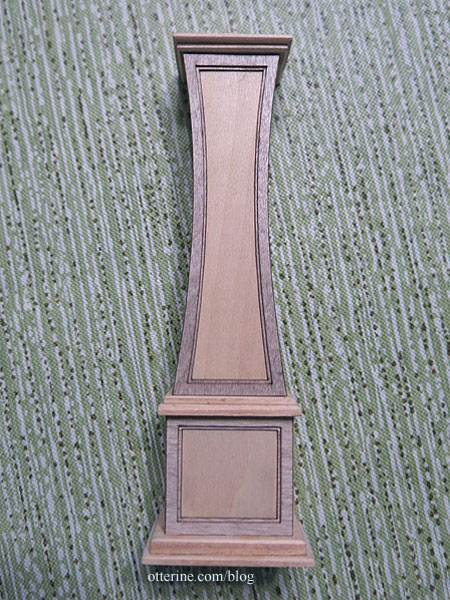
I added the body and base trims, beveling them slightly on the inside edges.
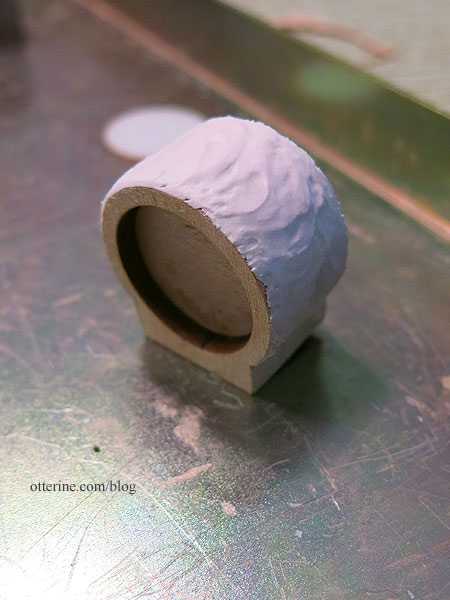
I got the clock head glued together and slathered it with spackling after the initial sanding. It rather looks like a petit four. :D The spackling should make the curve smoother once sanded.
Categories: Half Clocked
May 13, 2018 | 0 commentsMiss Lydia Pickett Cottage Clock – part 2
Starting work on the Miss Lydia Pickett Cottage Clock in 1:12 scale by Robin Betterley’s Miniatures.
The instructions are very clear and have photos to help with assembly. I will make a few changes, though, first in omitting the scrollwork at the base. Instead, I made bun feet from Houseworks 2 1/2″ legs (Item No. 12009).
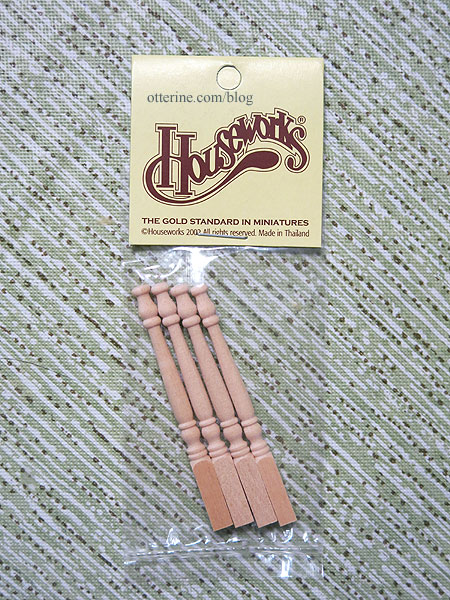
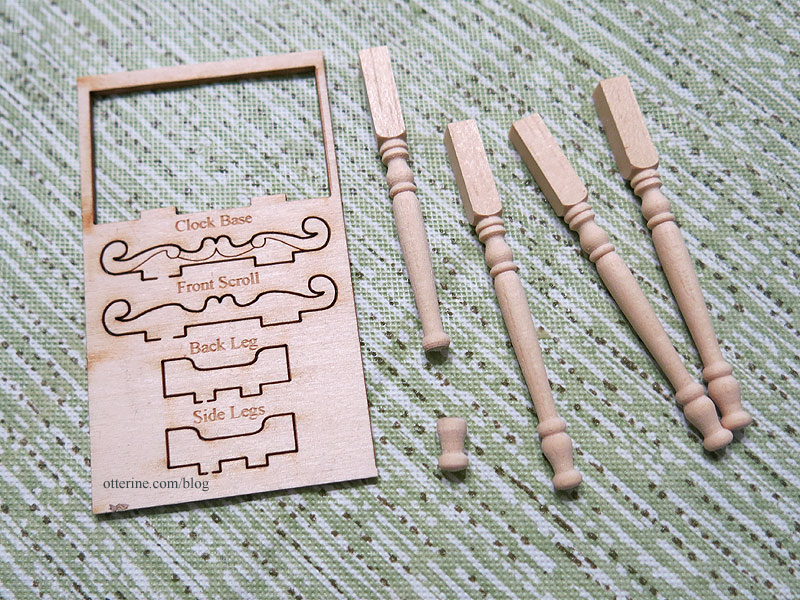
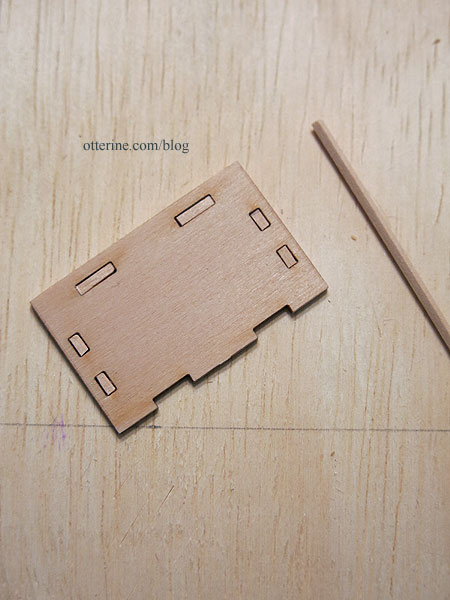
I added some bits of wood to the base to fill in the mortises to increase the gluing surface. They won’t show later, but it should keep glue from oozing later on. I’ll fill in the back mortises later since those will show.
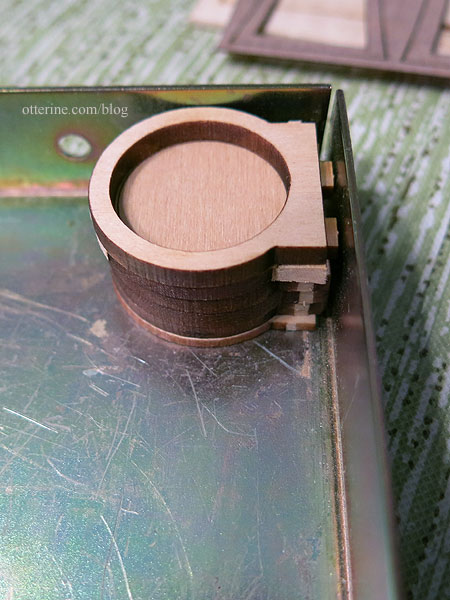
While I like the scrollwork on the top of the original kit, a fully round head appeals to me more. So, I used the back as a template, and altered the front piece to match. It didn’t have to be a perfect cut since you sand this assembly as a whole once it’s glued together.
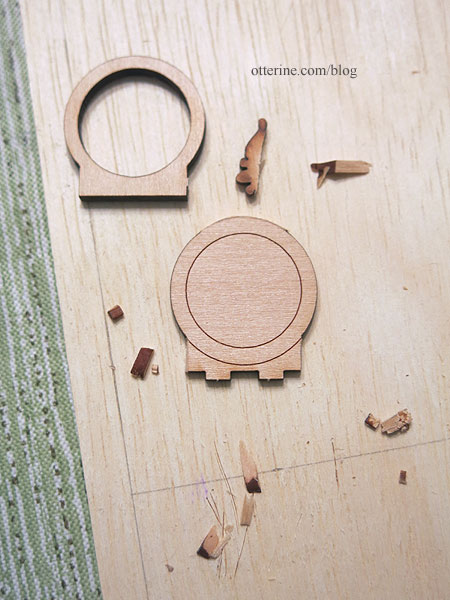
Thinking ahead (always read the instructions through and stare at the kit cover photo before starting), I wondered about giving the clock face more realism. The front piece is solid in order to have a gluing surface for the clock face artwork. An acrylic circle sits over the art to give the illusion of glass. While the included art is convincing, I wanted to go a step further and add actual hands. This would require more clearance behind the acrylic. Since I altered the front to match the other pieces, I could glue the front piece second in line. If I need to bump the clock face forward, I can just cut circles from paper until I reach the appropriate depth.
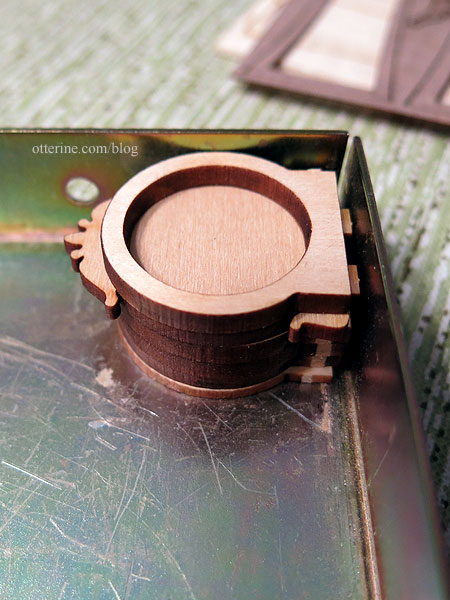
I’ll have to cut the tabs off the front piece now that it is in second position because the base has mortises already cut.
Categories: Half Clocked
May 12, 2018 | 0 commentsMiss Lydia Pickett Cottage Clock – introduction
Your first sneak peek! I plan to make the Miss Lydia Pickett Cottage Clock in 1:12 scale by Robin Betterley’s Miniatures. They used to have kits in 1:12 and 1:24 scales, but now they are exclusively quarter scale and smaller. You can sometimes find the old stock on eBay or etsy, and local mini shows.
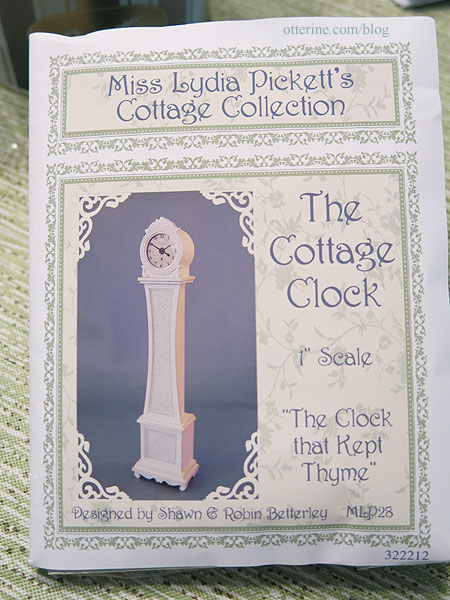
This is a laser cut kit with artwork included, but I will likely use my own since I have a few changes in mind. I like that it includes plant stakes just because. :D
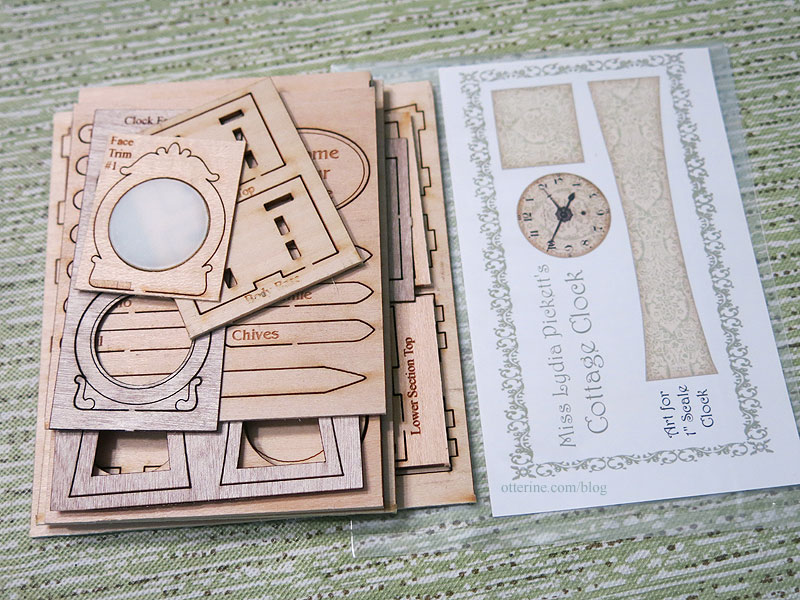
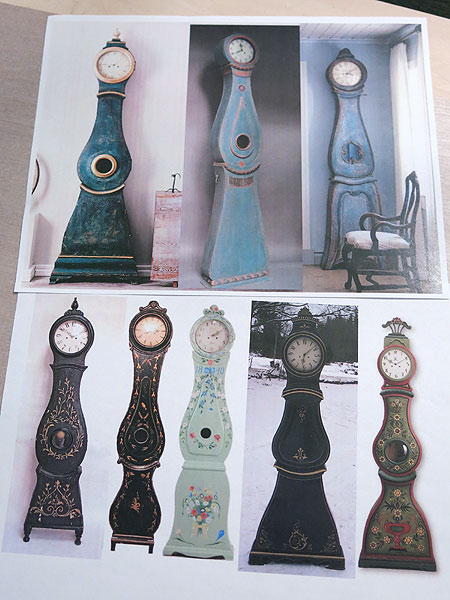
I love Swedish Mora clocks, and if you do a google image search you will find an array of colors and styles. I’ve always been drawn to blue ones, but it can be so striking in black. Since black might overpower in mini, I will opt for blue with some hand painted detailing. I know the kit clock isn’t the traditional shape for the Mora clock, but it lends itself well to modification with that style in mind.
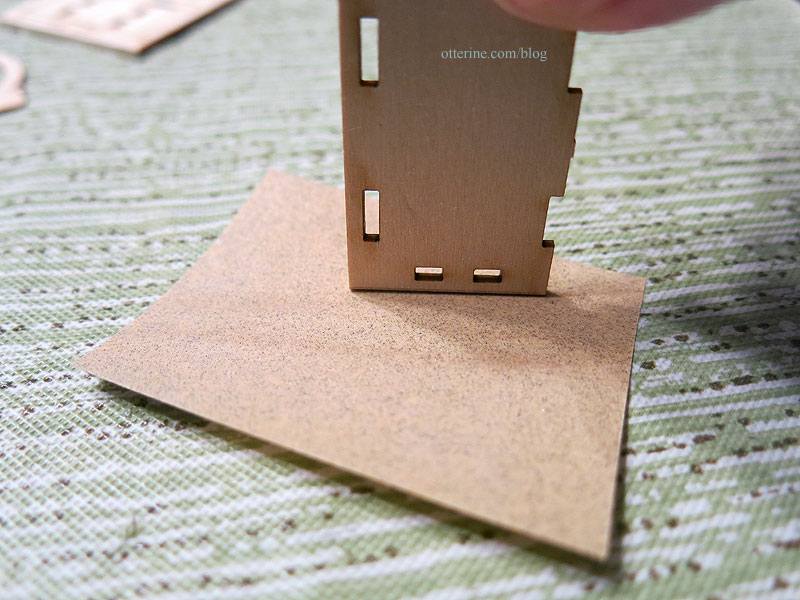
The most tedious part of any laser cut kit is removing the burned edges without altering the size, shape or fit of the pieces. The best way to sand the straight edges is to put a piece of light sandpaper on a flat surface and lightly move the piece over the sandpaper. Keep checking that you aren’t removing too much. If you plan to paint, you don’t have to remove every bit of the soot, just enough to keep it from bleeding through lighter colors. Priming will help as well.
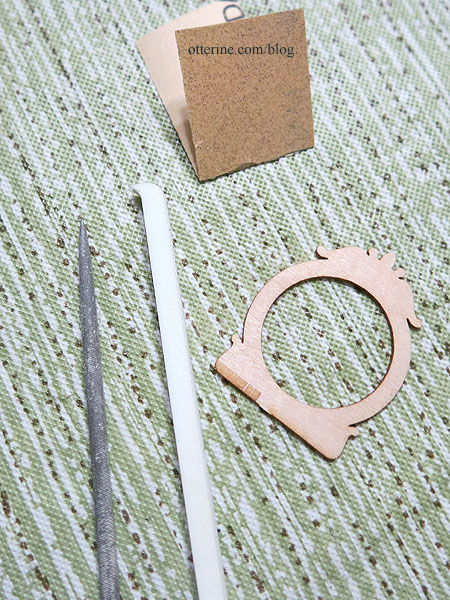
For curves and indentations, I use thin sanding sticks and pieces of folded sandpaper, even sometimes files. You have be especially careful since free hand sanding can remove too much wood if you don’t pay attention.
Back soon…once the sanding is done. Scritch, scritch, scritch…
Categories: Half Clocked
May 10, 2018 | 0 commentsThe Miniature Show – the Bishop Show – April 2018
More show fun at The Miniature Show.
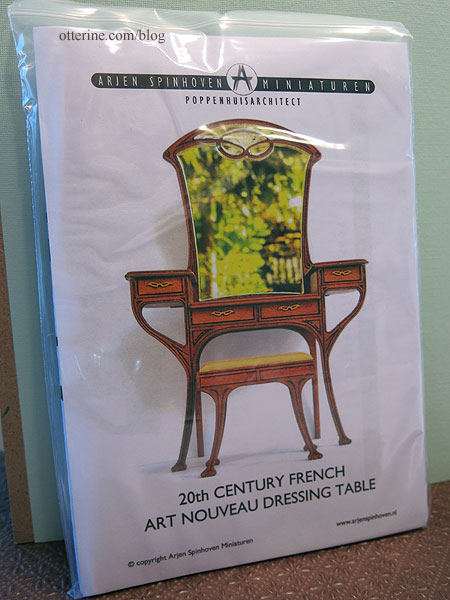
Arjen Spinhoven – art nouveau vanity and stool kit
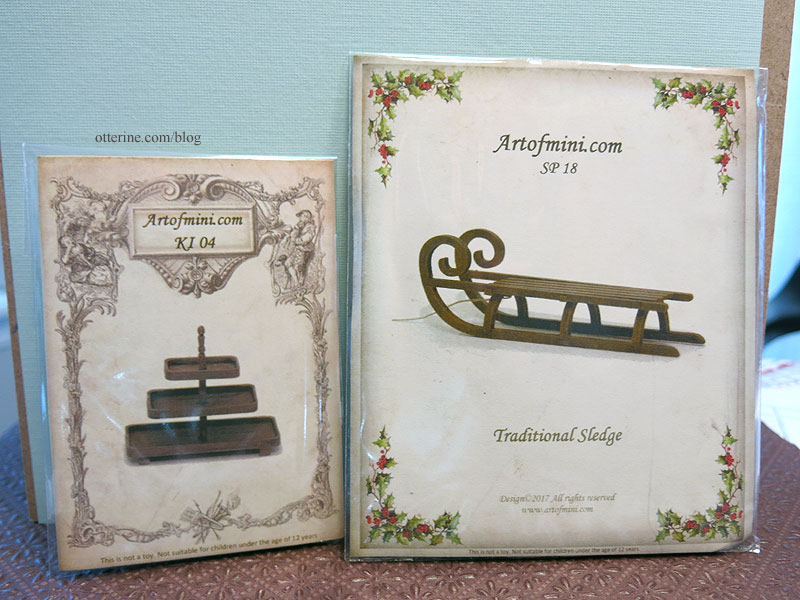
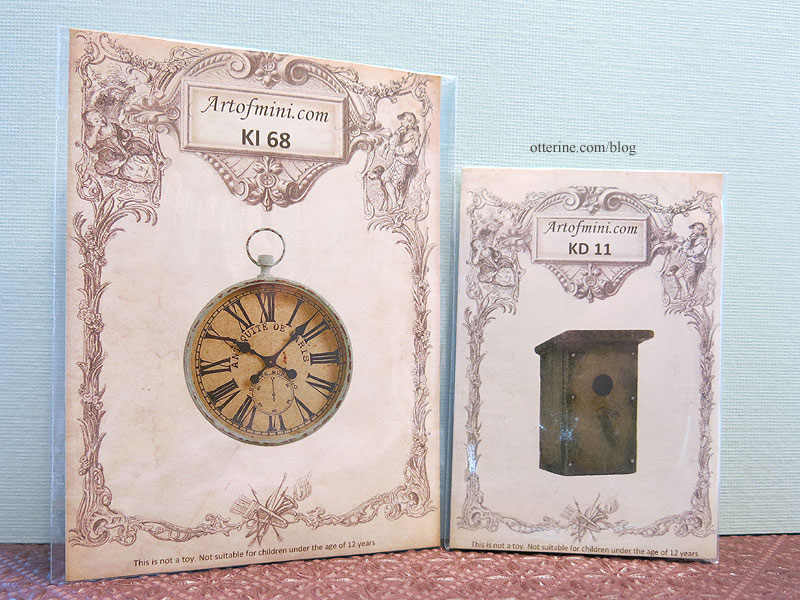
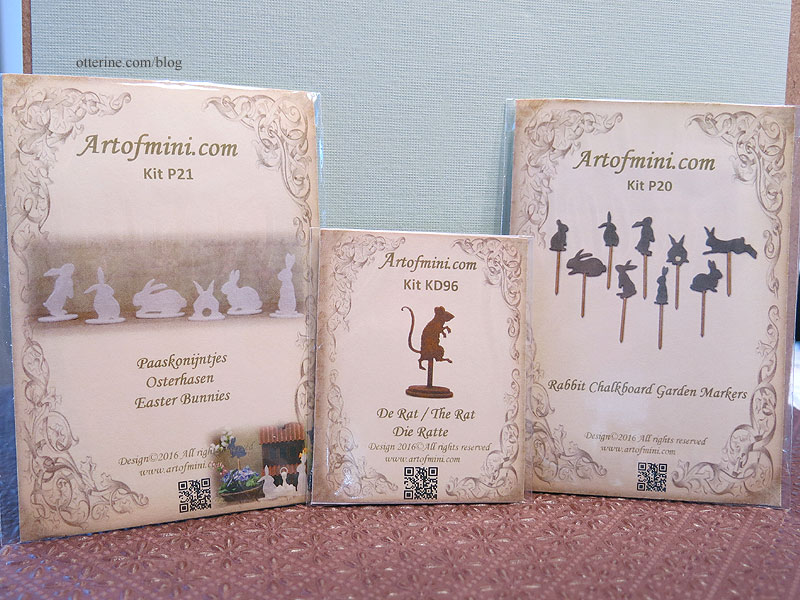
Art of Mini – more lovely kits
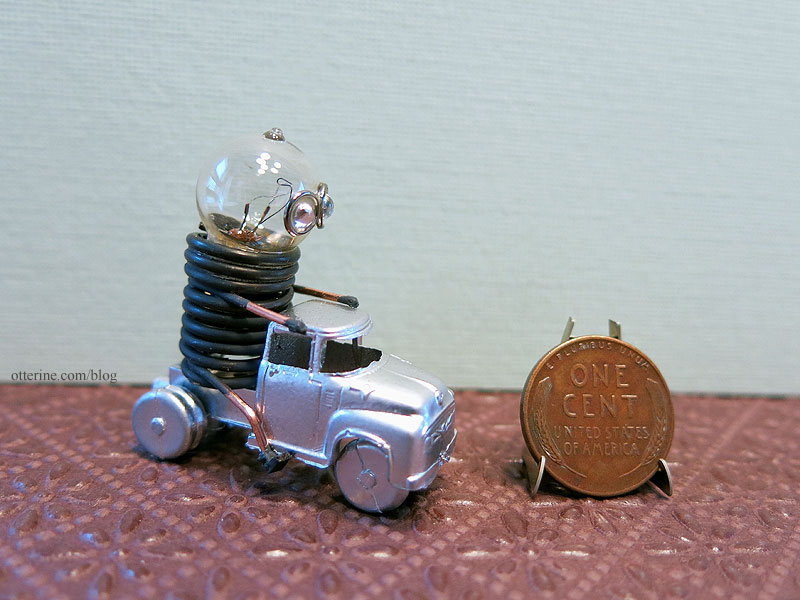
Jeff’s Creations at the Judy Orr Miniatures table – tiny robot
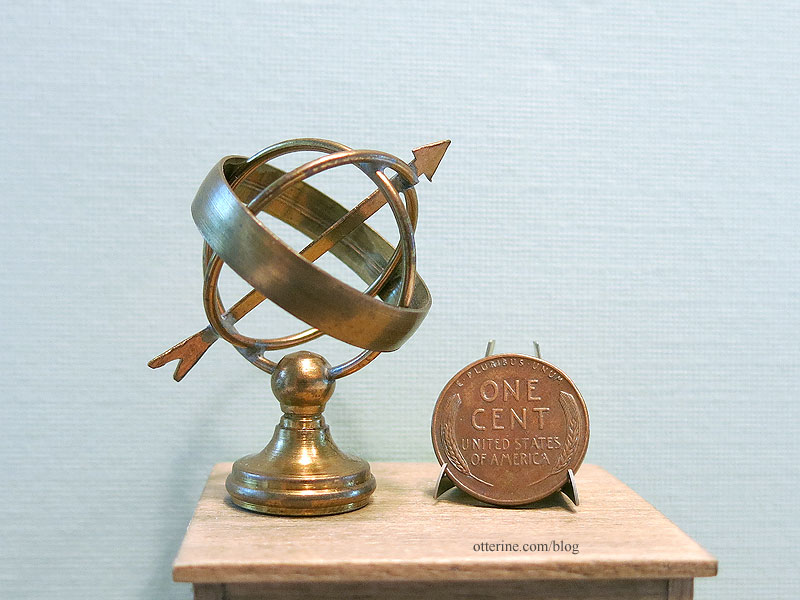
Here Today Gone Tomorrow – armillary
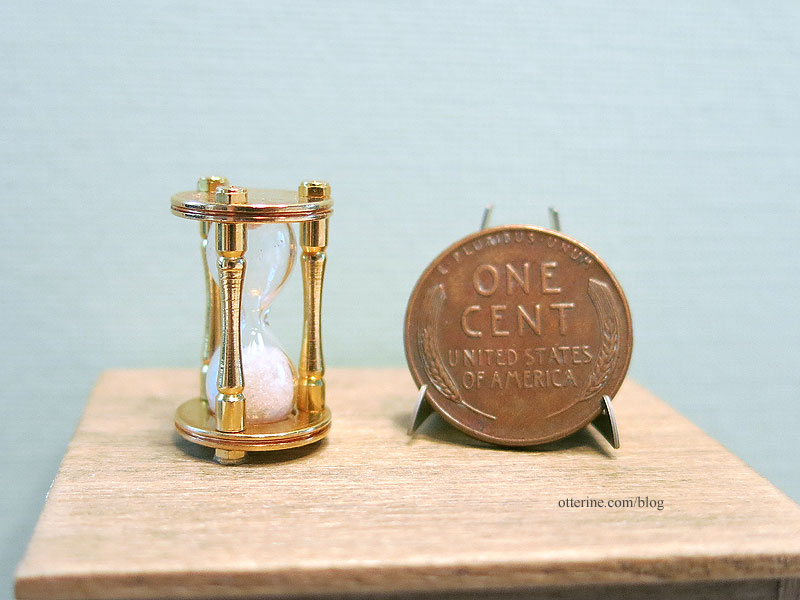
and working hourglass
Then back to the Chicago International Bishop Show
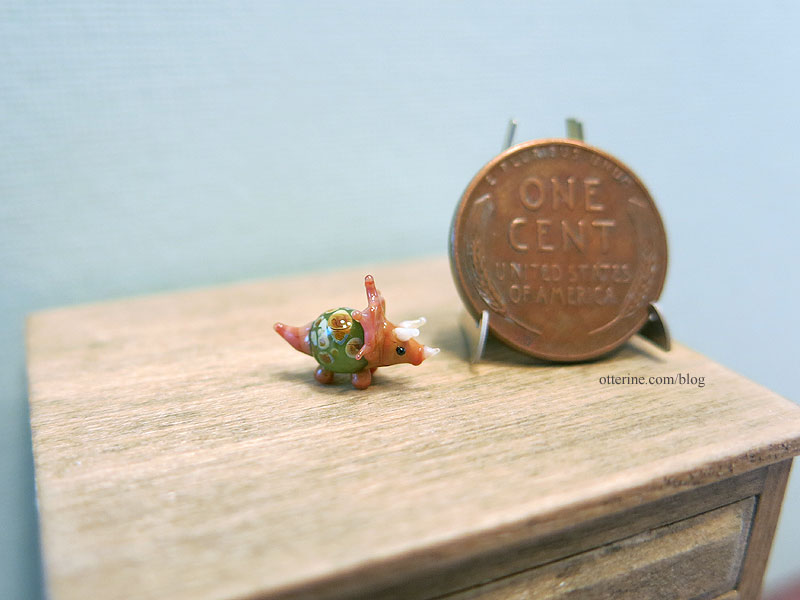
Vitreus Ignis – tiny glass triceratops
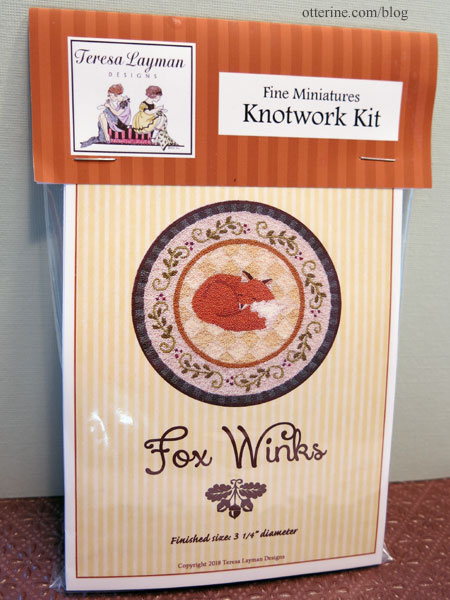
Teresa Layman – new fox rug kit
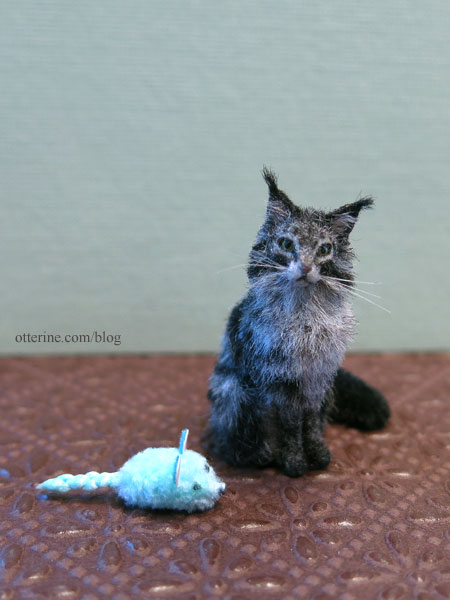
Alice Zinn – cat toy! (cat model: Isabeau by Maya Schippl)
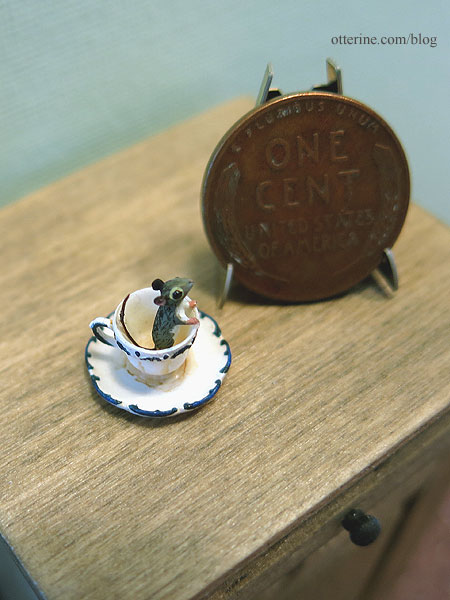
Beth Freeman-Kane – I’ve had a photo of her mouse in a tea cup on my wish list for a long time. I couldn’t believe it was still available. :]
Categories: Miniature Shows and Shops
April 29, 2018 | 0 commentsBishop Show – April 2018
I headed to the Chicago International Bishop Show for preview day.
Annelle Ferguson – Mini Stitches – fish pillow
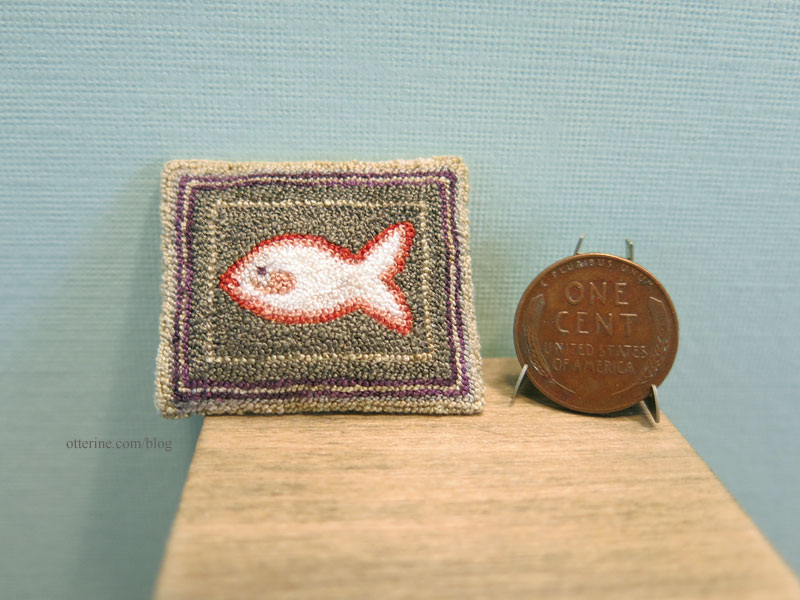
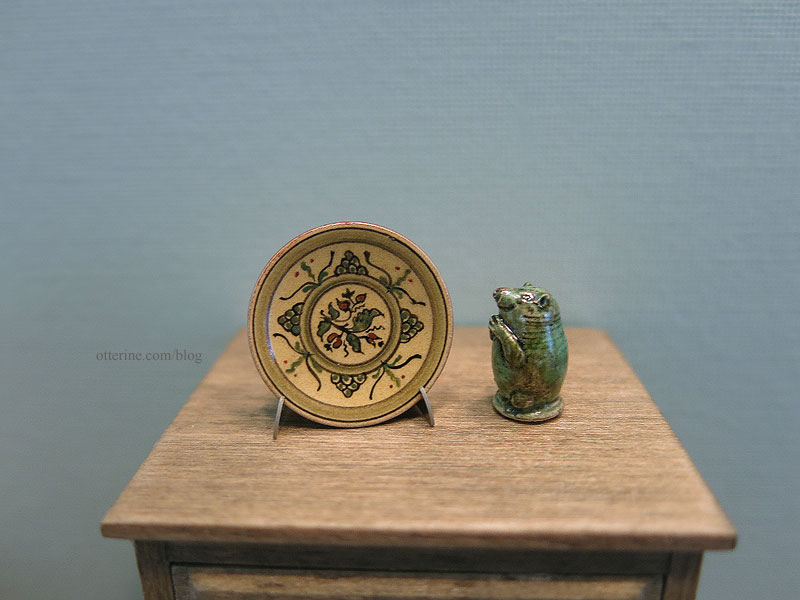
Jane Graber – plate and cute critter
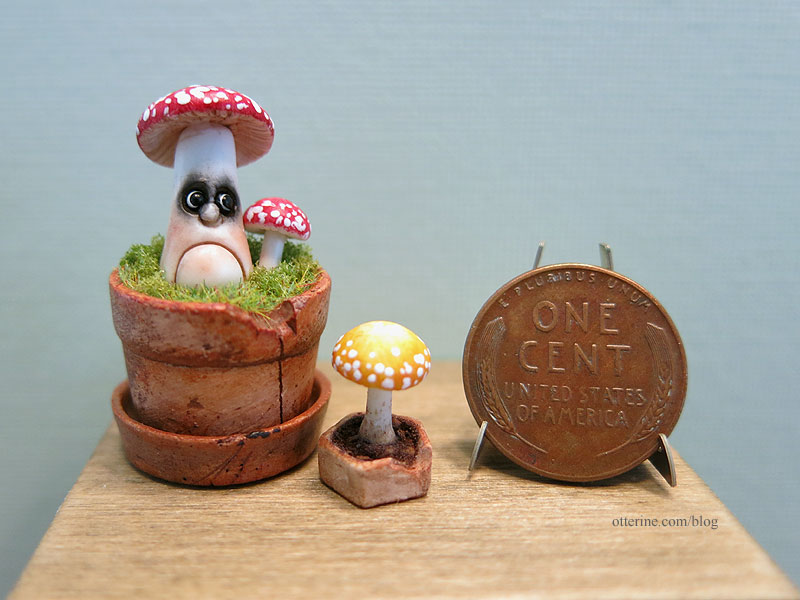
64tnt Miniatures – potted mushrooms
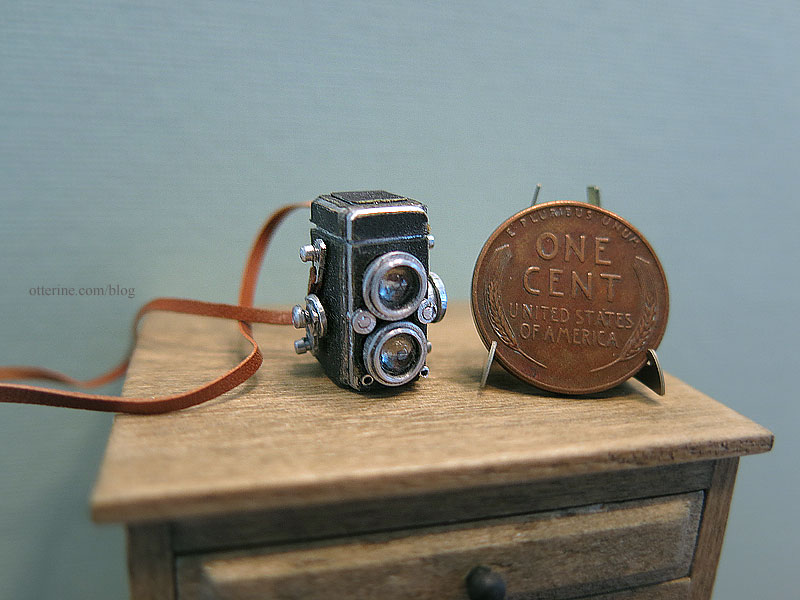
Taller Targioni – vintage camera
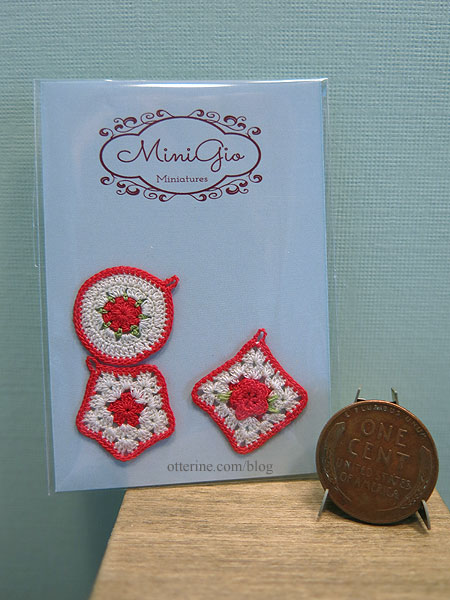
Mini Gio – potholders
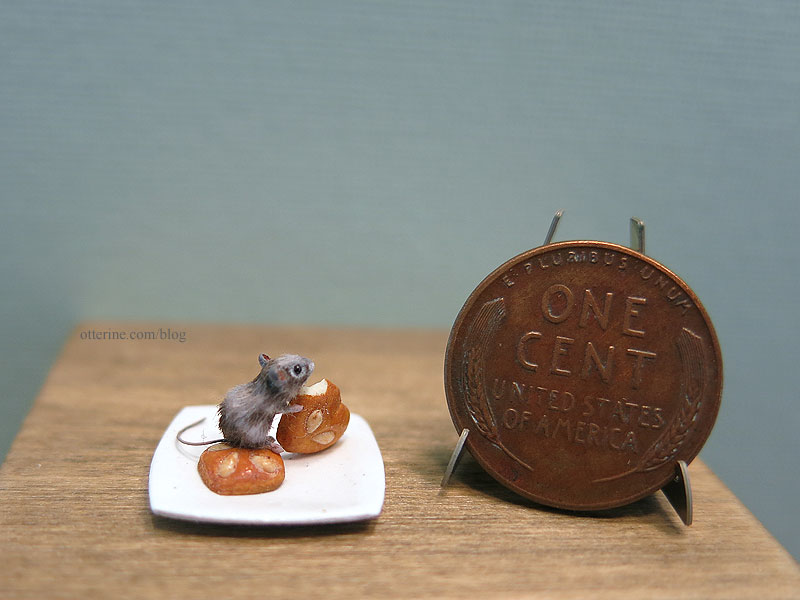
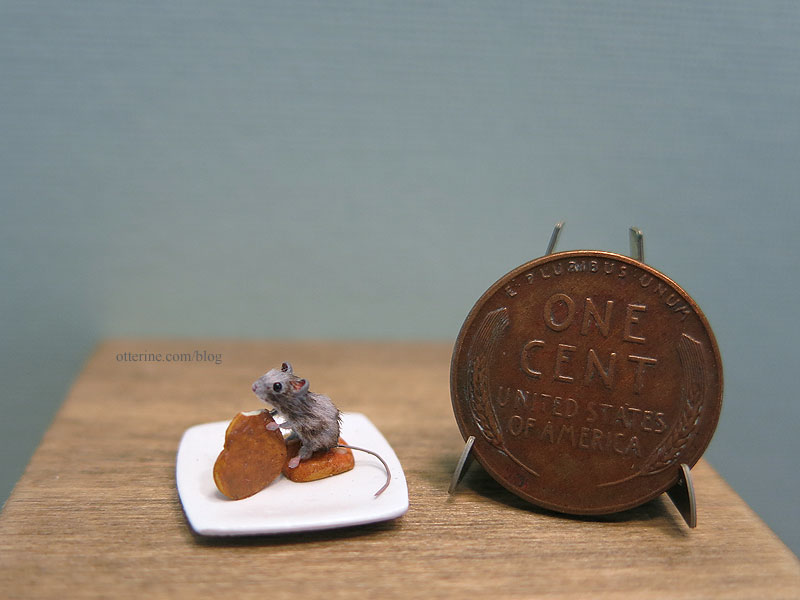
FannimiNiATURE – tiny mouse stealing cookies
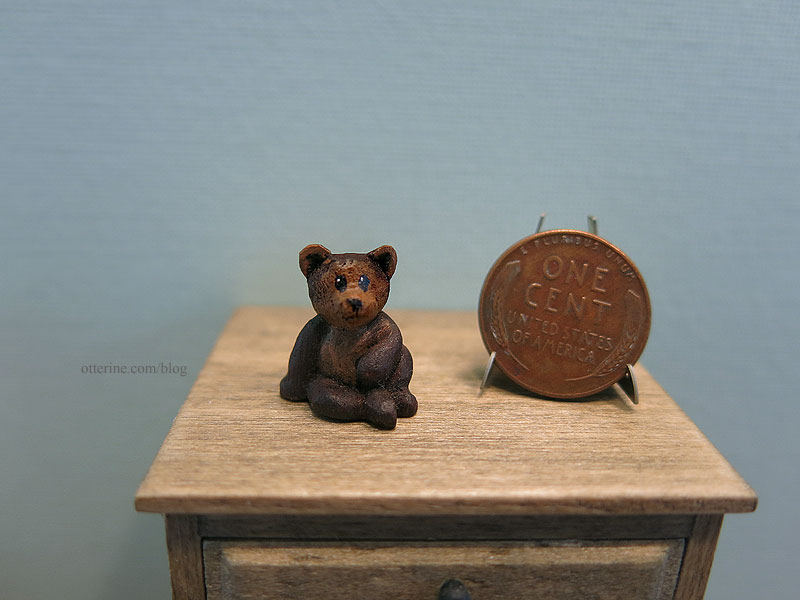
Miracle Chicken – carved wood bear
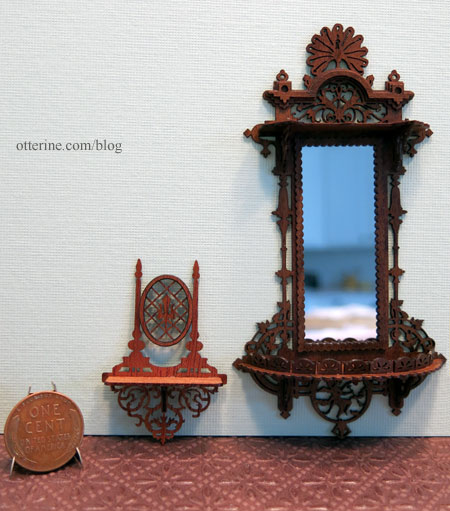
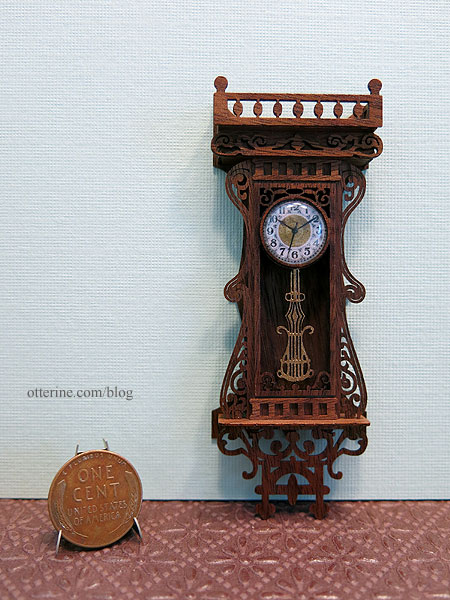
D-Tales Miniatures – wall shelves and clock
Categories: Miniature Shows and Shops
April 27, 2018 | 0 comments
NOTE: All content on otterine.com is copyrighted and may not be reproduced in part or in whole. It takes a lot of time and effort to write and photograph for my blog. Please ask permission before reproducing any of my content. Please click for copyright notice and Pinterest use.


