
Milwaukee Dollhouse and Miniature Show – May 2018
I was up in Waukesha, Wisconsin for the Milwaukee Dollhouse and Miniature Show a couple of weeks ago. It was a small show but definitely worth the visit. I recognized a few vendors from the local Chicago shows as well.
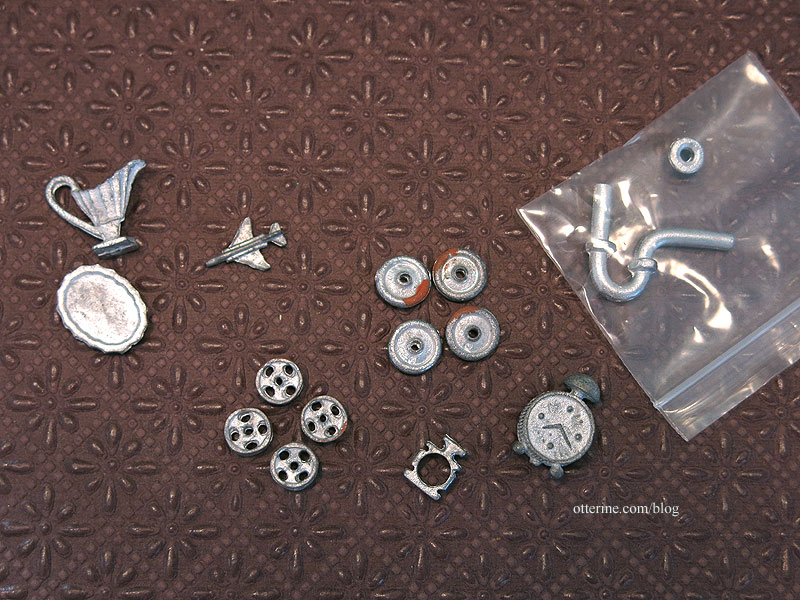
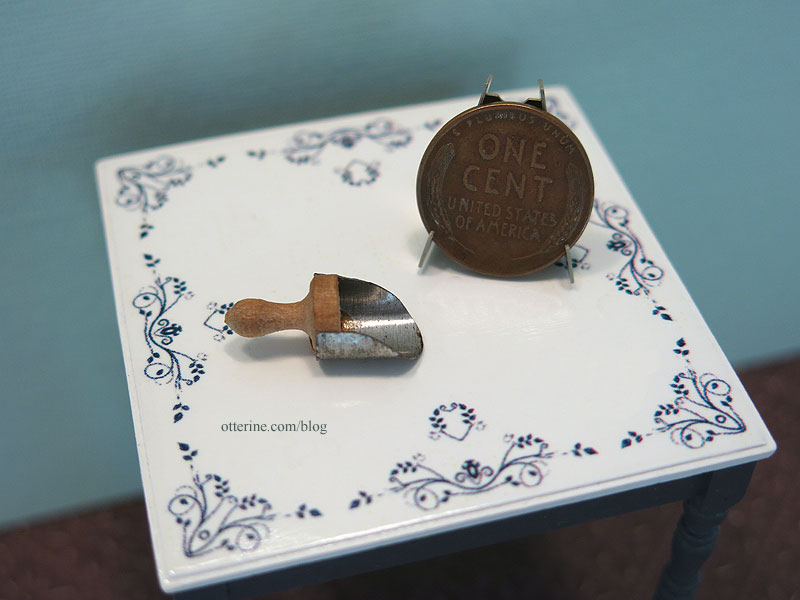
J and K Miniatures – got some bare metal items including wheels I need for the moveable ladder in Watson Mill.
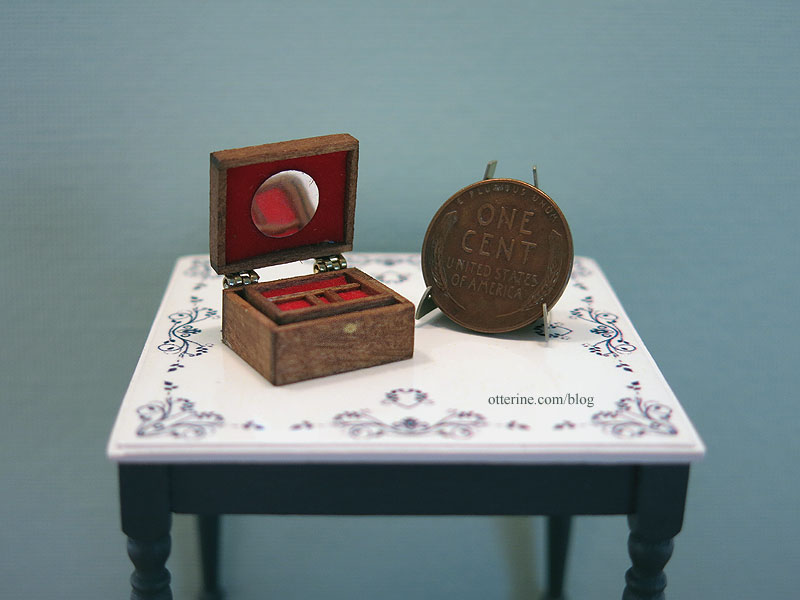
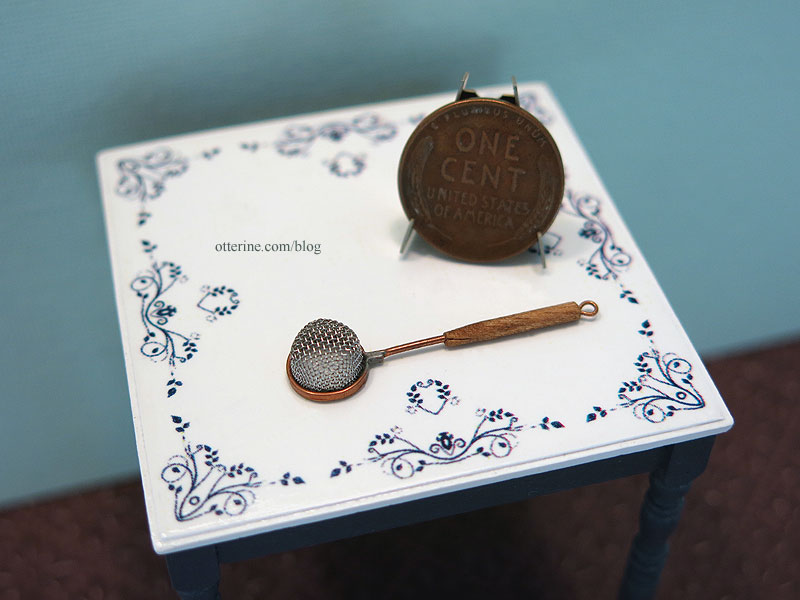
William Cambron Designs – I didn’t buy anything from him at the Chicago shows this year because his table was always so crowded. It was crowded here, too, but I still had some good luck!
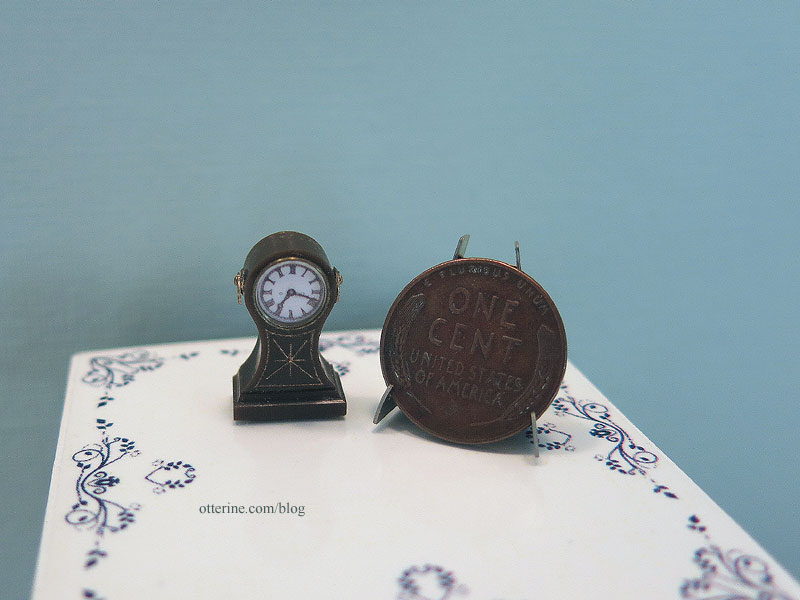
Cecelia – lovely estate items. None had maker’s marks and I’m not sure who made them, but they are wonderful items.
Categories: Miniature Shows and Shops
June 3, 2018 | 0 commentsMiss Lydia Pickett Cottage Clock – part 7
Completing work on the Miss Lydia Pickett Cottage Clock in 1:12 scale by Robin Betterley’s Miniatures.
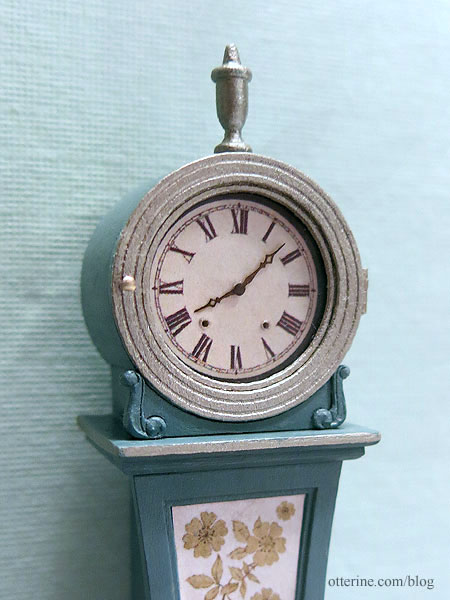
A dear blog reader suggested the face didn’t look right, and I thought it was just me who felt that way – or because the hands weren’t on yet. So, I decided to print two more versions with smaller dials. You’ll see this revised face for the rest of the build. Instead of digging out the pasted face, I just added another cardstock circle to bring it forward a bit more and pasted the new face over the top. I applied a thin layer of Delta Ceramcoat Satin Varnish as a sealer for the paper face and previously applied artwork adapted from The Graphics Fairy.
The hands are Susanne Russo brasses, a lovely find of new old stock at a local show. The package indicates the color is black, but they are brass. One side was tarnished, so I used that for my clock.

I drilled winding holes as accents, lining them with a bit of paint. I added tiny bits of black wire at the top and bottom to allow the acrylic to float over the hands.

I cut the middle face trim to accommodate an additional 3/16″ hinge.

There’s a small nail for the knob. I dabbed these with Taupe Metallic by Folk Art to match the other detailing. Since the hinges don’t function, the paint won’t matter. Now it looks like you can open the glass to wind the clock.
The acrylic that came with the kit had an imperfection that was large enough to bother me. Instead of digging out the Cricut, I managed to cut a new insert by hand. :D

I added a small keyhole from a Classics door knob set and fashioned a key from a laser cut brass hook from The Ironworks.

This is one of my favorite details. :D

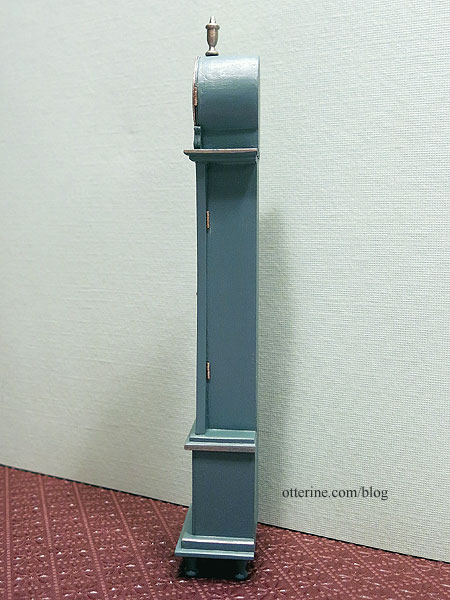
Here you can see the door hinges on the body.
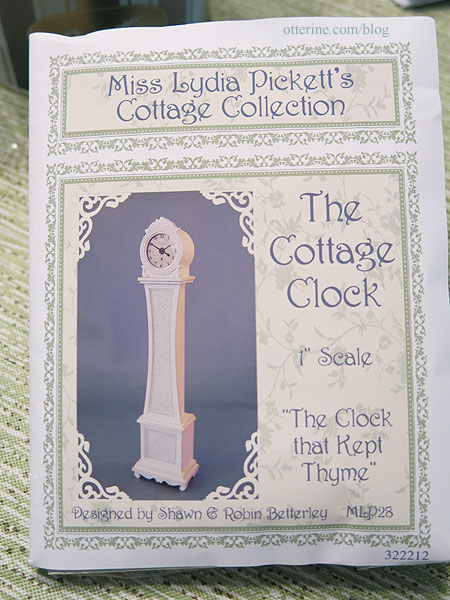
Here’s a reminder of what the kit photo suggested for finishing.
And, here is my finished version. :]
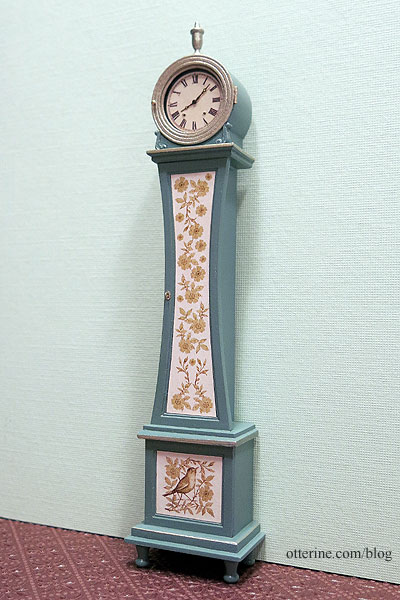
I had a lot of fun with this kit and wish they were still available.

Categories: Half Clocked
May 23, 2018 | 0 commentsMiss Lydia Pickett Cottage Clock – part 6
Continuing work on the Miss Lydia Pickett Cottage Clock in 1:12 scale by Robin Betterley’s Miniatures.
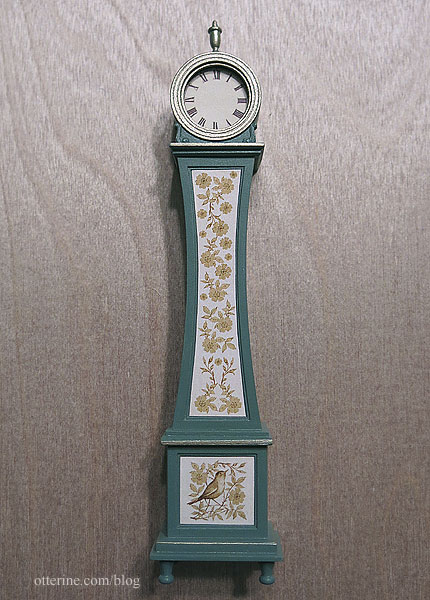
After sanding down the gesso primer coat, I painted the clock Greenscape by Folk Art and finished with Delta Ceramcoat Satin Varnish. The artwork for the body and base is from The Graphics Fairy. I used the image as is for the base but then used elements from the original to create a design for the body in PhotoShop.
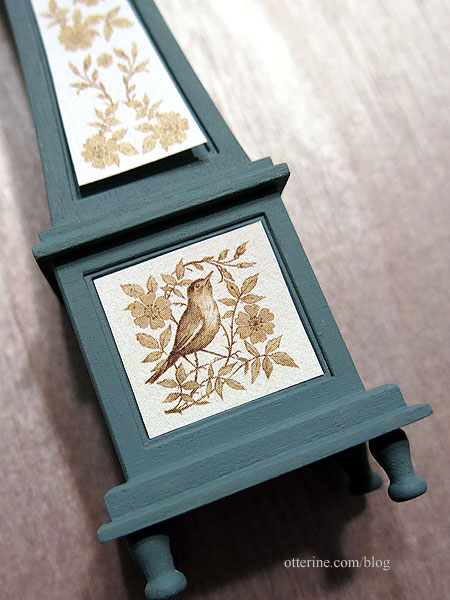
I printed on paper and then cut the pieces to fit. The inserts were later glued in place using Mini Graphics Wallpaper Mucilage. As you can see, the clock face pendant no longer worked since it was darker than the artwork and seemed to be lost.
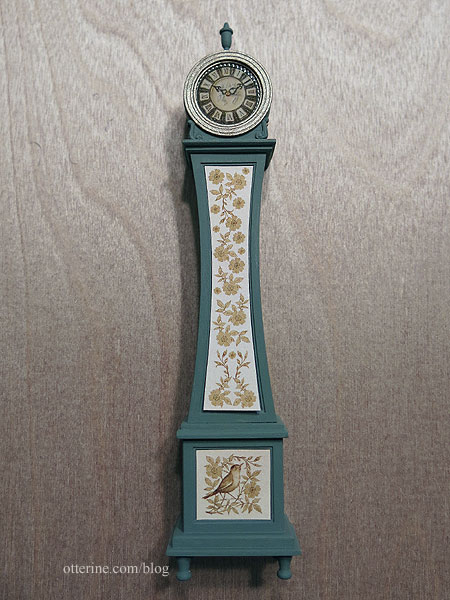
I printed a regular clock dial in a similar color to the body art as a replacement. Much better.
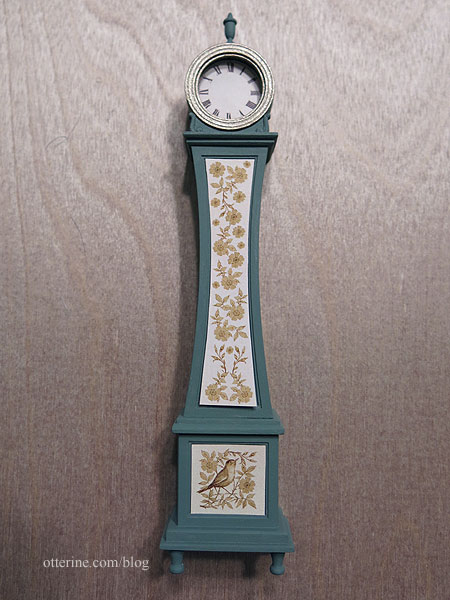
I painted the clock face trims and the finial Taupe Metallic by Folk Art. I painted some accents in the same color on the body and base.
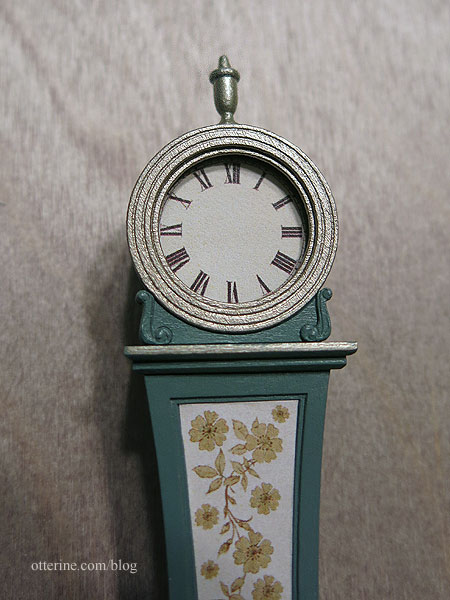
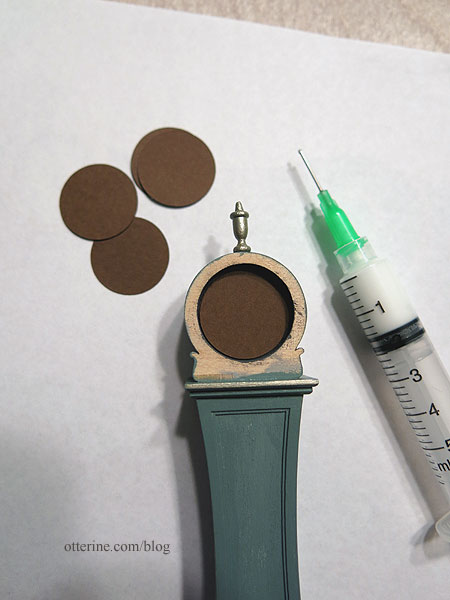
I used the Cricut to cut cardstock circles to fill in the upper hole. I glued these in place with tacky glue before gluing the clock face with Mini Graphics Wallpaper Mucilage.
The final steps include adding the hands, the glass insert and other small details that are too much for tonight. :D Back soon…
Categories: Half Clocked
May 22, 2018 | 0 commentsMiss Lydia Pickett Cottage Clock – part 5
Continuing work on the Miss Lydia Pickett Cottage Clock in 1:12 scale by Robin Betterley’s Miniatures.
I primed the main body, finial and feet with gesso. This helped me to see any flaws that needed to be addressed. I rather like the grey. :]
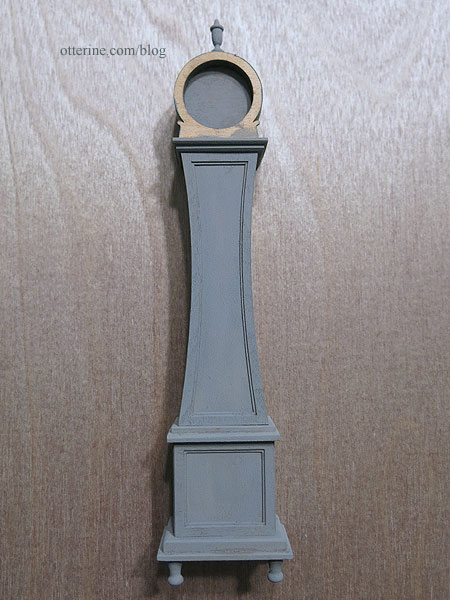
I glued the scroll pieces to the main face trim, leaving the final circle trim unattached. In order to give the scrolls more depth, I built them up with dabs of Golden Molding Paste.
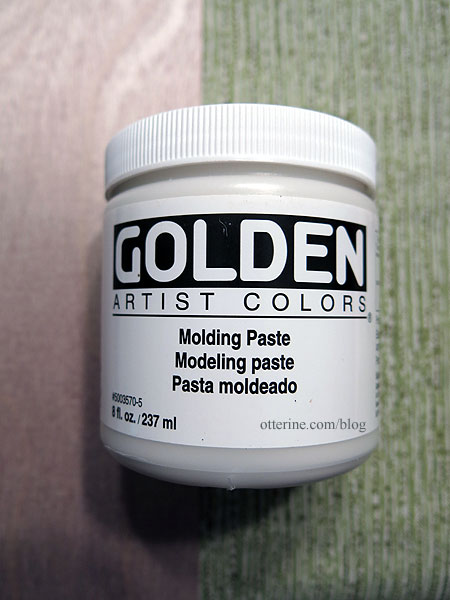
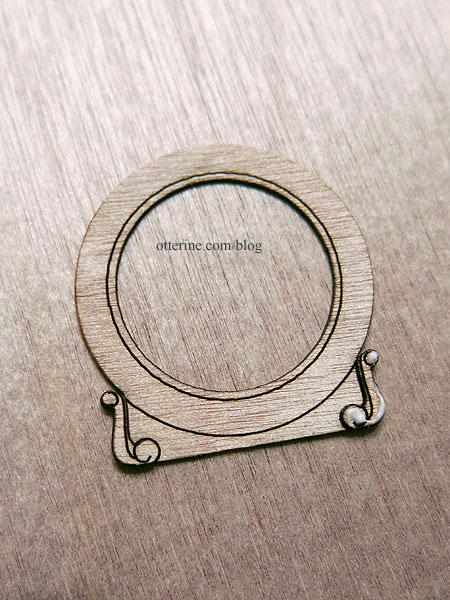
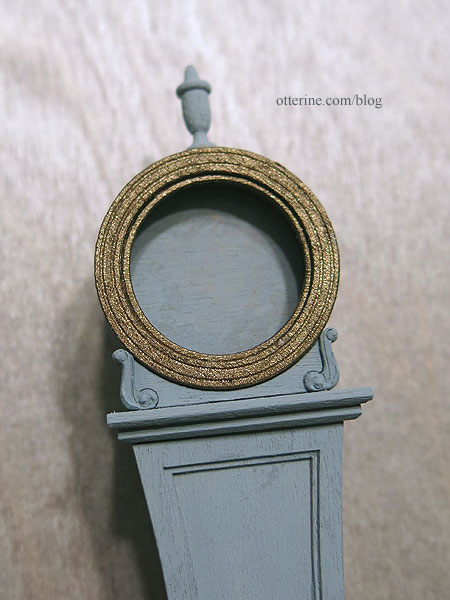
Once primed, they look more dimensional. I’ve painted an initial coat of Liquitex Iridescent Bronze to the circle trims. This will all get some fine-tuning, but it’s a good start.
I applied spackling with a toothpick and smoothed it into gaps and partially exposed mortises.
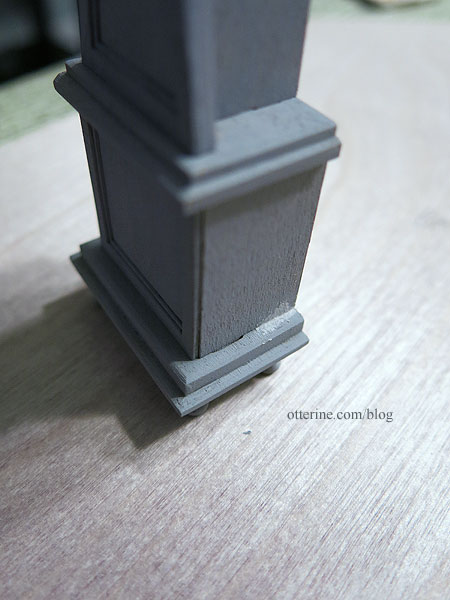
The spackling smooths the edges where multiple layers are joined as well, like the sides of the curved front.
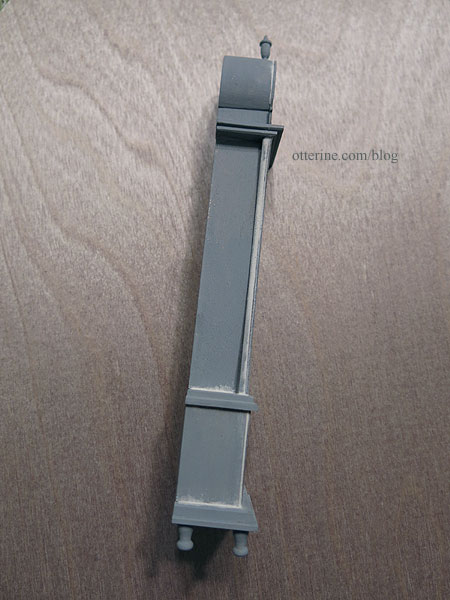
Next up, painting and artwork. :]
Categories: Half Clocked
May 16, 2018 | 0 commentsMiss Lydia Pickett Cottage Clock – part 4
Continuing work on the Miss Lydia Pickett Cottage Clock in 1:12 scale by Robin Betterley’s Miniatures.
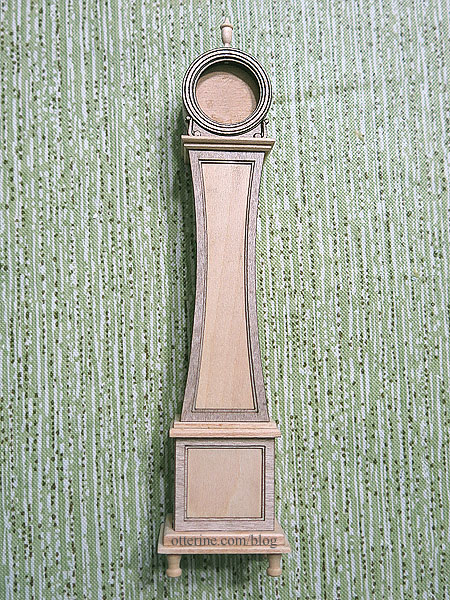
The top has been sanded smooth. I didn’t do the best job keeping the bottom portion straight, but there is trim to cover it. :]
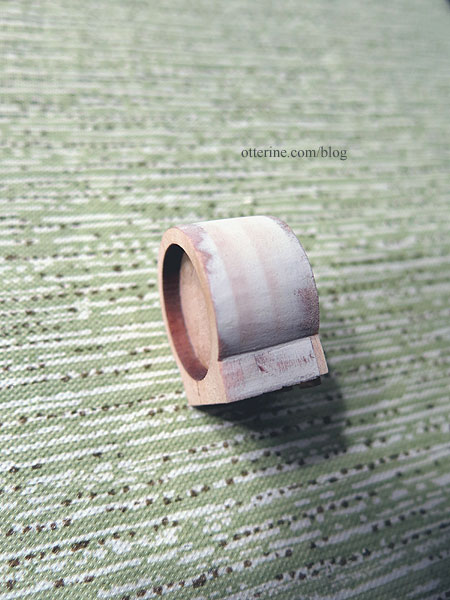
I cut the first layer of trim to a rounded top to match but left the small scrolls on the sides. I could not have left those on the original front piece since I glued it second in line. I think it will still work as delicate detailing since there are two more layers to build it up. You are to leave the clock face trims off until final assembly since they hold the clock face in place. That worked anyway since I want to paint it a different color from the body. I later cut the top scroll on this piece as well.
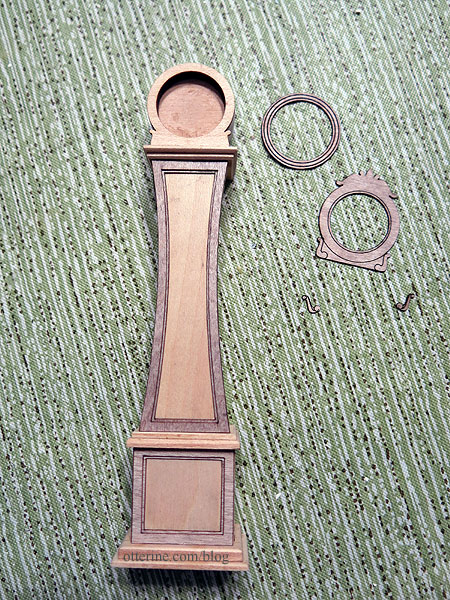
I love the round top, but it is missing something without the scrollwork there. A modified Houseworks finial on top finishes it off perfectly. I drilled a hole to keep it in place but won’t glue it until the end since it’s easier to sand separately (and in case I break it and have to make another). Here the clock face trims are just set in place without glue.
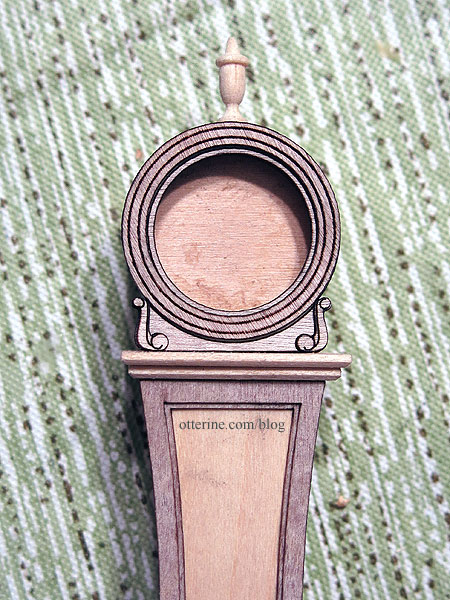
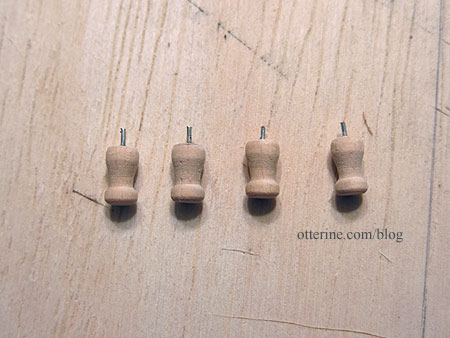
I added pins for the bun feet, leaving these unglued until the end as well.
So far, it’s turning out as I hoped. :D I have some art in mind for the body and base, though the original kit art is still an option. Now I have to visit the craft store to find that perfect shade of dusty teal.
Categories: Half Clocked
May 14, 2018 | 0 comments
NOTE: All content on otterine.com is copyrighted and may not be reproduced in part or in whole. It takes a lot of time and effort to write and photograph for my blog. Please ask permission before reproducing any of my content. Please click for copyright notice and Pinterest use.


