

Paint Nite, in miniature, of course
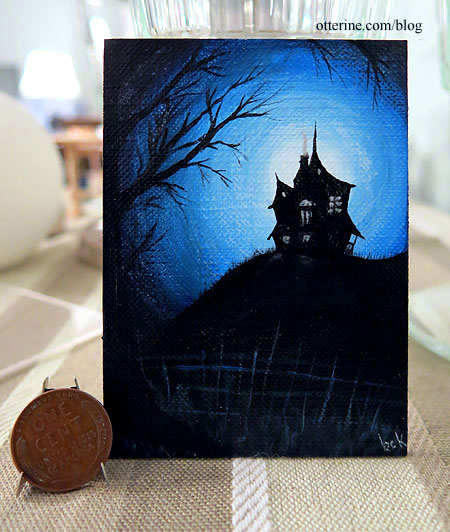
A friend invited me to a Paint Nite event at a local restaurant. From the link here, you can see the Halloween themed painting the artist and host Sarah Benkin would be teaching. I had never been to one of these, but painting a haunted house and having a cocktail sounded like a lovely way to spend a school night.
Of course, I brought three mini sized canvases instead of using the provided canvas. The mini canvases were made using textured note cards glued to mat board with spray adhesive and then coated with white acrylic. I taped the three mini canvases to a scrap of plywood to have something to use as an easel. I’m ready to paint, with a Scotch chaser.
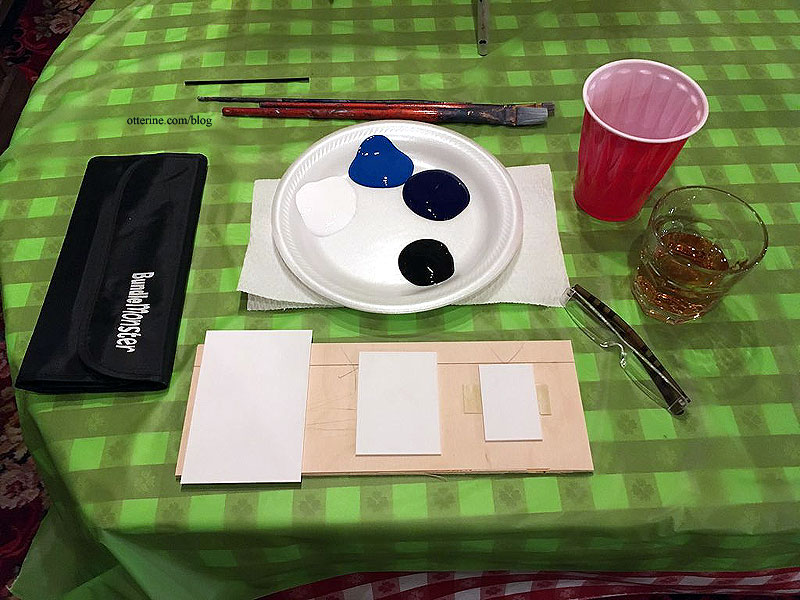
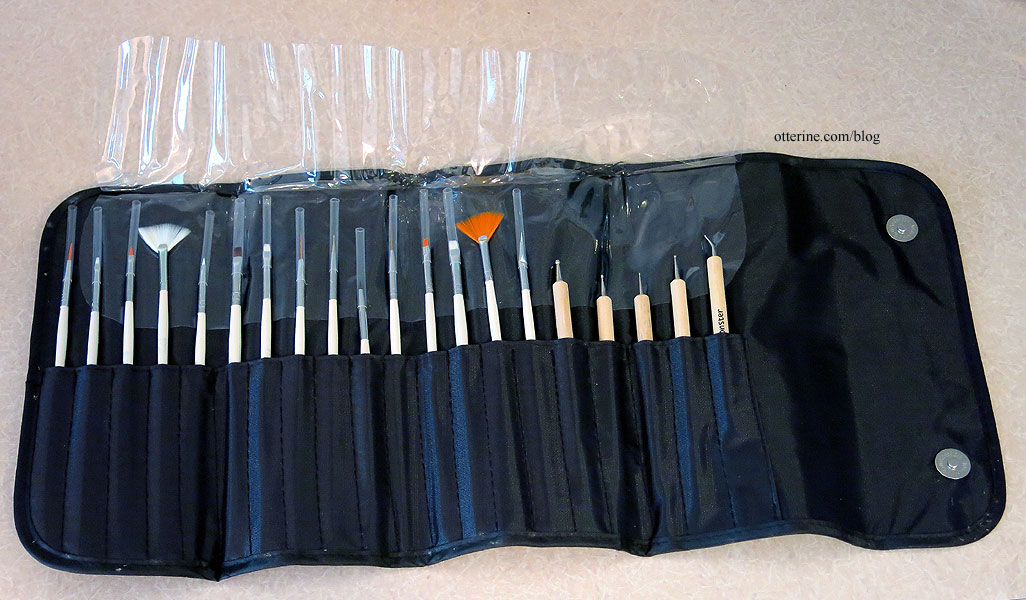
A couple of years ago, April sent me a fabulous set of brushes and clay tools called a Bundle Monster that were invaluable.
I supplemented with a couple of other brushes just in case (not shown here).
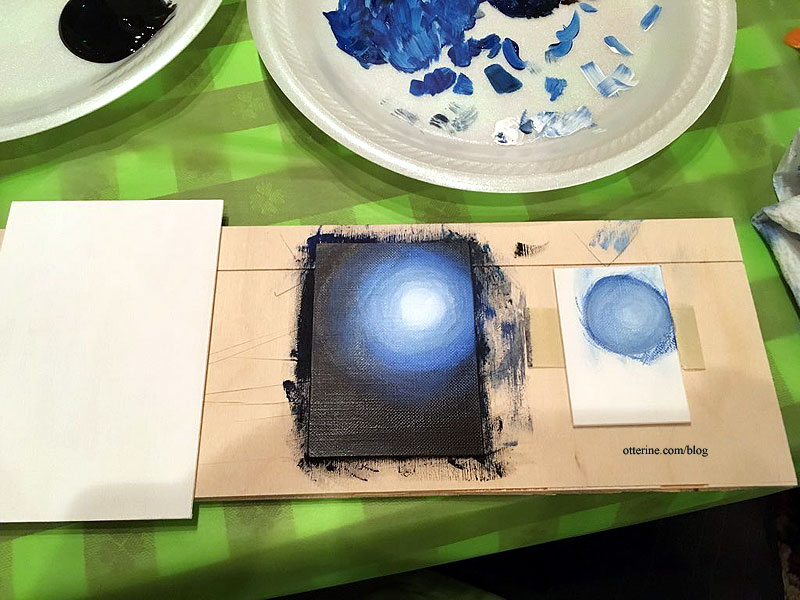
I attempted the smallest of the three canvases first, but I had a hard time making circular motions that small. My moon was a messy, light blue oval, so I scrapped that and moved on to the medium one. Much better.
The instructor was a lot of fun, and there was a good group of ladies at the event. Many used other colors for their moons. It was so interesting to see all the different works starting from the same image.
I skipped the cats in my painting and made the fence and grass more moonlit. I thought bright white images would detract from the house in my small scale. I had a lot of fun and could see myself packing mini canvases and attending more of these in the future.
Categories: Art and paintings
October 17, 2018 | 0 commentsRX-7 in half scale – miscellaneous detailing
Continuing work on the RX-7 in half scale. When trying out new techniques, it’s nice to have spare parts to use so you don’t risk ruining the final parts. It doesn’t guarantee that you won’t mess up the final parts, unfortunately. But, it gives you practice that is invaluable.
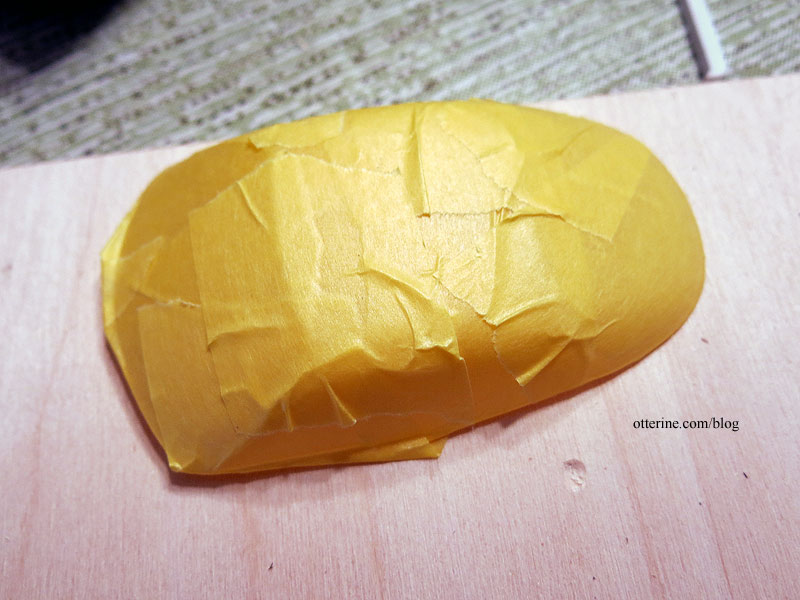
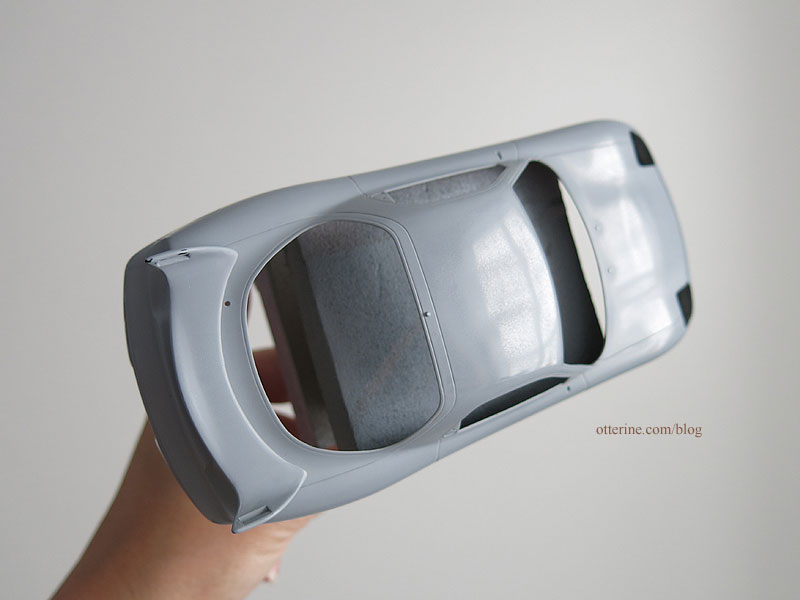
Many cars have black edge detailing around the windows, and to paint those, you need to make a mask of the area. I use the process detailed in this video (starting at 1:10). I’m using Frog tape and painted with flat black spray paint instead of hand painting with bottled paint. Bottled paint goes on heavier and can wick under the tape whereas spray paint can be put on in light coats that stay put.
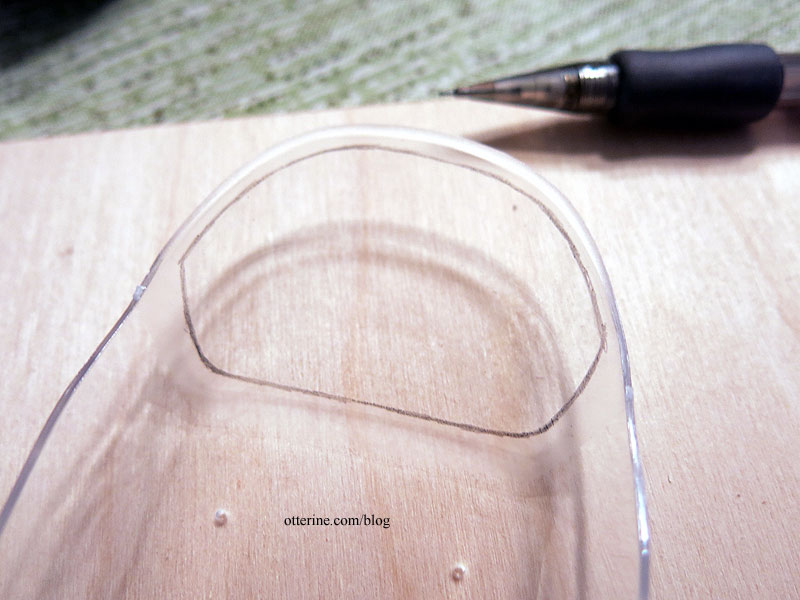
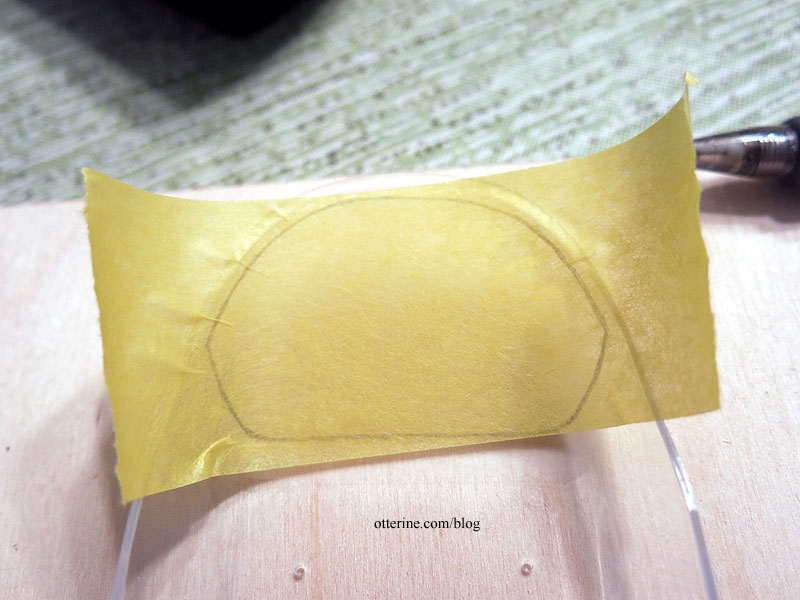
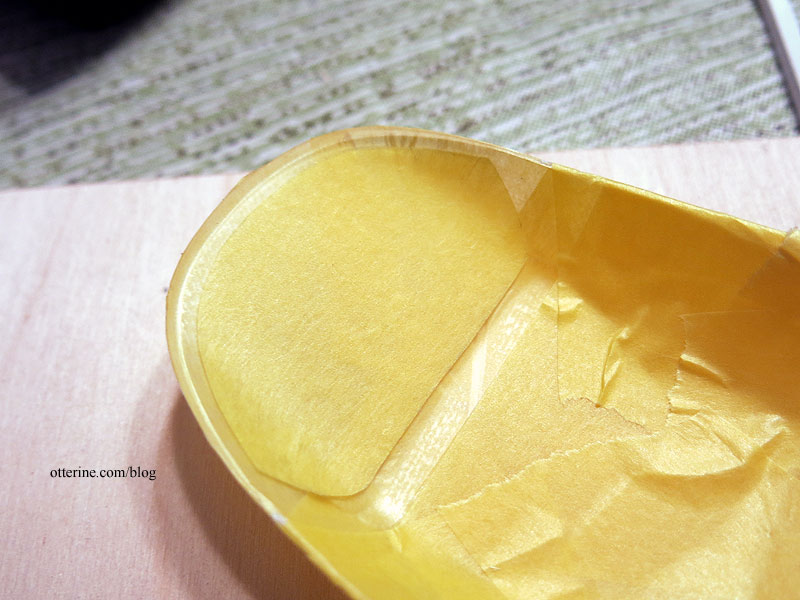
You have to get a good mask on the outside to prevent overspray on the “good” side.
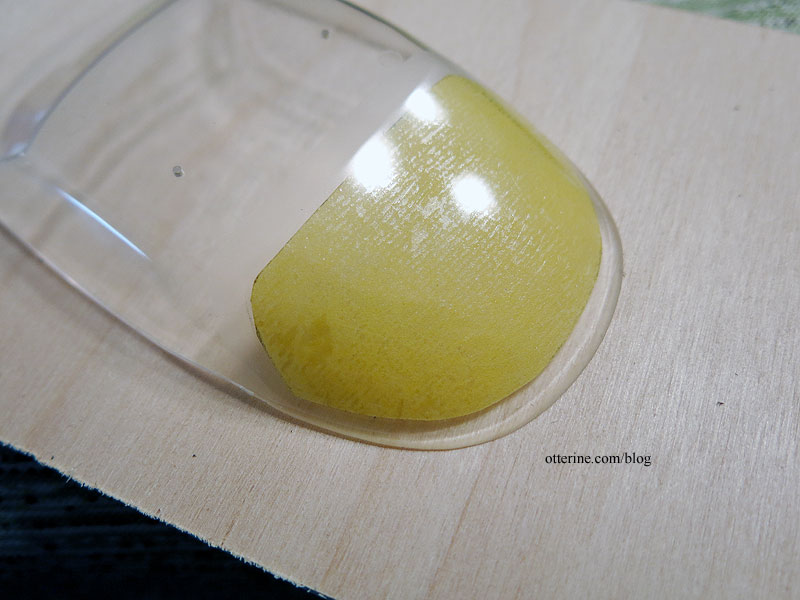
The small exposed area is where I sprayed the paint.
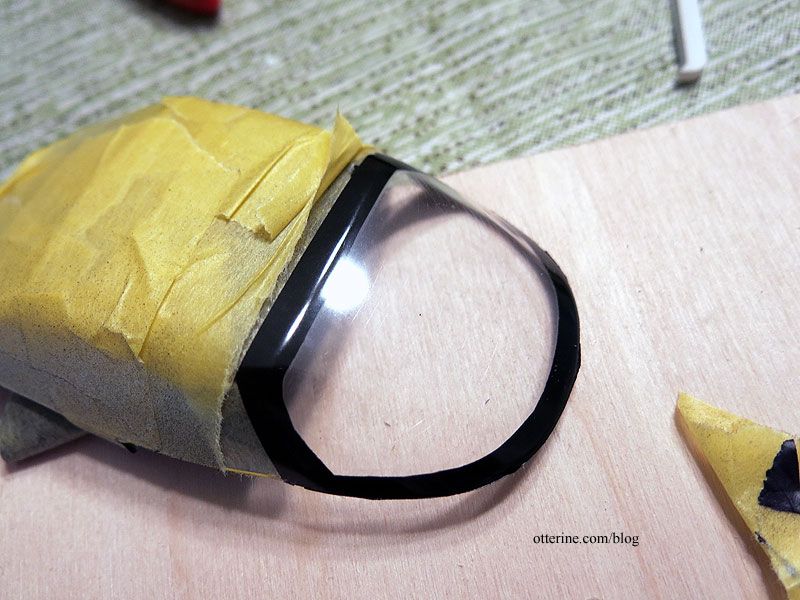
The trial worked well. Let’s hope I can replicate the results on the final piece.
I wanted to try tinting the windows as well. I used Tamiya Smoke.
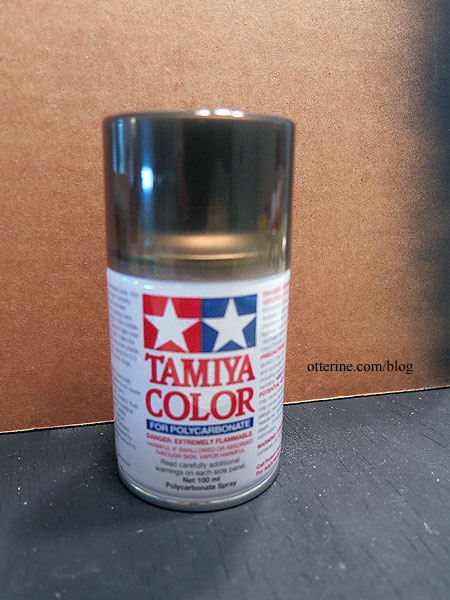
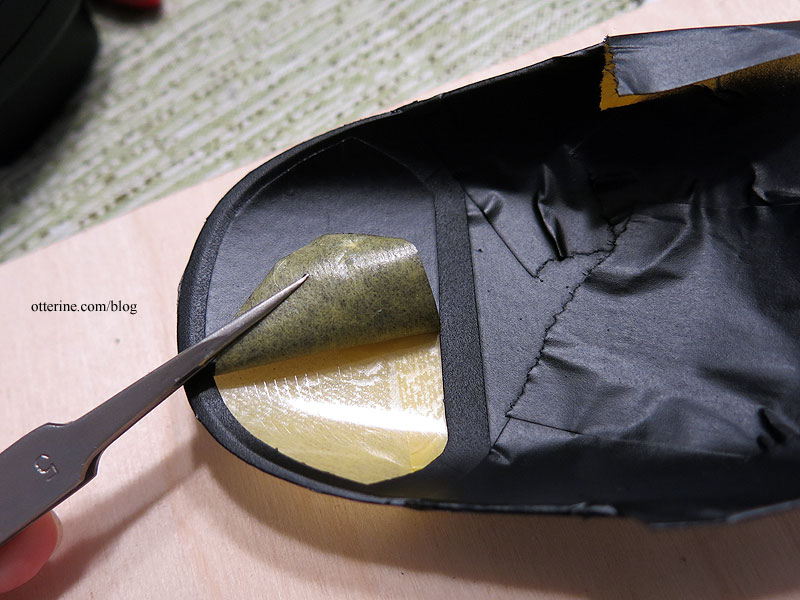
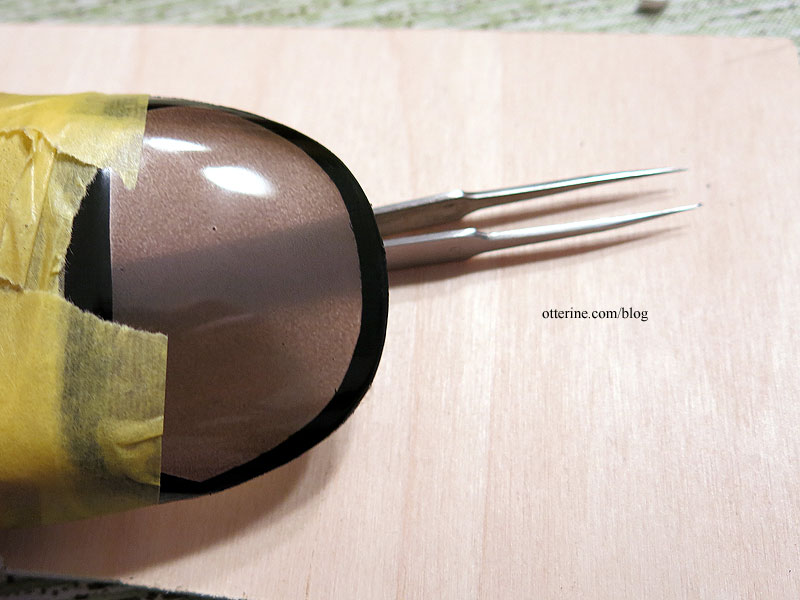
This paint needs to put on sparingly and from a distance on the underside of the window (again you mask the outside to protect the surface). You build up the layers to get the level of tint you want while the outside stays glossy like glass. While the effect is nice, I think it will block too much of the interior detailing. You can’t easily discern the tweezers through the tint in the photo below.
This will be a great resource for dirty windows on other projects, though. :] I usually just use overspray, but this was easier to control.
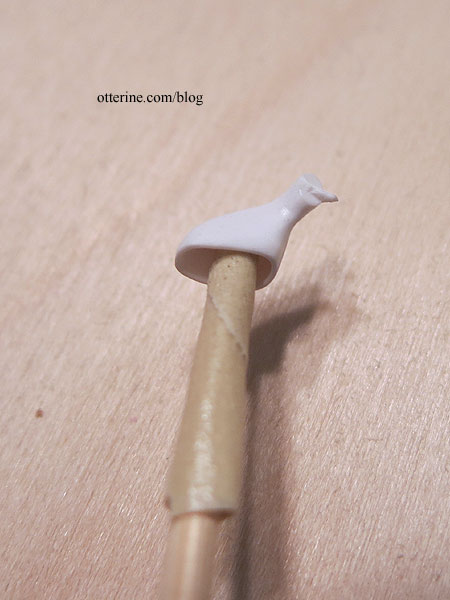
The side mirrors are molded separately from the body, which makes it easier to get a good finish, but there are mold lines and sprue connections that need to be cleaned before painting.
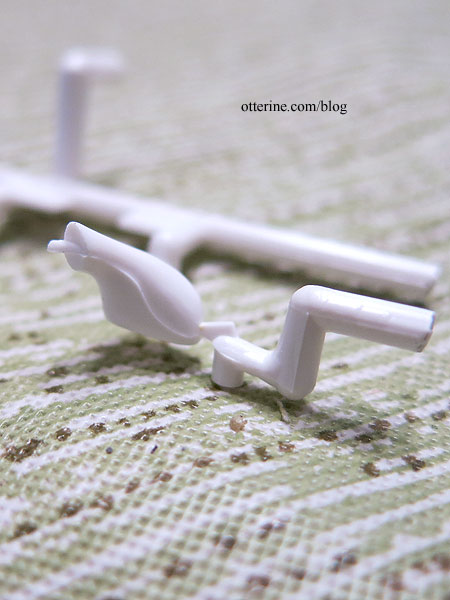
That also makes it difficult to paint since you have to hold the parts somehow while painting. Here is one mirror after removing the lines and nubs.
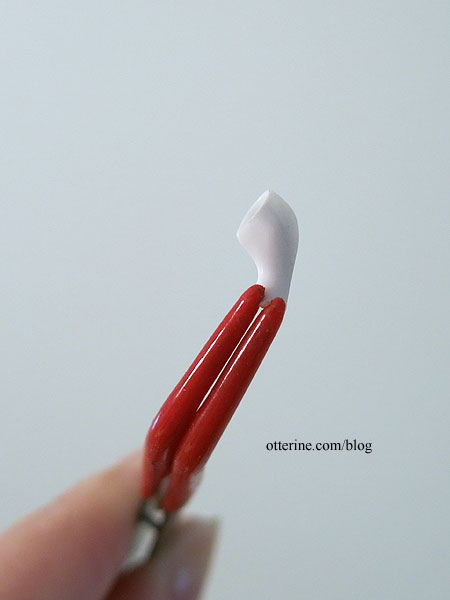
I put tape on the end of a bamboo skewer to hold each mirror. Since there will be a simulated mirror in each one, it’s okay to not paint the interiors.
The spoiler top was also problematic in finishing since there is no way to hold it while painting. Well, you can hold it, but putting it down while it dries is the main issue. I masked a clamp and held the part by the ends where it will be glued to the spoiler base already on the car. It was the easiest way to hold the part without ruining the clamp in the process.
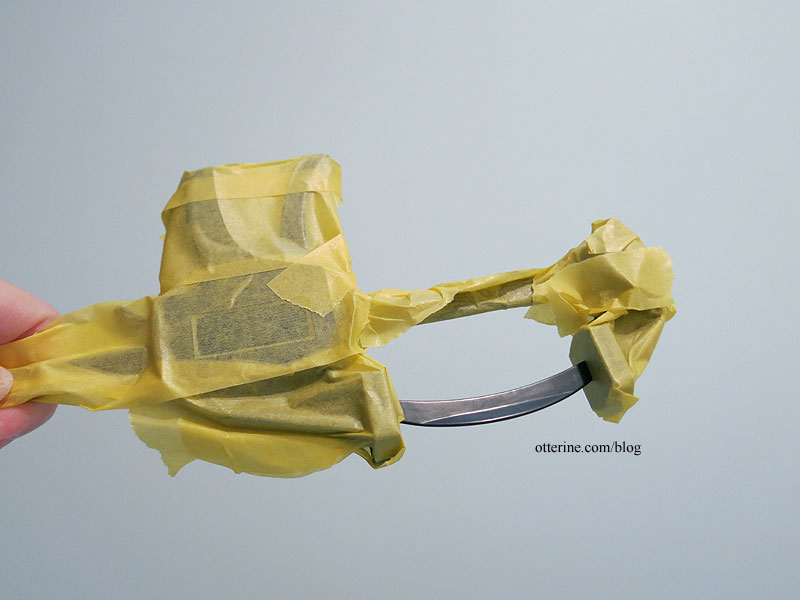
Bits and pieces get the job done….
Categories: Model Cars, Vehicles
October 14, 2018 | 0 commentsRX-7 in half scale – body paint
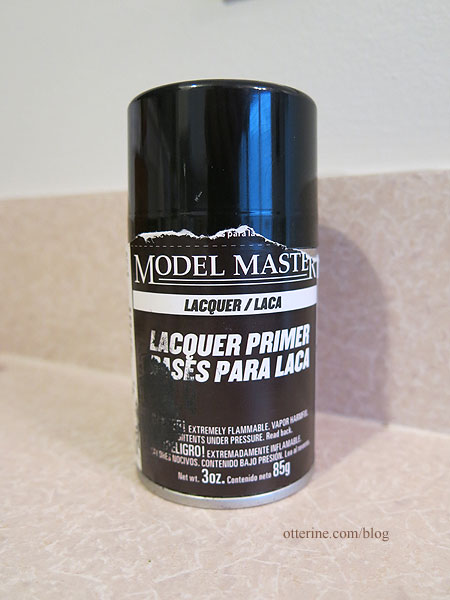
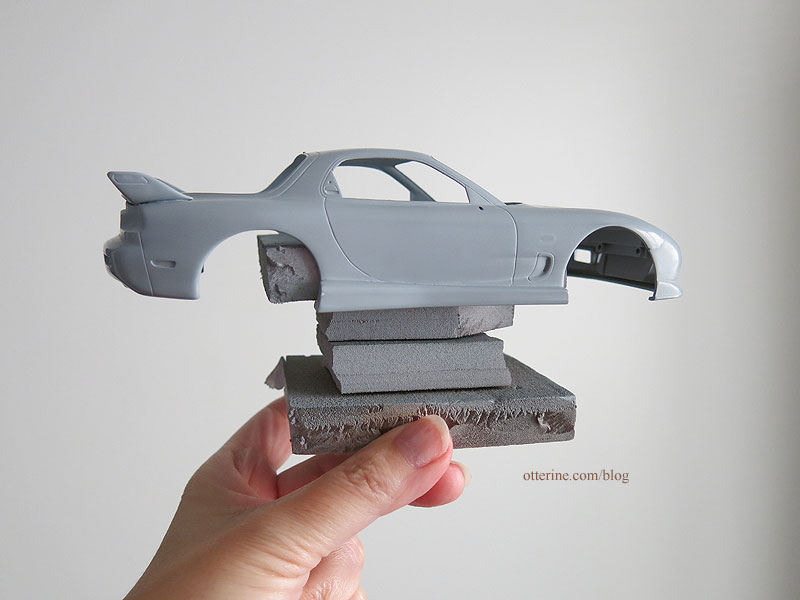
Continuing work on the RX-7 in half scale. For the base coat, I’ve used Model Master Gray Sandable Lacquer Primer Spray (yeah, that’s a mouthful). :D
I then wet-sanded using the Micro-Mesh Sanding Sheets in 4000, 6000, 8000 and 12,000 to get as smooth a surface as possible.
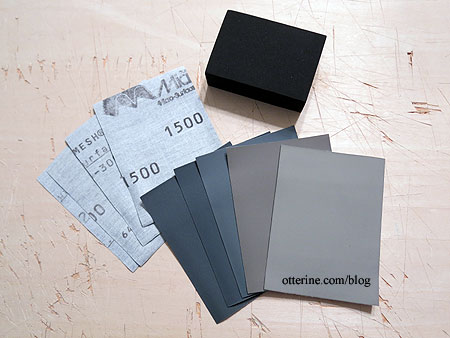
The better the primed surface, the better the top coat. You can see the sheen in the reflection.
My makeshift holder is made from scraps of builders foam.
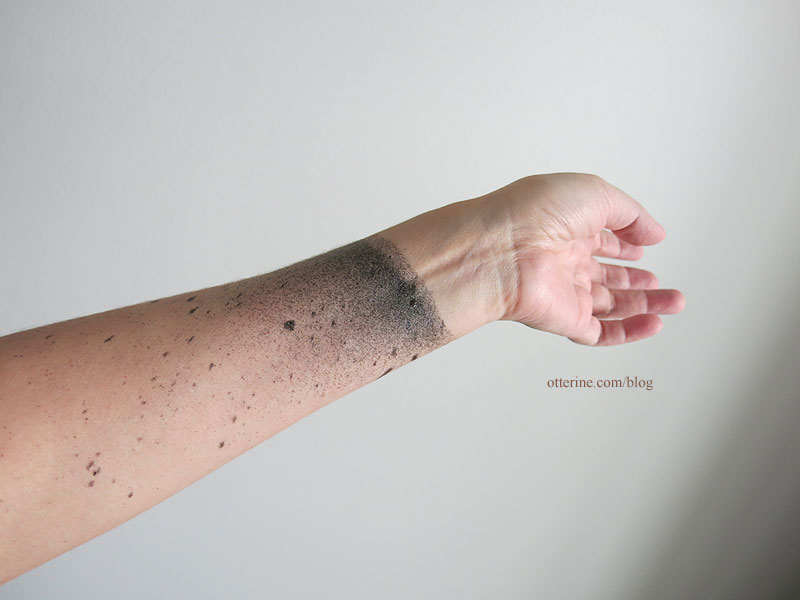
My new tattoo. Looks like I need a longer glove when spray painting. :D
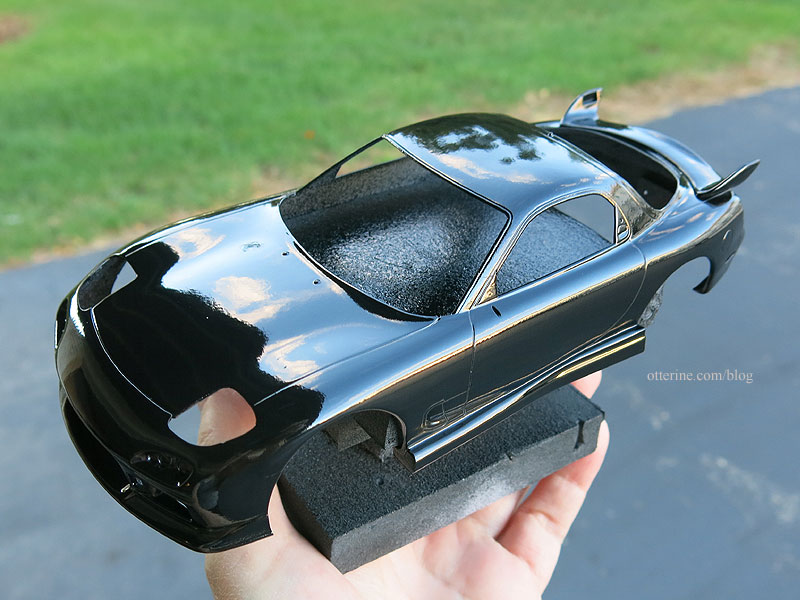
The paint is 95% perfect, which is about the best you can hope for most of the time. Woot! Once it has set, I’ll see if I want to attempt to buff out the few dust particles that invariably get caught in the finish. Sometimes messing with it makes it worse. So far, so good, though. :] The side skirts and new wing look pretty seamless now, which is what I had hoped.
Categories: Model Cars, Vehicles
October 4, 2018 | 0 commentsHalf Clocked – insert wall, part 2
Here is how the insert wall looked when I left it last. I’m planning to modify the trim one more time, which I’ll get to later….

With the side and porch walls glued in place, I could continue on the insert wall. First, I traced the outer portion onto drawing paper to have a good wallpaper template.

No dollhouse is square no matter how hard you try (regular houses aren’t either, for that matter) and my hand cut wall is not precise by any means. To that end, the outer portion of the insert wall is snug in one place and loose in another. It’s also not tall enough on one side, but that’s the beauty of wallpaper covering! To make gluing the outer portion more stable, I added strip wood guides on the side that will not be seen.

The planned trim around the inner portion will keep it from falling into the open space in front, but I still added some wood stops for good measure.

I primed both parts and tested the fit with the door, which will serve as the handle to remove the inner portion. So far, so good. :]

A major/minor setback: I didn’t leave myself enough room behind the removable wall. :\ So, I chiseled out the wall frame. Yeah, it’s as scary as it sounds.

I didn’t have the wallpaper glued in, which was why I opted for demolition. The other solution would have been to make the front wall removable, which I thought was much harder to do with the brick bottom and planned landscaping. It came out relatively easily without damage. I had to cut away the flooring as well…also scary.

I put the wall back in and stabilized it. I didn’t bother removing the first stabilizing columns; I just glued in additional ones.

Like it never happened. Whew. The lesson here is don’t panic! Go ahead and swear, but don’t panic. :D

The insert fits a little tighter than it did before, but I’ll take it. Just need to shave a bit off the top. :]
Categories: Half Clocked
October 3, 2018 | 0 commentsRX-7 in half scale – interior
Continuing work on the RX-7 in half scale. The interior is fairly straightforward, just tedious and time-consuming. The C-West kit comes with both left- and right-hand driver dashboards, which is fun. However, the seats are lacking. The Tamiya kit has seats that are molded as one piece – much cleaner than trying to get fronts and backs to match seamlessly. So, I swapped out the seats.

Decal placement takes a steady hand and some patience, though there is one thing the instructions don’t mention. Each one has a halo around the actual image that should be removed as close as possible. This is especially important for fitting into depressions made for the decals, such as the dashboard.

If you don’t remove the halos, the decals will simply not fit the spaces. Those three on the left are super tiny.

I glued the various interior pieces…

…and glued the bucket to the chassis. :D

Categories: Model Cars, Vehicles
September 28, 2018 | 0 comments


NOTE: All content on otterine.com is copyrighted and may not be reproduced in part or in whole. It takes a lot of time and effort to write and photograph for my blog. Please ask permission before reproducing any of my content. Please click for copyright notice and Pinterest use.


