
Half scale is nutters!
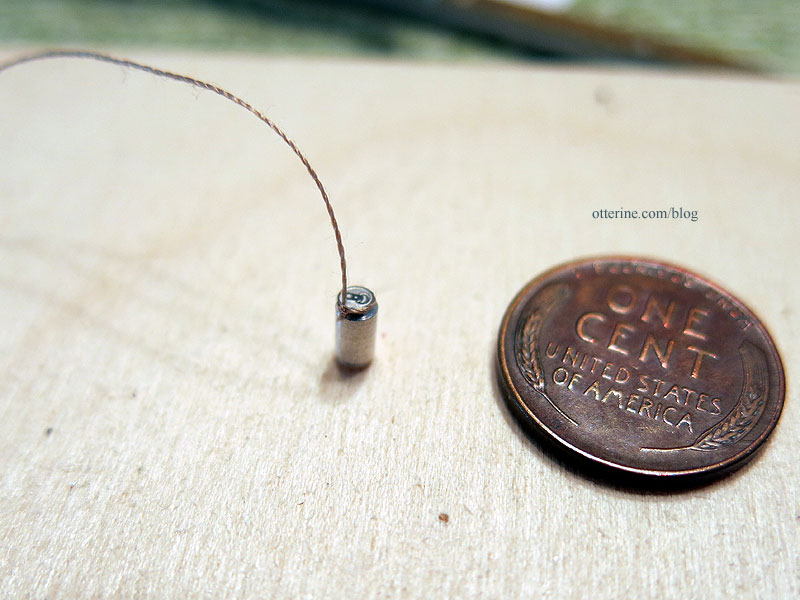
Continuing work on the RX-7 in half scale. I am making tiny half scale soda cans. Why? We’ll get to that.
This is a kit from Mr. Model in Brazil.
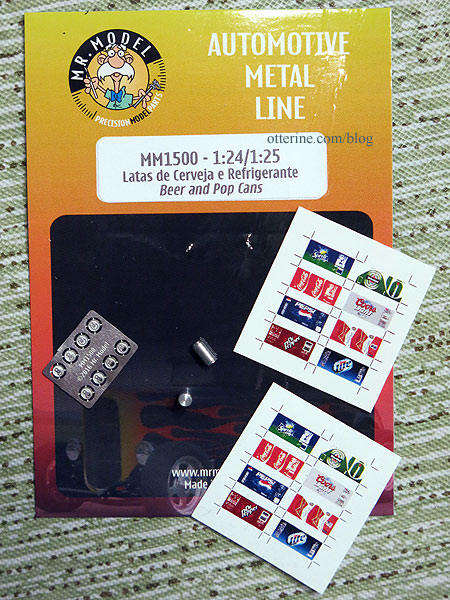
It comes with four turned metal cans, photo etched tops (open and closed) and labels for beer and soda (clear and white decals).
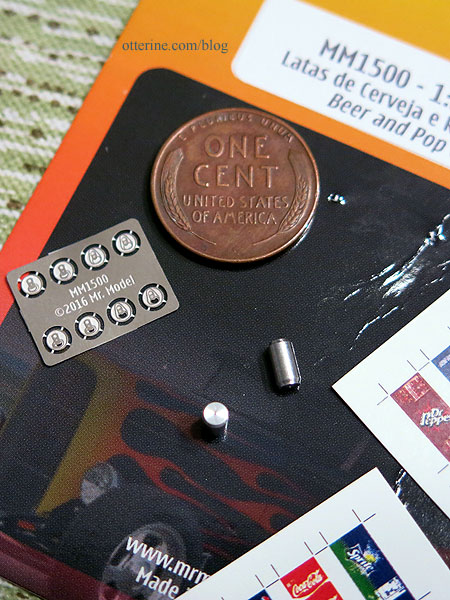
I had to use my 4X magnifying readers and even still I was cross-eyed. I am ever in awe of those who can work so small.
I had considered making them with the open tops since empty cans make more sense for my purpose, but drilling was not easy for lack of being able to hold the can well and I didn’t want to risk the glue not taking if I painted under the opening. Good luck telling the difference with the naked eye, anyway!
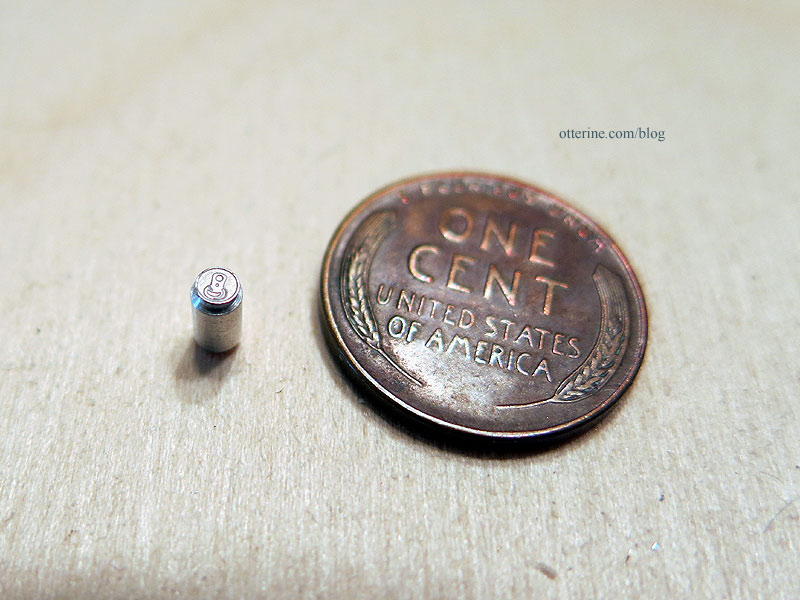
After gluing the top to the can, I needed a hand, but no one was available. So, out came the Cricut tweezers. They are the kind that you squeeze to open, then they close and hold until you release them (or they shoot the mini across the table like a wet watermelon seed).
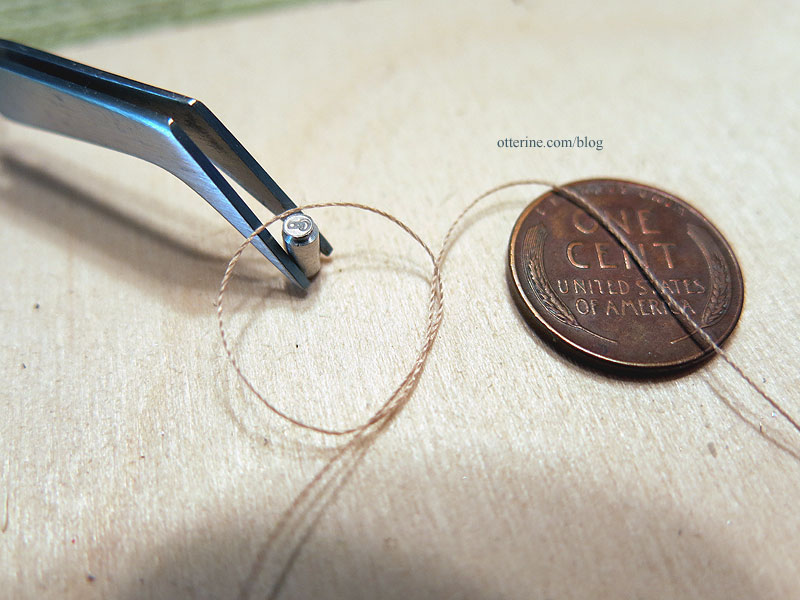
With the thick rope tied around (yeah, that’s plain sewing thread).
Then came the tiny water slide decal that liked my fingers better than the can. :\
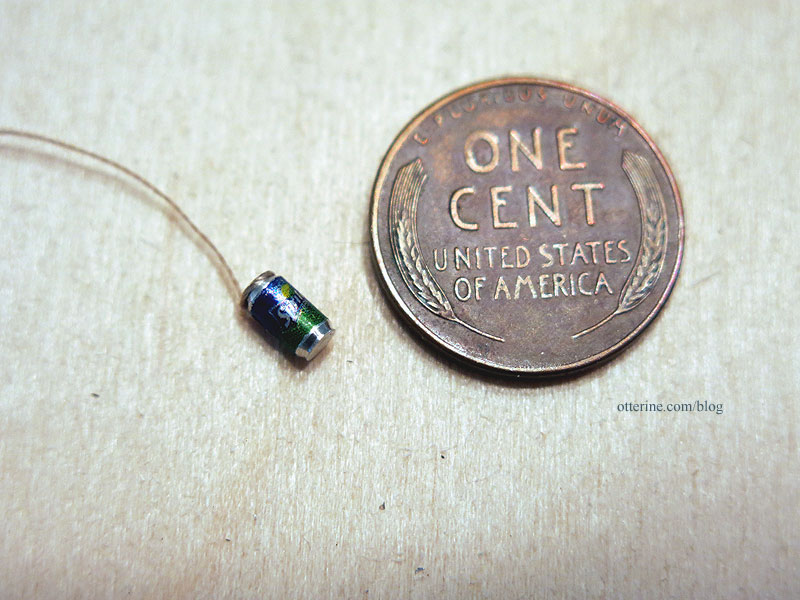
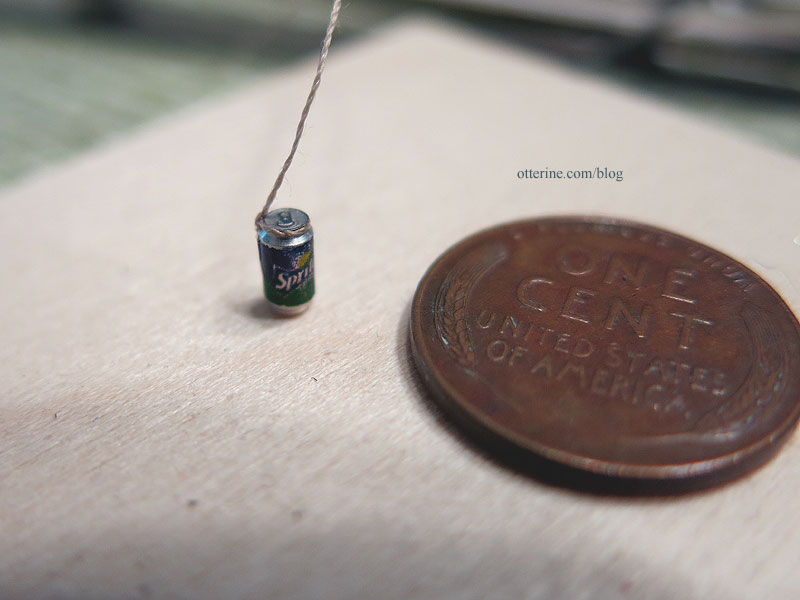
One down, three to go…
Categories: Model Cars, Vehicles
October 25, 2018 | 0 commentsRX-7 in half scale – lights, part 2
Continuing work on the RX-7 in half scale. After letting the paint rest awhile, I decided to tackle the few dust particles on the hood. The second attempt at painting brought the finish from a 95% to a 95%, just different. The hood looked great, but the sides were orange peeled. :\ I let it rest again, then tried a third time. This time, the hood and sides were 98% and the back end was 60%. Oy. Instead of risking the entire car, I masked the back along the panel lines and painted only the damaged portion, just like a real auto. Now the whole thing is a 98%, and I would have to say that’s the best paint job I’ve ever achieved.
Now, when tackling the LED headlights (using 3V pico cool white from Evan Designs), I had to be mindful of where my fingers were on the finish at all times. One slight brush of glue, and it’s all over! I did as much as I could while the lights were separate from the body. First, I drilled holes for the LEDs (headlamps only, not the high beams).
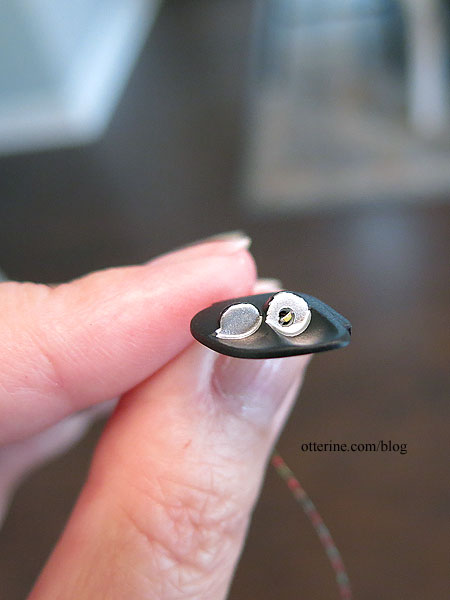
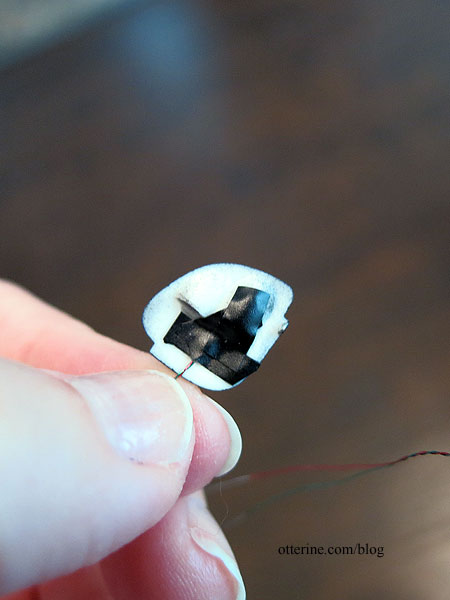
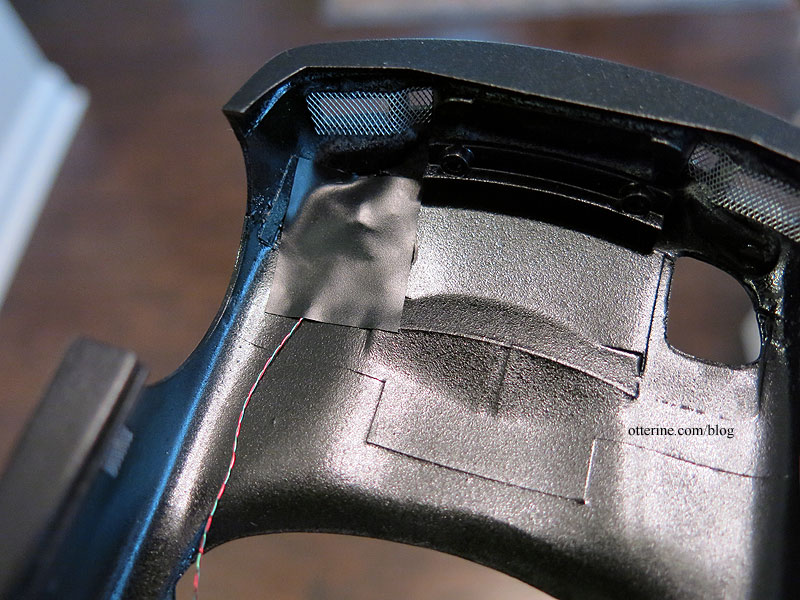
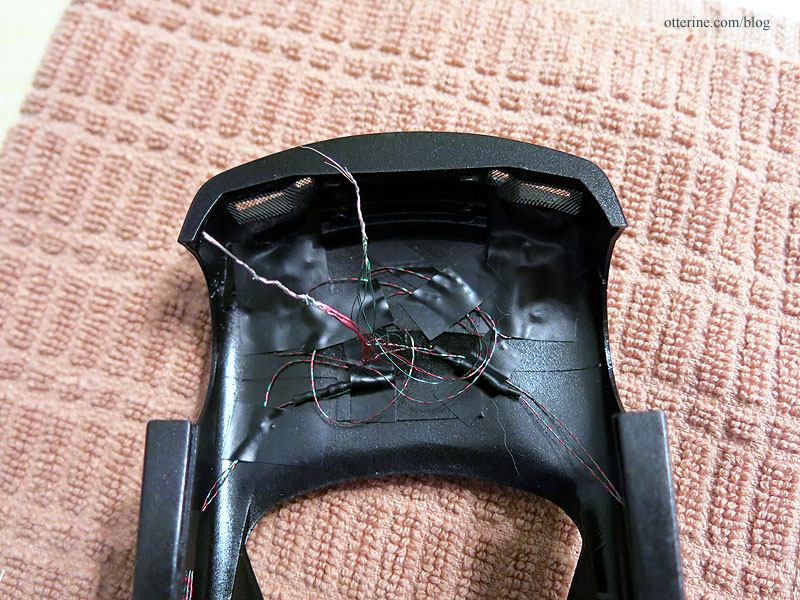
I fed in the LED, then secured it on the back with electrical tape. I don’t want light escaping through any cracks; the light needs to be forward only.
You may recall, I had to cut away the body panels for the inset light customization.
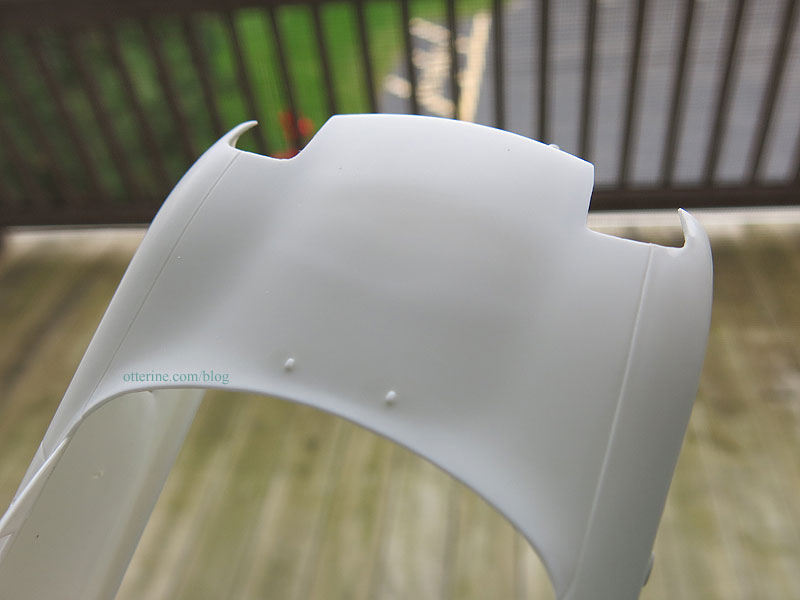
Since the front skirts are a separate piece, you’re going to get only so close in alignment. There were gaps around the piece since it’s not exactly the shape I need on either side.
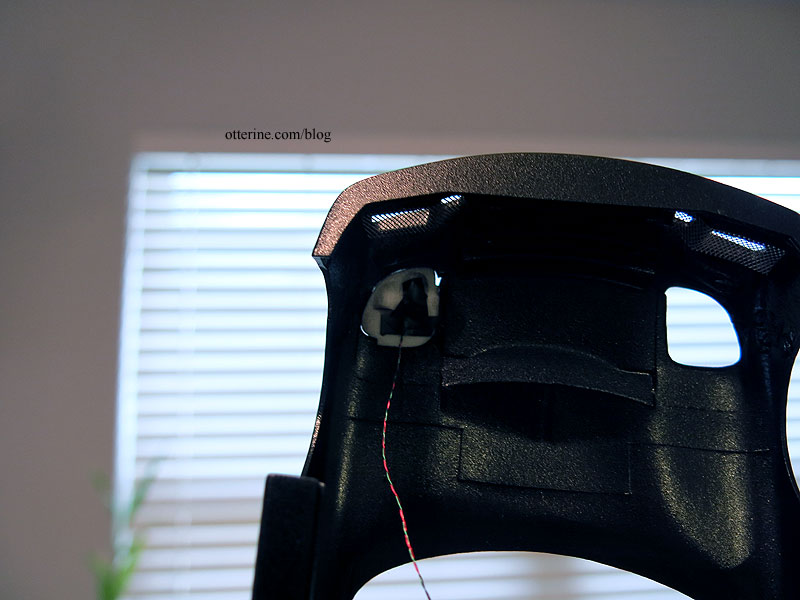
The light assembly is glued into the car, but there are contact points on only two of the four sides. Yeah, that’s glue overrun you see below since you have to work from the back. After everything dried, I touched up the flat black paint as best I could. These marks should be concealed once the clear covers are on, but I wanted to prep it just in case.
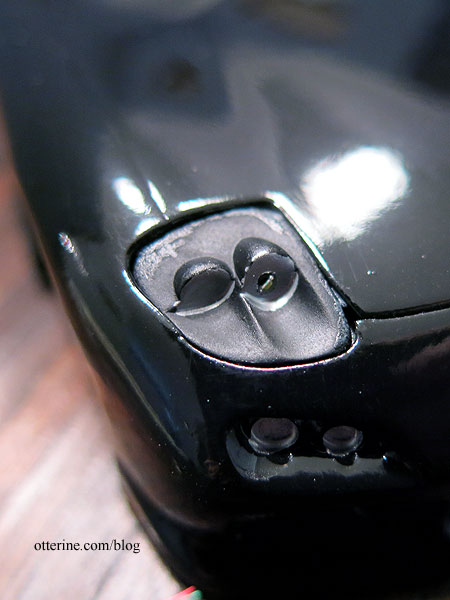
I cut a larger piece of electrical tape and supplemented the adhesion with super glue gel. I want this patch to stay put.
Since I had used super glue on the headlight assemblies, I let this sit for two days before touching it again. I had had some fogging issues with the Model T and didn’t want to risk it with this one, so I let the glue gas out completely. I glued the tiny circular lenses over the LED headlights and unlighted high beams with Testors Clear Parts Cement. Most of the clear parts are attached with this glue. I lined the edges of the clear covers with a black Sharpie marker.
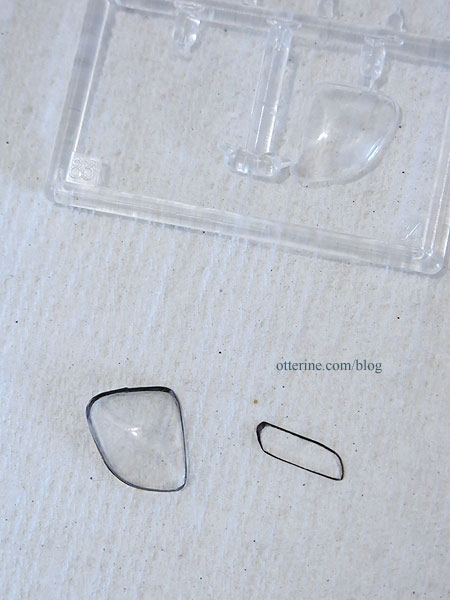
It’s a cleaner look than just plopping them on top. The one on the left is with the outline, the one on the right is without. You can see it appears more a part of the car with the outline.
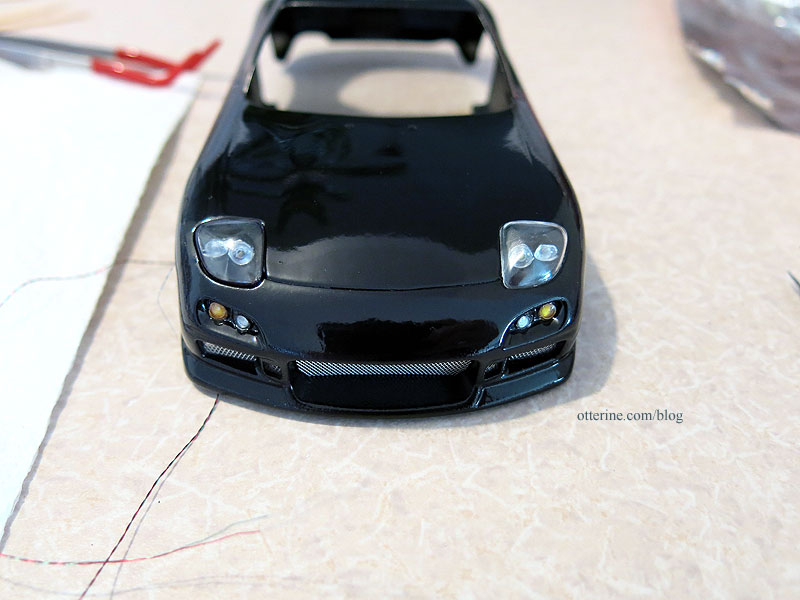
I tried using the Testors Clear Parts Cement on the headlight covers, but they would not stay. I ended up using Weldbond, a white glue. It’s not the cleanest if you study it closely, but there is so much going on there, it fades into the background relatively well.
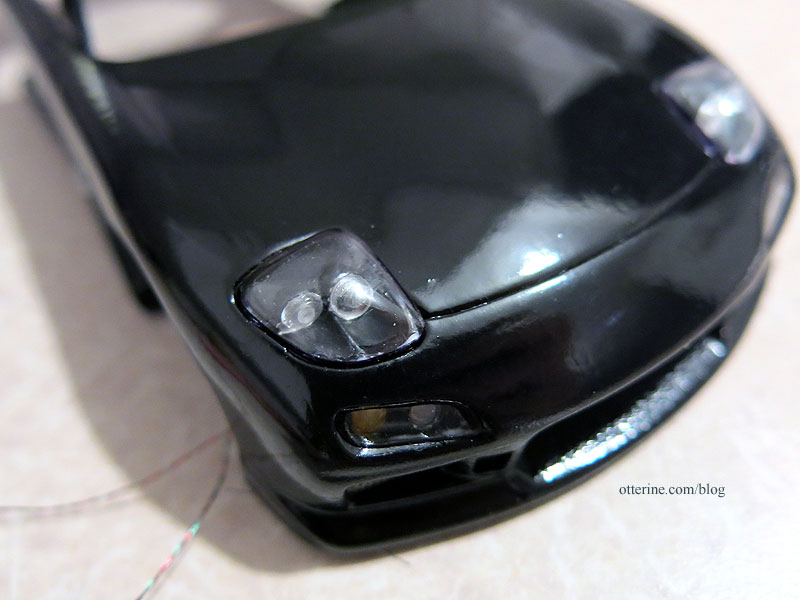
I also glued on the taillight cover.
I taped the taillight wires toward the front to join with the headlamp wires. There is more room in the empty space where there would normally be an engine. The wires are matched up to work as one.
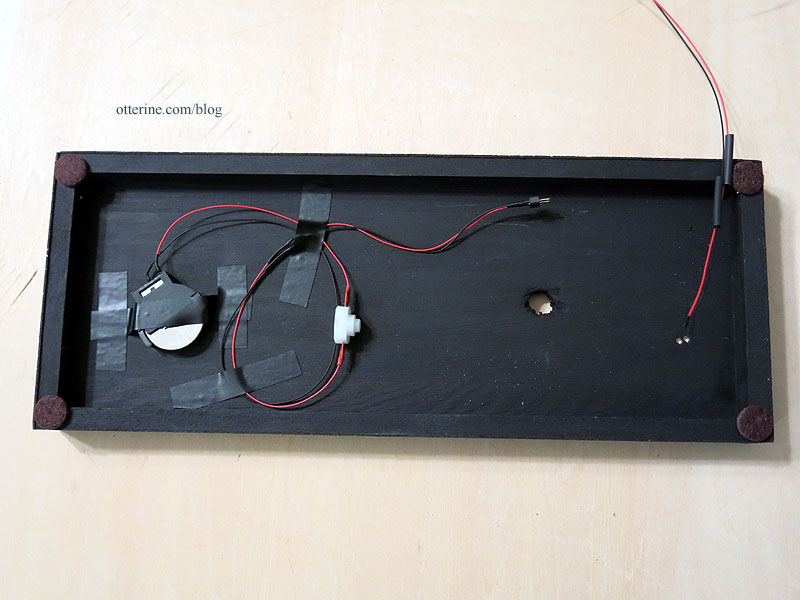
I am using a 3V battery with switch and a remote control unit. However, there is no way to hide the battery and access it in the small auto, so I am also using a connector. I built a base from wood, covered it in adhesive backed cork and painted it black. I drilled a sizeable hole in the base so the connector can be fed through and hidden underneath. It’s not the cleanest solution, but it’s the only way I could have the car disconnect from the base and have the wire relatively hidden. The battery will be housed underneath.
The sensor will need to be mounted on the car outside of the engine compartment, and it has plenty of excess length so I can position it on the chassis after I get the car assembled. It’s easy enough to push any unneeded length of wire back in after assembly. The remaining half of the connector will hang from the car to be plugged into the base. On the inside, there is plenty of electrical tape holding things neatly in place.
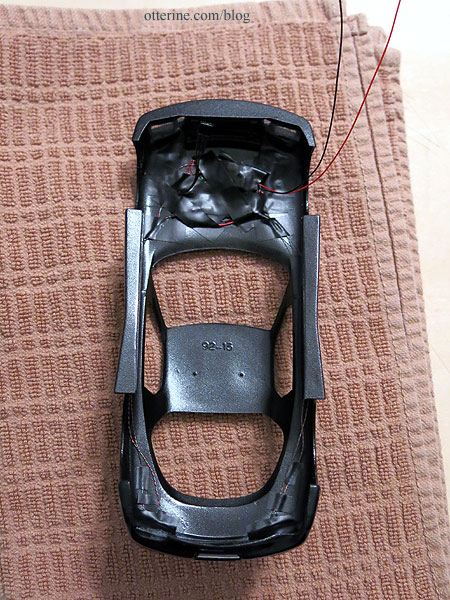
Here I am checking the fit without glue.
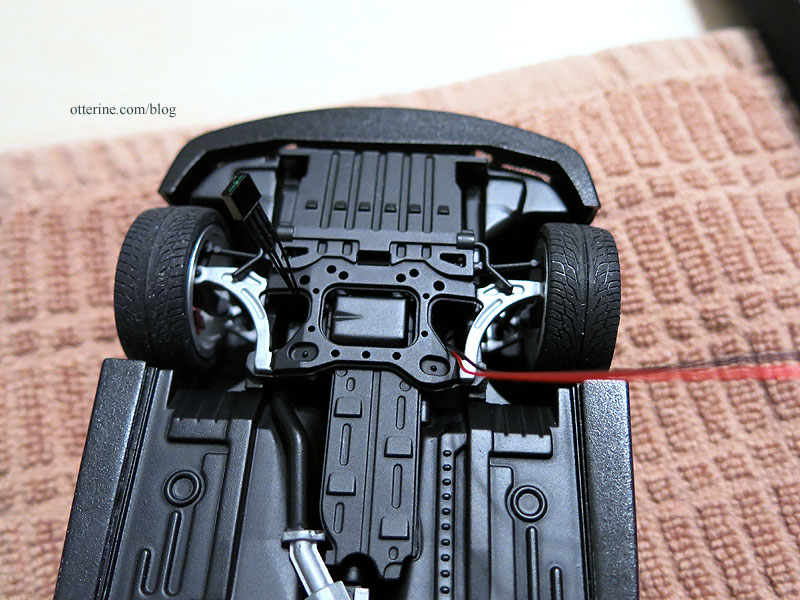
Checking that the lights work after each step is imperative in working with LEDs. You don’t want to get through the whole ordeal just to backtrack to find your issue.
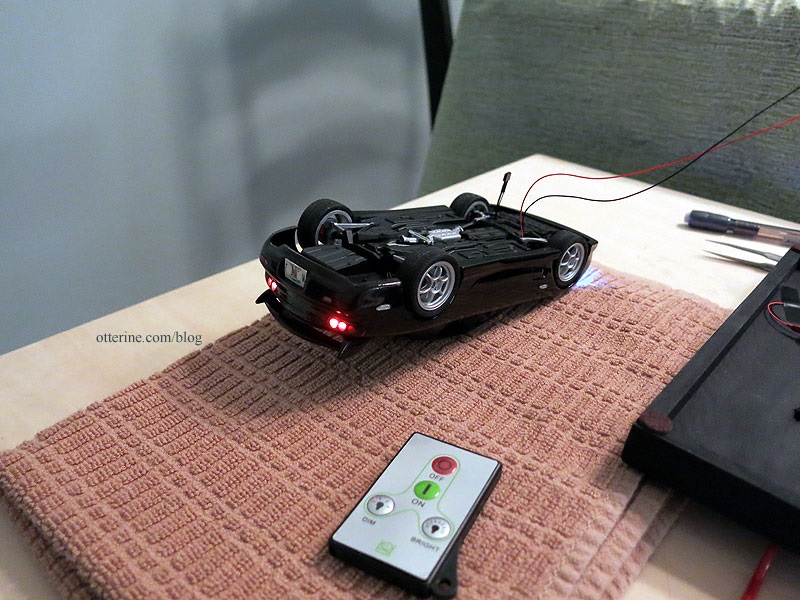
I know, all this chatter about lights, and I leave you without a photo of the pizzazz? You won’t have to wait long. I want to finish up the build and use the wow photos for the final post.
Categories: Model Cars, Vehicles
October 25, 2018 | 0 commentsRX-7 in half scale – more miscellaneous detailing
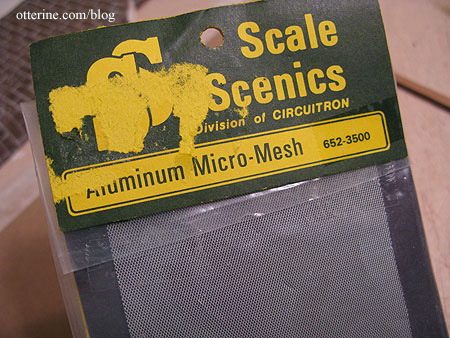
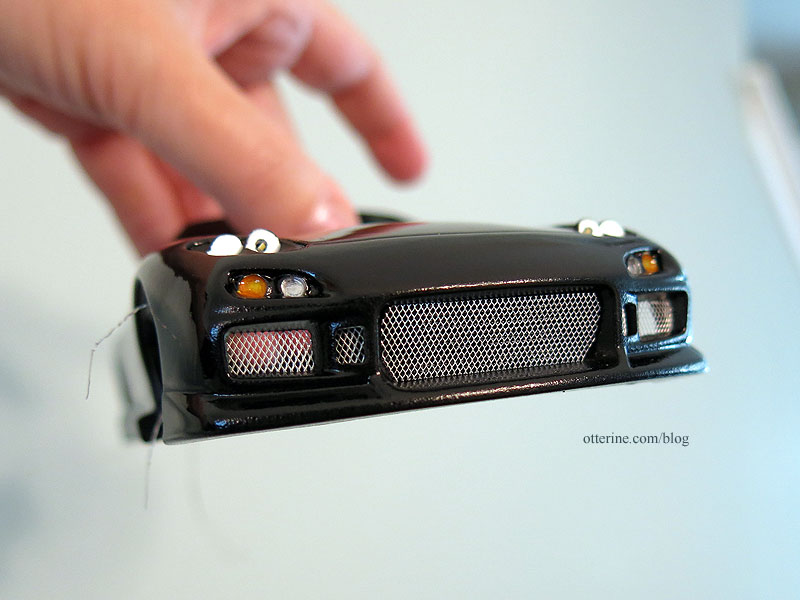
Continuing work on the RX-7 in half scale. To detail the front, I added some aluminum mesh by Scale Scenics.
The center required a template since I didn’t want to risk obliterating the skirt trying to remove the excess plastic.
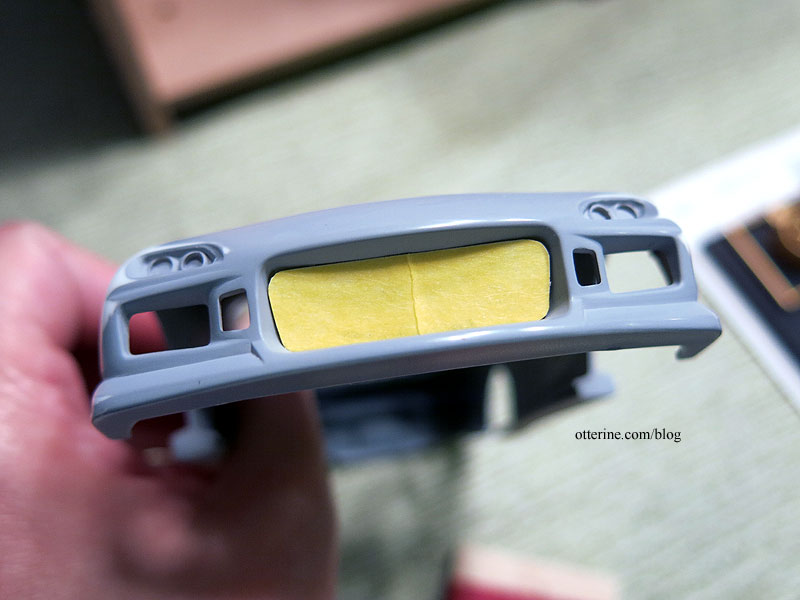
For the two side vents, I just glued the mesh behind the openings. It’s a subtle addition, but it amps up the sports appeal. :D
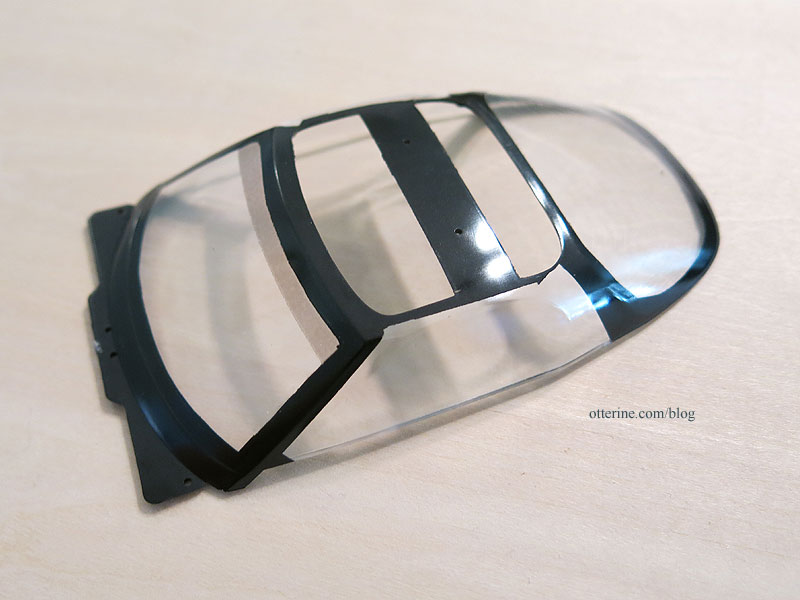
I got the windows masked and painted. I then added a line of shading with the Tamiya Smoke spray. Have to keep the sun out of our eyes while driving.
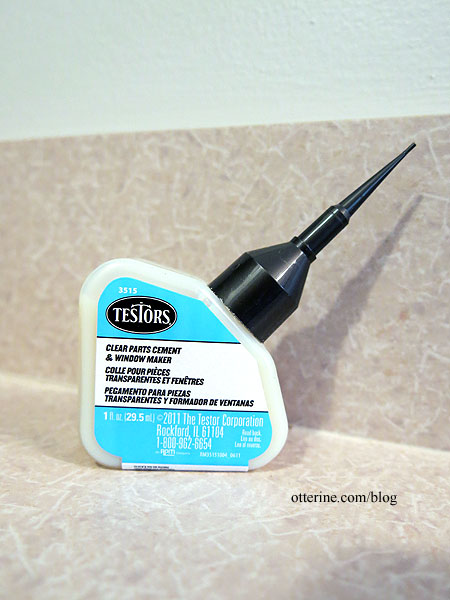
I bought Testors Clear Parts Cement for working with any of the clear parts. Usually, any kind of super glue will make clear plastic foggy. I tried it out on a spare clear part to be sure, and it worked as advertised.
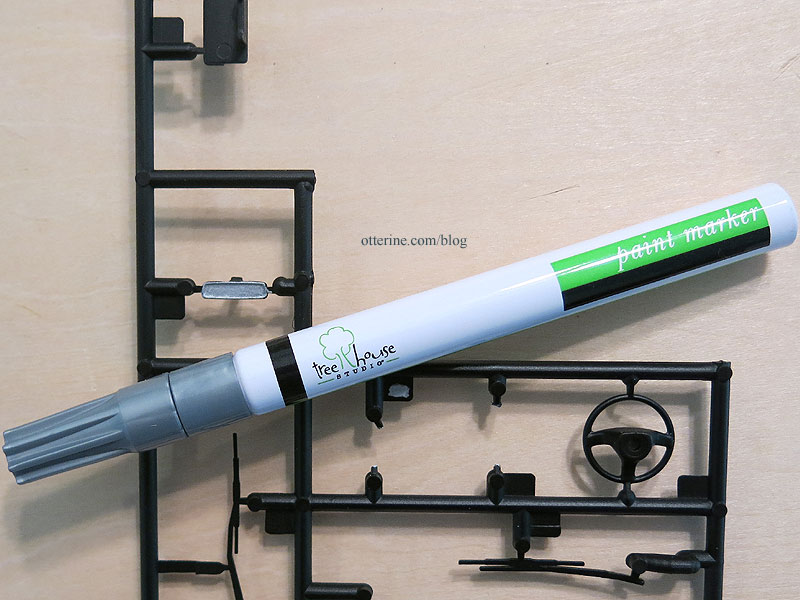
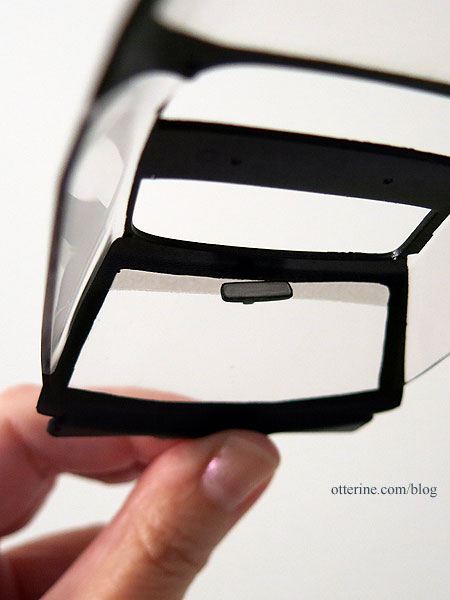
You are to paint the rearview mirror silver, so I used a paint pen.
I cleaned up the black outline once I removed the part from the sprue. It gives the impression well enough. I will install this assembly at the end when I put the body on the chassis. These are notoriously bad at staying in place over time, so let’s hope it doesn’t end up rattling around the interior.
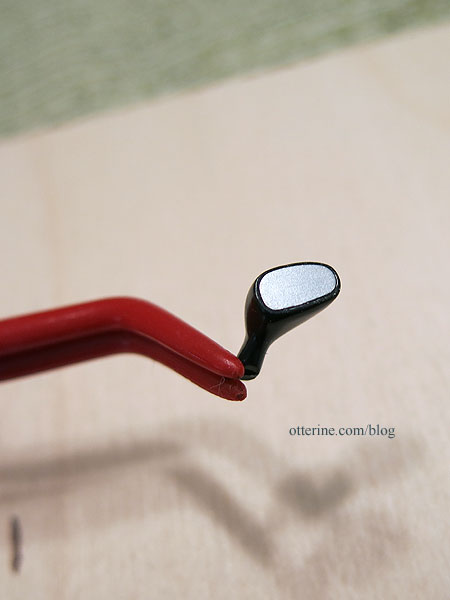
The side mirrors have inserts that are also not truly reflective. These I will attach at the end to minimize the risk of breaking them off.
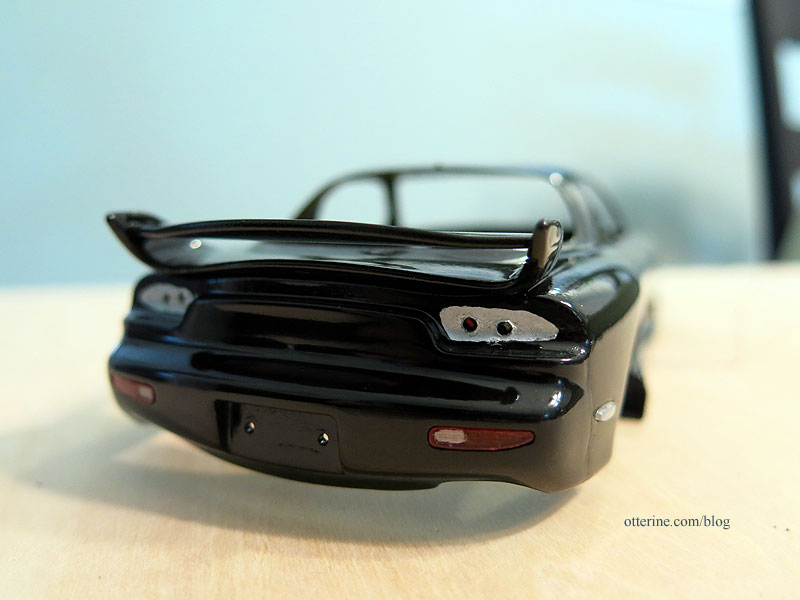
I glued in the various reflectors around the car and installed the upper portion of the rear spoiler. Looks like we’re getting somewhere. :D
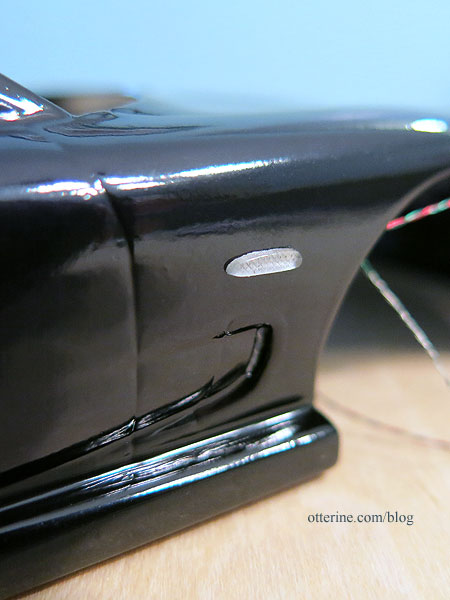
I added spare reflectors where I had removed the molded in side lights. Much better than trying to paint tiny nubs of plastic without ruining the body paint.
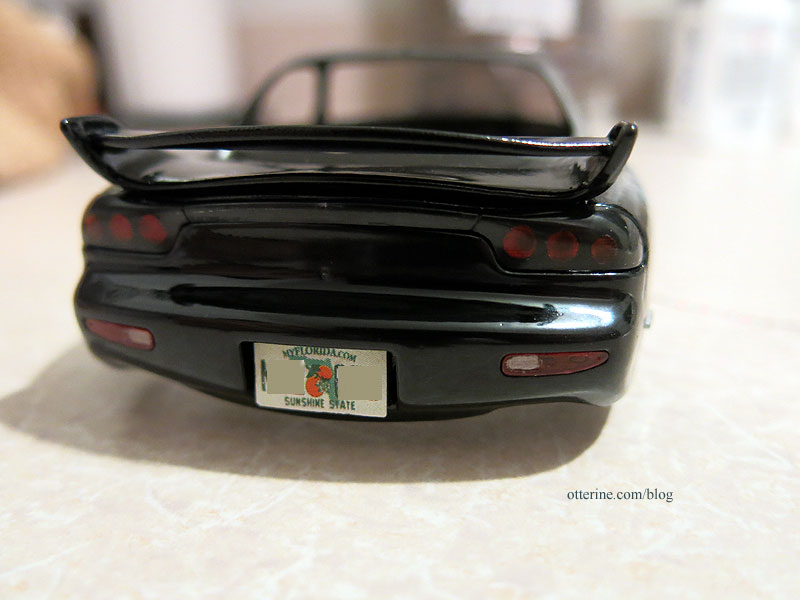
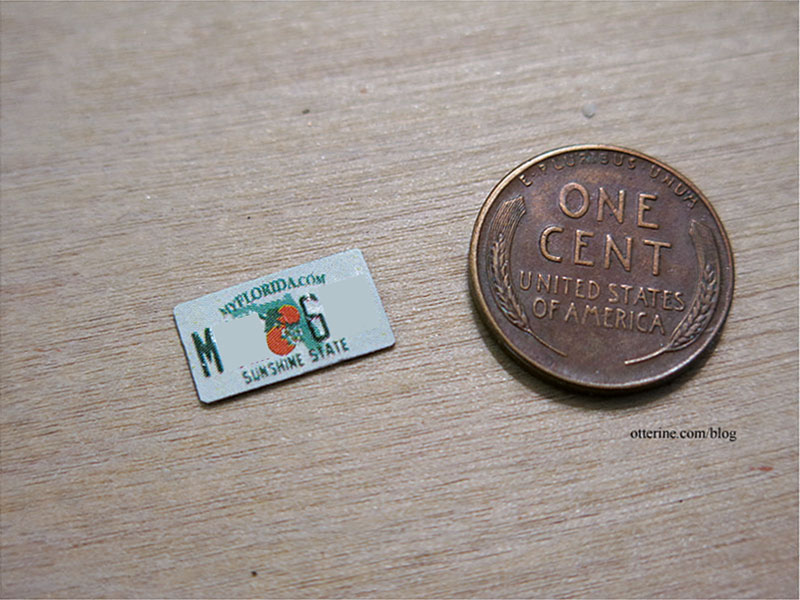
I also made a tiny license plate. I didn’t think I would be able to emboss a half scale plate, but it worked! (I’ve covered most of the numbers to protect privacy.)
Categories: Model Cars, Vehicles
October 21, 2018 | 0 commentsRX-7 in half scale – lights, part 1
Continuing work on the RX-7 in half scale. Yeah, ever since I wired the Model T for LEDs, I’m going to have a hard time not wiring all my cars going forward.
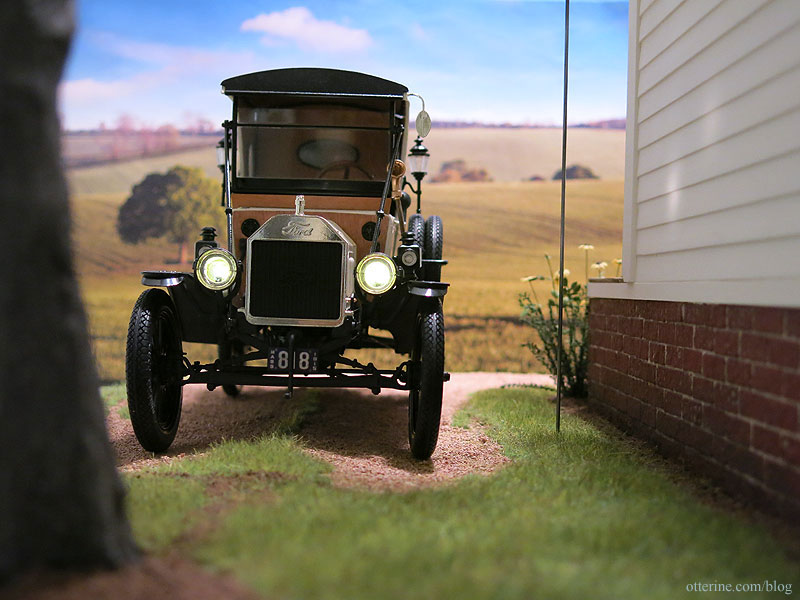
Since I’m looking to put in only headlights and taillights, I painted the back of the clear reflectors/side lights silver. The paint brings out the detailing and makes them appear brighter.
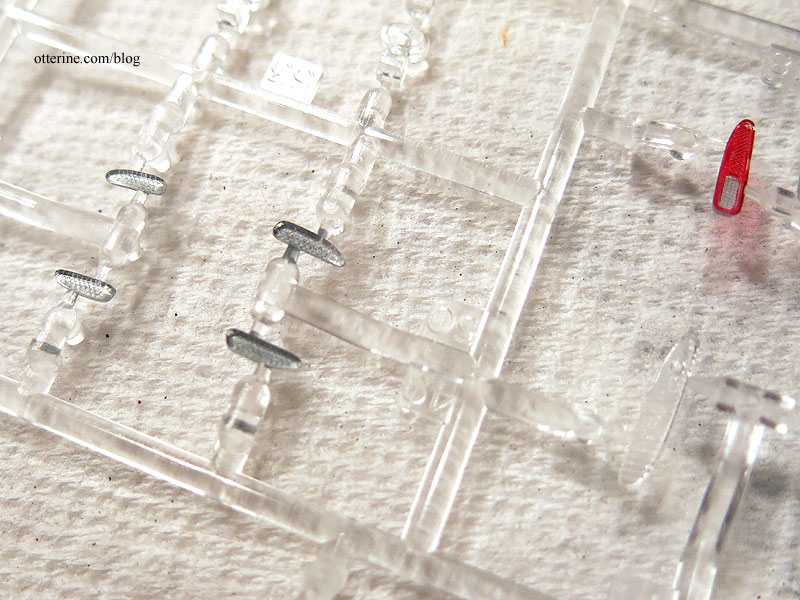
The rear lights are one continuous clear piece. I colored the red and orange portions with Sharpie markers. There is a slight third brake light in between, but there was no way I could have painted that without getting red all over the rest – it’s a tiny sliver too narrow for my markers. So, we’re not going to worry about it. Picking my battles. :D
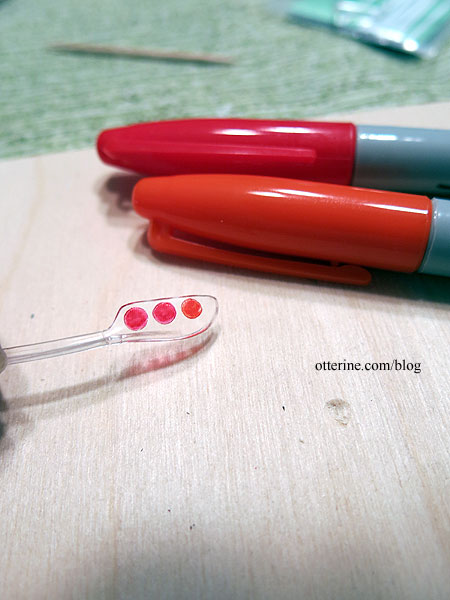
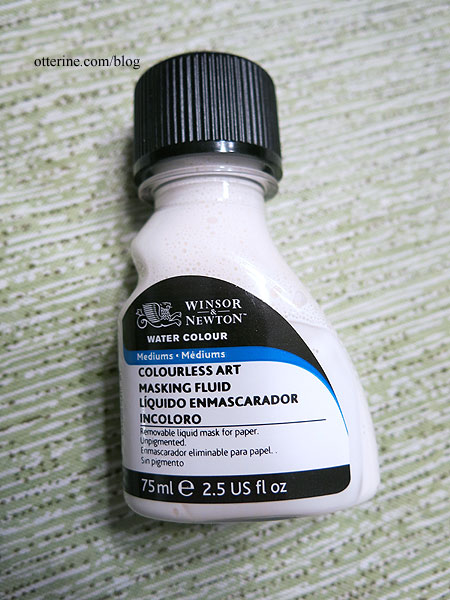
I masked the colored areas with Winsor & Newton Masking Fluid. This is a pricey fluid used for watercolor painting; it covers any space you want to remain white on a painting. You use an eraser to remove it from the paper after the paint has dried. I used a 50% off coupon at Michaels.
I thought it would work well to mask the lights since I didn’t think tape would really seal the area that well if I could even cut circles that small.
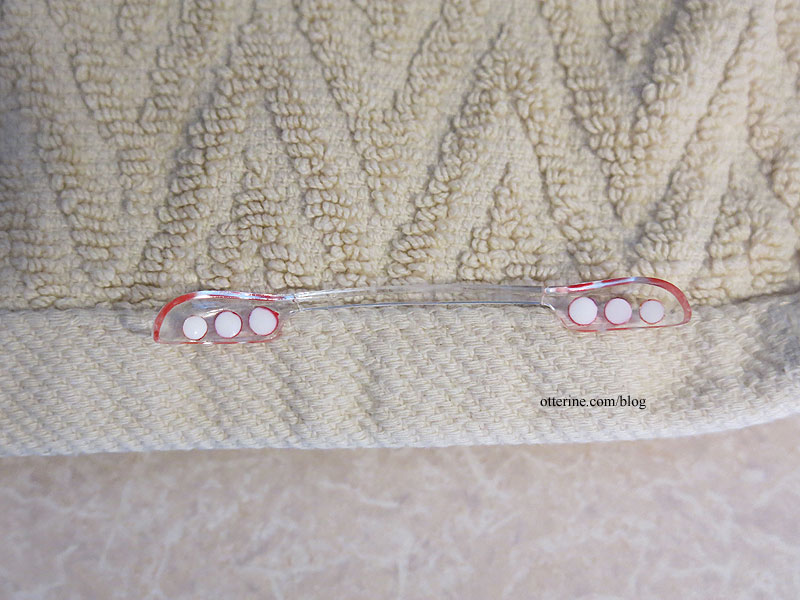
The nice thing about the liquid is if you don’t like the mask, you just let it dry and remove it to start over. It dries clear, which is good or bad, depending on how you look at it. Just make sure you are happy with the mask while it’s still white.
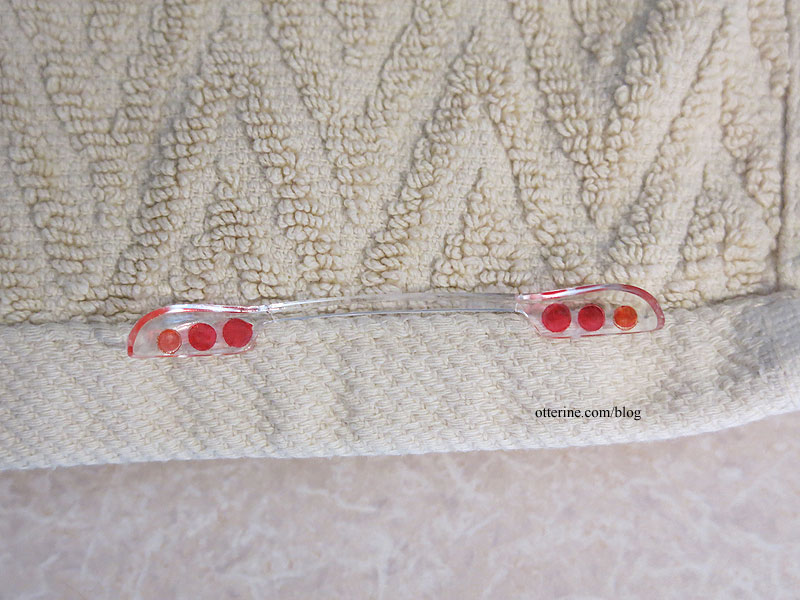
I painted the back of the piece with black acrylic. I used acrylic instead of enamels since I wasn’t able to figure out how to mask the outside well enough to prevent marring the finish. Acrylics clean up easily, and this back side will not be seen.
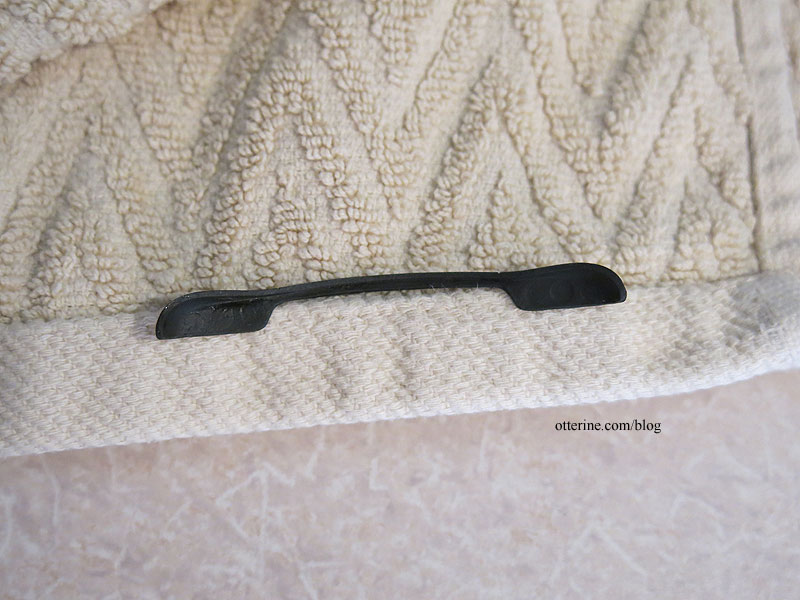
The exterior surface remains glossy, and the color fills in the back. It looks great like this, but the masking is still in place.
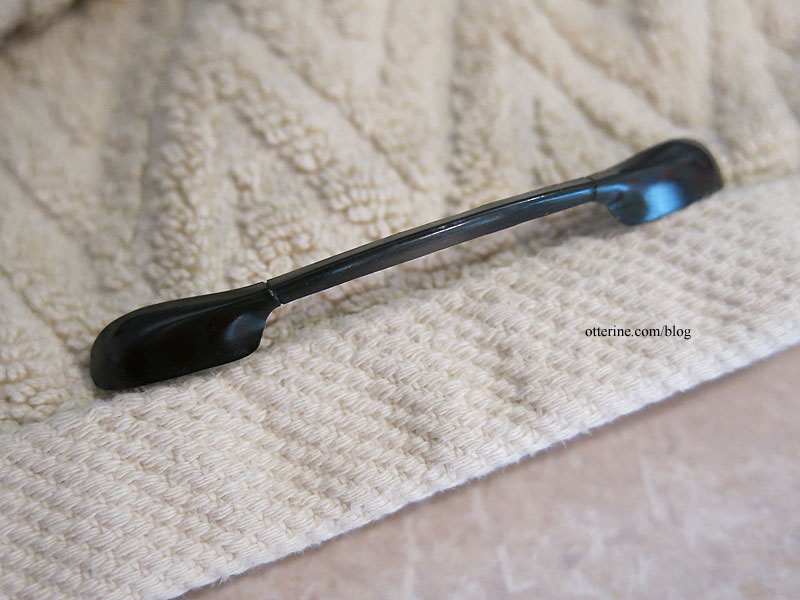
I removed the masking, and you can see how uneven the mask ended up being. Still better than I could have done free hand painting around the circles. I touched up the paint with a tiny brush as best I could (sorry, forgot to take a pic after touching up).
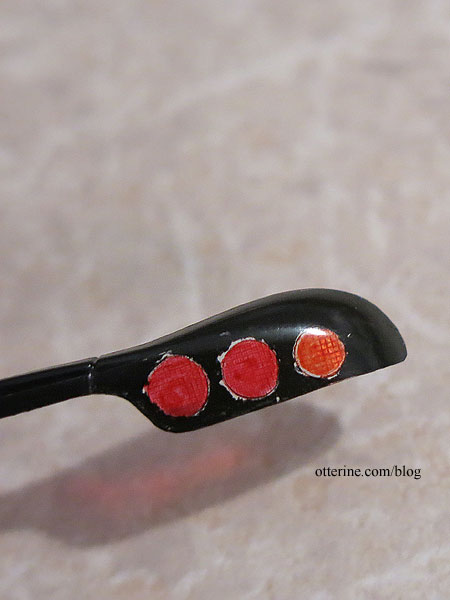
I am using 3V pico LEDs from Evan Designs. These are so wee! I lined up the cover piece with the back of the car to determine where to drill holes for the lights. I painted the area under the light covers silver.
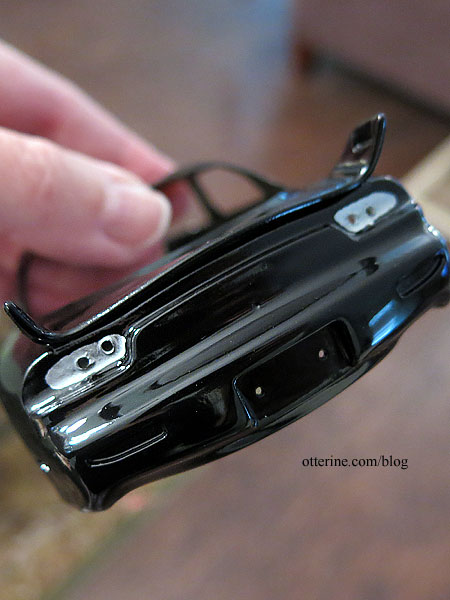
I pushed the pico lights into place and fastened with electrical tape on the inside.
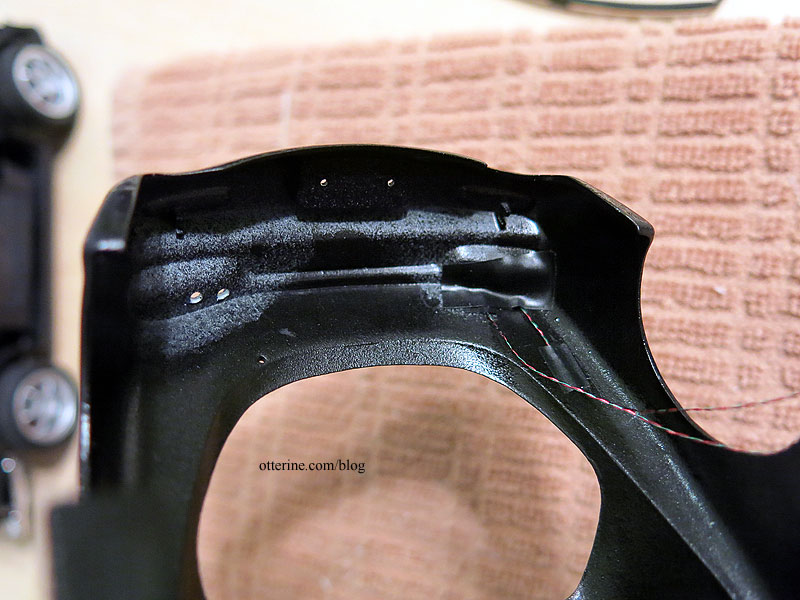
I don’t want to glue the plastic cover on just yet to limit the handling, but it looks like it will work well. :D
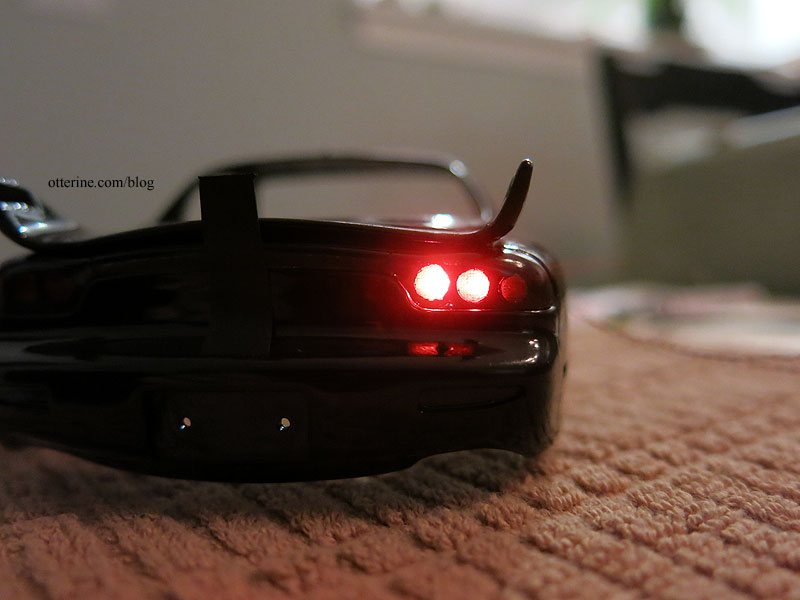
I didn’t put in lighting under the orange. Working turn signals are for another time. The headlights are up next.
Categories: Model Cars, Vehicles
October 20, 2018 | 0 commentsPaint Nite, in miniature, of course
A friend invited me to a Paint Nite event at a local restaurant. From the link here, you can see the Halloween themed painting the artist and host Sarah Benkin would be teaching. I had never been to one of these, but painting a haunted house and having a cocktail sounded like a lovely way to spend a school night.
Of course, I brought three mini sized canvases instead of using the provided canvas. The mini canvases were made using textured note cards glued to mat board with spray adhesive and then coated with white acrylic. I taped the three mini canvases to a scrap of plywood to have something to use as an easel. I’m ready to paint, with a Scotch chaser.
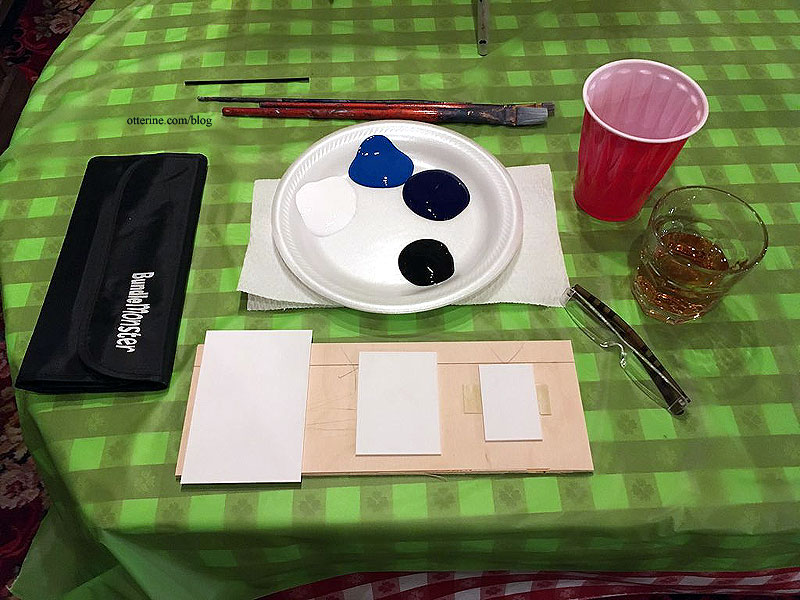
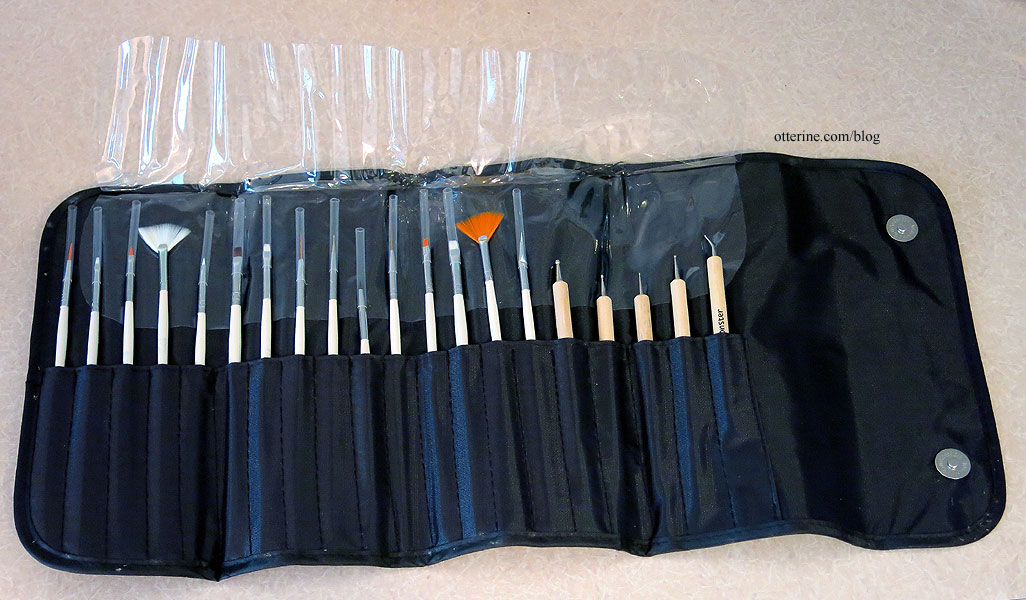
A couple of years ago, April sent me a fabulous set of brushes and clay tools called a Bundle Monster that were invaluable.
I supplemented with a couple of other brushes just in case (not shown here).
I attempted the smallest of the three canvases first, but I had a hard time making circular motions that small. My moon was a messy, light blue oval, so I scrapped that and moved on to the medium one. Much better.
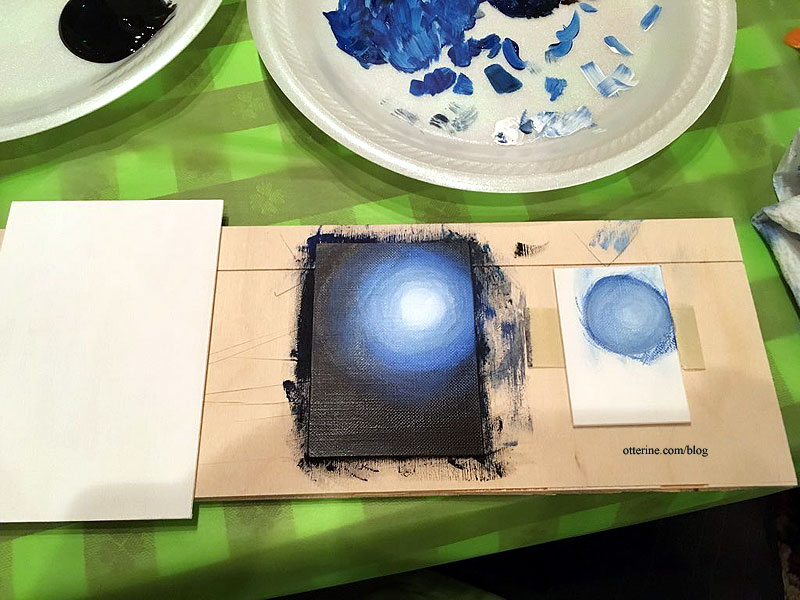
The instructor was a lot of fun, and there was a good group of ladies at the event. Many used other colors for their moons. It was so interesting to see all the different works starting from the same image.
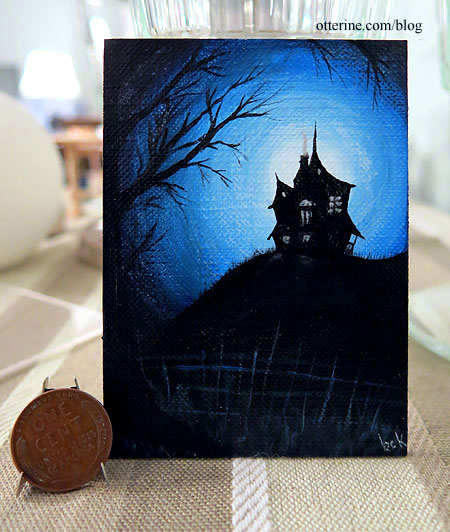
I skipped the cats in my painting and made the fence and grass more moonlit. I thought bright white images would detract from the house in my small scale. I had a lot of fun and could see myself packing mini canvases and attending more of these in the future.
Categories: Art and paintings
October 17, 2018 | 0 comments
NOTE: All content on otterine.com is copyrighted and may not be reproduced in part or in whole. It takes a lot of time and effort to write and photograph for my blog. Please ask permission before reproducing any of my content. Please click for copyright notice and Pinterest use.


