
Half Clocked – roof, part 2
Continuing work on the roof. I glued on the front roof boards. So scary to be completely out of dry fit. For the most part, the pieces fit pretty well. The one minor gap will be easily disguised with shingles.
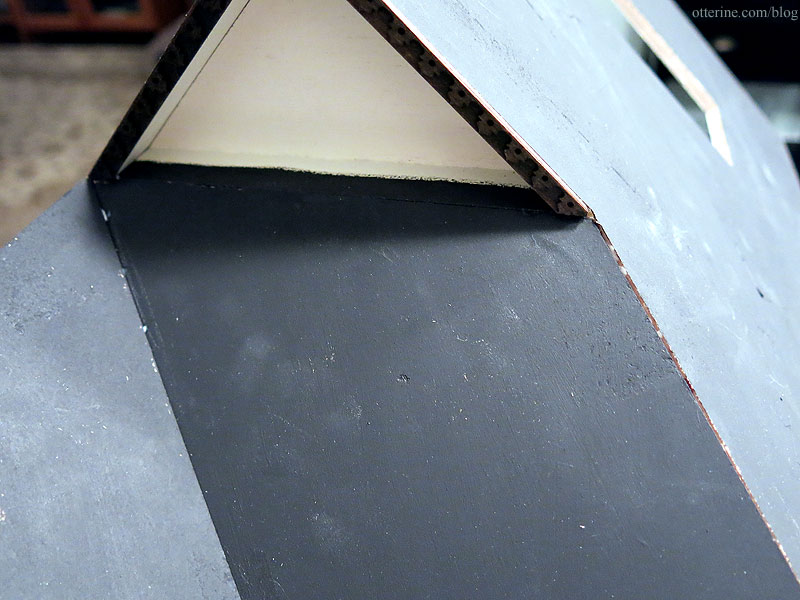
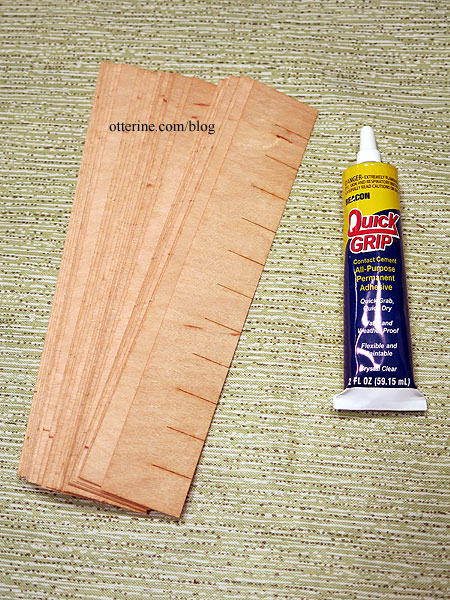
I am using Greenleaf speed shingles for the HC roof. These are laser cut, thin wood. I use Quick Grip glue, which is stinky and messy, just the way a fun project should be. I also utilize movies and/or TV in the background.
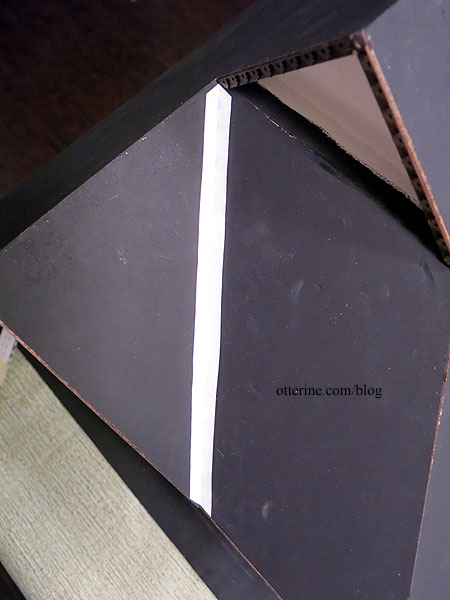
There’s one valley on the roof, so I lined that with Tyvek.
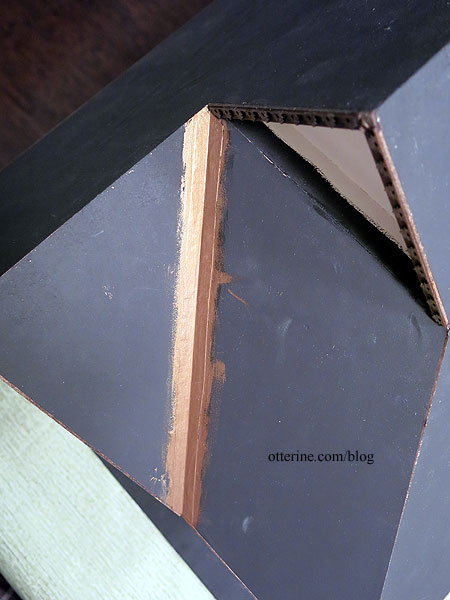
I painted it Liquitex Iridescent Bronze.
The templates for the front help a great deal. I find it’s easier to start with the small, complicated sections. You can even out placement on a long run, but in a small space you need accuracy and consistency. If the two small sections are off, it will be more obvious. I started with the parallelogrammatic template. (There’s a $175 word for ya!) I taped and cut each row, continually testing it on the actual roof. While I use the template to cut the strips, I glue the strips directly to the roof.
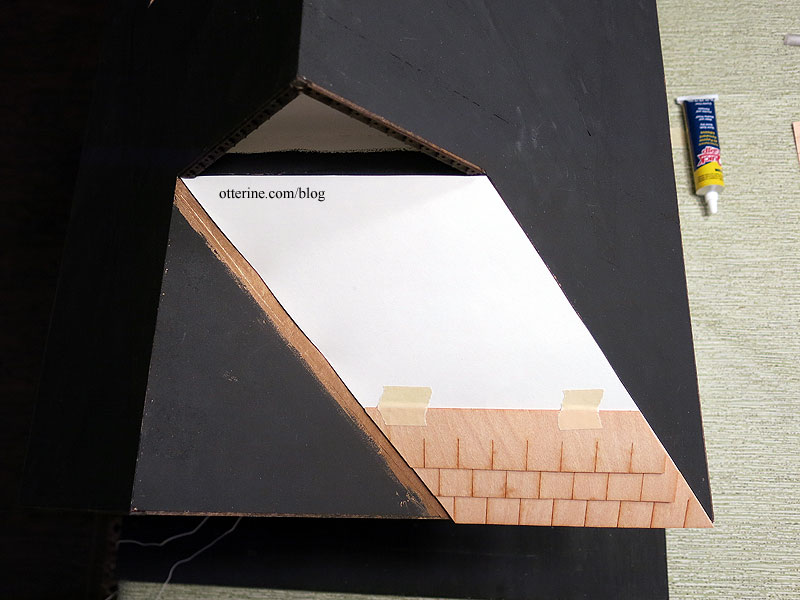
Next, I marked the rows on the triangular template. The spacing is not the same as it was on the first template, but the alignment is more important.
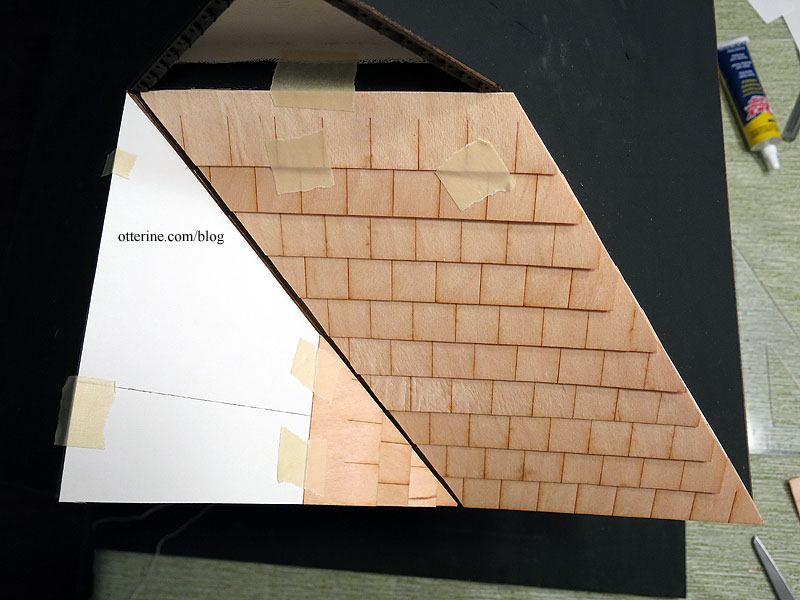
Next up was the remaining angled piece. I used only a partial template since the remaining portions will just follow the length of the roof.
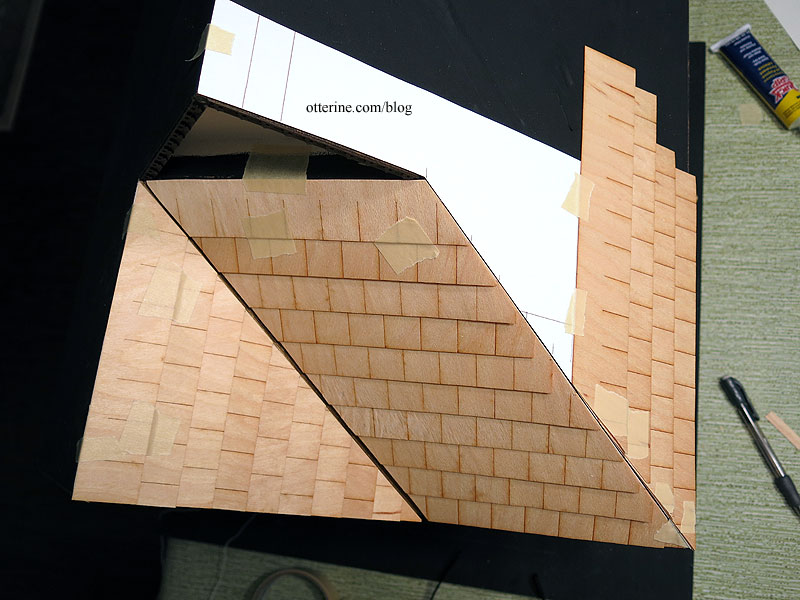
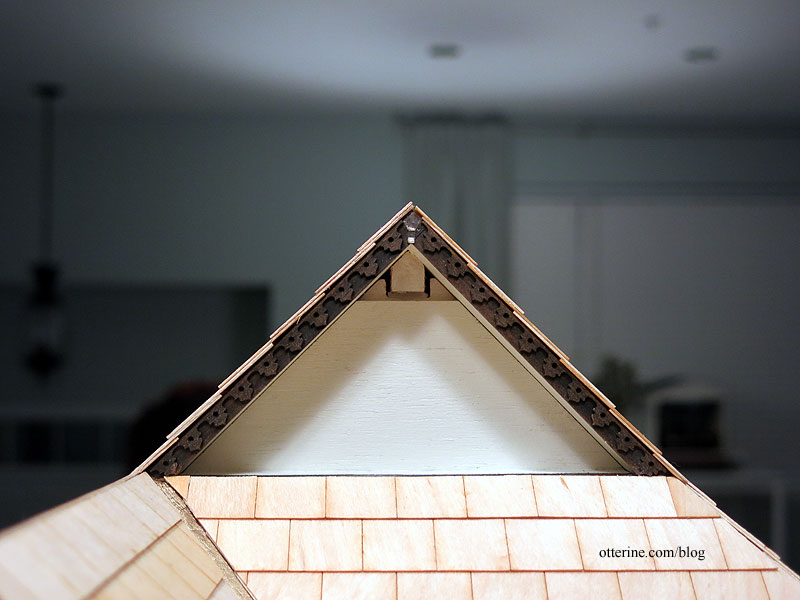
I added a post to the top of the dovecote to stabilize the apex.
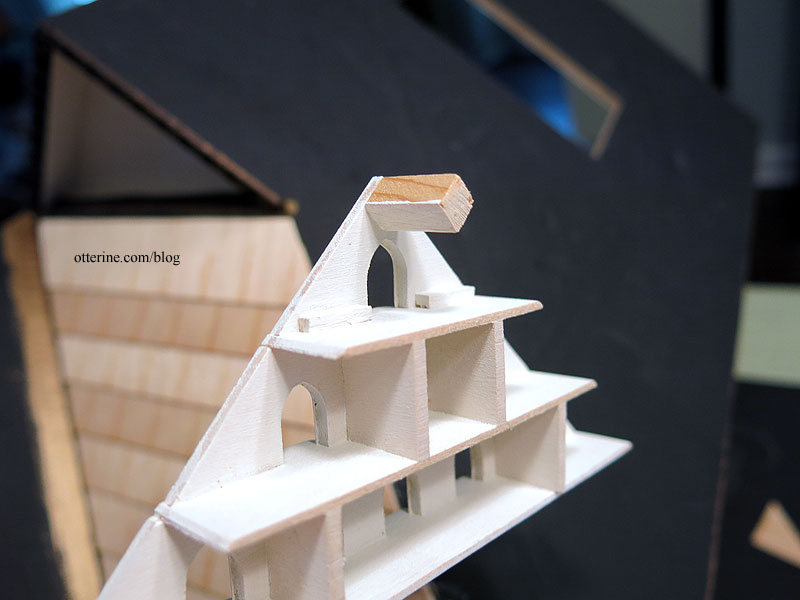
To finish the edge below the dovecote, I glued a strip of Tyvek painted Liquitex Iridescent Bronze.
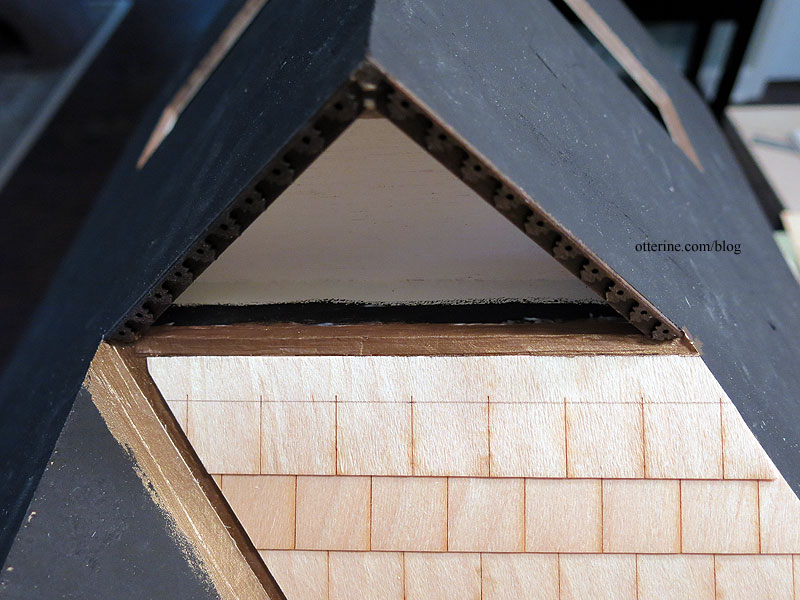
It was a long day, but I got all the shingles in place.
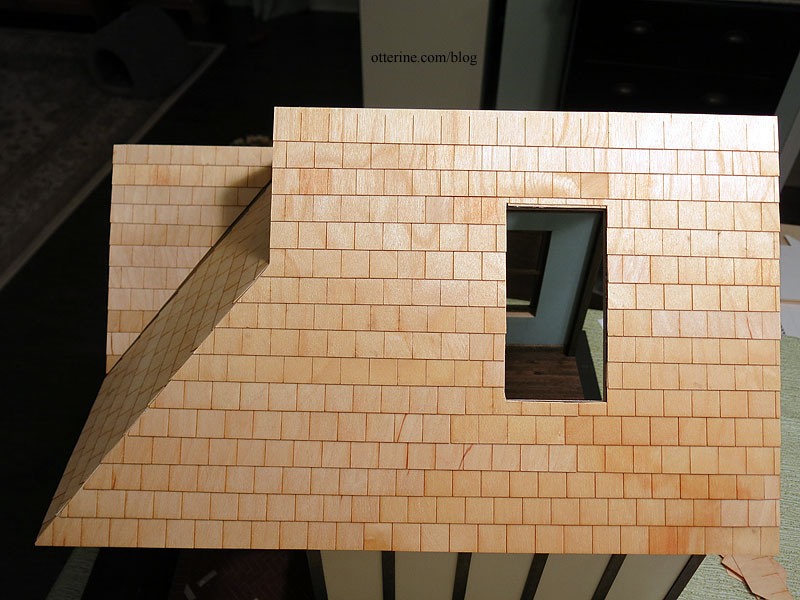
I ran out of Quick Grip and switched to Shoe Goo since that was all I had on hand and I didn’t want to run to the store. It’s thicker than Quick Grip but just as smelly.
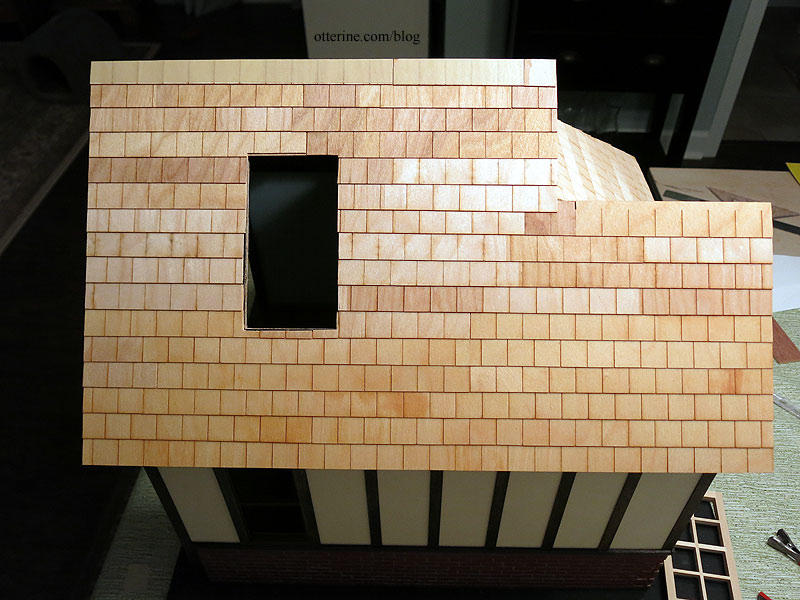
The one thing I didn’t think to do was measure the remaining long edge, so my rows differ in height from the opposite side. The rows are straight and uniform, so it’s not really obvious. Noted for next time.
Categories: Half Clocked
November 17, 2018 | 0 commentsHalf Clocked – back wall
In the past, I’ve made sliding walls like the one for Ye Olde Taxidermist. For the current build, I don’t want a large gable blocking the interior view from the back. For Ye Olde Taxidermist, the narrow gable doesn’t block much of the interior.
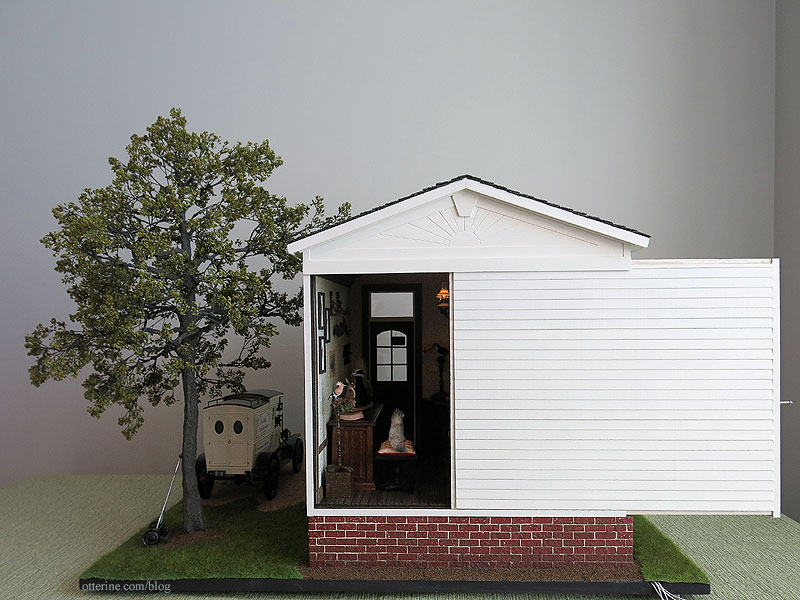
Milo Valley Farm has no gable to get in the way.
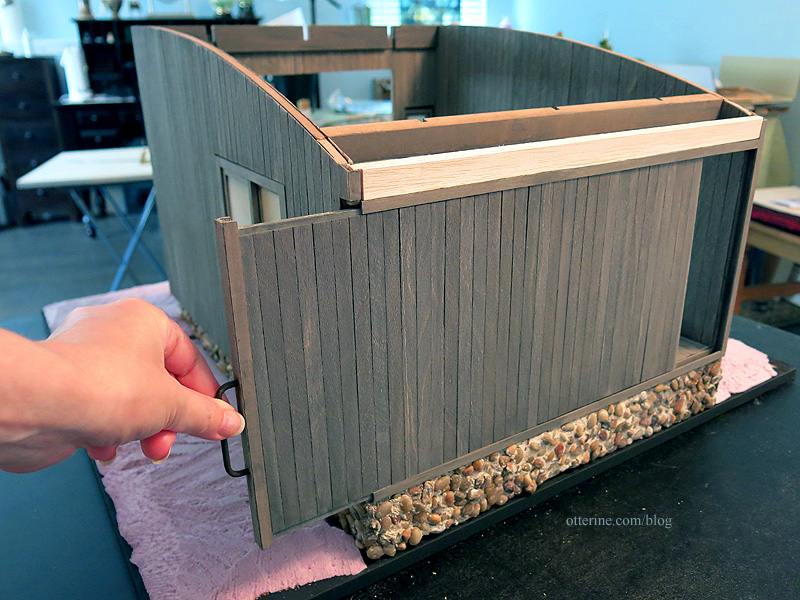
Since I decided to have an eave on the back, hinging the house-shaped wall would not work. It would bind on the roof overhang. Next solution, magnets.

These stick to each other as well and come marked positive and negative.

Super thin, which is perfect. The ruler is in 1/64″ increments. They are 3/8″ in diameter.

The wall is just a bit shorter than actual opening to remove it easily. The interior trim on the ceiling blocks any light that might shine through. The beautiful barrel was made by Bill. :]

I used a spade bit to make shallow holes for the round magnets. This was no problem for the lower area where it doesn’t matter if the bit pokes through the other side. On the sides just below the eave, I had to be careful because the bit is longer than the material is thick. The interior trims add to the thickness, but I had to cut just what I needed and not a smidge more. :\

For the apex, the magnet sits in the space I left at the end of the ceiling beam. Hmm, looks like I need a touch up. :\

There will be six magnets. Here the holes have been painted brown.

I will epoxy these in place, but just pushed in you can see they sit flush.

For the wall, I will cut small pieces of K&S 0.008 thickness tin sheet left over from the Otter Cove kitchen.

One magnet is strong enough to hold this partial sheet. Since the wall will be able to rest on the landscaping board, I think the six magnets will work well to keep it from shifting or falling away from the structure.
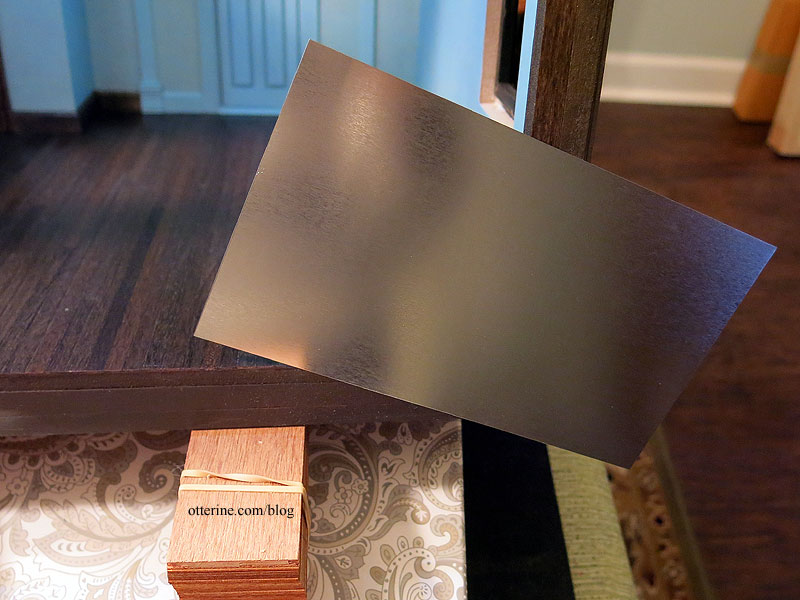
Before I go further, though, I need to work on finishing the wall inside and out. Considering I don’t need the back wall for the final build to make sense, I will leave this for later and continue on the main structure. It’s not a priority, but I wanted to get the prep work done before the structure was attached to the landscaping base.
Categories: Half Clocked
November 16, 2018 | 0 commentsHalf Clocked – ceiling beams
Since I had cut a new gable from thinner wood, I had to pad the exterior portion where the gable shelf was located to keep the gable shelf properly aligned with the front of the roof. But, since I am including the dovecote, I cut the front hook off the ceiling beam.
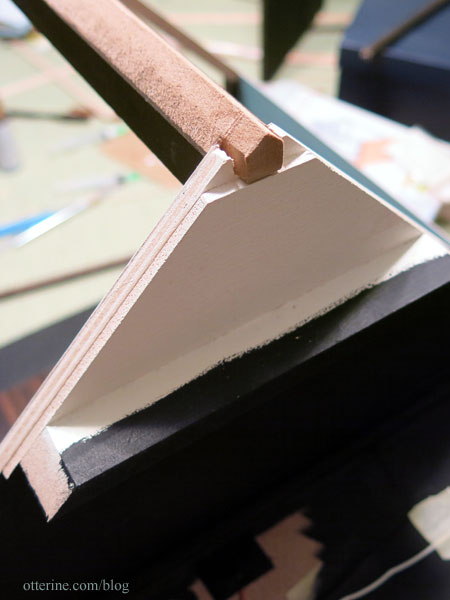
Since I had taken off some depth from the building, I needed to also cut down the length of the center beam. The back wall will abut the structure, so I cut the hook off this end as well. I originally cut new support beams from 3/8″ strip wood, but I didn’t like it in the end. So, I modified the kit support instead. There’s some space between the end of the beam’s notch and outer edge of the support beam. I’ll explain that later. You can also see the shim I needed to raise the center beam to sit flush with the glued roof panels.
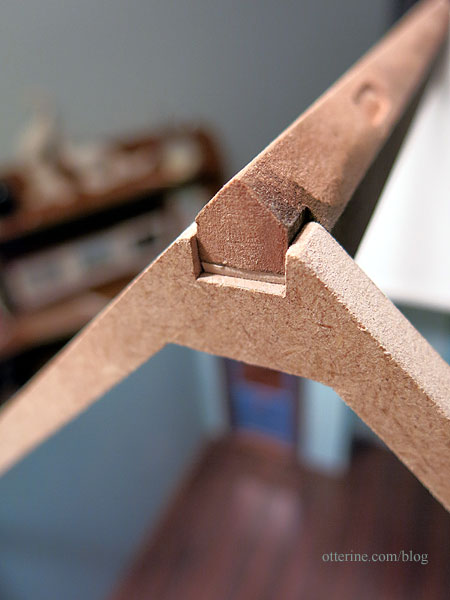
I painted the beam and support Bittersweet Chocolate by Americana to coordinate the stained back beams and other trims. It’s not a perfect match but it blends well enough.
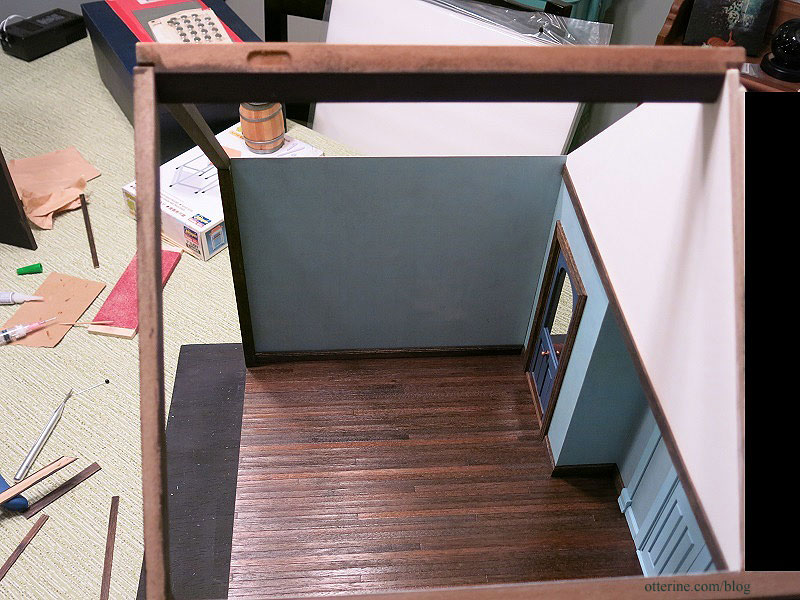
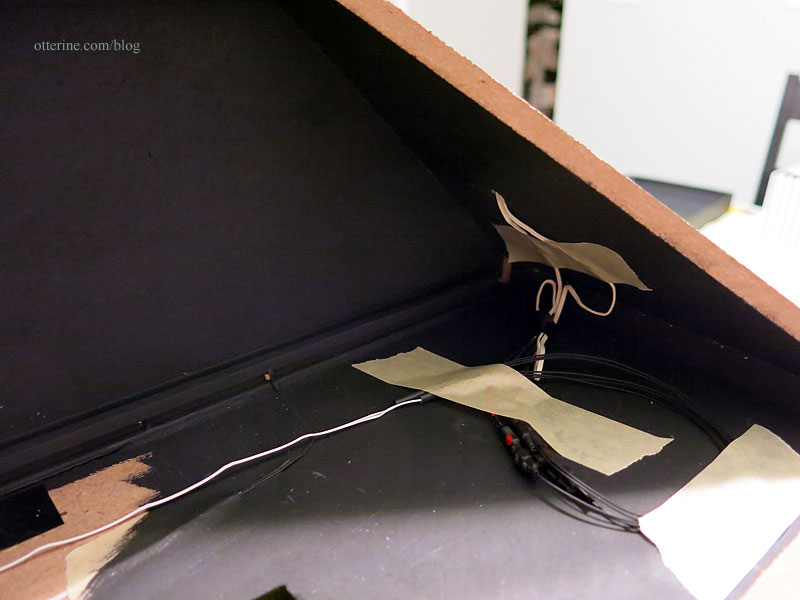
Before I could glue it all in place, I wanted to mark and cut the gable and side trims. I won’t install these until the roof is glued on to make sure there’s a good fit, but it was easier to measure while things were still in dry fit. I glued the main roof on next, then attached my ceiling wires to the lead wires already in place from previous work. I painted these black afterward.
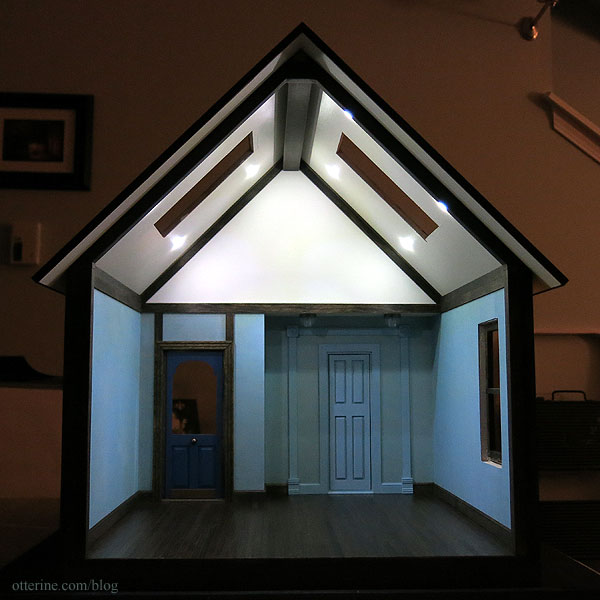
With the roof firmly in place, I finished up the interior trims. All that is left is the side window, but I want to save that until later once the messier parts of the landscaping are done.
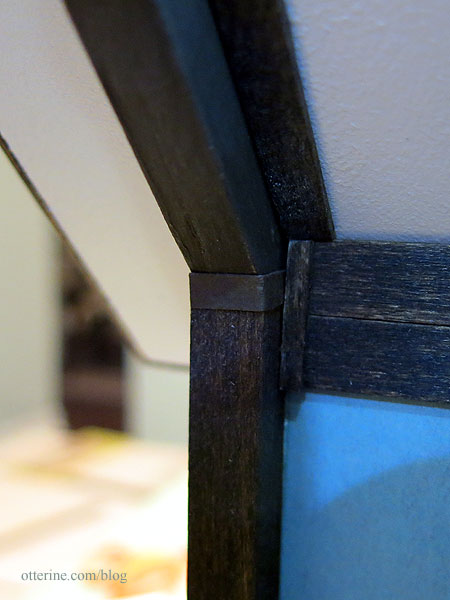
Since the joins for the back beams were a little off, I made brackets from paper.
Categories: Half Clocked
November 15, 2018 | 0 commentsHalf Clocked – insert wall, part 3
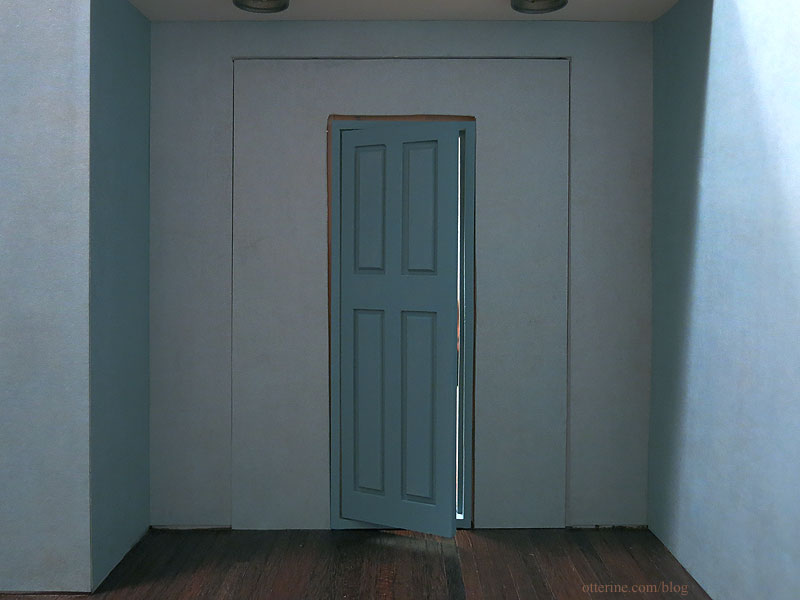
Continuing work on the insert wall. I am using scrapbook paper Happenstance – Fluke by The Paper Loft. It is flat paper, but it has a printed design that looks like old fresco. You might recognize it from the first floor of Watson Mill. Since I will have to trim around the removable wall insert and didn’t want a highly contrasting border, I bought Ceramcoat Waterfall to paint the door and trims. It should complement well without fading into the background or being overpowering. I haven’t cut the trims yet.
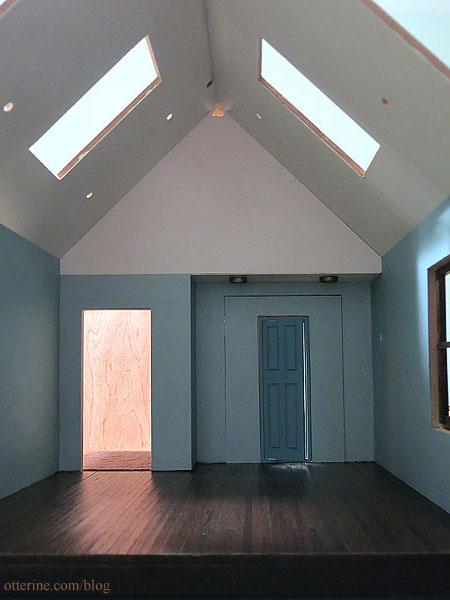
For the enclosed gable, I’ve opted for plain drawing paper. It’s not pure white, so it works well for the space without being too much of a contrast. Since I plan to have a warm white vaulted ceiling, I didn’t think a big blue triangle would look right.
After mulling it over, I decided the Ceramcoat Waterfall paint was nice, but it was darker than I wanted once in place. I was trying to make the door blend more with the wall as if to say, nothing to see here. I mixed the Ceramcoat Waterfall with Ceramcoat Blissful Blue to get a lighter color. I painted over the base coat of Ceramcoat Waterfall, and the result was much closer to my original idea. For the trims, I started with a base coat of plain Ceramcoat Waterfall since I needed it all to match the door.
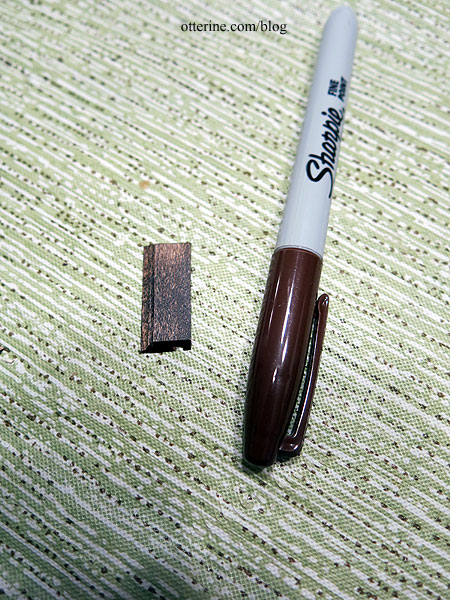
The baseboards around the room are Minwax Jacobean, so to disguise the mitres I used a dark brown Sharpie on the cut edges before gluing the boards in place.
I thought it might end up looking weird to have dark baseboards on the removable wall. Typically, when you’re painting a door the same color as the walls, the trims are also the same color. I didn’t want blue trims throughout, so I mixed the styles. Somehow, it works and looks relatively seamless.
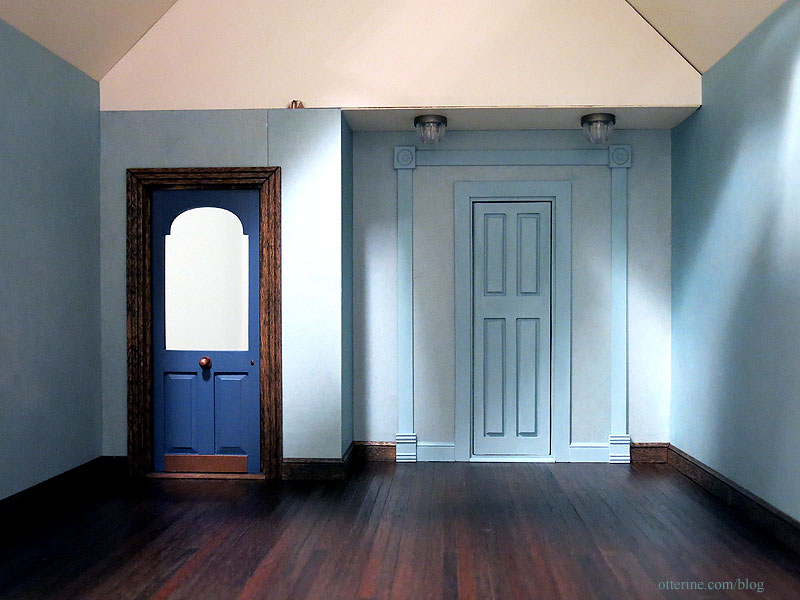
It will also fade more into the background once furnishings and the dark gable trims are added. It might not be the cleanest solution, but I just didn’t want dark trim to interfere with the line of sight when the structure is filled and I needed that large of an opening.
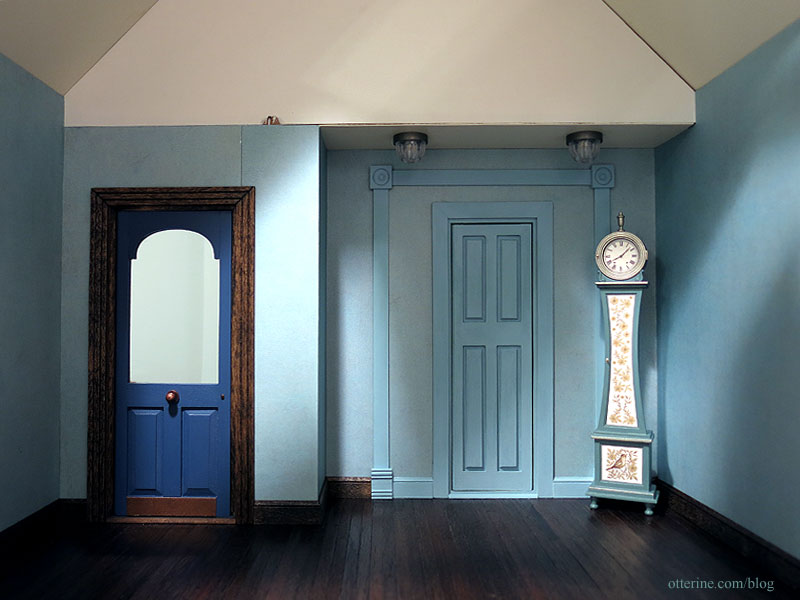
The wall is a tight fit, which is just fine. This won’t need to be removed often.
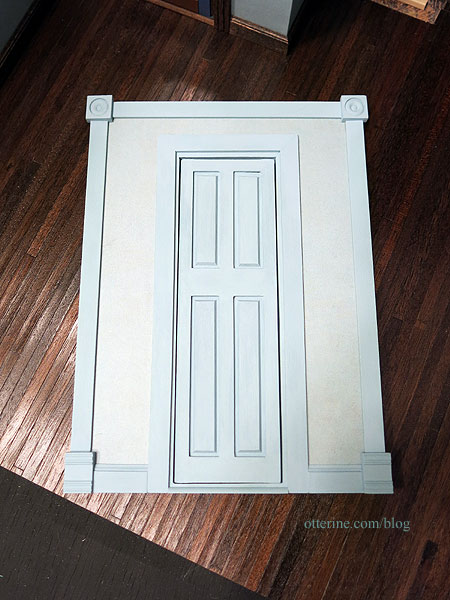
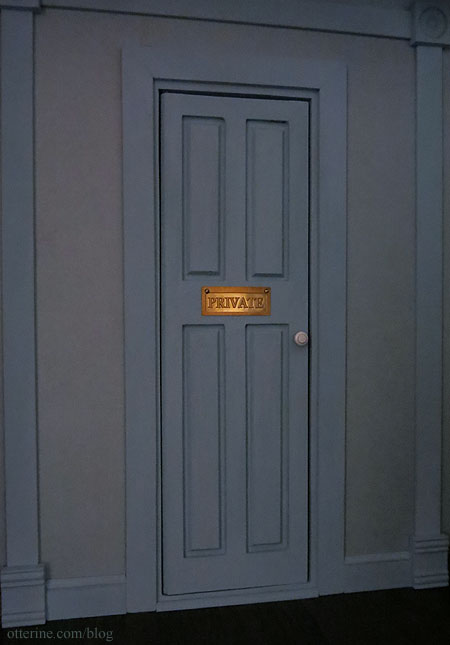
And, the back….
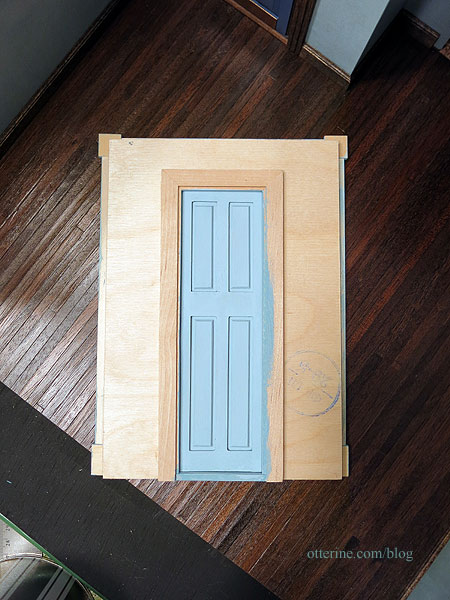
I added a brass plaque and white doorknob for final finishing.
Categories: Half Clocked
November 13, 2018 | 0 commentsWee “c” Miniatures Show 2018
Tonight, I headed to the annual Wee “c” Miniatures Show. It’s a smaller show but there are always wonderful finds to be discovered. The show is open again tomorrow if you are in the area. :] It was once again New Old Stock night.
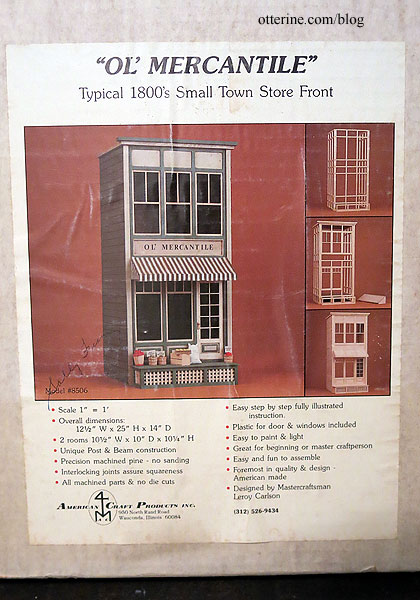
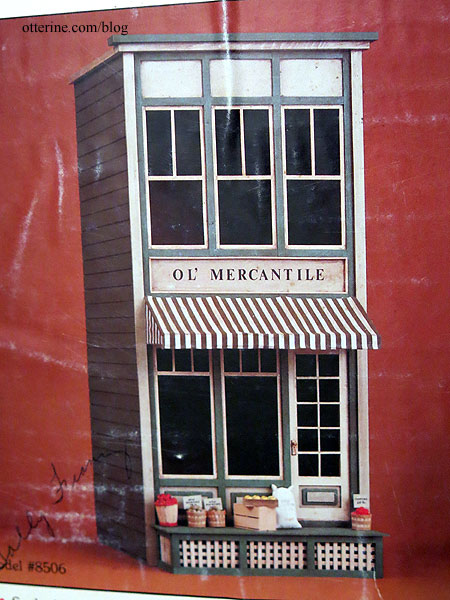
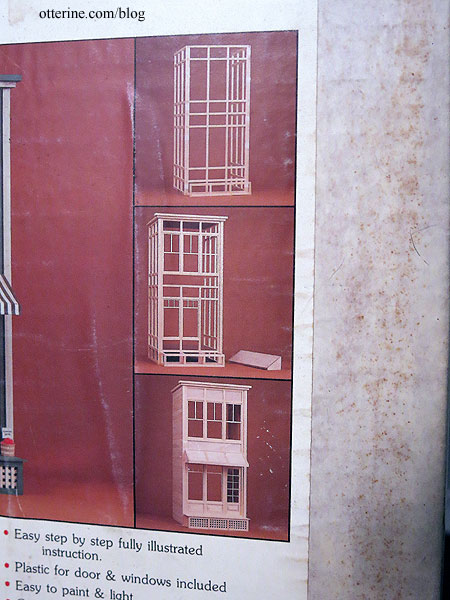
Vendor Unknown – Lobby Area. Yeah, that’s an American Craft Products Ol’ Mercantile, a cousin of The Brownstone! :D I so do not need another building kit, but $30 for a vintage rarity could not be skipped. (She had a Heritage, too.)
There were bins of goodies, if you were willing to dig.
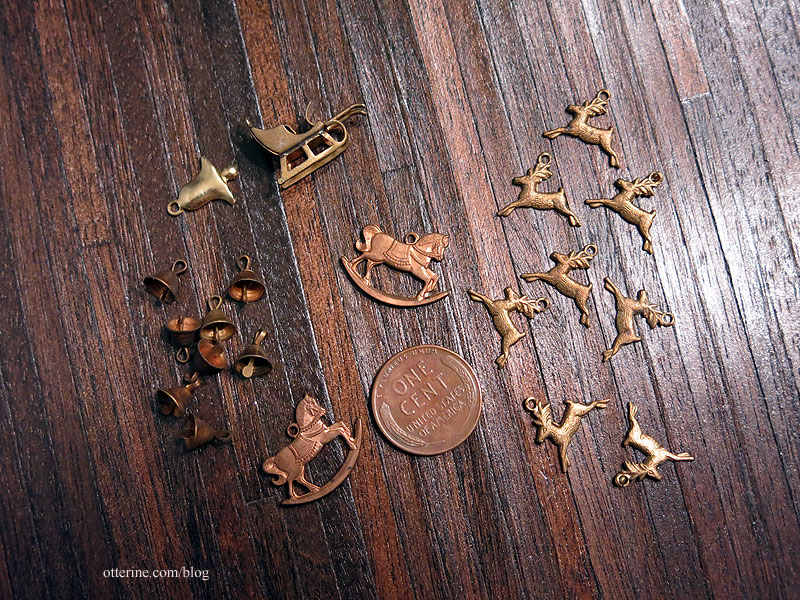
I still have an actual VHS player. :D
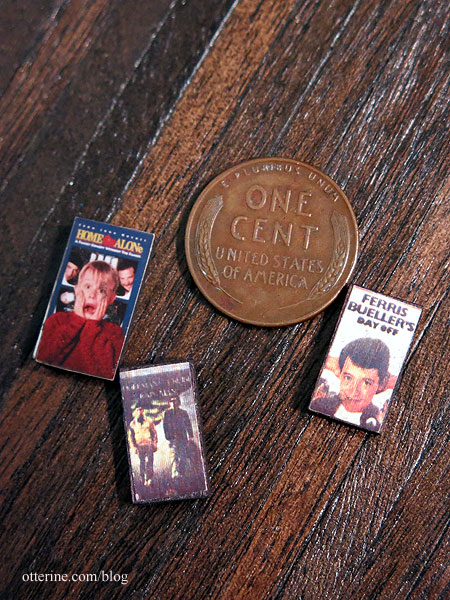
Jancrafted. More awesome vintage finds.
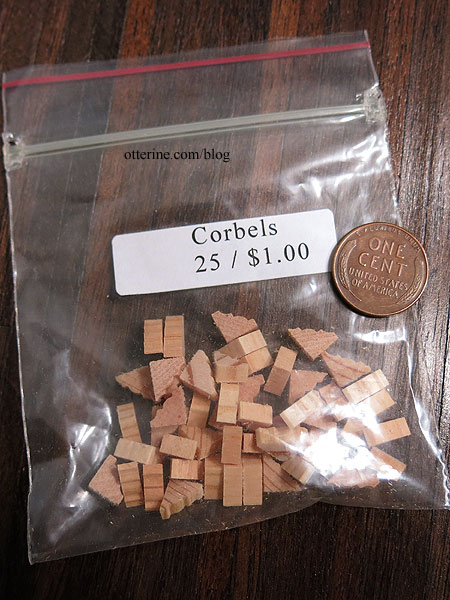
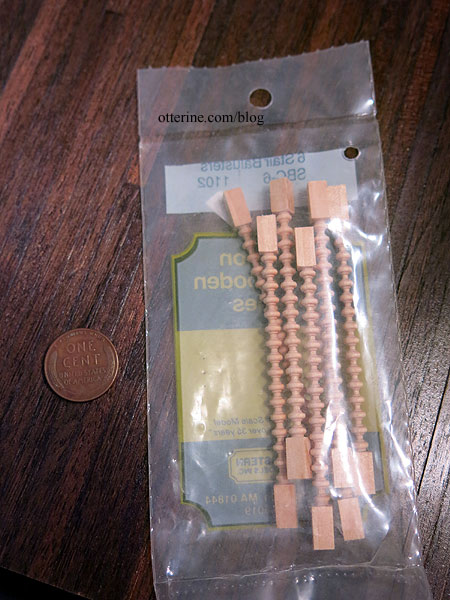
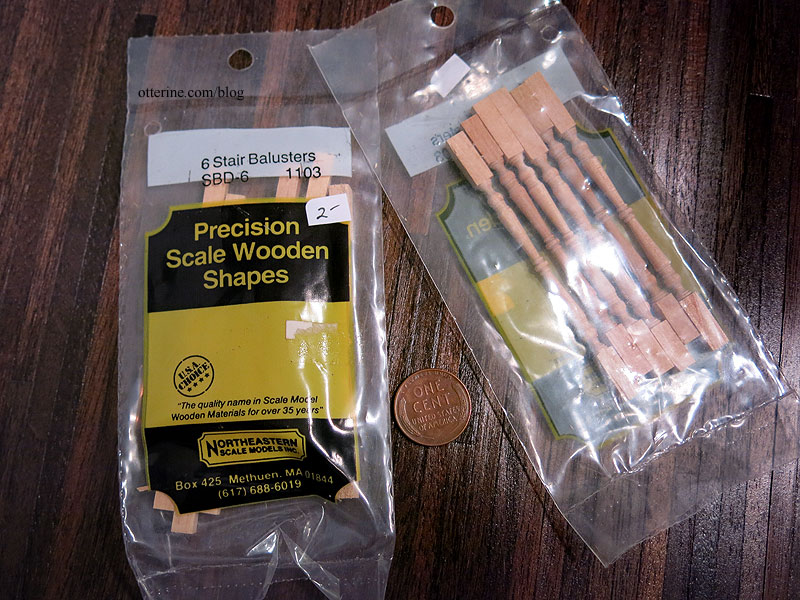
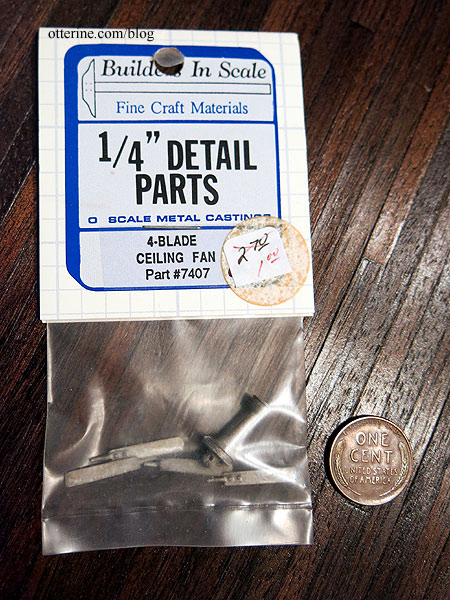
Cecelia’s Unique Finds. These lamps are so incredible.
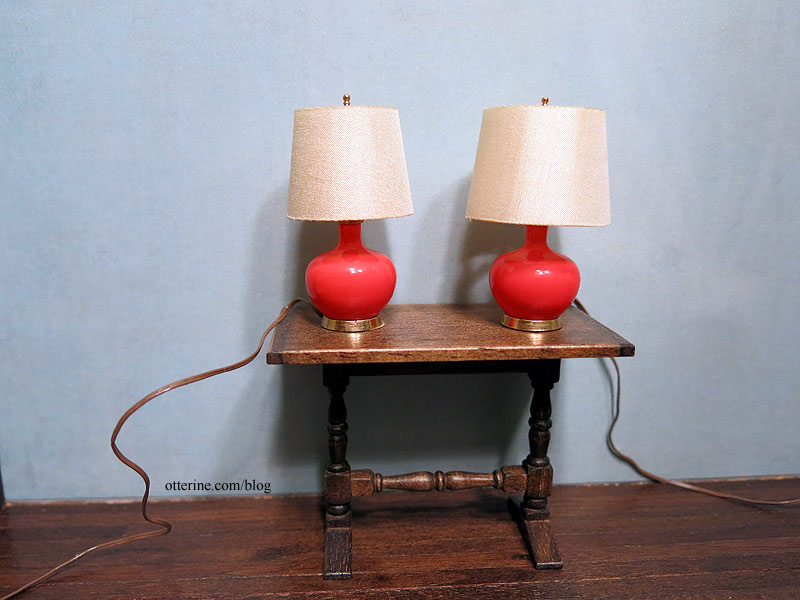
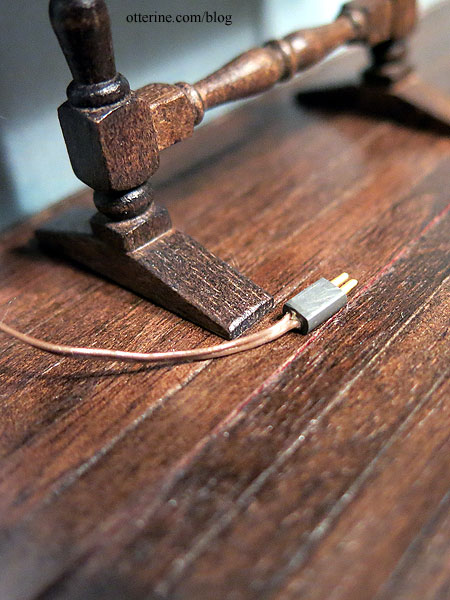
The are marked “RR” and have lights.
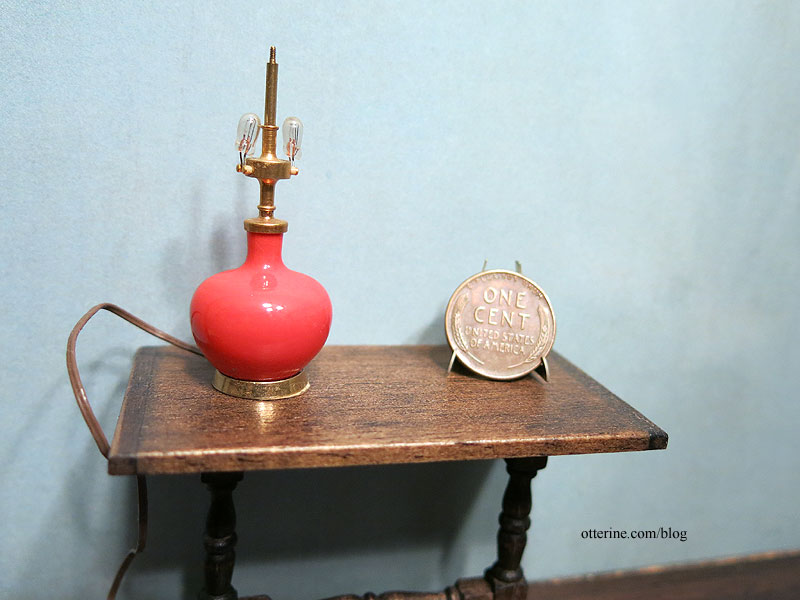
I will likely never know if they work since I don’t know the voltage or the receptacle they would need.
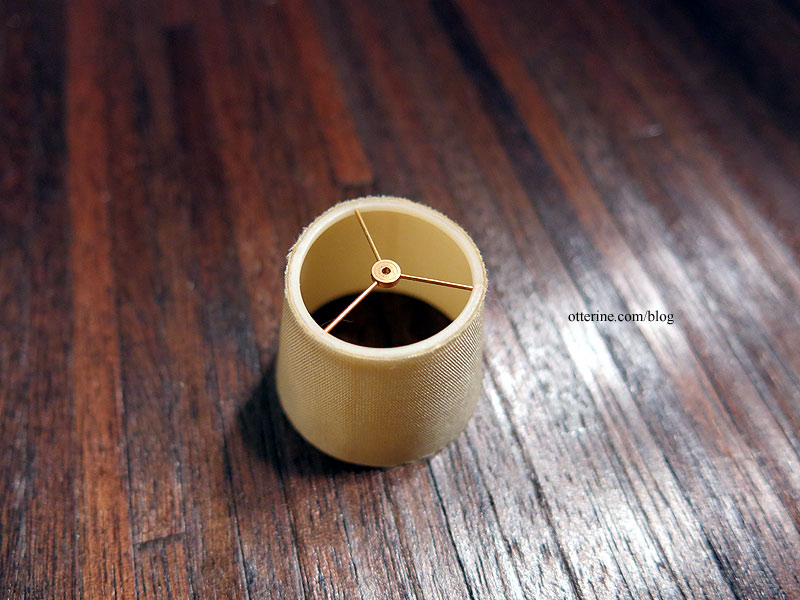
The tiny finials screw on to keep the shades in place.
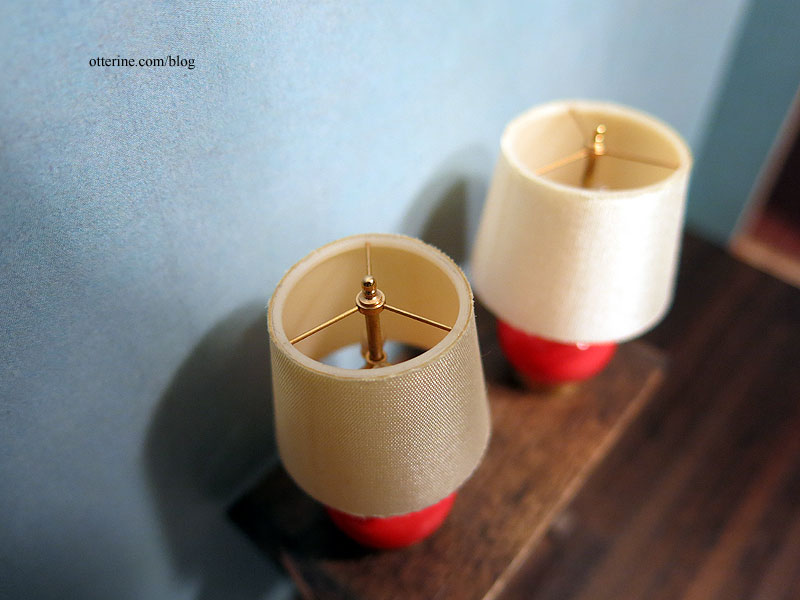
Even if they never light up, they are beauties on their own.
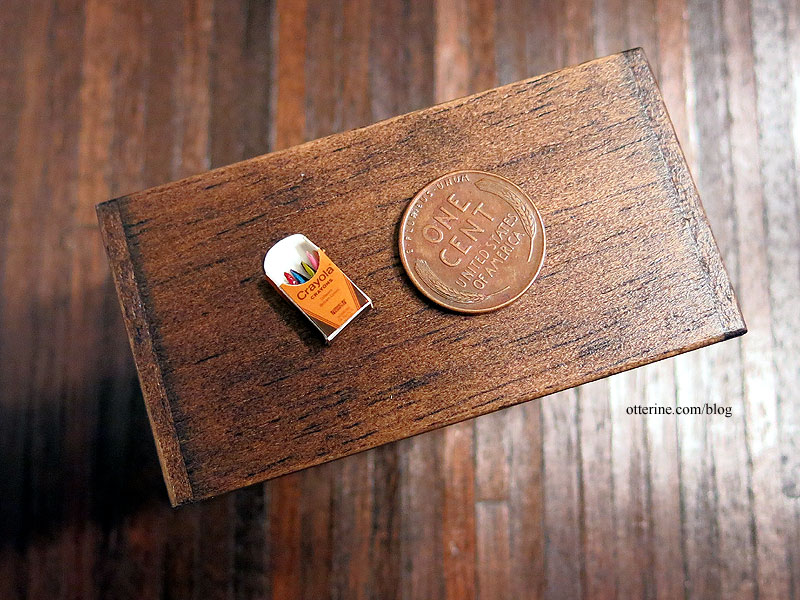
She also had boxes of vintage minis. Teeny crayons!
I recognized the names Venus and Martin Dodge from old dollhouse books.
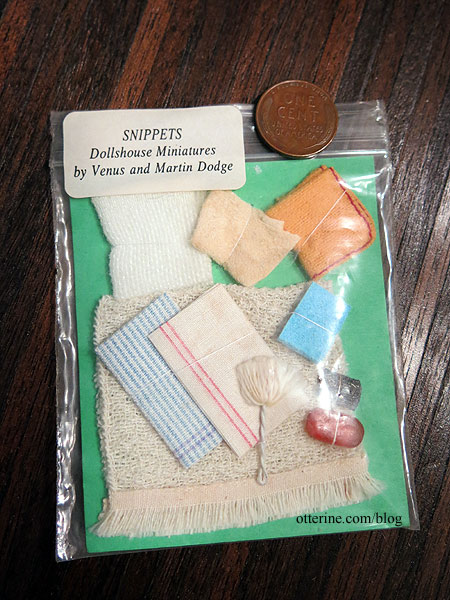
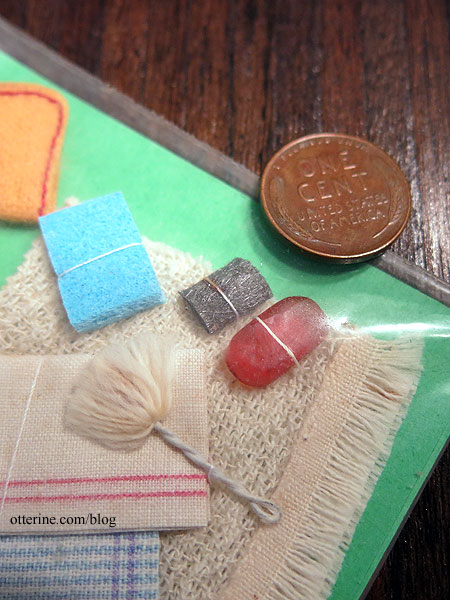
Look at that brillo pad! :D
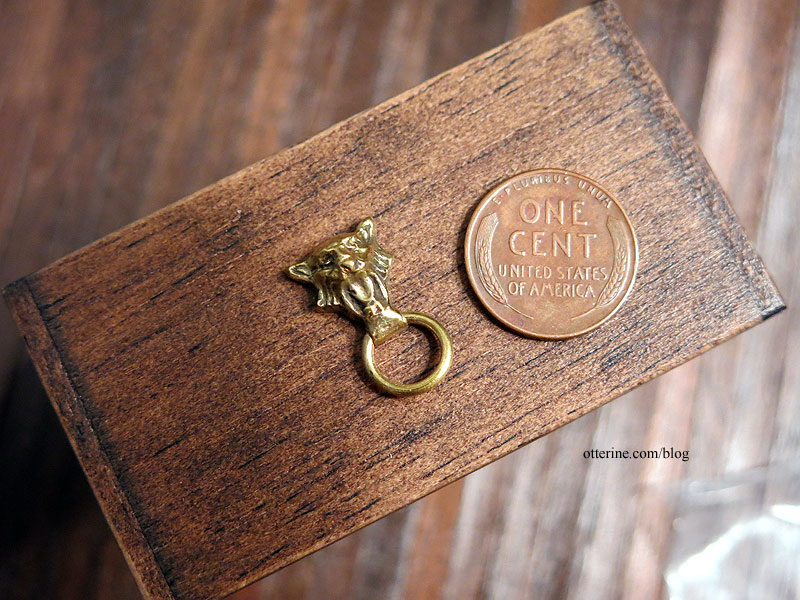
I bought a Ron Stetkewicz doorknocker, but this seller didn’t include her card.
All in all, a fabulous night!
Categories: Miniature Shows and Shops
November 9, 2018 | 0 comments
NOTE: All content on otterine.com is copyrighted and may not be reproduced in part or in whole. It takes a lot of time and effort to write and photograph for my blog. Please ask permission before reproducing any of my content. Please click for copyright notice and Pinterest use.


