

Mail Wagon – part 1
Today, I did a dry fit of the mail wagon. To say the instructions are lacking is an understatement. You are given a blueprint drawing and a typed list of instructions.
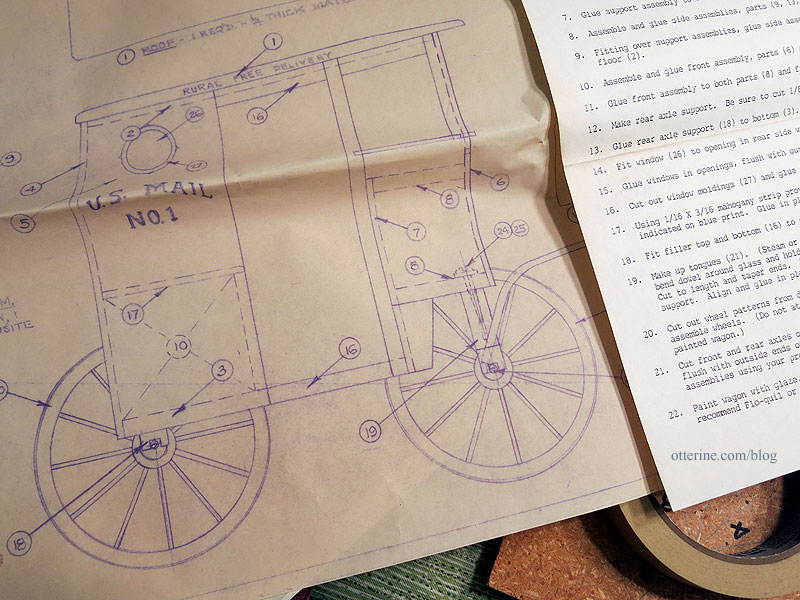
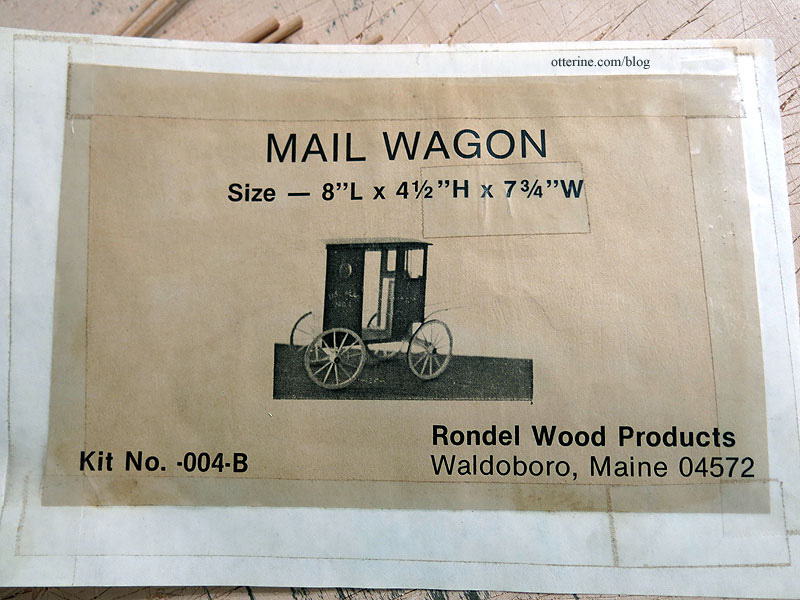
There are no photos or diagrams of the steps, and the kit photo is minuscule and not at all detailed.
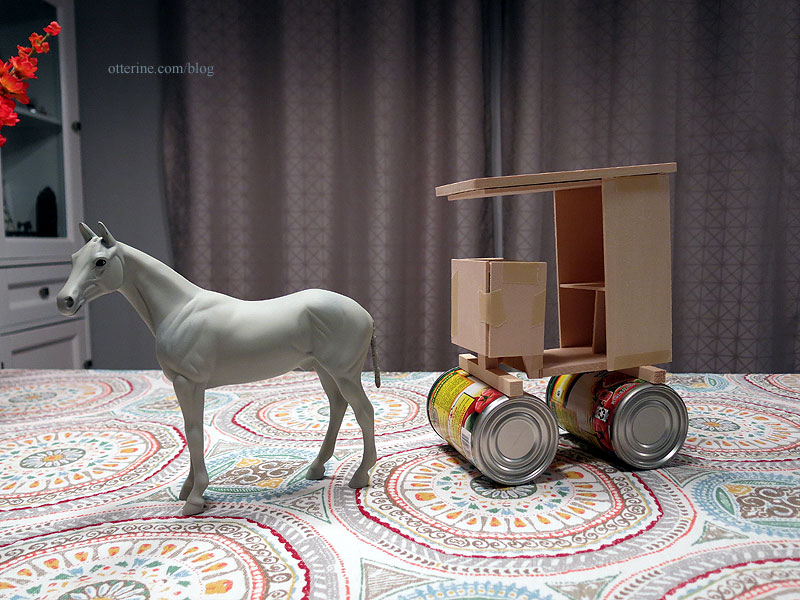
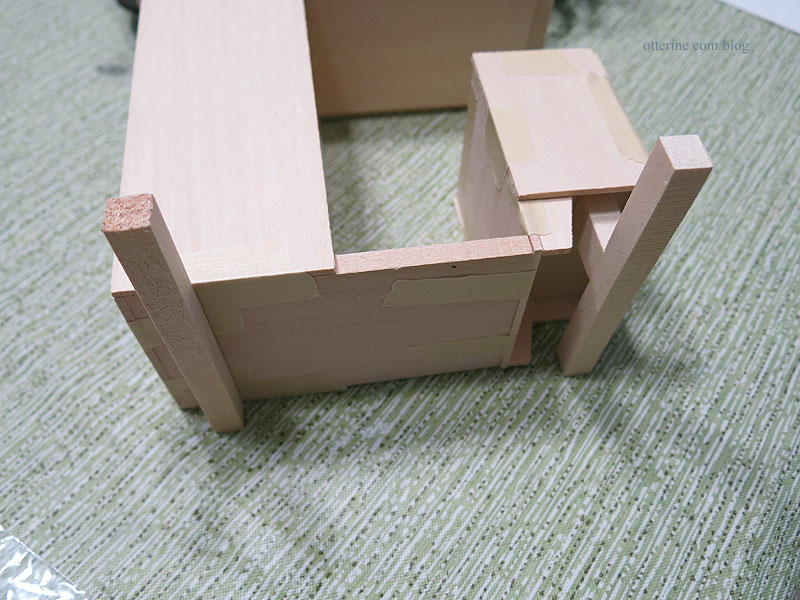
I blundered my way through a dry fit, and one piece still made no sense and didn’t seem to fit properly. But, it does give me a good basis for size and how far away the wheels are supposed to be from the passenger compartment. It’s a very simplistic kit, so you know me…I’ll probably end up building most of it from scratch and using this as only a guide.
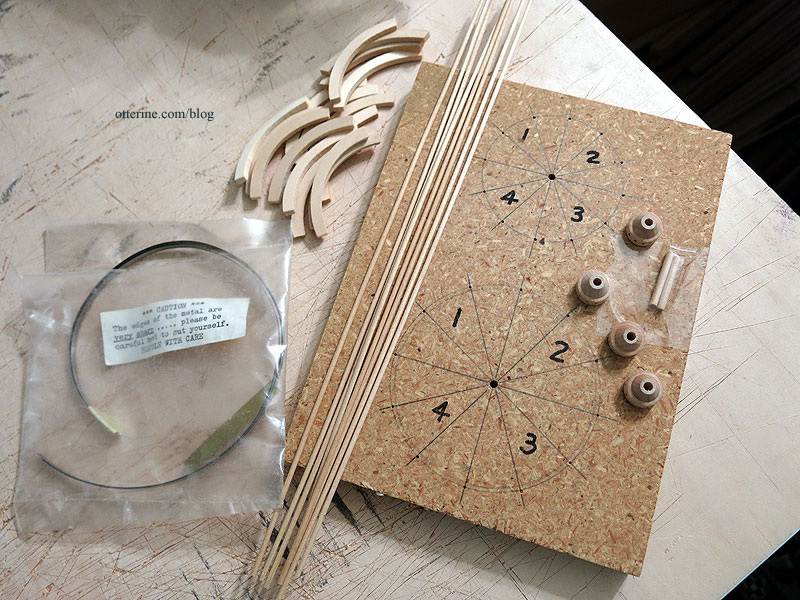
The wheels are incredibly detailed in their assembly, much like the real deal. If I can get them to work, the wheels alone will be worth having bought the kit.
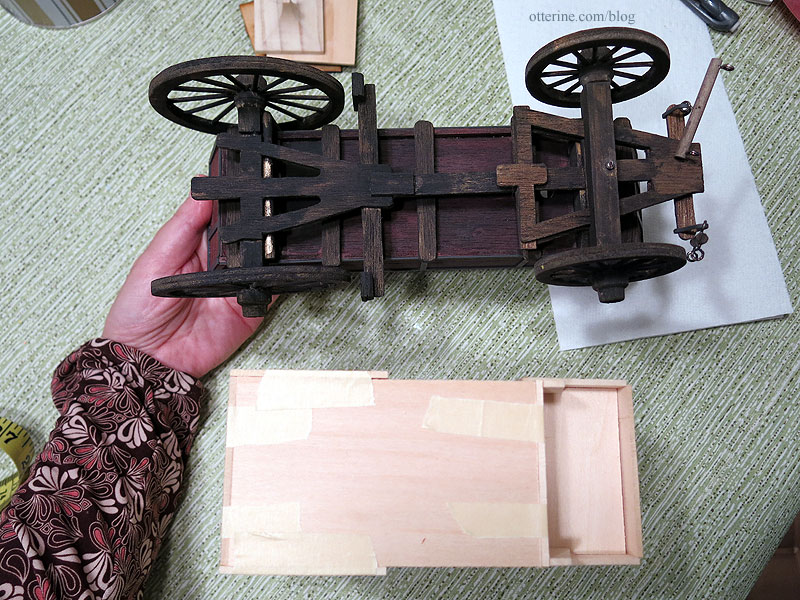
However, this is the extent of the chassis – two wood blocks. The front wheels will turn, but the lack of detail is disappointing.
Here’s a real life mail wagon for example. This is more complicated than I want to attempt, but there has to be a happy medium.
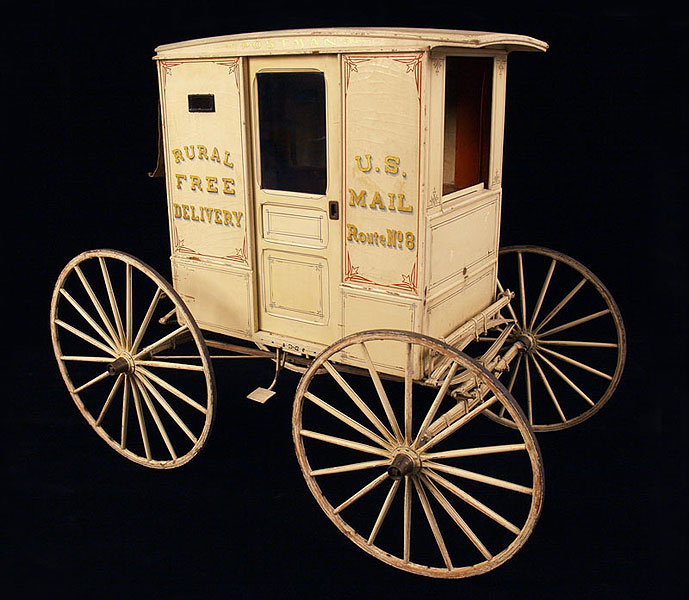
image from The Smithsonian The inexpensive wagon kit I put together for Baslow Ranch has better detailing without being overly complicated.
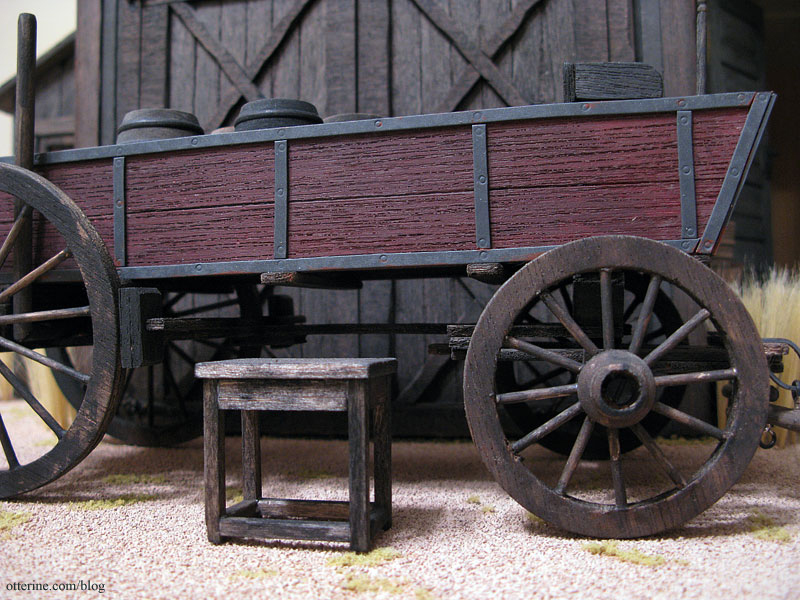
It’s longer than the mail wagon, but I could likely customize something better than two simple wood blocks. I do have another of these kits, but I could cut pieces myself using the general pattern.
I’m checking some other sources for ideas. Plus, I’m planning a trip to a local museum that has carriages for in-person study and better photographs.
Categories: Ivy Hollow RFD, Model Cars, Vehicles
March 2, 2019 | 0 commentsCreatin’ Contest 2019: Yay or neigh
Or, should that be yay AND neigh? :D This year, I’m going to openly blog about the Creatin’ Contest. I enjoy blogging about my builds as I go, figuring out the yays and neighs along the way, and I suppose it really has been a self-imposed limit to keep it all under wraps. We might love a good reveal, but the journey itself is also pretty great. What’s my idea, you ask?
First, the horse….
Then the cart….
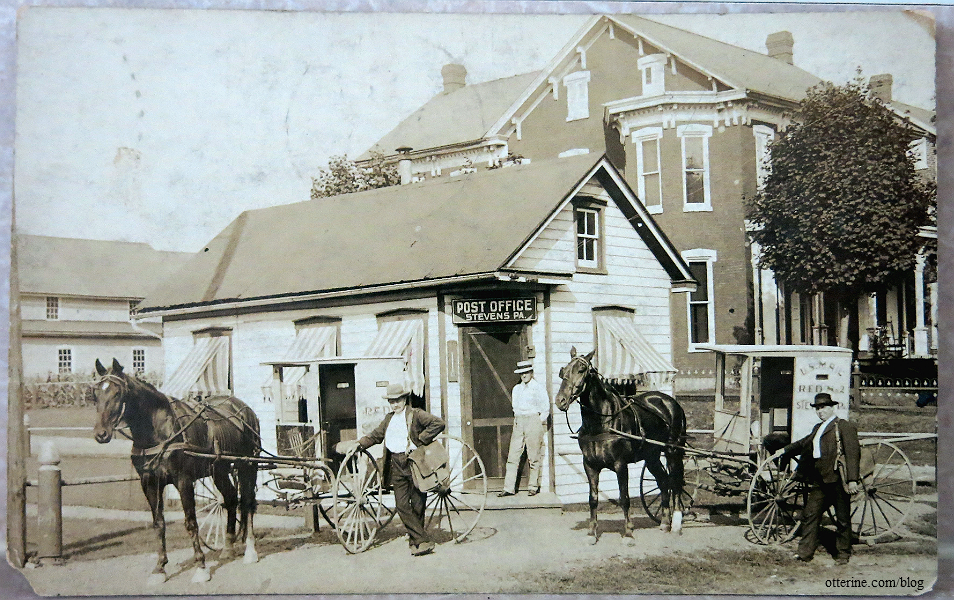
Then the RFD. :D This is a postcard from 1917 showing a post office with the RFD horse wagons picking up the mail. I love the awnings and the angled doorway especially. The postcard itself is a very interesting piece. The print is almost like a daguerreotype on paper. It has that weird metallic shimmer at a certain angle.
Rural Free Delivery was started because rural folk would have to go to town to get their mail, which was often far and not easy in poor weather. While free mail delivery existed in the cities by 1863, rural free delivery didn’t truly begin until 1896 with five riders in West Virginia. This video from SmithsonianNPM gives great overview. Those five rural routes spawned better roads all over the country. Fascinating!
Check out this awesome video showing the delivery in action in 1903. I know how excited I get when the mail arrives now, and you can’t give sugar cubes to the mail truck! :D
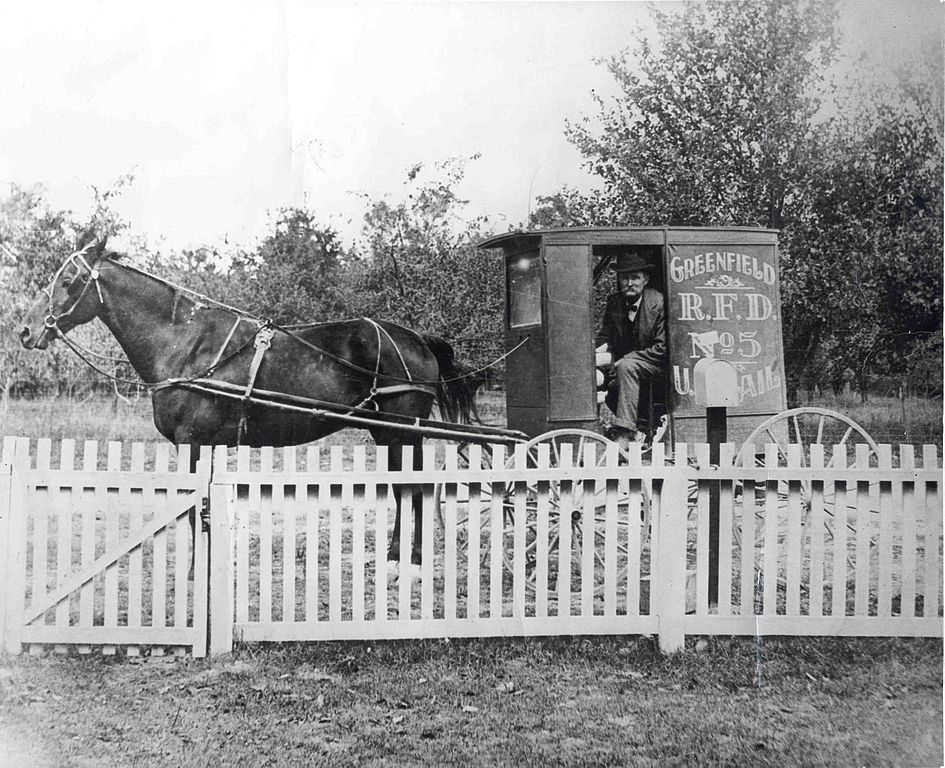
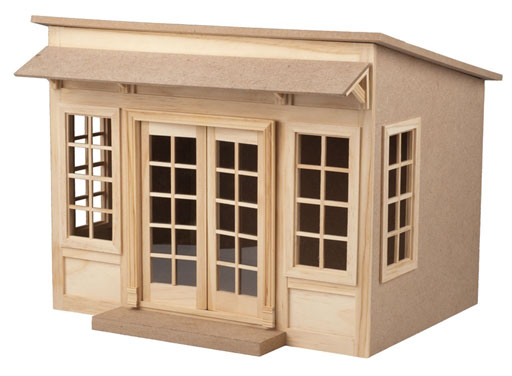
image from wiki I think the Serendipity Shed will be a great starting point for my RFD post office stop. I have yet to buy the kit, but soon! A name for my town has already been chosen as well, but I will keep that until later in case I want to change things up as I get going.
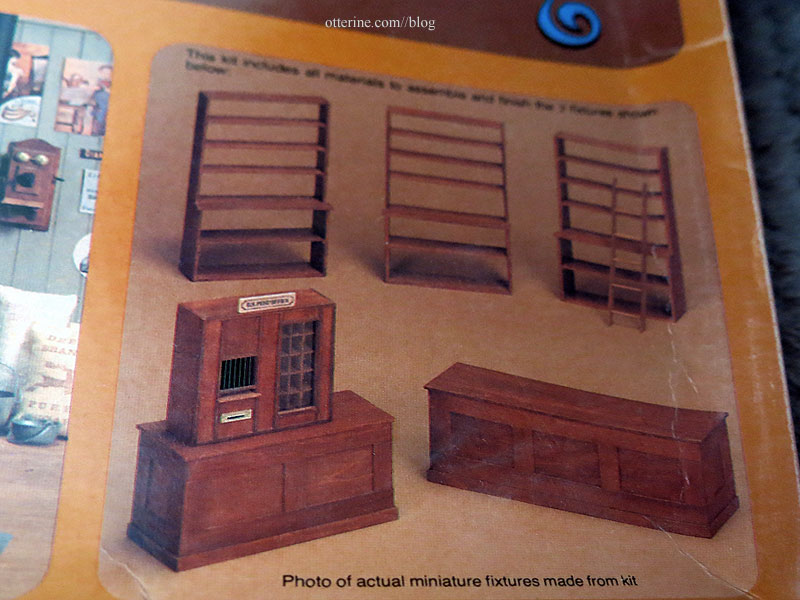
I also have these two Realife kits, which will offer a lot of great already-in-the-stash filler for the interior.
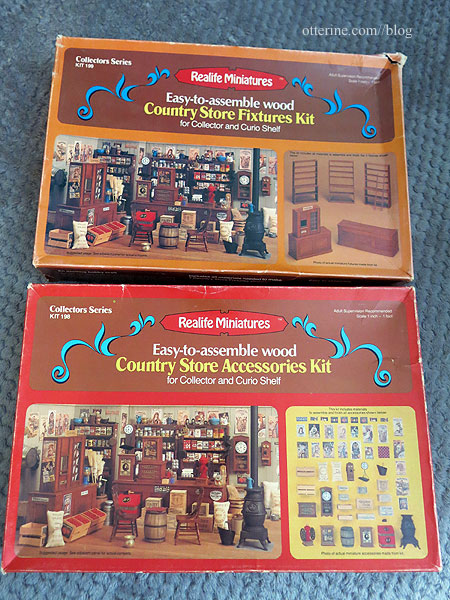
I’ll need to build the shelving first to determine any alterations to the basic structure. I’ll also look through my stash of windows since the kit ones are more modern.
So, back to the horse, the wagon and the tack required to make it all work. I’m busily getting materials from the library and online. More to come soon….
——
Additional sources: Encyclopaedia Britannica; RFDTV; WikipediaCategories: Ivy Hollow RFD
February 28, 2019 | 0 commentsMaking a 1/12 scale horse – part 4
Continuing work on the 1/12 scale model horse. Once the putty set, the tail seemed pretty solid so I sanded the putty areas lightly with 320 grit to smooth it further. I then covered the eyes with Winsor & Newton Masking Fluid since I want to protect them during the painting process.
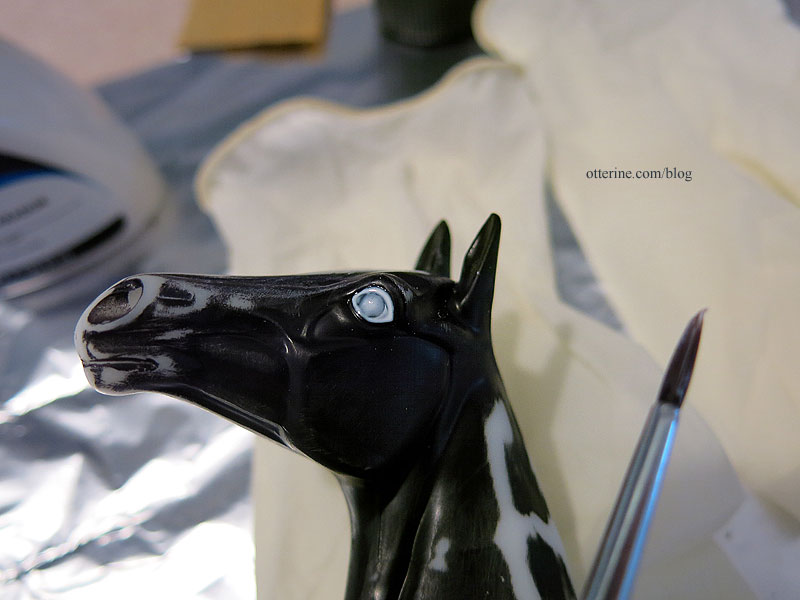
This is a pricey fluid used for watercolor painting; it covers any space you want to remain white on a painting. You use an eraser to remove it from the paper after the paint has dried. I used a 50% off coupon at Michaels. It’s a good crossover product that will work on other things beyond paper.

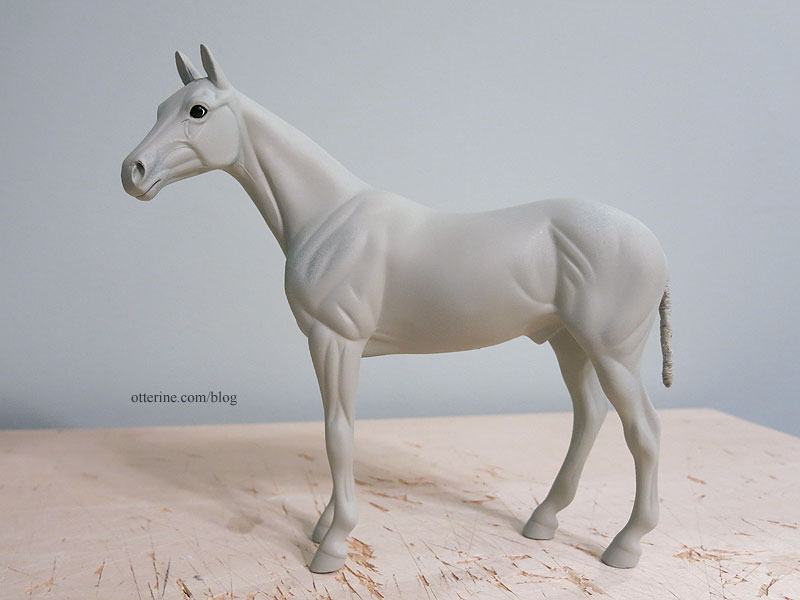
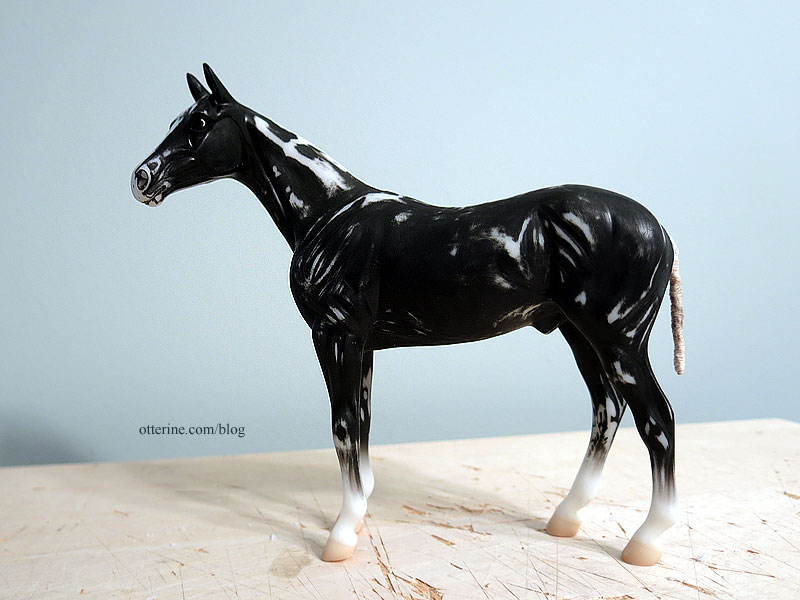
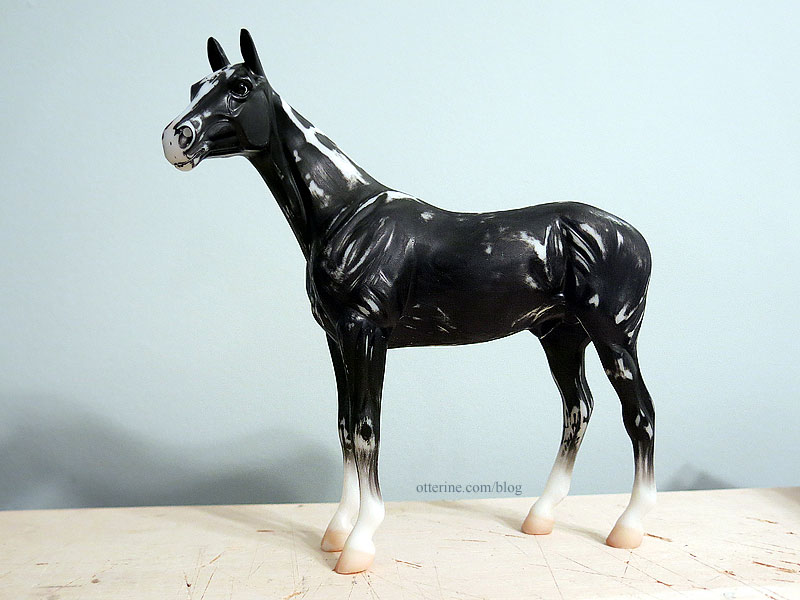
I sprayed the horse with Testors Flat Light Aircraft Grey to have a light primer coat to start. Priming brings out any flaws that were unnoticeable before, so I will sand those once the primer cures.
I’m making a grey/roan horse, so I looked online for reference photos. I’ve never mastered the airbrush, but I am pretty good with a regular brush. The next part will involve painting the base details. Even though I plan to add fur, the color underneath will show through so I couldn’t leave it black and bare white plastic. I’ve removed the masking on the eyes just in case leaving it on a long time caused issues; I can always add more when I paint the face detailing.
I also have some good leads on tack, which will need to be made before fur is added so I don’t mar the final finish. I want to be able to just buckle any tack onto the horse for pictures and remove it immediately. So, it might be awhile before you see the horse again. I’ll update on the tack as I work through it.
I also chose a name for my horse: Jebediah McCants. Maybe I’m wrong, but I doubt anyone guessed it. I looked up the meaning of Jebediah, and it means “beloved friend.” McCants is some distant ancestral name, and I thought the names sounded good together. I’m figuring our RFD carrier is Mr. McCants, since the carriers were charged with supplying their own transportation, therefore caring for their own horses. Jebediah looks eager to get on with things, no?

Categories: Animals and birds, Ivy Hollow RFD
February 25, 2019 | 0 commentsMaking a 1/12 scale horse – part 3
Continuing work on the 1/12 scale model horse. I found a great tutorial about removing the tail and building up with Apoxie Sculpt, though this technique ends with a sculpted tail instead of fiber. This site directed me to two additional tutorials on Rio Rondo – one for adding a tail and one for hairing (these links are no longer active as of 2024). The hairing for this example does not drill holes for the mane, so I will be on my own for that, but it is good to see the prep work involved.
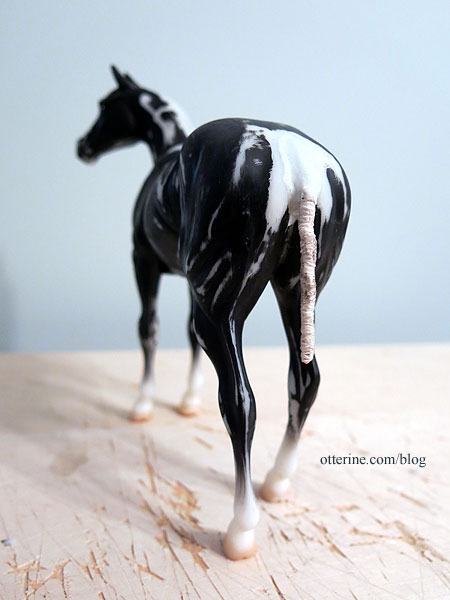
I ended up going with the wrapped wire tail from the second tutorial using 18 gauge copper wire.
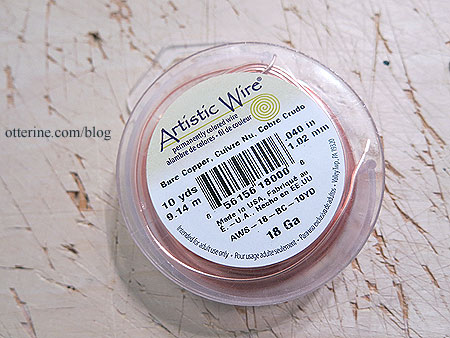
I followed the tutorial, but mine ended up looking a little different.
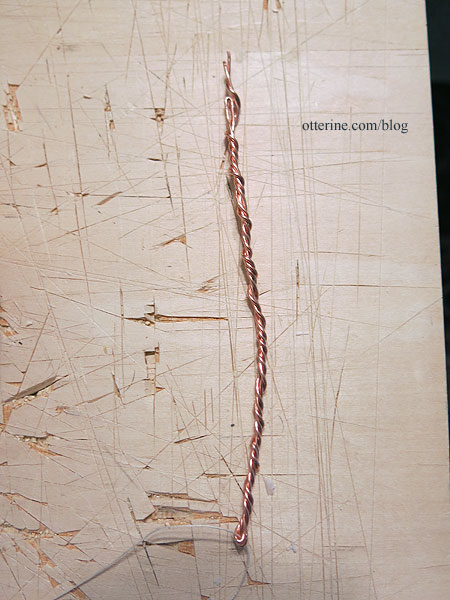
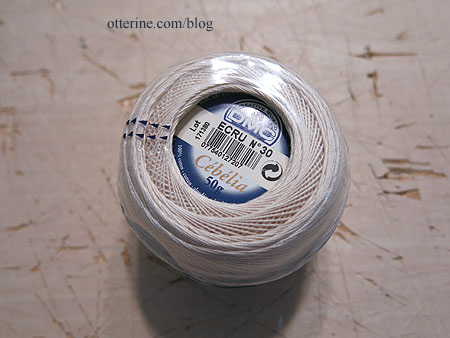
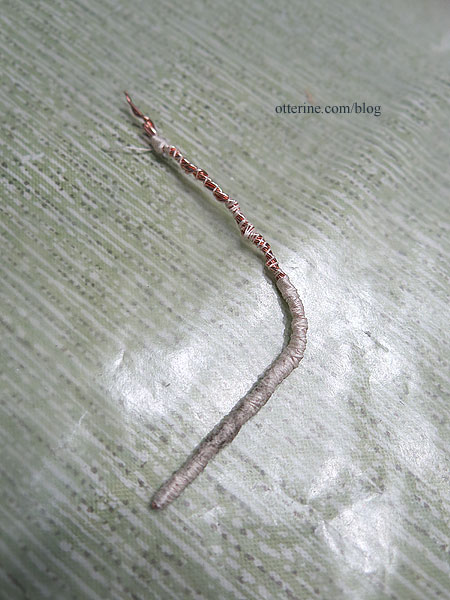
I wrapped the wire with DMC cotton using Weldbond adhesive.
I left it long since the horse body is partially hollow, and I thought the added length would be good for stability. When I inserted the wire, I added Weldbond and super glue gel to the top since it would likely come in contact with the body inside. Every bit helps.
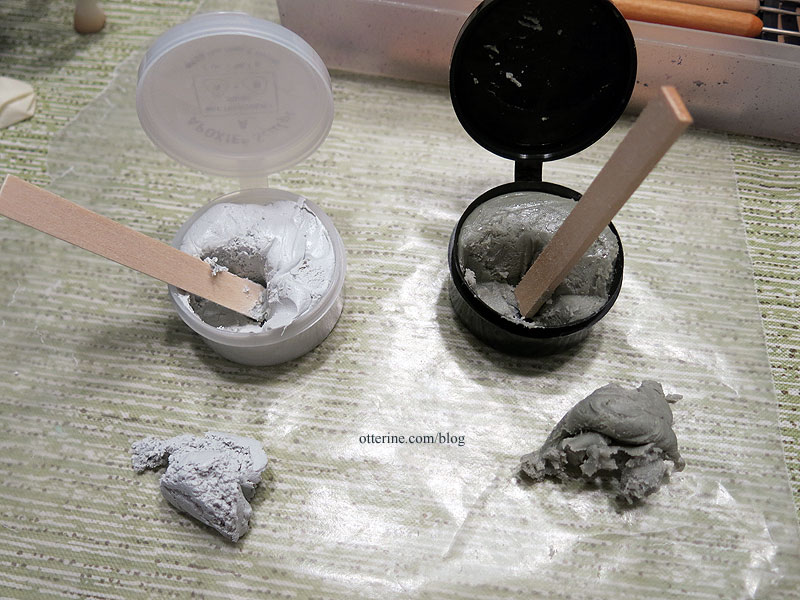
I used Apoxie Sculpt for the next part.
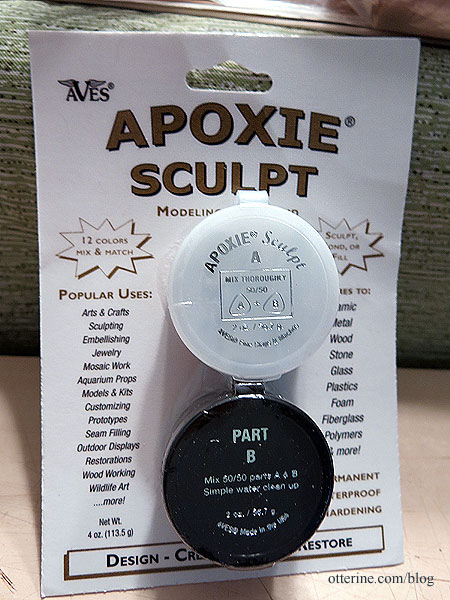
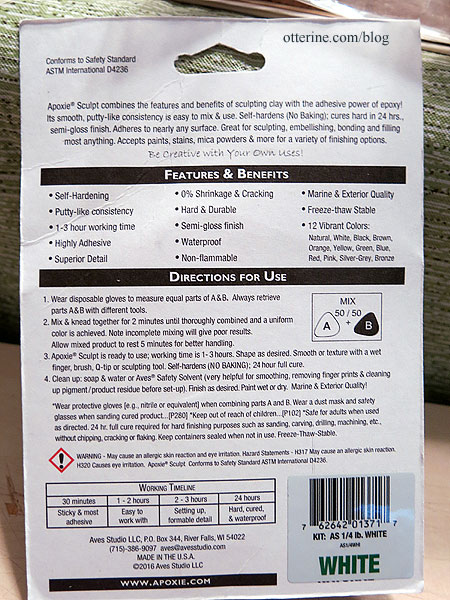
Some of the attributes listed on the back are promising: highly adhesive, 0% shrinkage and cracking, 1-3 hour working time, and 24-hour full cure. There’s a nifty table showing how the putty changes over the working time. It also comes in colors, which is less of an issue for me since I plan to paint the whole horse anyway. I’m using white putty.
Part B was very stiff and sticky coming out of the cup, but it mixed easily. (Yes, I made way more than I needed, but I didn’t want to have to start over if I needed more.) I did use latex gloves while mixing but used my bare hands when working the putty into place. You can use water to smooth it, and the website recommends freezing unused portions to extend the life.
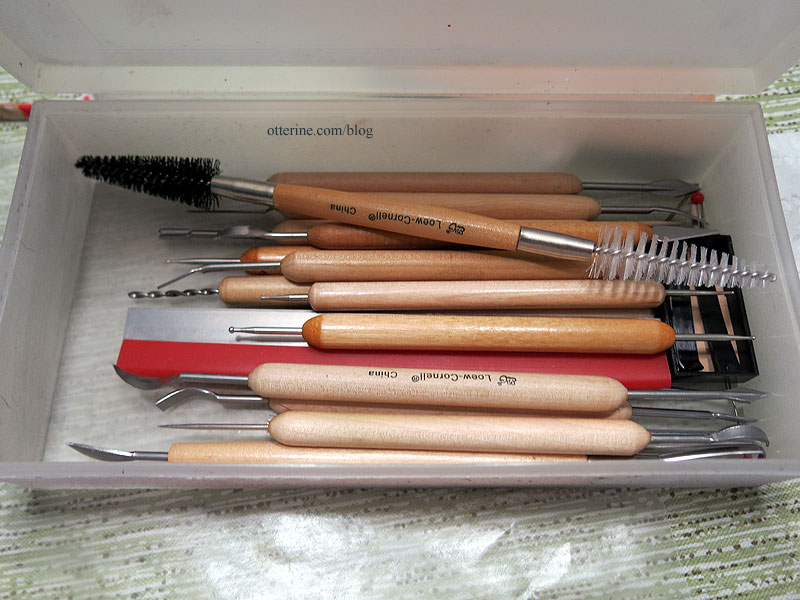
I also have a good set of sculpting tools from way back in my art days. :]
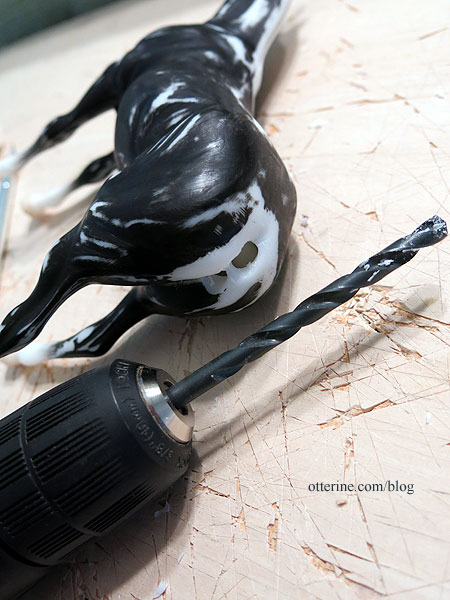
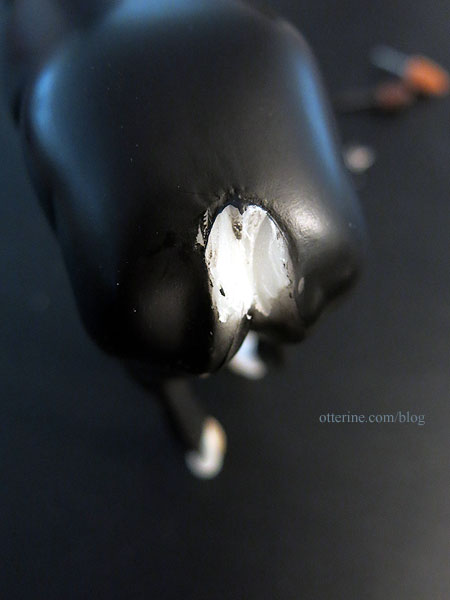
Using a 1/4″ drill bit, I drilled a hole for the wire, making it large enough to also add the putty. As you can see, I got the first hole too low. The drill bit wanted to slip on the smooth plastic.
I sculpted the tail definition from the body to the wire and plugged the extra hole. Mine looks different from the tutorial, but I think it will work just fine. You can sand the putty once it’s cured, so I will smooth it out even more later.
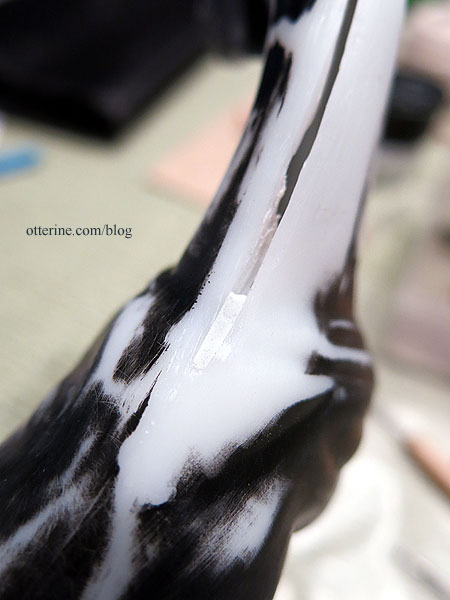
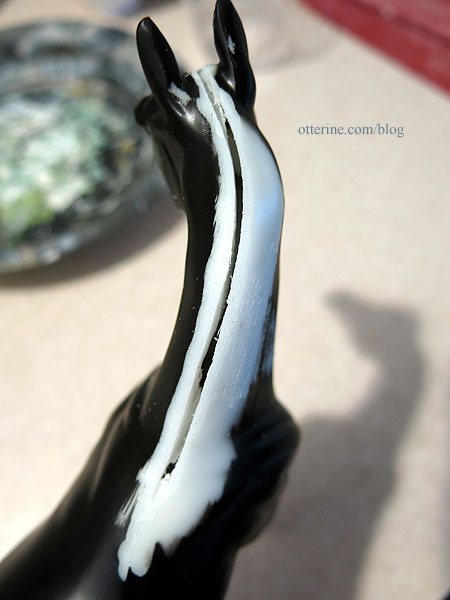
I used the same putty to fine tune the slit along the neck at the withers…
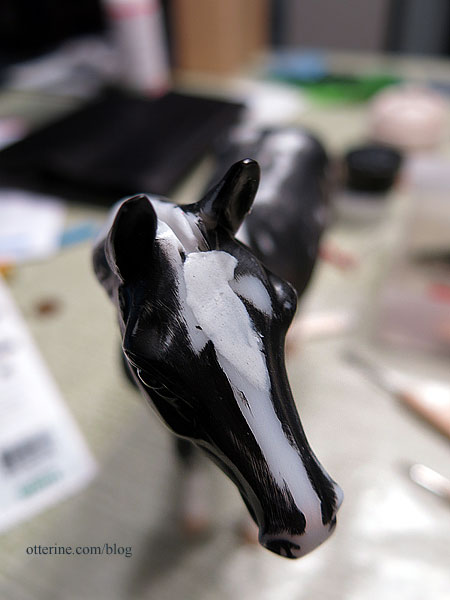
…and at the forehead.
Now, I leave the putty to set.
Categories: Animals and birds, Ivy Hollow RFD
February 21, 2019 | 0 commentsMaking a 1/12 scale horse – part 2
Continuing work on the 1/12 scale model horse. Once I removed the mane last time and saw the slit in the neck, I thought it might be easier to leave the slit to add the mane. I could glue the hair deeper into the body for a more secure bond. The slit does go to the top of the head, so I’ve cleaned it out and widened it to the withers.
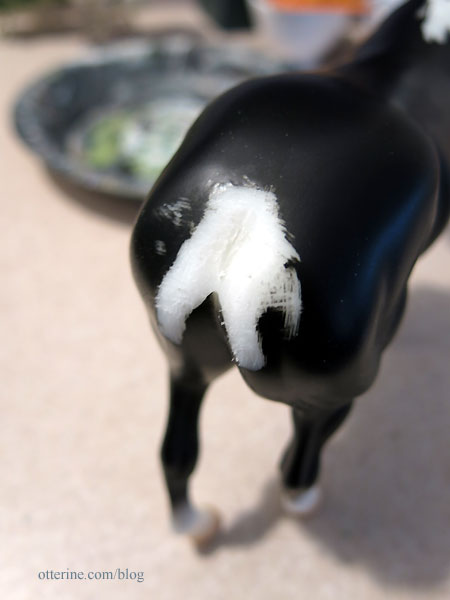
I used the Dremel to remove the tail nub left behind from breaking it off.
I then sanded the tail area. I’ll be repairing the area when I attach the tail support so I didn’t worry about the exact shape.
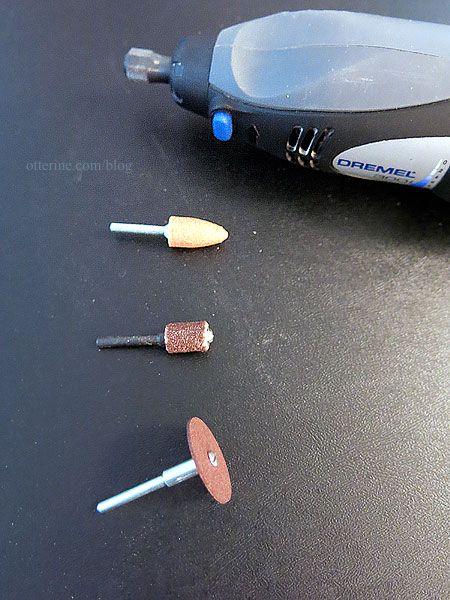
Here are the three bits I used in the process. The Dremel did melt the plastic as I worked, so I was sure to use protective glasses and a mask. I also made quick cuts and pulled the melted plastic as I worked.
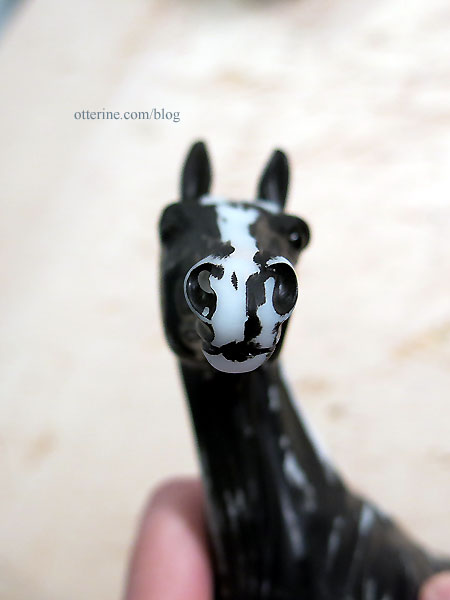
I drilled holes in the nostrils with a pin vise.
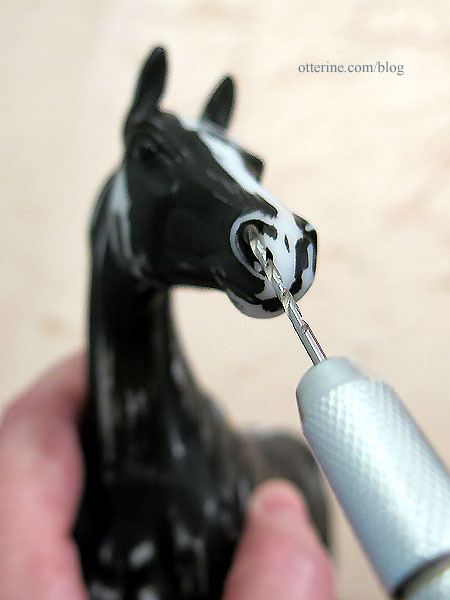
The one on the left has been drilled and the one on the right is original. You can already see a difference in the realism.
I fine-tuned the mouth with an X-Acto blade.

I sanded the few bad places from the deconstruction and then wet sanded the whole horse by hand with 320 grit. The finish on the plastic was very smooth and I wanted to make sure I had a good grip for the primer. I also removed the molded copyright from the inner thigh, random mold lines, and any other imperfections in the manufacturing process.
Categories: Animals and birds, Ivy Hollow RFD
February 11, 2019 | 0 comments


NOTE: All content on otterine.com is copyrighted and may not be reproduced in part or in whole. It takes a lot of time and effort to write and photograph for my blog. Please ask permission before reproducing any of my content. Please click for copyright notice and Pinterest use.


