
Rare find
Along the way of researching, I often run into old books due to the era I choose to emulate in my builds. Making a turn of the century mail wagon led me on such a journey. There are other books I’ll mention, but this one is a true gem. It’s called Plans and Dimensions of U.S. Mail Wagon of 1880 by A.S. Dodd. In 1951, Jack D. Rittenhouse published a reprint of the article from a magazine called The Hub and limited it to 295 copies. Given the rarity, it’s not surprising to find that there are only seven libraries that have a copy, six of which are universities.
I tried to obtain a copy through interlibrary loan, but the request was denied due to the item’s status as non-circulating. The closest locale was over 700 miles away, so a road trip wasn’t really in the cards. I wrote to the Wyoming State Library to see if their copy was circulating since it didn’t indicate that it was not. A staff member replied that they would send it out of state but it would have to be kept on the premises of my local library. That was perfectly acceptable to me, so off my request went.
It showed up a short time later, and the library staff indicated I could see it on my usual Bookmobile stop since the Bookmobile was considered library property. But, I wanted to be able to take my time and perhaps make some copies if it turned out to be a good resource, so I waited until the upcoming weekend to head to the library. My boyfriend and I went to the library and saw an amazing bit of history. While not particularly useful for my project, the booklet was simply wonderful.

The booklet was set into a card folder to protect it, but it was still worn from handling and age. I don’t know if libraries still stamp due dates with the modern barcode technology, so it might have been checked out since 2003, or maybe not.

The copy was held together with tape in some places, so we gingerly made copies and took photos.

When we got home after dinner, I did another quick google search and a copy popped up on amazon. The listing indicated it was in like new condition and included a 1981 stamp of the very mail wagon featured in the booklet. It was pricey, but when it arrived, it was more than worth it.

There’s a little separation of the outer page along the fold, but other than that it is perfect. The stamp sleeve has been signed by the publisher.

Such a great addition to the original reprint.

So, now we know there are eight still floating around for sure – seven at libraries and mine. :)

Categories: Books and media, Ivy Hollow RFD
March 28, 2019 | 0 commentsMail Wagon – part 2
Continuing work on the Mail Wagon. After my visit to the Wesley W. Jung Carriage Museum, I was even more inspired to make the mail wagon as realistic as possible. If you do a google search for RFD mail wagons, you will find a wide array of vehicles. Some are tiny and some are posh, and even the suspensions vary. This is because the carriers were to buy, store and maintain their own vehicles (and horses). I’m choosing to make what appeals to me aesthetically as well as what I think will be a reasonable build to attempt. Since most cabins were basic boxes, the more challenging part is emulating the suspension.
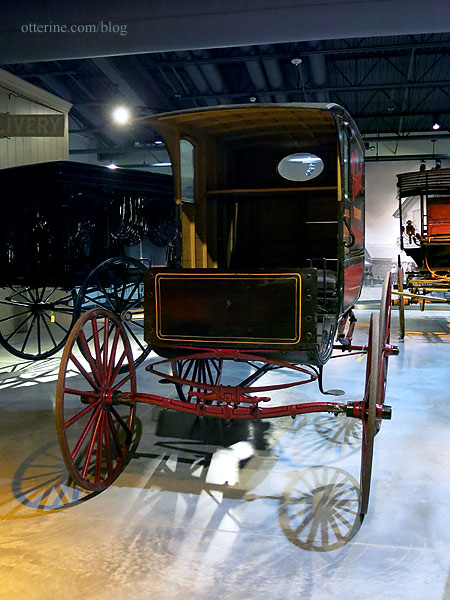
Tobacco wagon at the Wesley W. Jung Carriage Museum with similar suspension The Rondell mail wagon kit is completely lacking these suspension details, and after seeing the real life examples, I’m thinking the wheels from that kit would be too bulky as well. The farm wagons and other utility vehicles had substantial wheels, but the mail wagon wheels were rather slight and dainty.
During my research this week, I happened upon a 1:12 scale Doctor’s Buggy by Model Trailways. This can be pricey depending on the retailer, but I found a great deal on amazon for $50 plus free shipping (as an Amazon Associate, I earn from qualifying purchases).
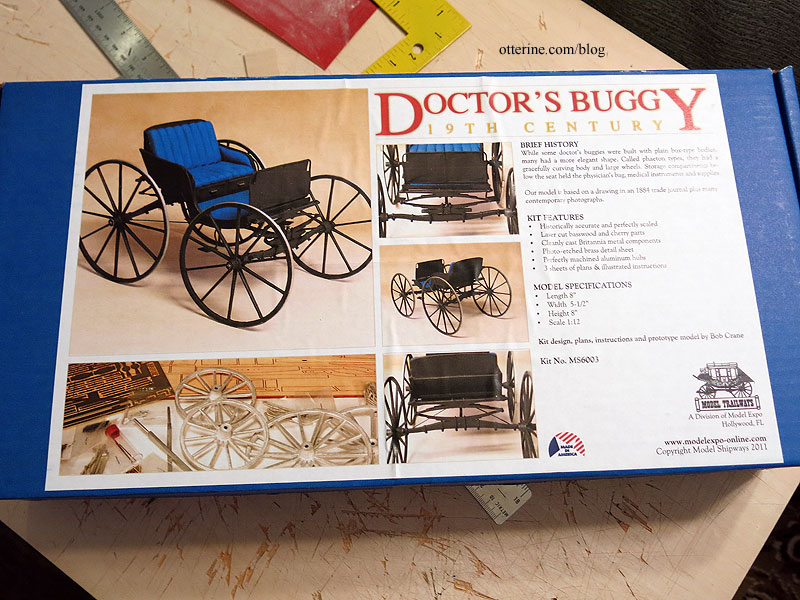
It has the exact suspension I need and daintier wheels than the Rondell kit.
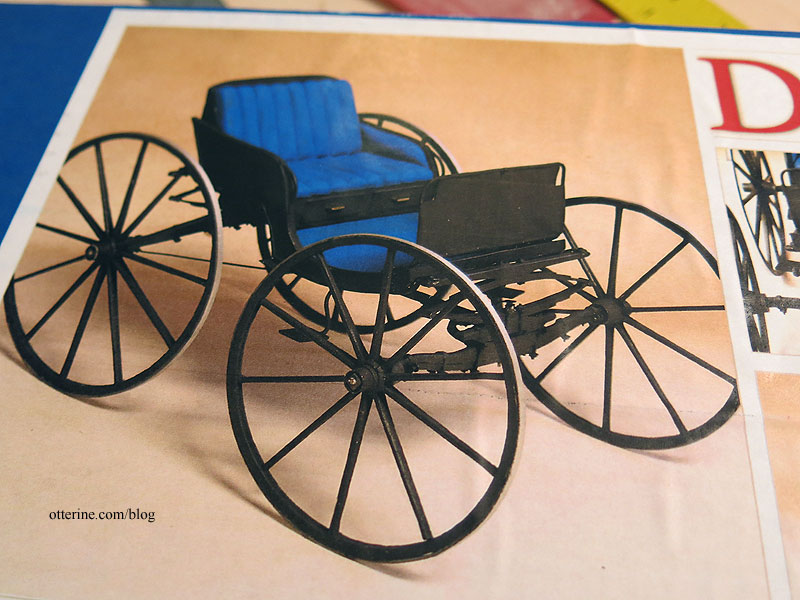
Considering the time and effort I would expend to recreate these parts, the kit is worth it for those parts alone.
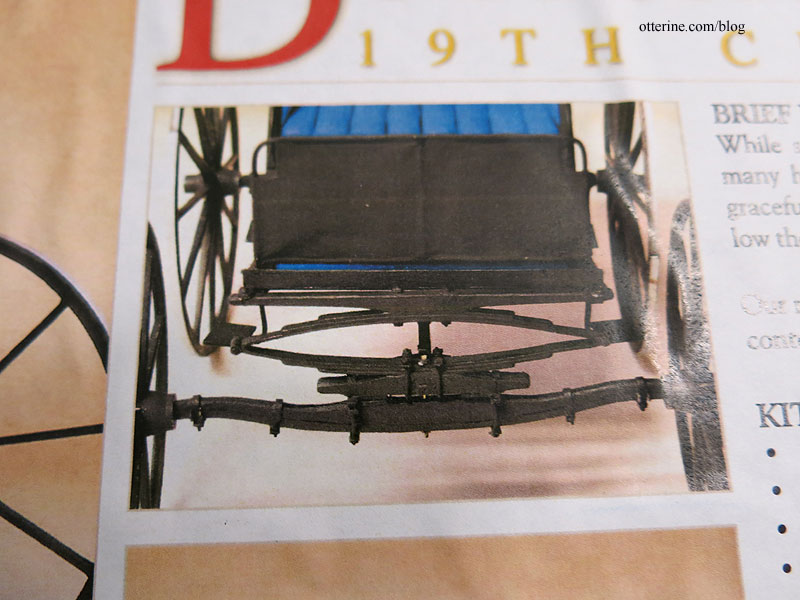
The springs and axles are actually metal in this kit. The wheels will spin and turn, which is just fabulous! I think it should be fairly straightforward for me to extend the suspension front to back to accommodate a mail cabin that will likely be longer than the kit’s buggy compartment. Those compartment parts are equally fabulous – laser cut and precise.
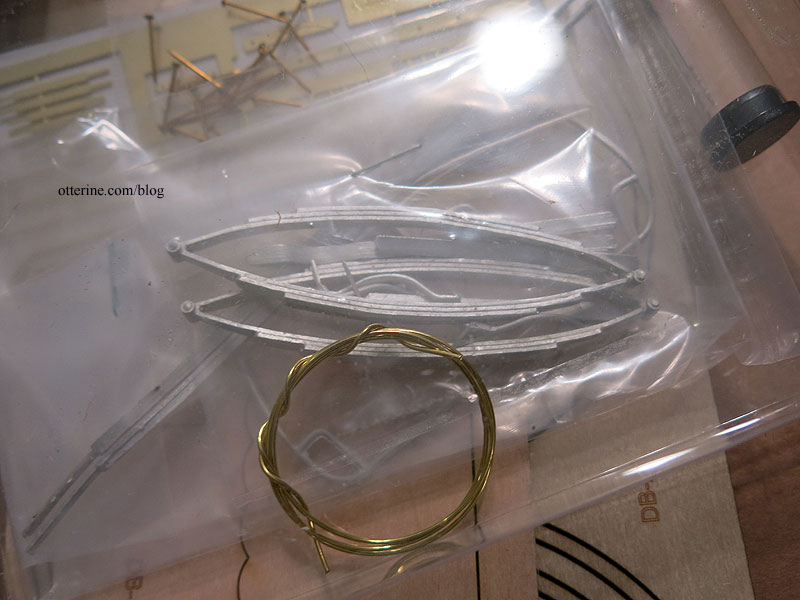
Now, the reviews say these are challenging kits, but I’m up for it. :D Plus, I’ve made many model cars, so I’m used to confusing, vague and outright erroneous instructions. I’ll start by making the front and back assemblies independently, including the wheels, then build my mail cabin to fit before I make adjustments to the length of the suspension. I’ll need to be mindful of adding too much weight in case the metal parts are more delicate than they seem. I’ll weigh the doctor’s buggy parts as a guide.
Categories: Ivy Hollow RFD, Model Cars, Vehicles
March 15, 2019 | 0 commentsWesley W. Jung Carriage Museum
This past weekend, my boyfriend and I visited the Wesley W. Jung Carriage Museum at the Wade House historical site in Greenbush, WI. It’s a 20,000 square-foot museum with some of the finest carriages and displays I’ve seen. It has been cold and snowy in the area, so I hope that is why there weren’t many visitors. It’s a great place that maybe people take for granted. But, maybe it’s more seasonal when people can tour the grounds and partake in festivities in warmer months. Even though we didn’t go to the other places in the complex, the carriage museum alone was worth the visit.
There’s a gorgeous stagecoach before you reach the ticket counter, and you can climb inside. There’s an automated speaker that gives you a fun experience, and a gift shop with a lot of vintage candies.
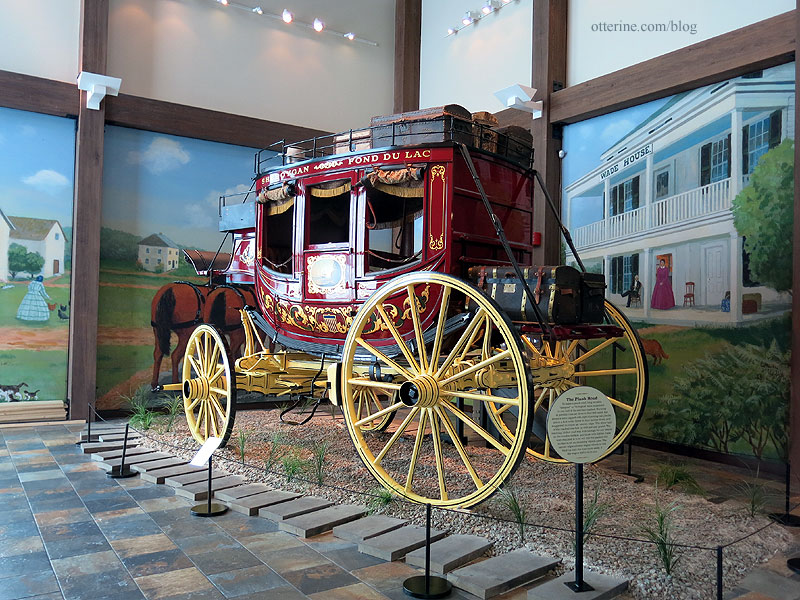
Since we were the only visitors, the curator Jim gave us a guided tour of some of the more relevant carriages for my RFD build. While they didn’t have an actual mail wagon in the collection, there were a couple that had similar suspensions and features to various mail wagons I’ve seen in my research. After this helpful start, we roamed the museum, making two full laps to take it all in.
This tobacco wagon was the closest in size and type of suspension, at least for the front.
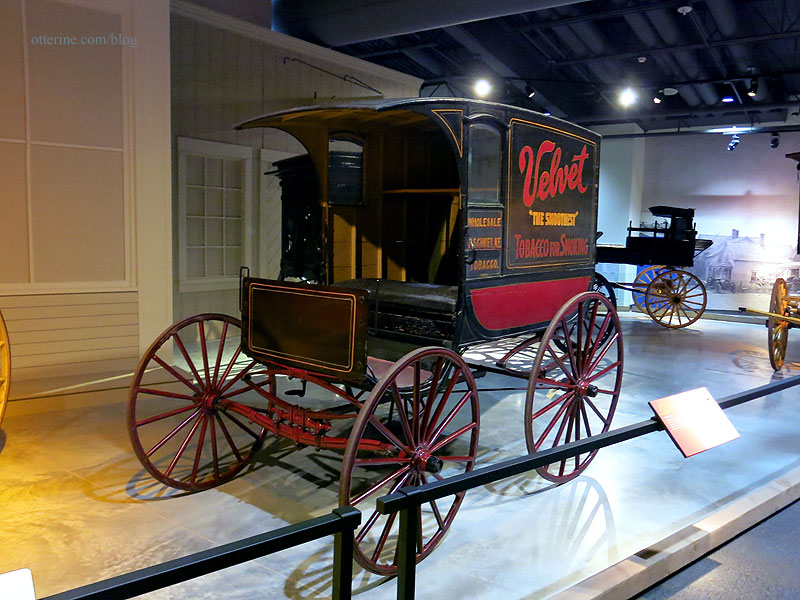
I was able to get some great photos of the underside that showed me how it was all put together. Much of this was made from metal. I don’t plan to recreate in metal, but I think I can get a nice replication in other materials.

There was a great side room that showed the springs and wheel construction, as well as how it was all put together.
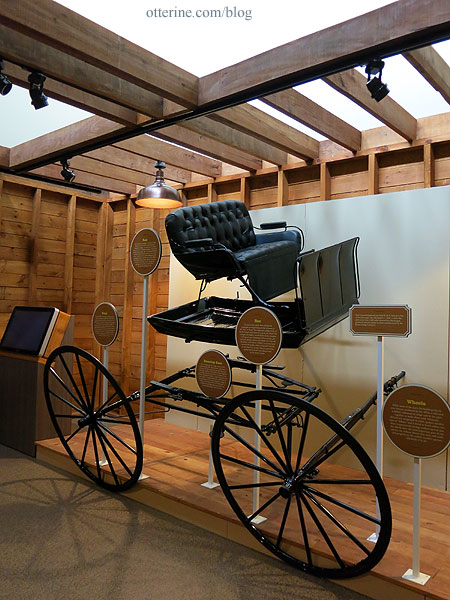
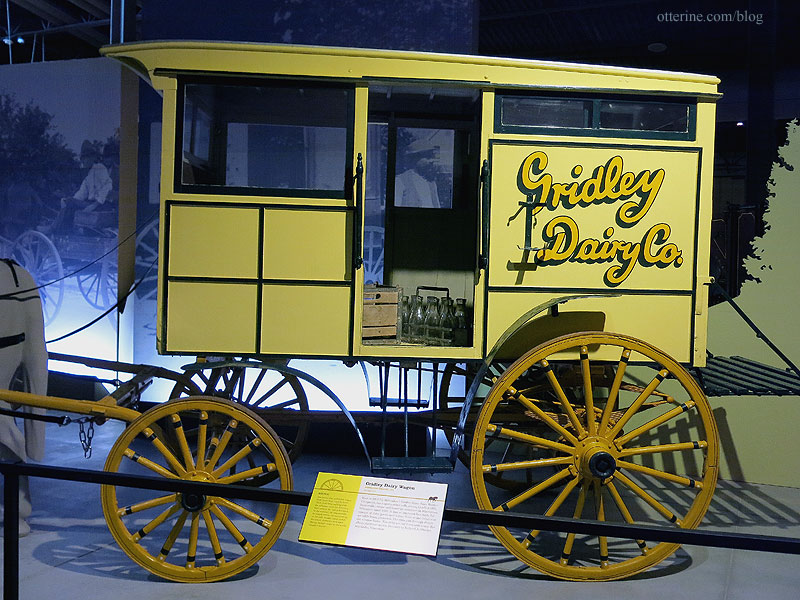
This milk wagon has sliding interior doors, which I’ve seen in some of the mail wagons.
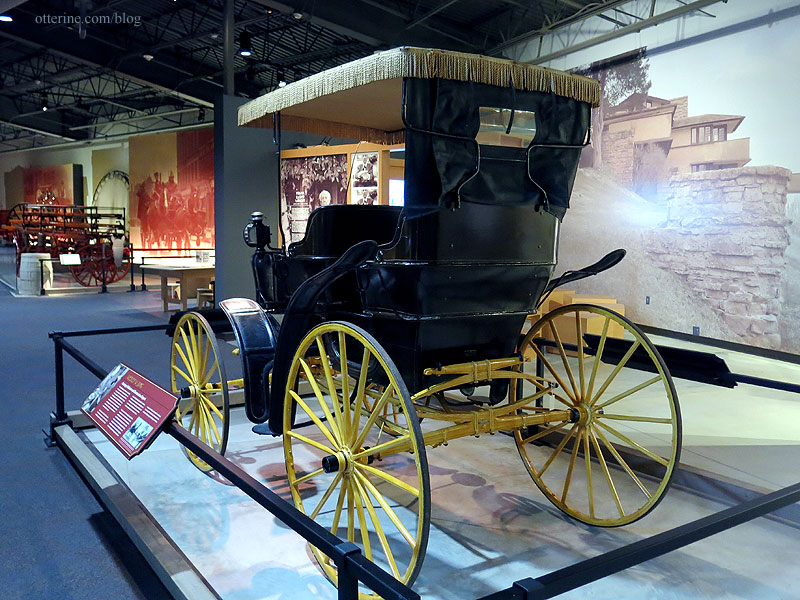
This carriage has a closer match to the back suspension I’ve seen in mail wagons.
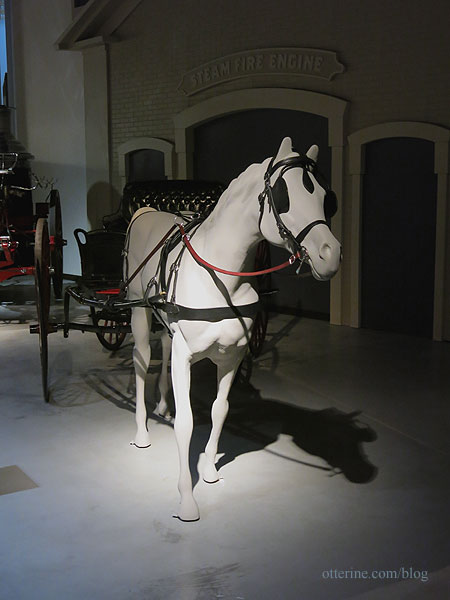
There were a few horse models on display, so I was also able to get some great shots of the harness setup.
I have some library books to peruse as well, which I will detail separately, but it was awesome to see examples in person.
Categories: Ivy Hollow RFD
March 11, 2019 | 0 commentsRealife Country Store fixtures – part 1
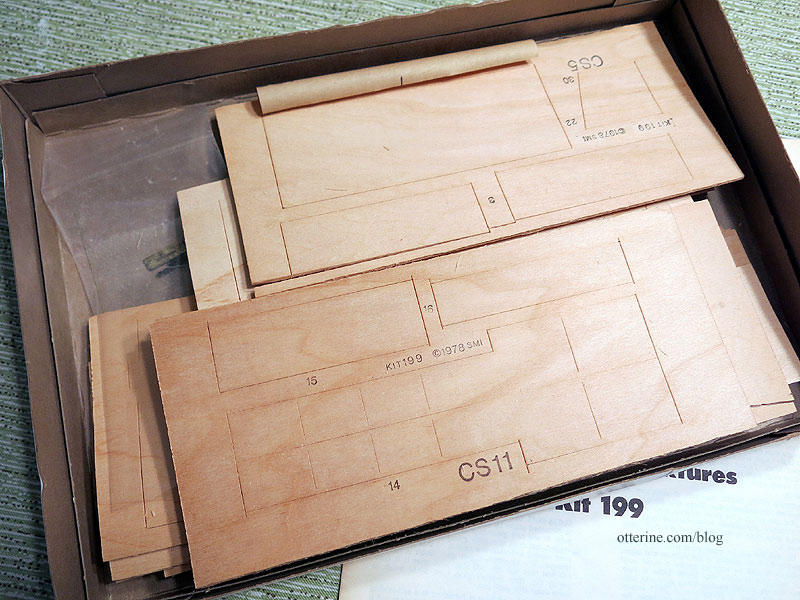
Realife kits are no longer produced, but they are fairly easy to find at mini shows and on eBay. Some cost more than others, but you can usually find a deal eventually with some patience. My post office will need a post office teller/sorter, and I love the one shown on the cover.
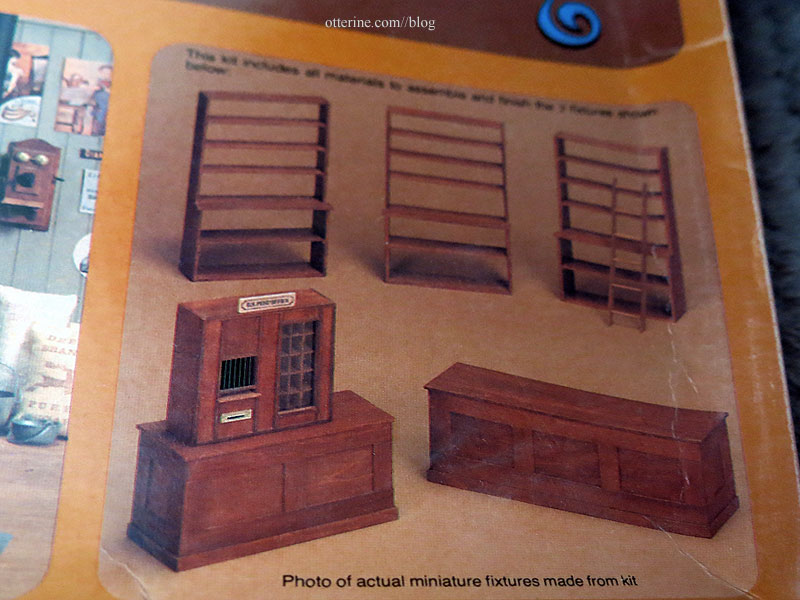
While not overly complicated, Realife kits are easier to work with once you’ve made a few other types of kits, like The House of Miniatures kits. Realife kits require more patience and prep work. The kits are usually die cut basswood with some other materials included depending on the kit.
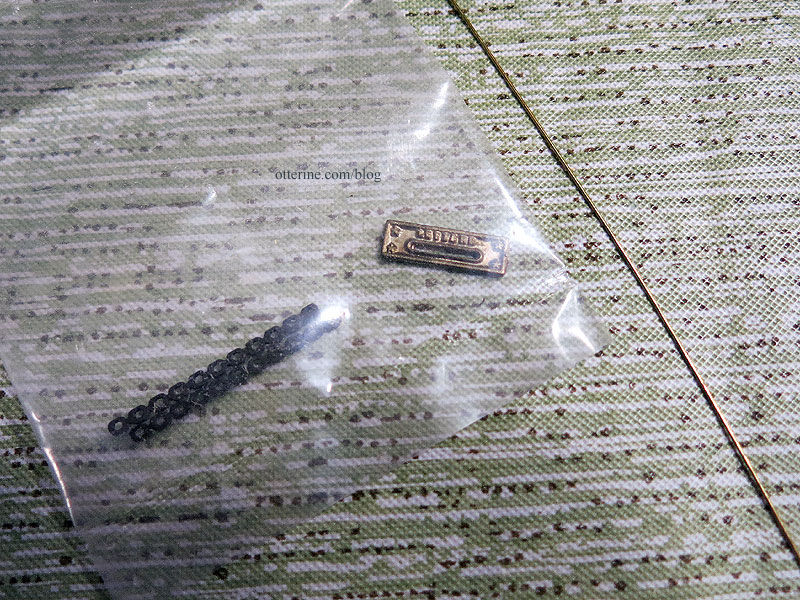
This one includes a letter slot cover, brass wire and a guide for the window bars.
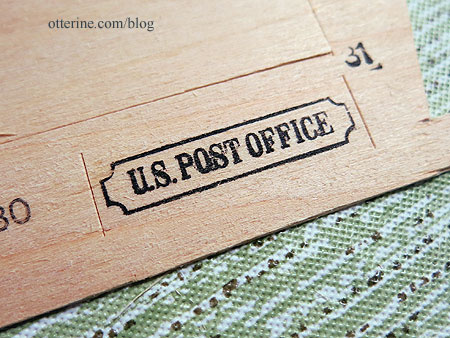
Love the printed detail, but it’s a little sloppy. I’ll print a new sign.
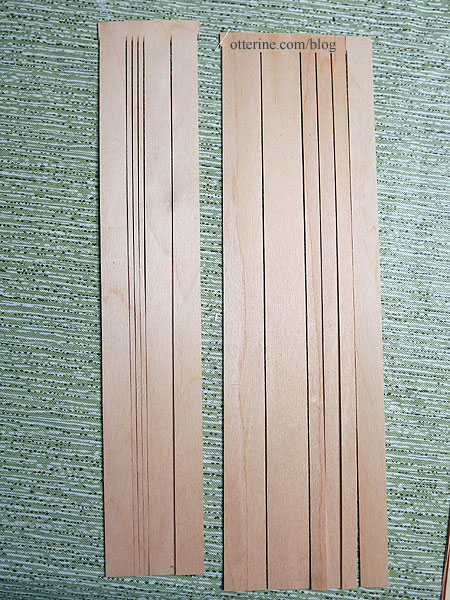
The kit includes “strip wood” which are widths pre-cut from a single sheet. For the trim, you cut the lengths you need from these various sheets.
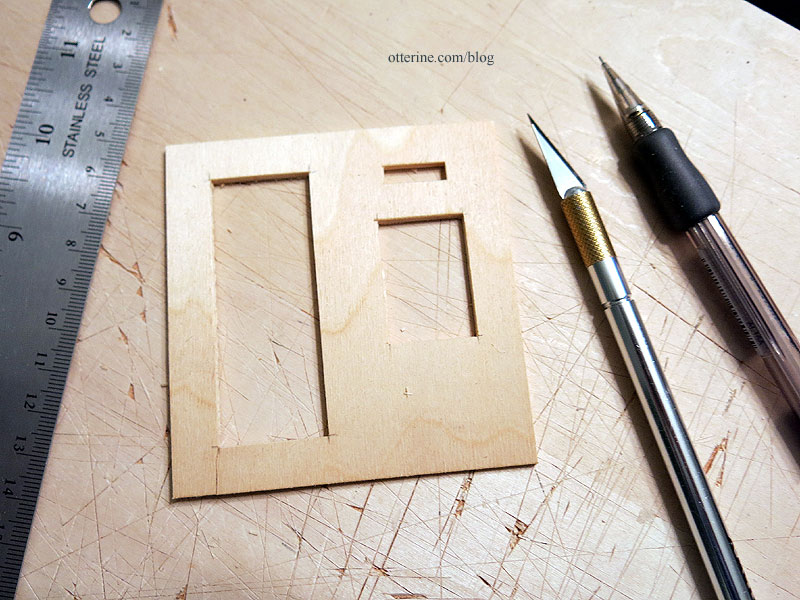
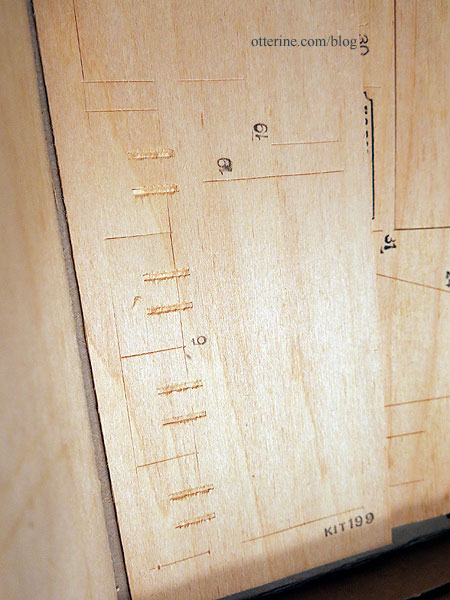
The die cuts are rarely all the way through, as you can see here. The wood will require lots of sanding. The wood is raw at best, and the age can change the quality over time as well. I don’t usually bother sanding until I am assembling in case a part doesn’t work and I need to replace it. No sense in working to smooth a piece you’ll discard.
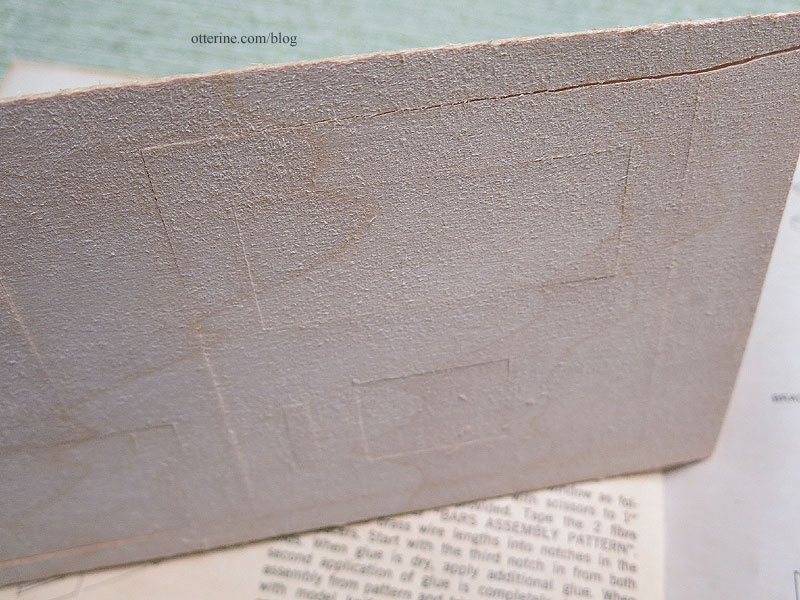
You need to use an X-Acto blade to carefully release the parts and any openings. Sometimes, the wood is fine, but the pieces are cracked, like this front piece. Depending on trim placement and load that will be on that piece, sometimes you can just repair the broken piece. In this case, I will repair the piece since it won’t show in the end. (The instructions even indicate this piece is prone to breakage and suggest repair.)
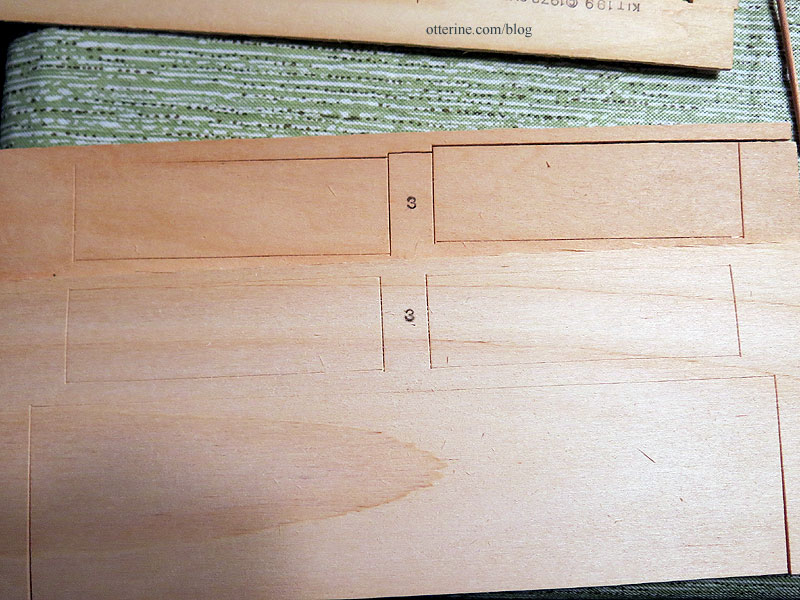
The parts are sometimes marked incorrectly, though it’s rare. In this case, I have four Part-3 pieces and zero Part-2 pieces when I should have a pair of each. Showing them side by side, you can see they are not the same length. So, one set must be Part-2. I mark all pieces with their number in pencil as I cut them from the sheets. Otherwise, you end up with a bunch of rectangles in a jumbled mess.
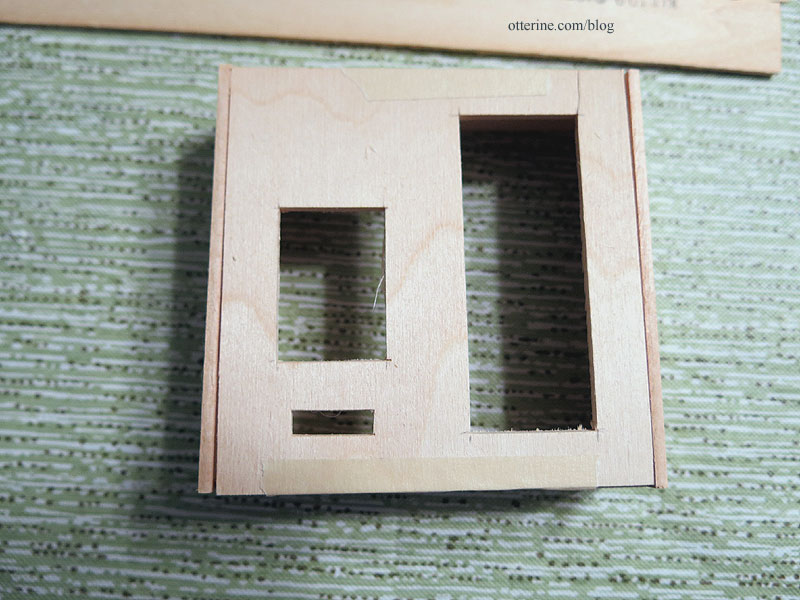
Dry fittings are a must. As you can see, there are gaps that will need to be addressed during assembly with sanding to fit, clamping as glue is applied and/or replacing parts.
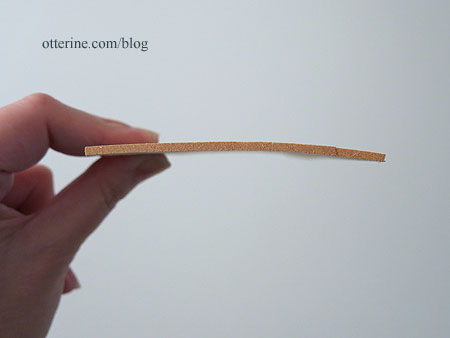
The old wood can sometimes be warped, so you might need to cut replacements from new materials using the pieces as a guide. This is the front of the counter the post box teller will sit on, so I’m going to cut it from new wood instead of trying to fight the warp. The same with the countertop which is warped and has a rather large wood grain that will be out of scale.
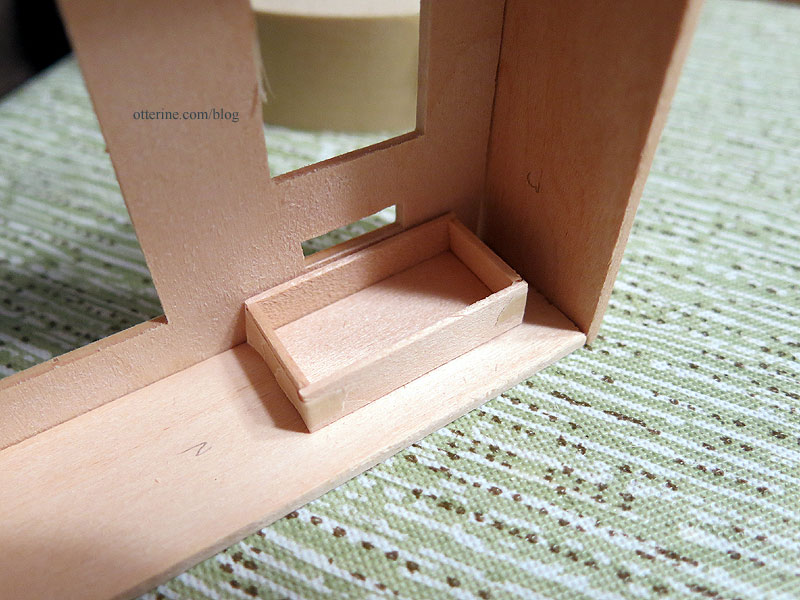
I will make the letter box that catches the mail larger to better fill the space. It seems to me, you would insert the mail in lengthwise through the slot, but the box is oriented the opposite. Don’t need customers overshooting the box and having mail all over the floor.
As for the pigeon holes, I think the kit pieces are a loss. Die cutting doesn’t work well for tiny details.
Then, cutting away the excess in the notches tends to cause a lot of breakage.
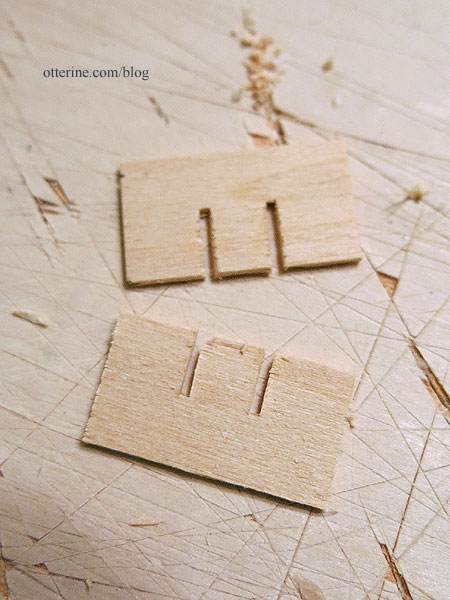
The pieces just don’t fit, and sanding will likely cause more breakage. I will need to re-cut these from scratch. Time-consuming, but a better result in the end.
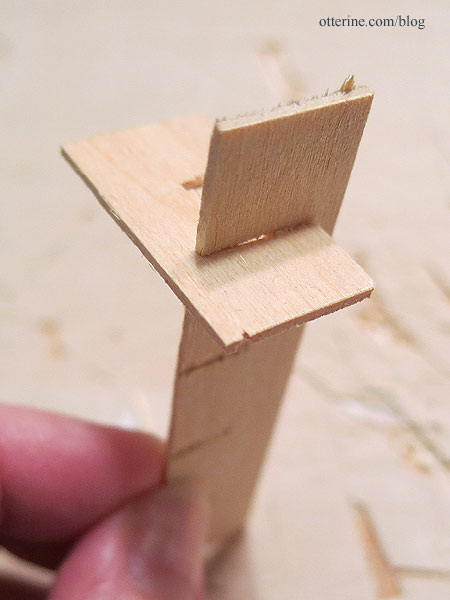
You might ask why bother with these old kits, but some are better than others. The companion country store accessories kit has a lot of great parts in various materials. The Realife Country Living Room kit has a fantastic daybed, printed fabrics, turned pieces, etc. So, it really depends on the kit, the price, the condition it’s in and the extras included. Here, I have the patterns for the post teller and counter units, the metal letter slot and some usable parts. For me, it’s worth the effort.
Categories: Ivy Hollow RFD
March 3, 2019 | 0 commentsMail Wagon – part 1
Today, I did a dry fit of the mail wagon. To say the instructions are lacking is an understatement. You are given a blueprint drawing and a typed list of instructions.
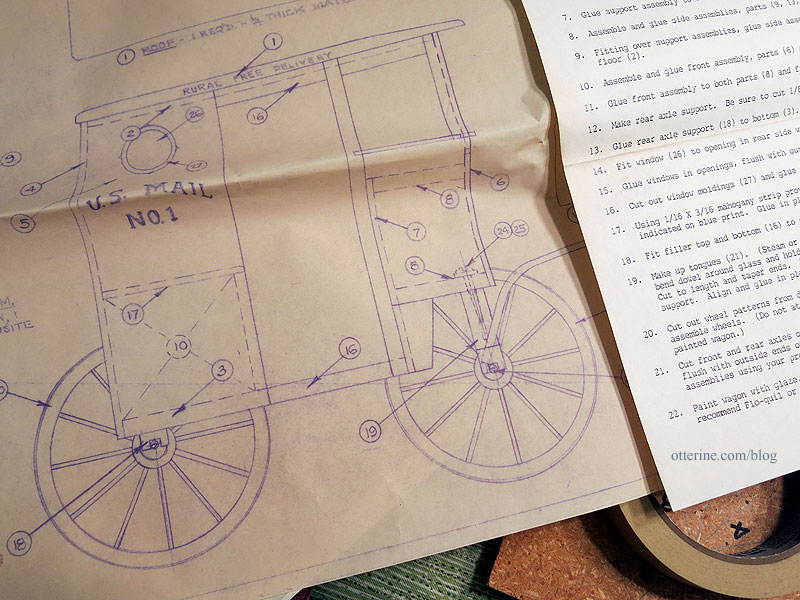
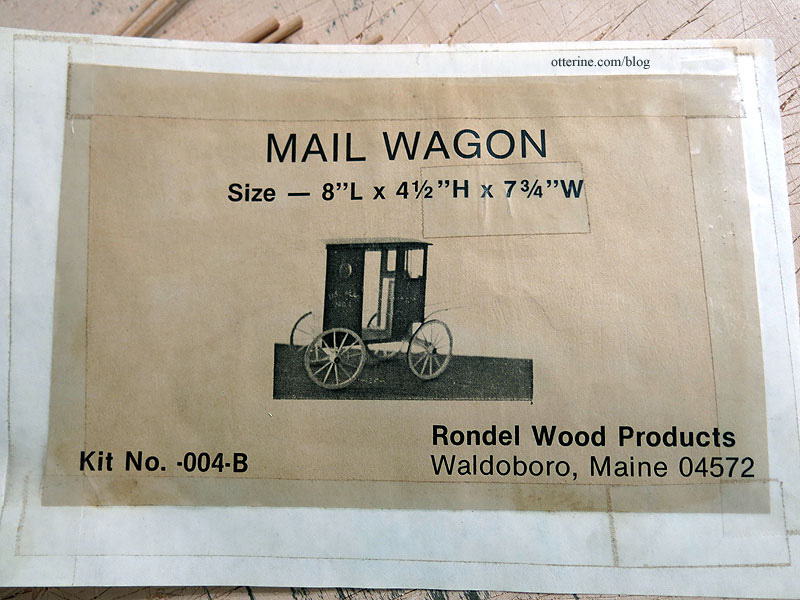
There are no photos or diagrams of the steps, and the kit photo is minuscule and not at all detailed.
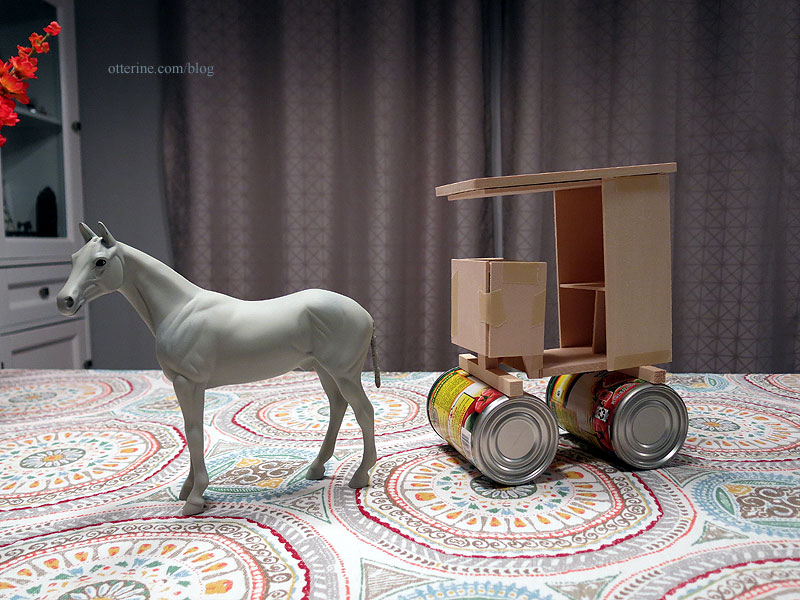
I blundered my way through a dry fit, and one piece still made no sense and didn’t seem to fit properly. But, it does give me a good basis for size and how far away the wheels are supposed to be from the passenger compartment. It’s a very simplistic kit, so you know me…I’ll probably end up building most of it from scratch and using this as only a guide.
The wheels are incredibly detailed in their assembly, much like the real deal. If I can get them to work, the wheels alone will be worth having bought the kit.
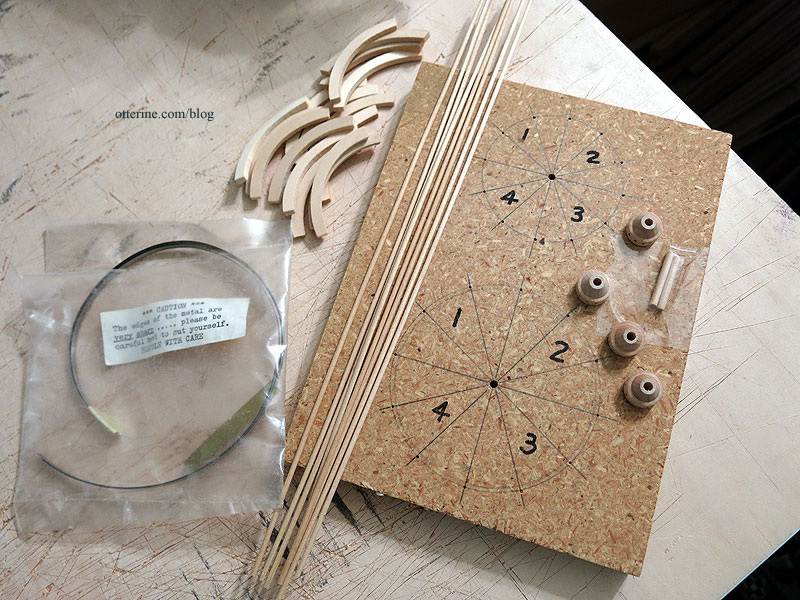
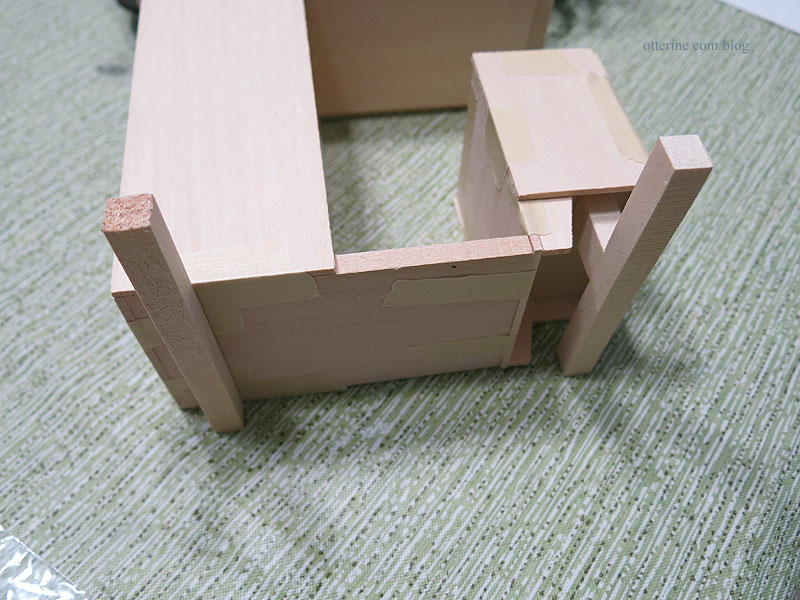
However, this is the extent of the chassis – two wood blocks. The front wheels will turn, but the lack of detail is disappointing.
Here’s a real life mail wagon for example. This is more complicated than I want to attempt, but there has to be a happy medium.
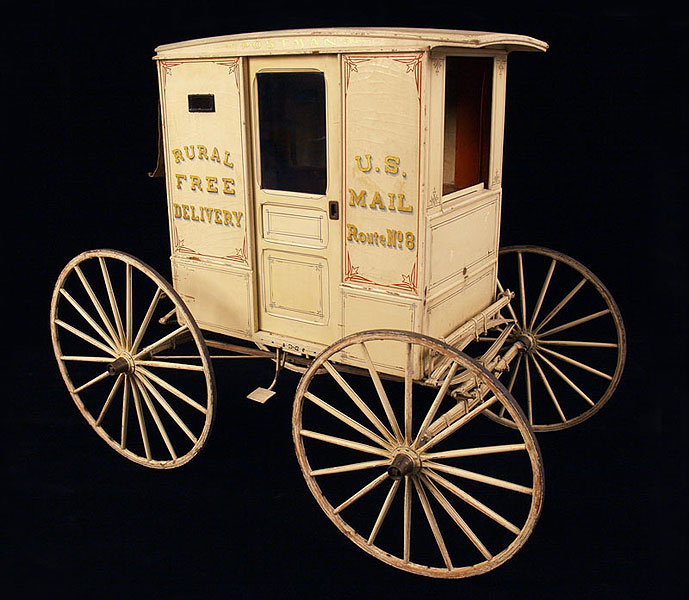
image from The Smithsonian The inexpensive wagon kit I put together for Baslow Ranch has better detailing without being overly complicated.
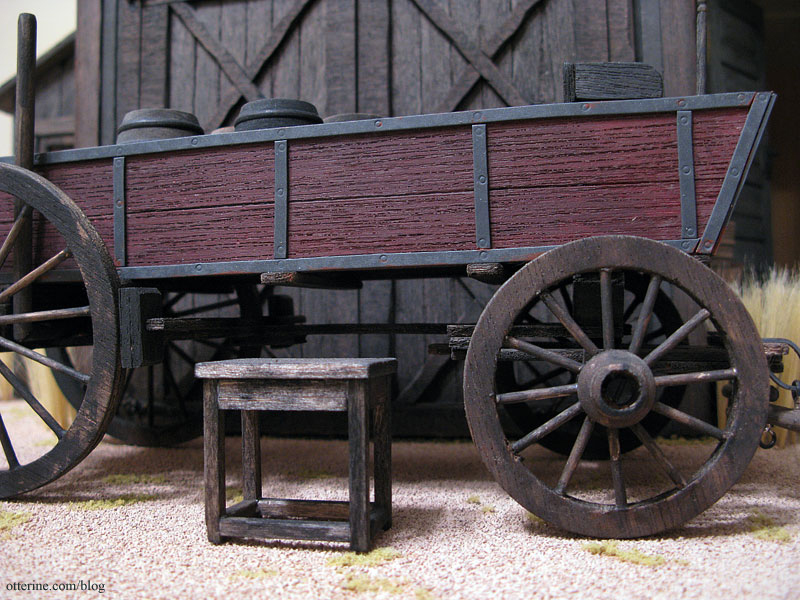
It’s longer than the mail wagon, but I could likely customize something better than two simple wood blocks. I do have another of these kits, but I could cut pieces myself using the general pattern.
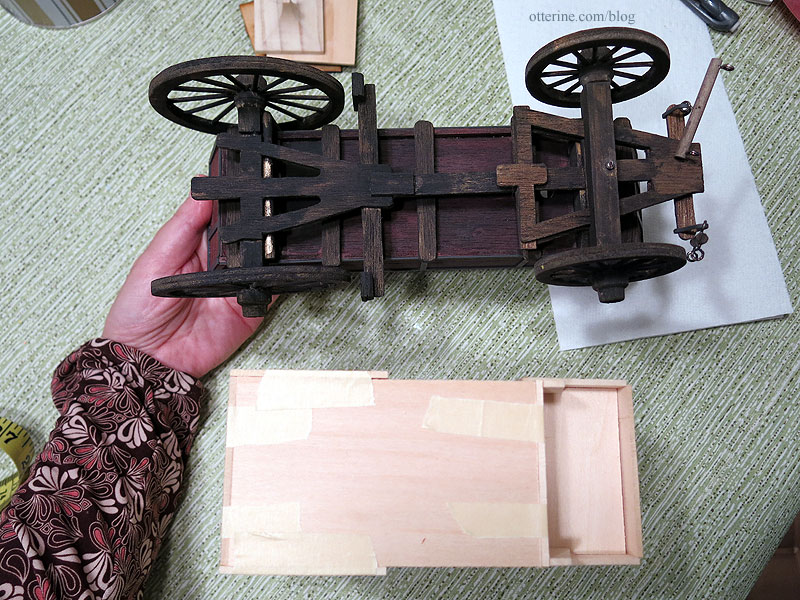
I’m checking some other sources for ideas. Plus, I’m planning a trip to a local museum that has carriages for in-person study and better photographs.
Categories: Ivy Hollow RFD, Model Cars, Vehicles
March 2, 2019 | 0 comments
NOTE: All content on otterine.com is copyrighted and may not be reproduced in part or in whole. It takes a lot of time and effort to write and photograph for my blog. Please ask permission before reproducing any of my content. Please click for copyright notice and Pinterest use.


