
Ivy Hollow – door hardware
While touring the Wade House Stagecoach Hotel in Greenbush, Wisconsin, I took some photos of door hardware that rather appealed to me – a simple door knob and keyhole.
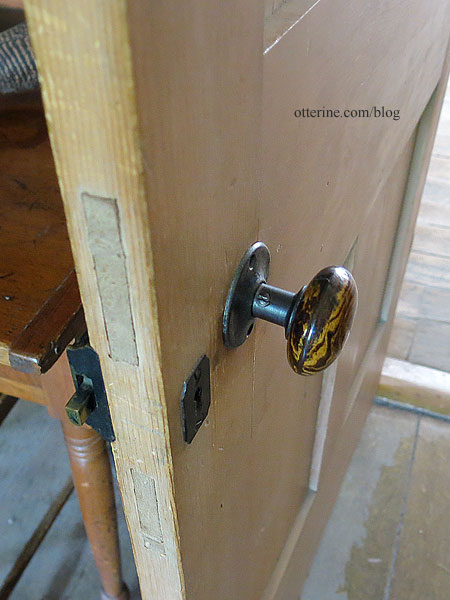
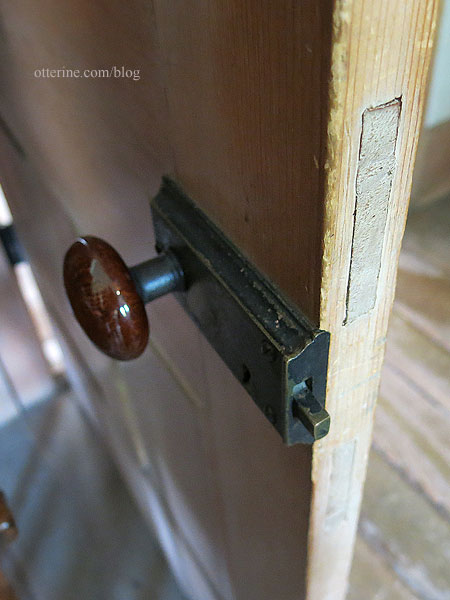
On the other side, there’s an inset lock box with the opposite door knob and keyhole.
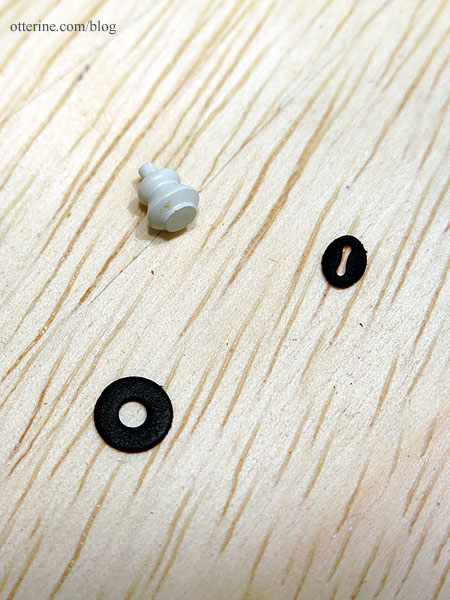
I dug through my stash and took out a white door knob, a previously painted keyhole and a washer. I spray painted the keyhole and washer with flat black then finished with a satin sealer. I chose a white knob with a little wear so I wouldn’t have to age it any further.
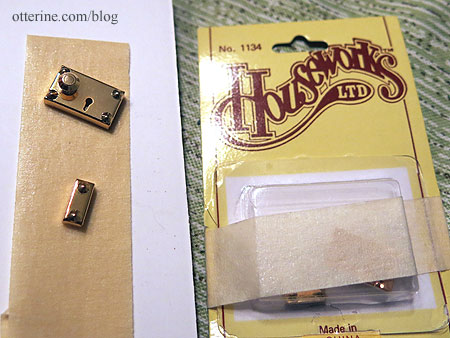
I also found a package of Houseworks door knob lock boxes. Since there were two, I tried to remove the door knob to see if I could make the door knobs match on either side of the door, but it damaged the casing. So, I was left to spray the lock box and lock plate the same flat black with a satin sealer.
I had to hand paint inside the keyhole since the spray didn’t reach the inside.
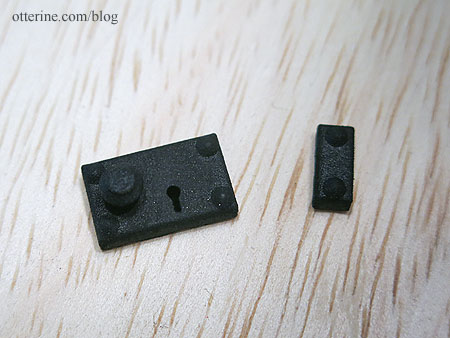
Since the lock rail and the lock box are roughly the same height, I am opting to not inset the lock box for fear of making a mess of it. This will be so hard to see on the interior as it is, it’s hardly worth the risk, but I will file the idea away for another time and another door.
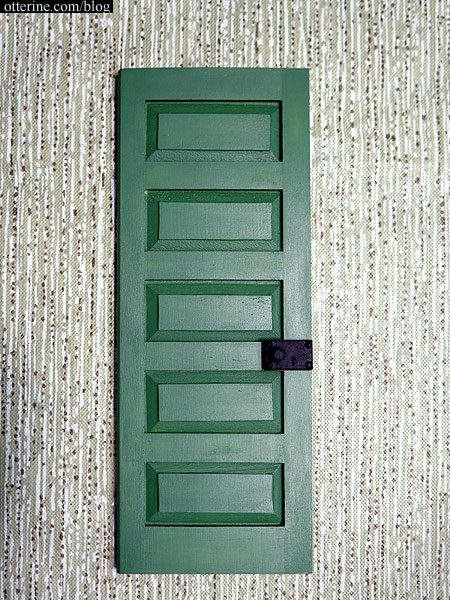
I’ll need to build the door frame before I can glue the lock box in place, just in case I need to adjust the placement or use different hardware if this doesn’t look right in the end.
Categories: Ivy Hollow RFD
August 22, 2019 | 0 commentsCarriage Days and Galloway House
I spent part of my birthday weekend in Wisconsin. When previously touring the Wesley W. Jung Carriage Museum, we were told about the carriage days event in August, which coincided with my birthday weekend. The event was interesting – the drivers compete for ribbons and come decked out in their finest. It was not easy to capture a good photo of the carriages in motion, and when they were still, they were all grouped together. It was great to see these vintage vehicles in motion, to hear the creak of the wood and leather as they moved over the grass.
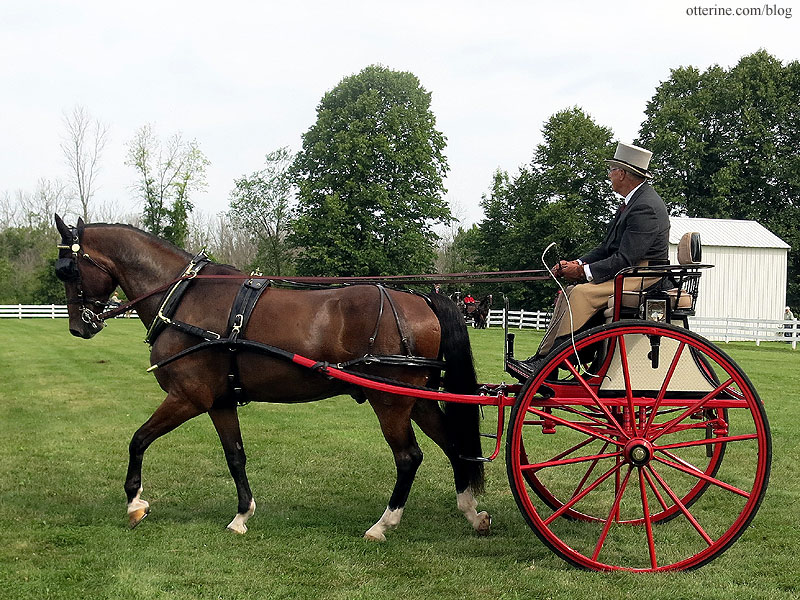
The event included a horse-drawn carriage ride around the grounds to the event circle, the historic Wade House Stagecoach Hotel, the blacksmith shop and saw mill. Things were a little disorganized, but it was still a great day to tour and see interesting historical attractions. The hotel tour was a little long, so we skipped around to take photos and left early. It’s definitely worthwhile to visit both the museum and the surrounding property.
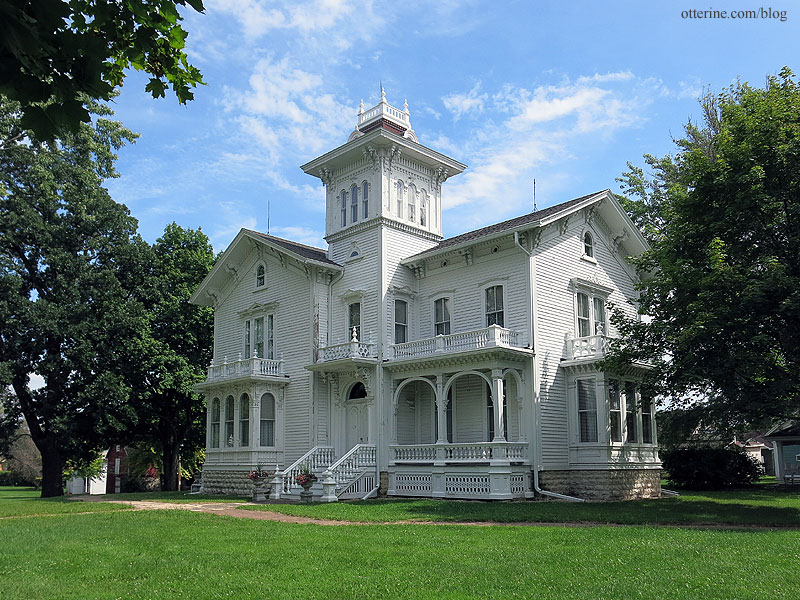
After that we headed to Galloway House and Village in Fond Du Lac, Wisconsin. What a beautiful house!
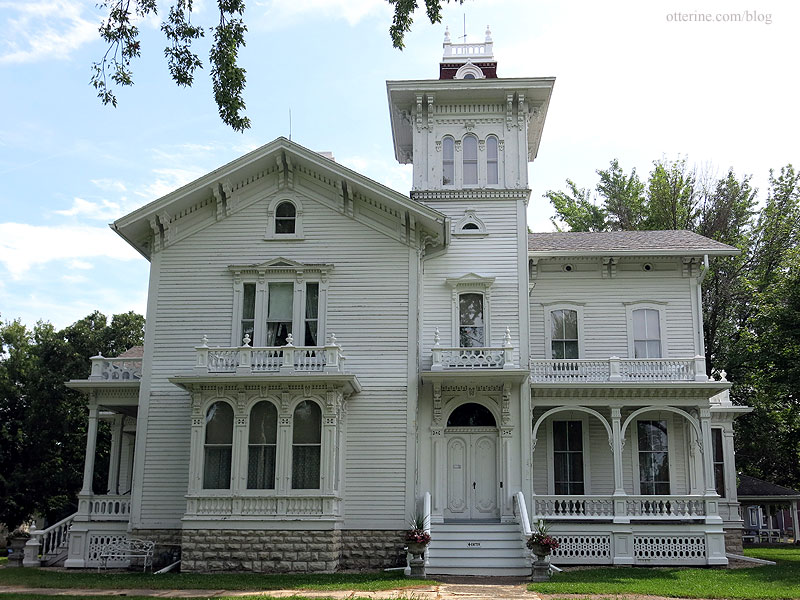
There were not many people around, so we were able to take our time. I spied this interesting lamp in the parlor.
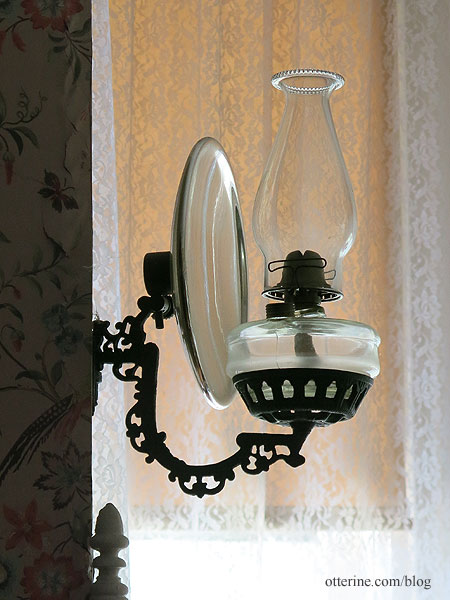
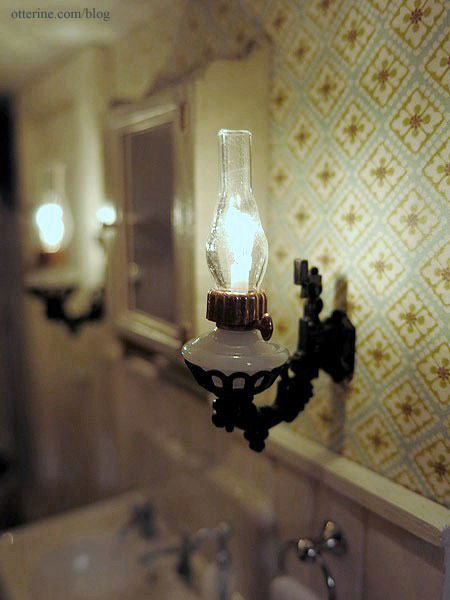
Just like the Chrysolite lamps I made for the Haunted Heritage bathroom (I left off the reflectors for mine).
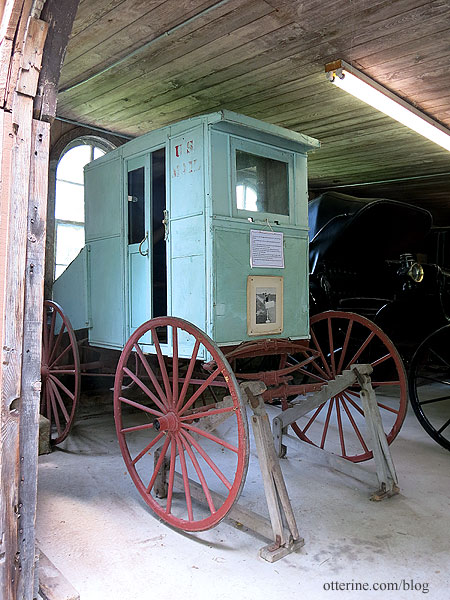
There are a lot of surrounding buildings you can tour (self-guided). What was interesting to me were the antique items intended for actual handling by guests, something that is rather rare. Of course, the main attraction for me was their old mail wagon.
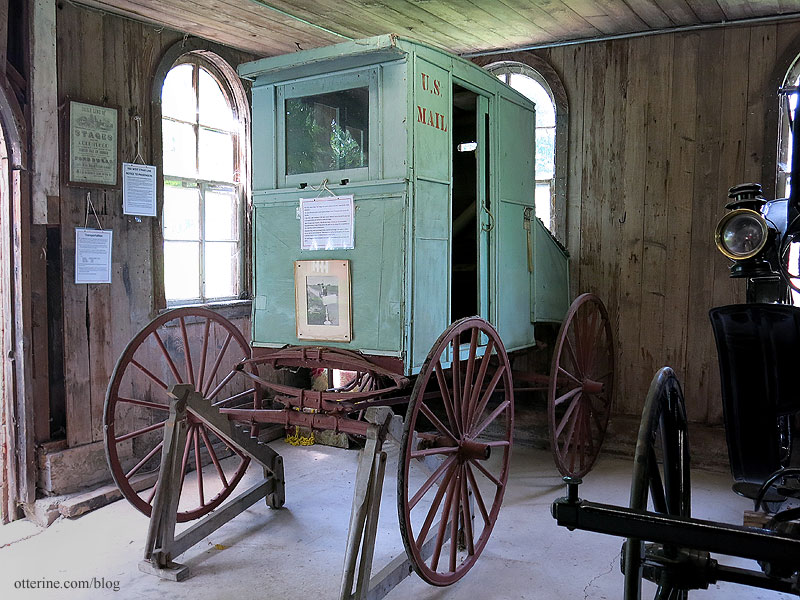
It’s in rather rough shape, but it was great to be able to see inside and get close.
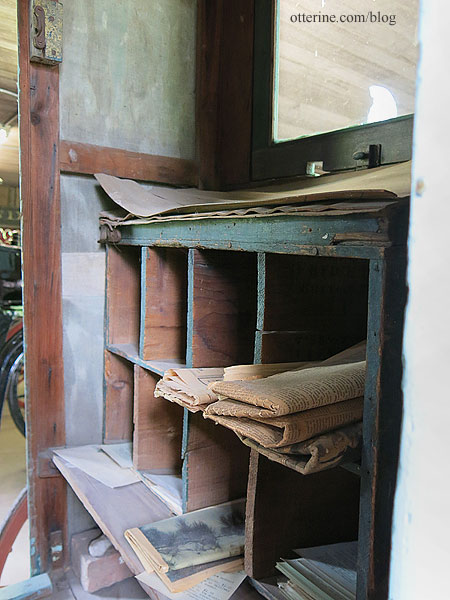
The sign on it reads:
This 1921 horse drawn mail buggy was used to deliver mail for 7 years by Mr. Frank Brodzeller.
This was a 38-mile route in rural Lomira, Dodge County, Wisconsin and served 165 families.
In late 1927, after traveling 5,794 miles using 4 different horses, Brodzeller gave way to the automobile and retired his horse and buggy.
After 39 years and 7 months, 400,000 plus miles, 4 horses and 20 automobiles, Brodzeller retired. A safe driving award was given to him along with an excellent service award by a Lomira Citizen group.
Brodzeller then, with a borrowed horse, used this mail buggy once again to deliver his last mail to Lomira Route #1. There were many of his friends waiting for the mail, to bid this final farewell. All relived the early days of 1921.
This buggy was later donated by Brodzeller to the Galloway Carriage House Museum.
There is so much more than these two highlights, and I highly recommend a visit if you like history and antiques even in the slightest.
Categories: Ivy Hollow RFD
August 21, 2019 | 0 commentsIvy Hollow – gable bump out finishing
After making a base for the bump out on the gable, I put the building in dry fit to see if the depth was enough.

I added a slab of 1/8″ inch thick plywood over the base.

I popped the gable window in place while adding the siding on the adjacent edge of the gable bump out.

I then added siding to the front. I’ll finish the lower portion once I have the porch ceiling board in place.

As for the gable window, the thickness of the wall with the applied siding left a gap on the interior.
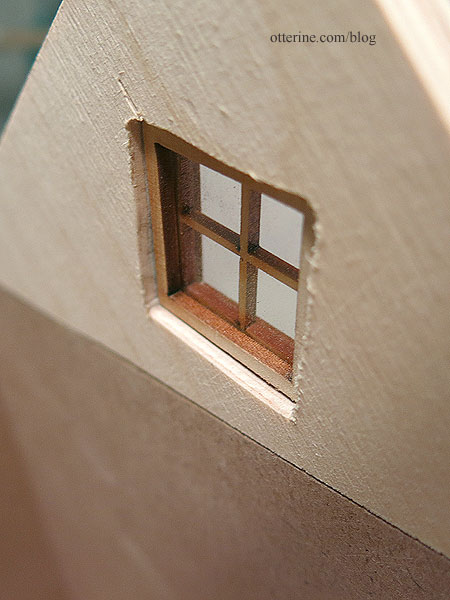
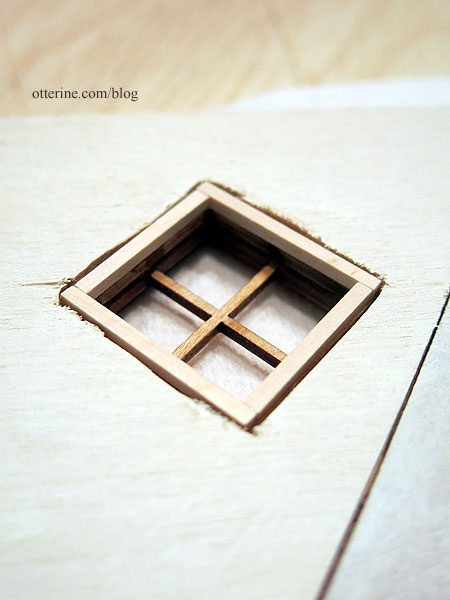
I added strip wood around the inner edge of the window to fill this gap.
I painted all the siding Vintage White by Folk Art (I’ve colorized the roof in the below pic since the white foam core board was rather stark). The windows and doors are Woodland Green by Americana. More on the other windows and doors to come.

Categories: Ivy Hollow RFD
August 16, 2019 | 0 commentsIvy Hollow – screen door, part 5
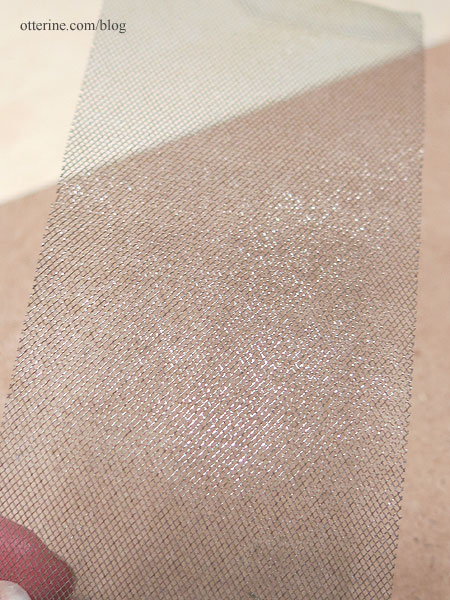
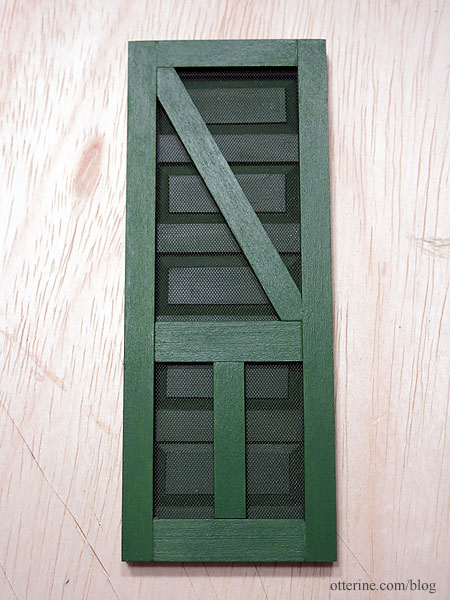
Continuing work on the screen door. I sprayed the screen on both sides with the Rust-Oleum Self-Etching Primer as tested last time. The coverage wasn’t quite as uniform over a larger patch of the material, but it’s pretty great. It looks like a dusty screen, perfect for my rural setting.
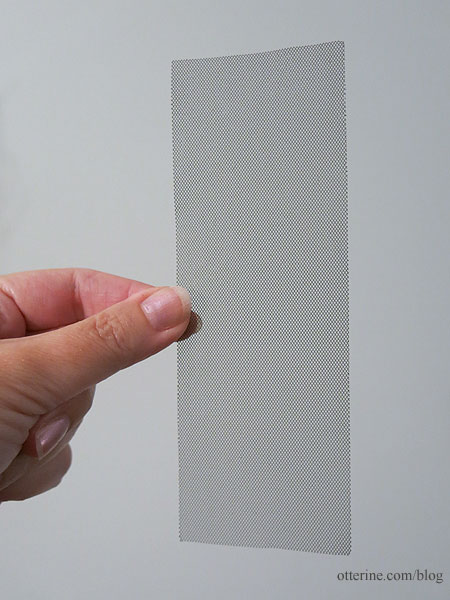
It’s even a little shinier on the interior side, where it would be more protected from the elements. This might have been why I had trouble painting it in the past. I might have tried to paint the shinier side instead of the dull side.
I glued the screen door boards together, then cut cross board detailing.
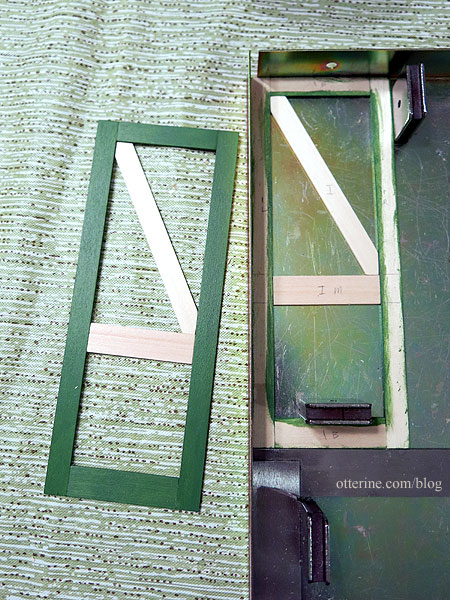
I painted those pieces while unattached, then added them to the previous assembly. I glued the three layers together – two wood frames with a cardstock/screen portion sandwiched between.
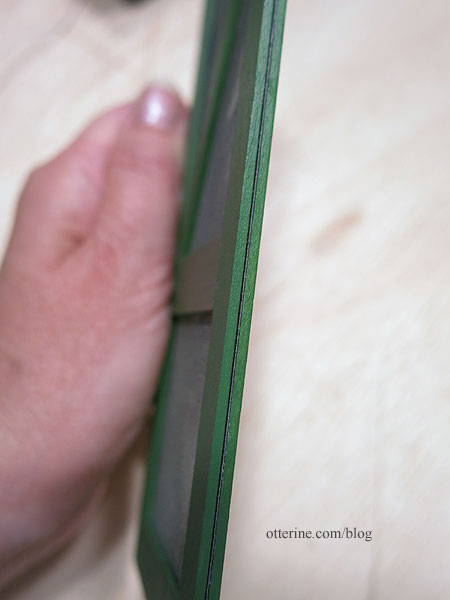
Here’s a reminder of the middle layer setup since I had to work fast and couldn’t photograph that part.
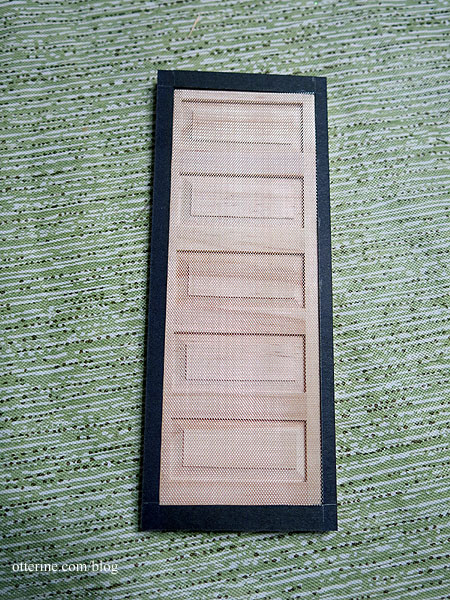
Once thoroughly dry, I gently sanded the four outer edges.
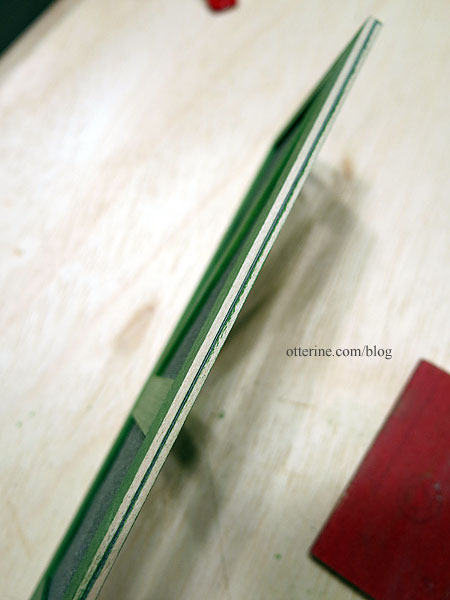
I filled any minor gaps with spackling.
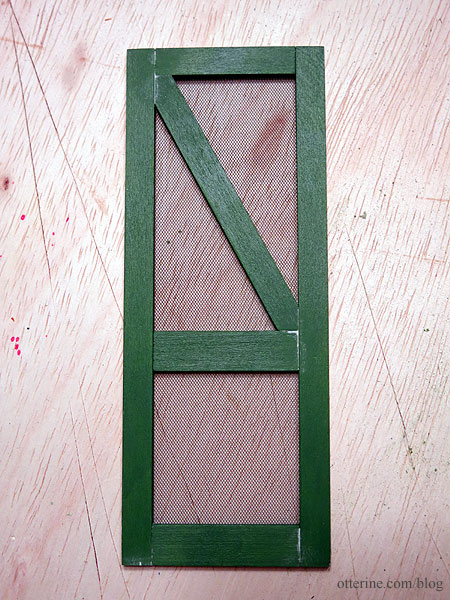
I touched up the paint overall and painted the sides of the door.
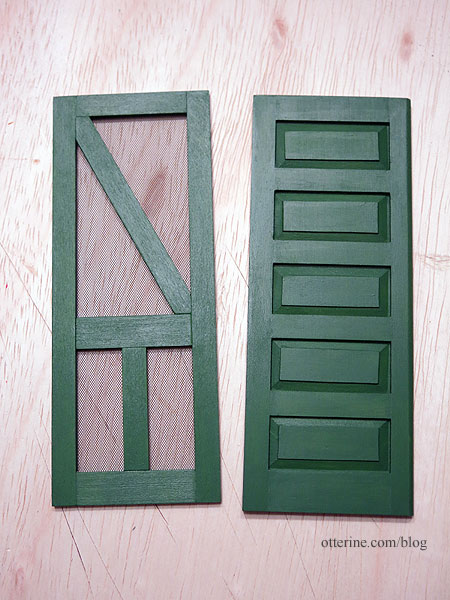
Next up, building a frame to house both the screen and solid doors.
Categories: Ivy Hollow RFD
August 15, 2019 | 0 commentsIvy Hollow – potbelly stove, part 3
Continuing work on the potbelly stove. I left the glue and ice cubes to dry for roughly a day and a half. The glue turned out not clear/not white, which was just fine. There were a couple of bare spots, so I glued in a couple of ice cubes with super glue gel. I super glued the wire into the groove of the front leg. This will be painted black and go through the floor then to the power strip in back, sight unseen once the stove is installed.
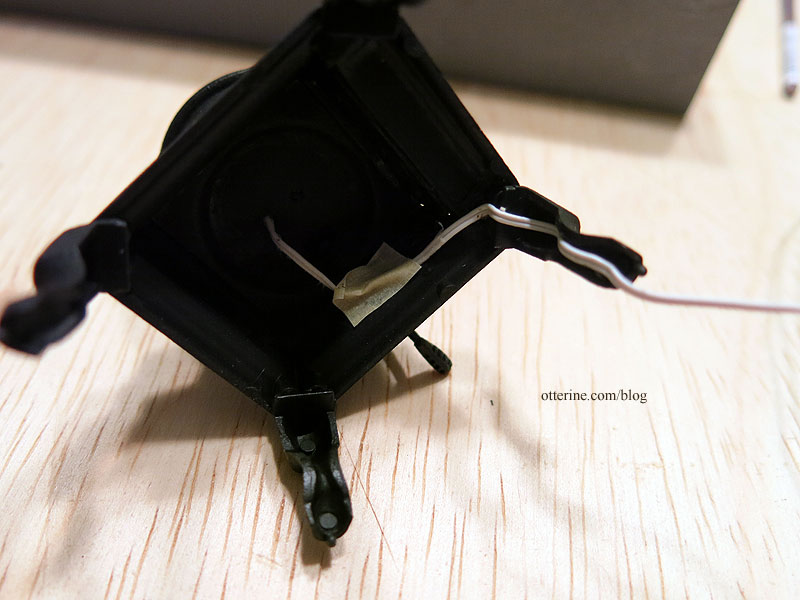
I added some texture to the inside of the stove where it might be seen. I glued the front door shut, though the kit does allow for a swinging door. I find it simpler to just keep it closed with the damper glued in the open position to see the lights inside. The stove lid is removable, though.
I used Testors model paints to add red and orange over the top of the ice cube/glue surface and let that dry completely. The trick is not to shake or stir the paint but use the transparent colored liquid after the paint has settled. This was taught to me by the helpful folks at the local HobbyTown USA.
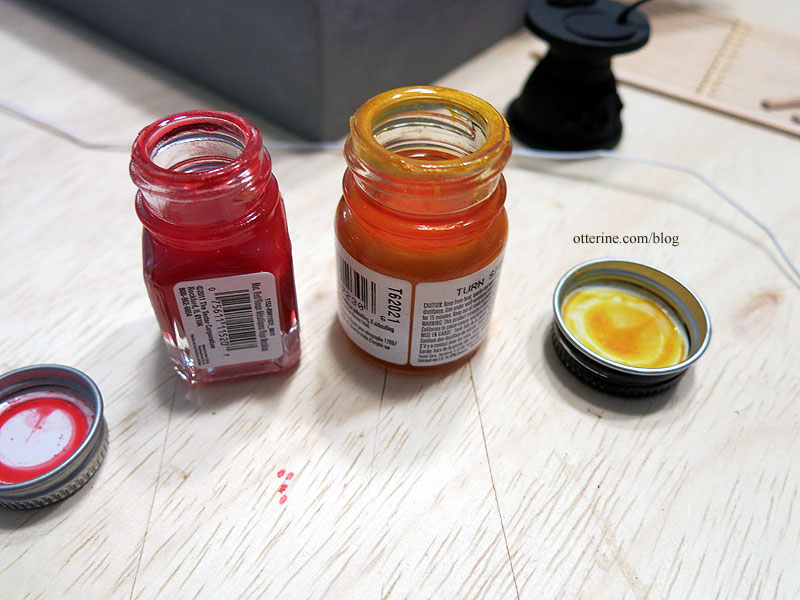
Mmm…watermelon candies! :D
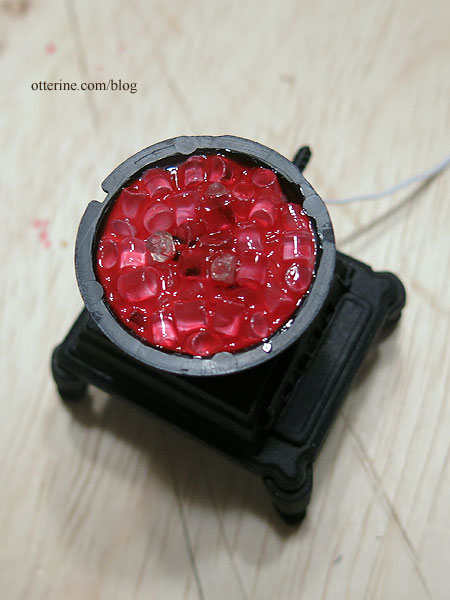
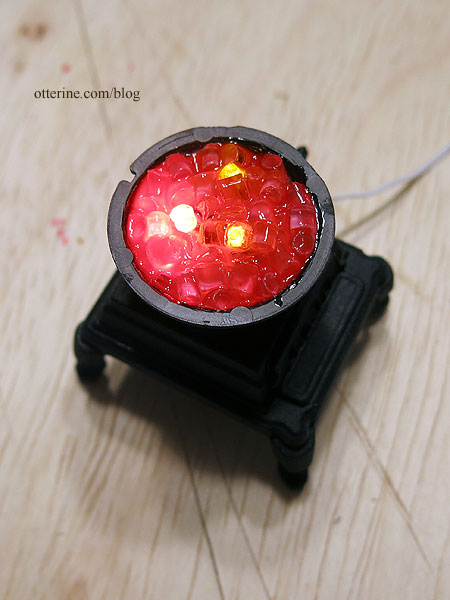
Working slowly with a small paintbrush and the lights on, I painted the surface flat black in spots. It’s easier to add more paint than take it away.
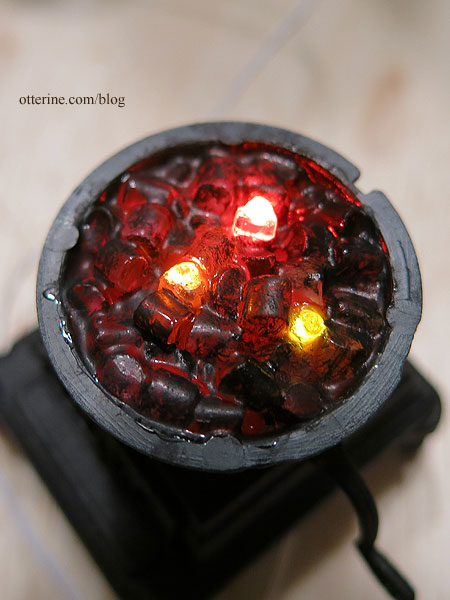
I carefully removed the masking from the bulbs. The yellow LED was a bit too bright in relation, so I toned it down with the Testors paint. If I were to do this again, I would make the third flickering bulb orange instead of yellow.
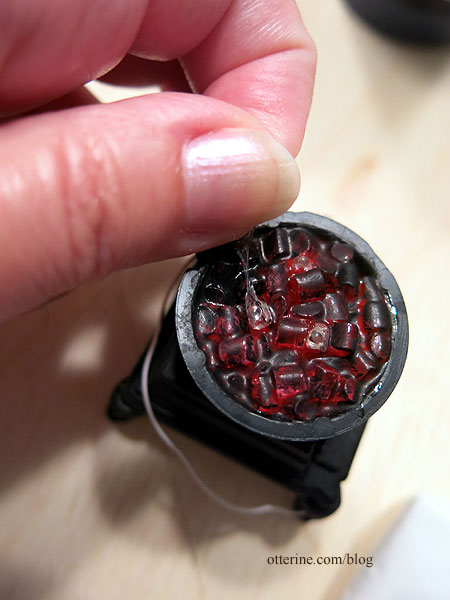
I fine-tuned the surface with greys and a bit more black, covering the tops of the LEDs to mask them.
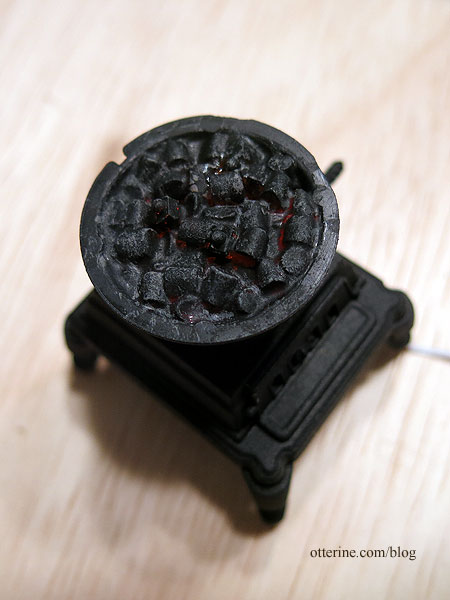
It might seem too dark in the photo, but the effect in real life is lovely.
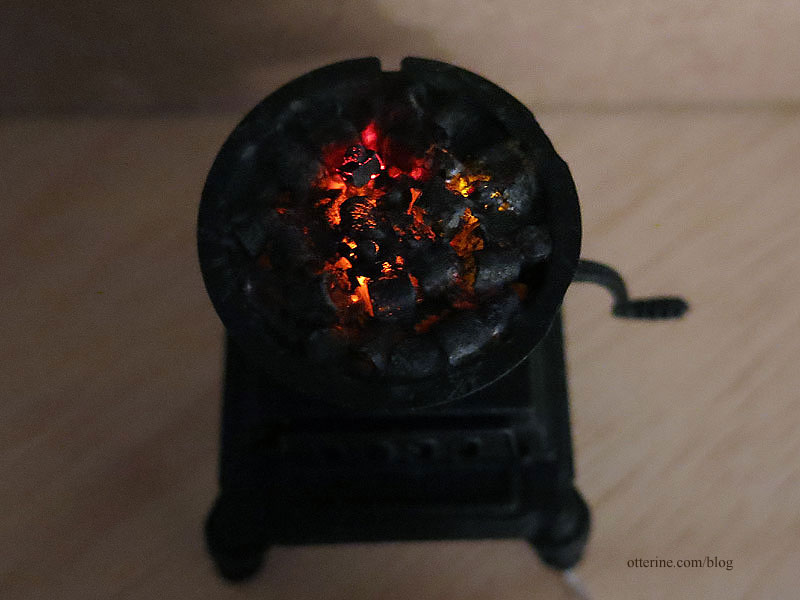
Glowing embers…
Of course, you really won’t be able to see much of them once the stove is in place, but I know they are there…and the next time I need embers, this is the method I will use.
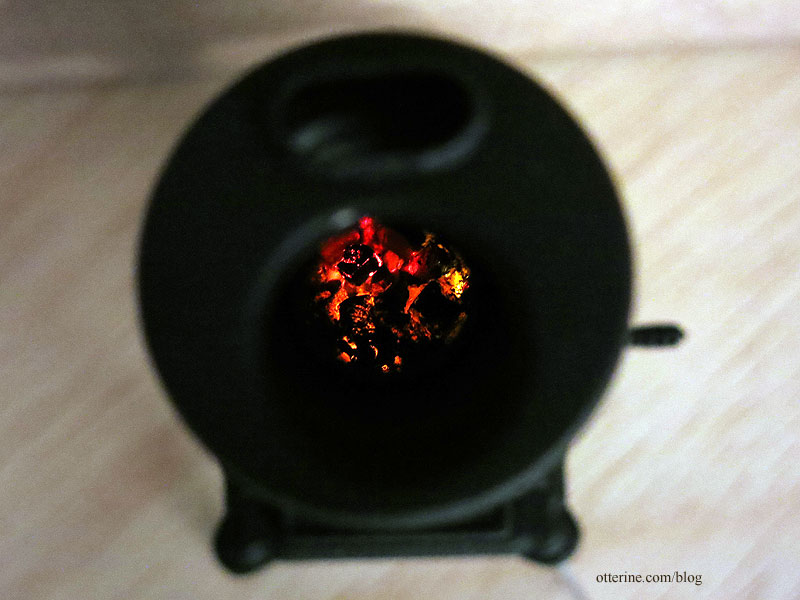
Next up is the stove pipe and adding a smidgen of dust.
Categories: Ivy Hollow RFD
August 13, 2019 | 0 comments
NOTE: All content on otterine.com is copyrighted and may not be reproduced in part or in whole. It takes a lot of time and effort to write and photograph for my blog. Please ask permission before reproducing any of my content. Please click for copyright notice and Pinterest use.


