
Newport study with fireplace, part 1
Though the Newport was sold eventually, I’ve compiled some of the posts I made when I first started building it.
—-
The first floor room of the two story addition will be a study. The Newport kit didn’t come with fireplaces or chimneys, but I would like to have at least one fireplace. Most of the manufactured designs I’ve found don’t fit what I want (other than one very expensive one, of course), so I plan to make my own. There are several how to books out there, some more complicated than others, so I should be able to come up with something more along the lines of what I want.
I drew a rough sketch of a fireplace on paper without considering the accuracy of the scale for the front opening or mantle. I just wanted to get an idea of the look to see if I wanted to pursue the construction of the fireplace or not.
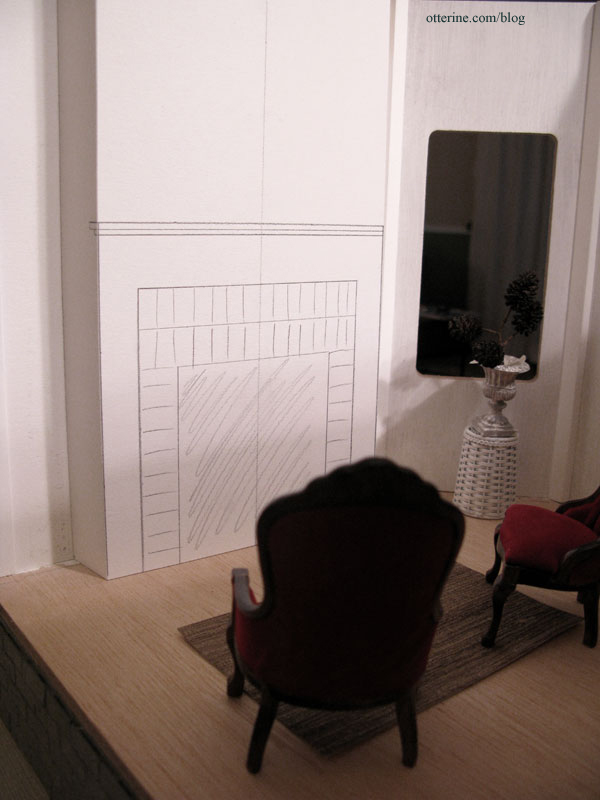
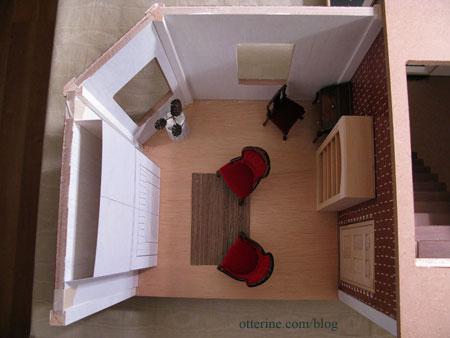
The exterior wall isn’t really conducive to having a chimney run from the ground up past the roof. I am using a one inch depth on the mockup, which would translate into one foot in real life. This will allow for a mantle large enough to decorate without taking up too much floor space. In the drawing, I have the chimney breast above the fireplace extending forward since it was easier to fold the paper to fit doing it that way. The end result, however, will be a separate fireplace unit that sits in front of the chimney breast wall.
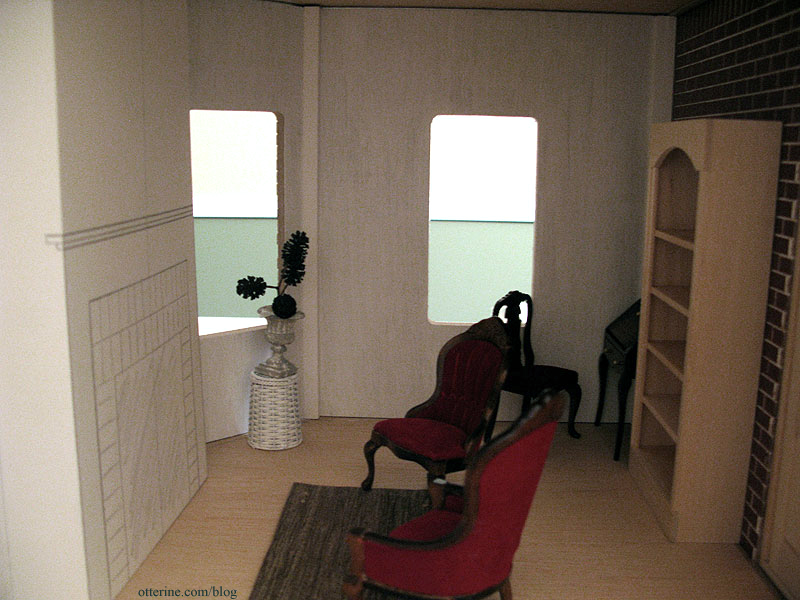
The three chairs and desk in the room were given to me by the friend who helped me cut my garage wall panels. I have some other ideas for this room, so I will likely use these pieces elsewhere, but they helped with the basic layout of the room.
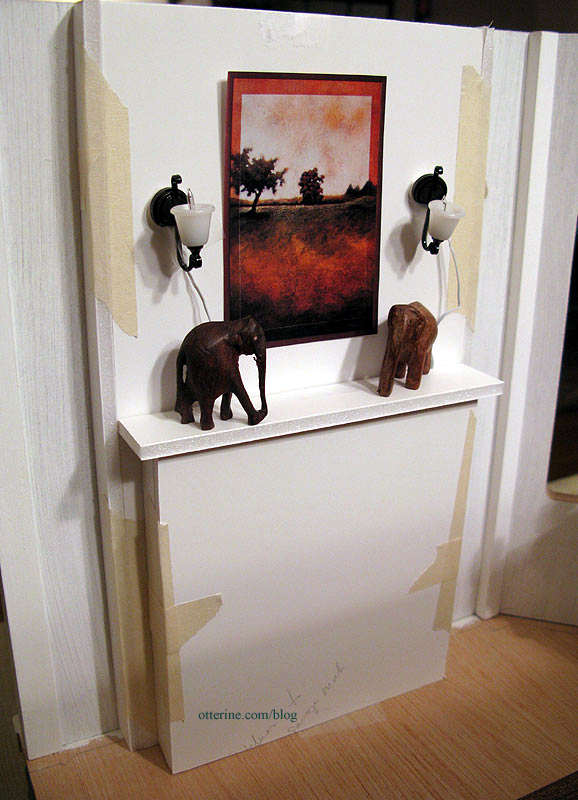
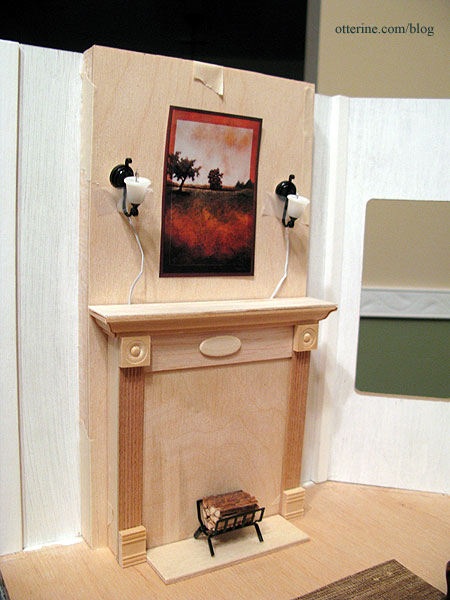
After my initial paper mockup, I decided I liked the look of the chimney breast. Still wanting a small depth overall, I made a foam core board mockup only 1/2″ deep. The mantelpiece has a depth of 9/16″ with the top having a slight overhang. I like the scale of it overall, so I will likely build my final pieces based on this model. I taped the lights in place and cut a sample painting from a catalog. The miniature elephants are wood pieces I’ve had for over twenty years.
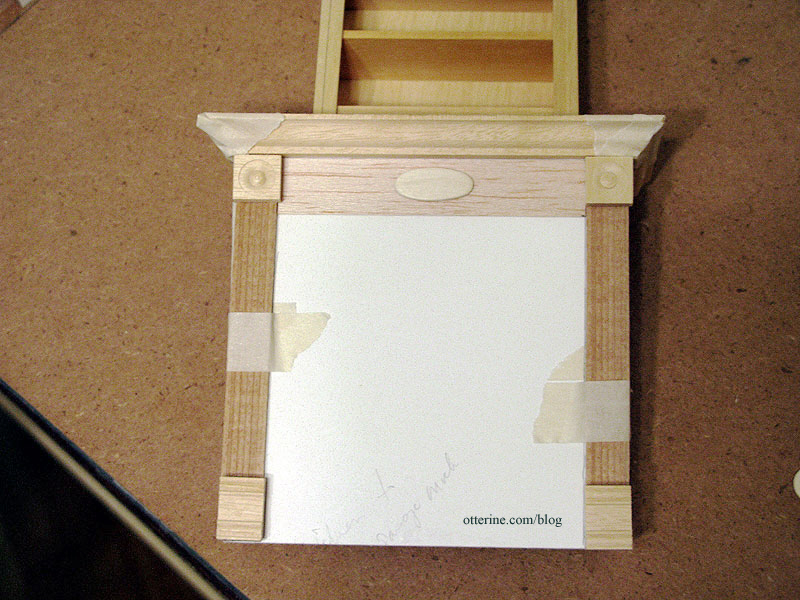
After creating the egg carton stone foundation, I knew I would be able to simulate brick for the fire box and front of the fireplace. So, I took some wood pieces and created my own design for the mantel. I bought a strip of window casing trim specifically for the mantel, but the rest of the miscellaneous pieces were either extras or scrap wood from the build.
I like the result for looks and the fact that it was much more economical than a purchased fireplace.
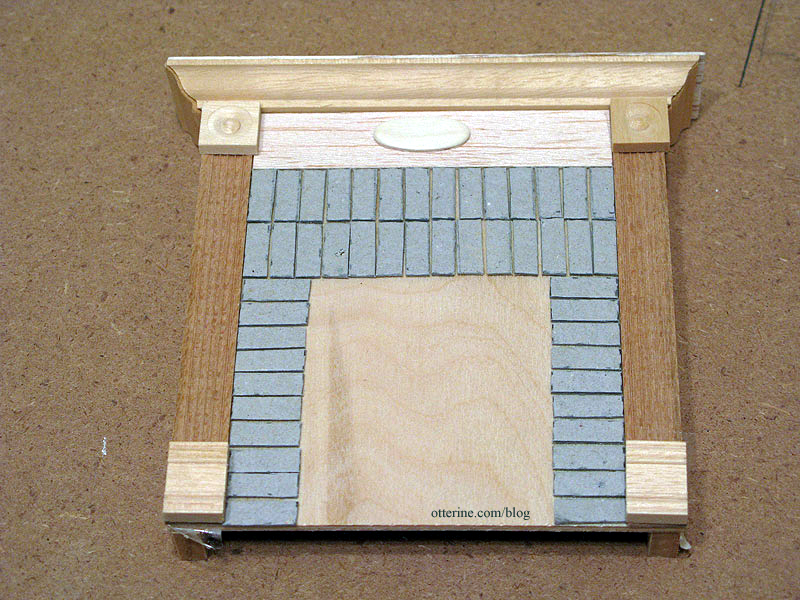
I followed the same egg carton brick technique I used for the stonework on the foundation. Here is the layout of the unpainted bricks. The unfinished wood in the center will be cut out to create the fire box.
Categories: The Newport
October 18, 2009 | 0 commentsMiniature Miele kitchen appliances
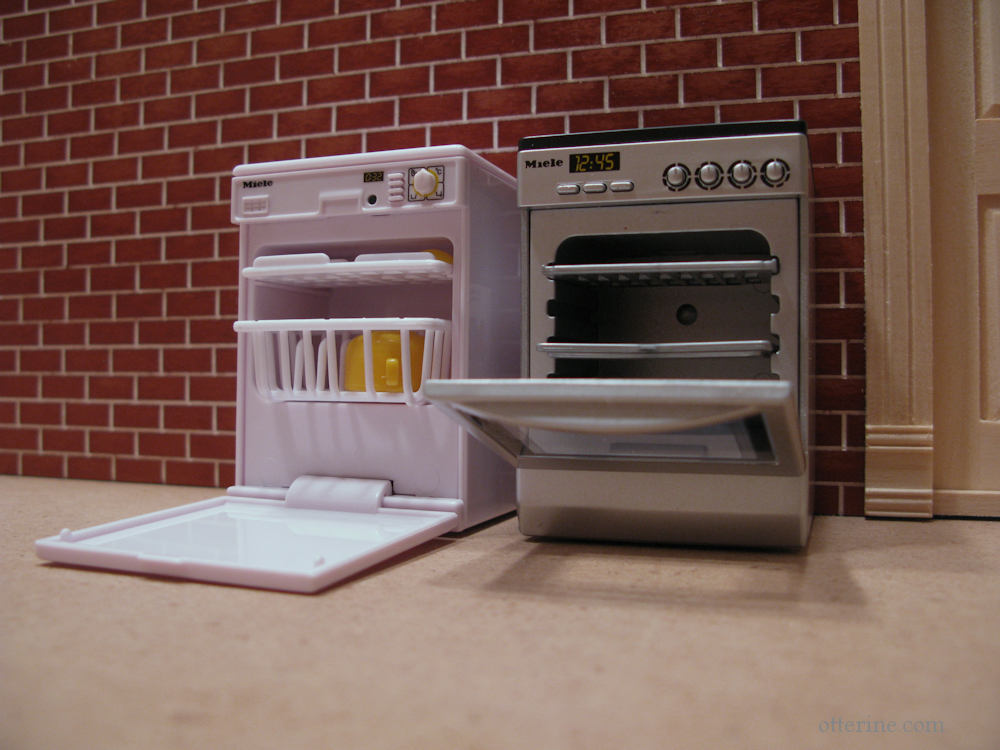
There are some fabulous miniatures on the market, and some carry “fabulous” prices. The miniaturist hobby itself can be pricey as a lot of little (pardon the pun) things add up. I’ve budgeted in some areas to be able to afford the more expensive items I want. In order to save money, I will be building a lot of the basic furniture myself, and I have found some good deals on craigslist and eBay for other things. I am getting ready to start building and decorating the kitchen, so I bought these miniature Miele appliances.
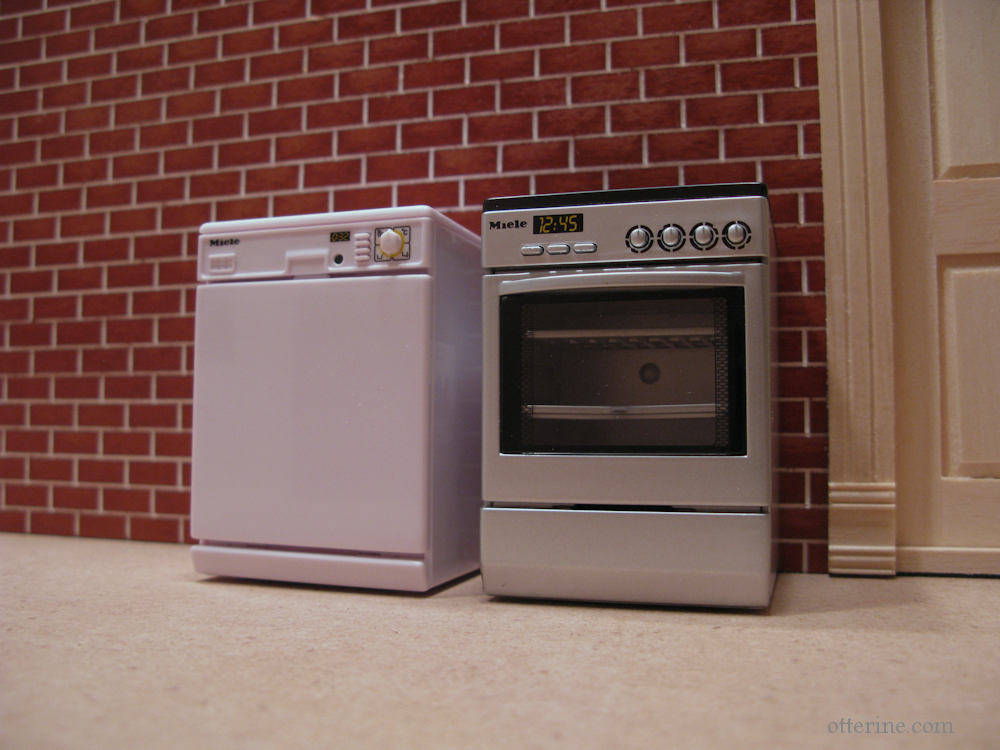
Both are battery operated and make sounds. The oven also lights up, and the dishwasher came with the yellow dishes.
Categories: Miniatures, The Newport
October 10, 2009 | 0 commentsThe wayback machine
Though I had a dollhouse in childhood, my main interest for as long as I can remember has been cars. I wanted an all-terrain vehicle for my second birthday, and grandpa bought it for me. I am not sure exactly when I got into building model cars, but I still have three completed 1:25 scale models – one showroom quality and the other two junkers. These were made sometime in the late 80’s – early 90’s.
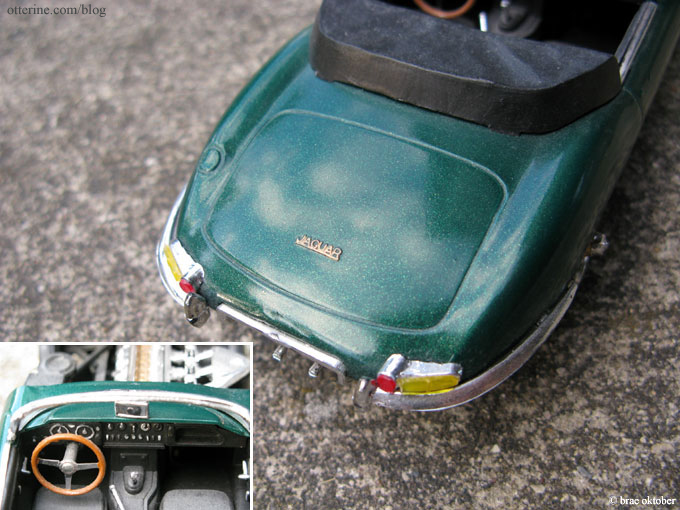
The first is a Jaguar XKE. It’s the most polished of the three. It has a gold metallic undercoat covered by sheer deep green. I used an airbrush on all the models. Other than on the wheels where I was able to use a small brush, the chrome details were painted gold using the tip of a sewing pin. That same method was used to paint the dashboard details.

The second is a Volkswagen Beetle in a lovely shade of oxidized army green. Of course, the kit body was originally pink. Ech!
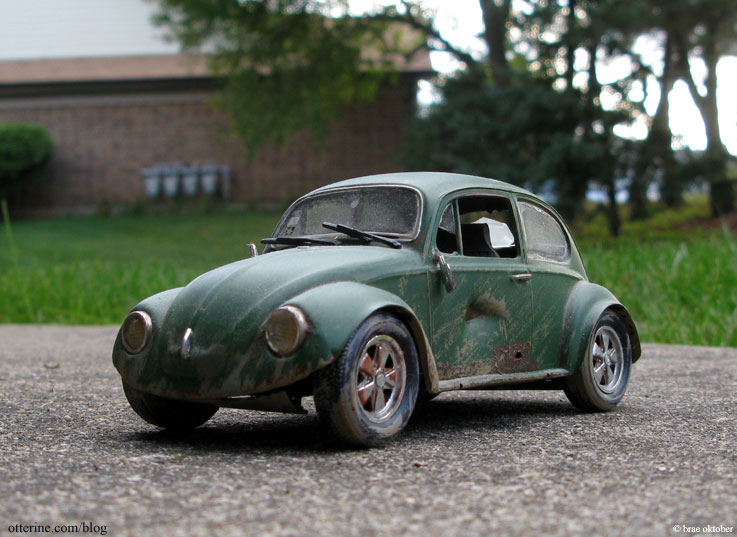
I cut mini vinyl floor mats to cover the holes in the floorboards. It has broken windows, dents, rust, a missing rear view mirror, multiple city stickers and a now-missing CB antenna mounted on the back. That’s railroad paint called dirt as accent.

The third, and my personal favorite, is the Datsun 240Z. It has a cockeyed suspension, which – if you have ever seen one of these on the road – should seem familiar to you.
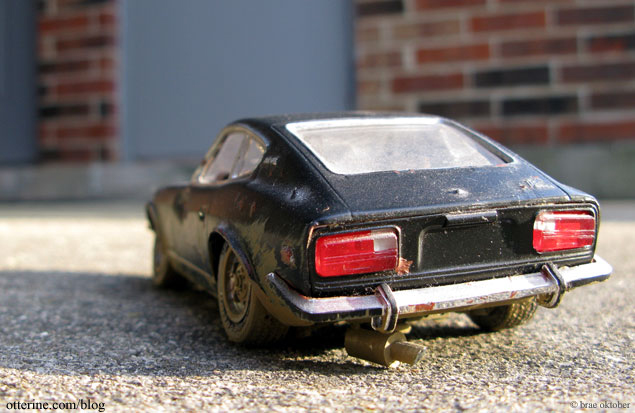
Occasionally, I will see one that is showroom new and I just have to smile. This model has the same issues as the Beetle – the dents, rust etc., but I did a few extra things here.

The spider web crack in the front windshield is done by poking a heated straight pin through the plastic then using a hobby knife to etch the pattern.

I upholstered the hatchback just to put a greasy tire mark there.

There are cigarette burns in the seats, a missing headlight and only part of the nameplate remains on the back. I painted most of the car in a mix of gloss and flat black, but the hood and rear piece have a bit more gloss to represent replacement parts. It, too, got a splash of dirt to finish it off. Interestingly enough, the dustier these models get over time the more realistic they look.

Categories: Model Cars, Vehicles
September 16, 2009 | 0 comments
NOTE: All content on otterine.com is copyrighted and may not be reproduced in part or in whole. It takes a lot of time and effort to write and photograph for my blog. Please ask permission before reproducing any of my content. Please click for copyright notice and Pinterest use.


