
Ivy Hollow – brass plaque
I bought a 42-piece lot of vintage charms of the logo for the United States Post Office Department, which was the original name of the United States Postal Service.
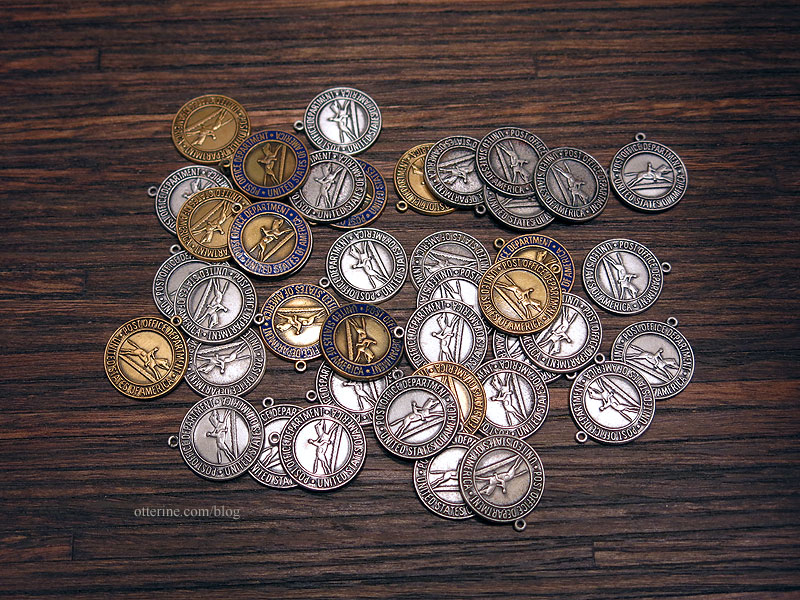
No, I didn’t need 42 of these suckers, but how perfect for a plaque.
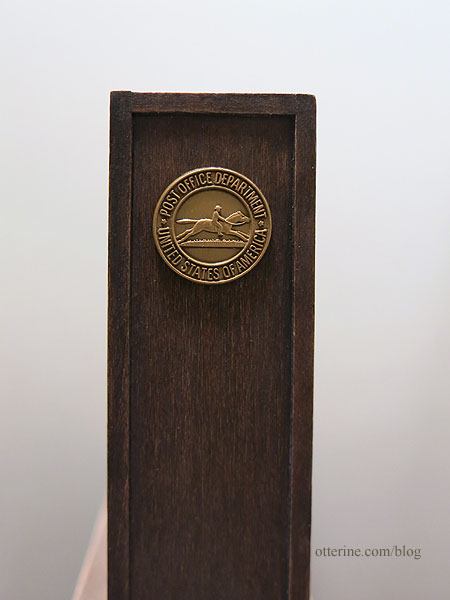
I was going to make a sign to resemble a porcelain plaque, but this is delightful at 5/8″ diameter.
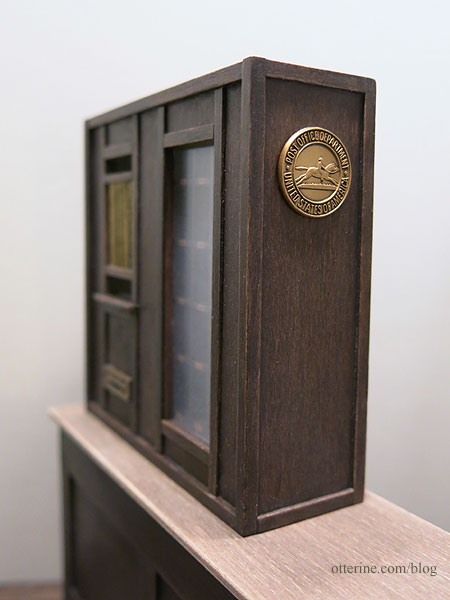
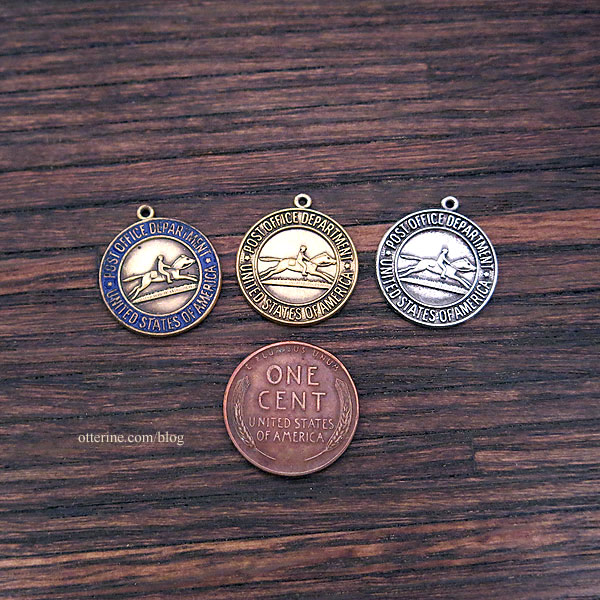
I didn’t want to wait to ask the seller for a smaller lot, because I couldn’t find anything like these online in a smaller quantity and I would have been sad had I missed out on this perfect detail. There are three styles, and one has already made its way to a new home. I’ll list these in my etsy shop once I reopen (all sold out now).
Categories: Ivy Hollow RFD
October 24, 2019 | 0 commentsIvy Hollow – postmaster’s desk wall, part 1
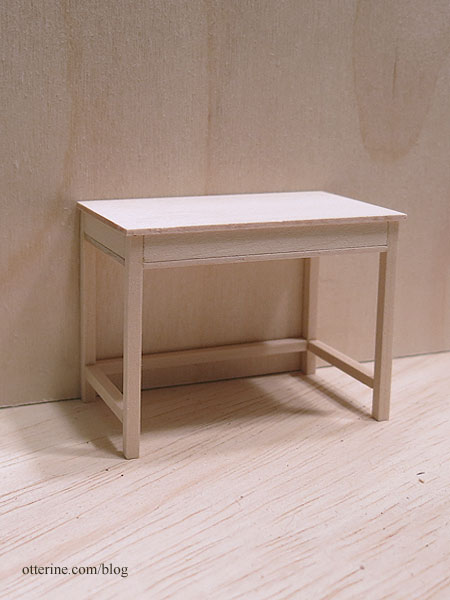
The desk is adapted from a table pattern in the book Finishing Touches by Jane Harrop. Clean, simple design with a false drawer to save time (knobs to come after finishing).
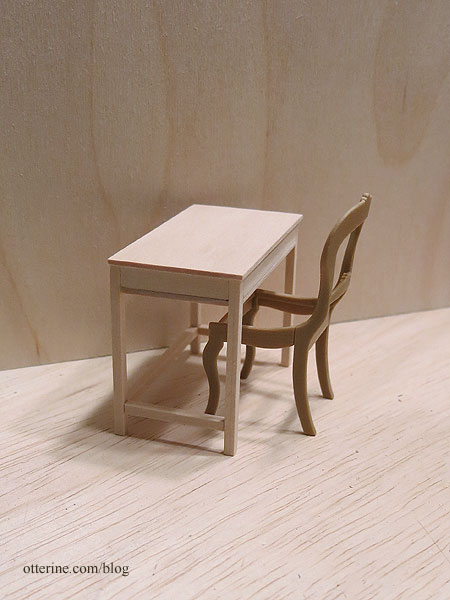
Barbara sent me some Chrysnbon kits for seating options, and I’m choosing the Victorian chair for the postmaster’s desk. It’s fancy, but I plan to age it a little to look like a hand-me-down.
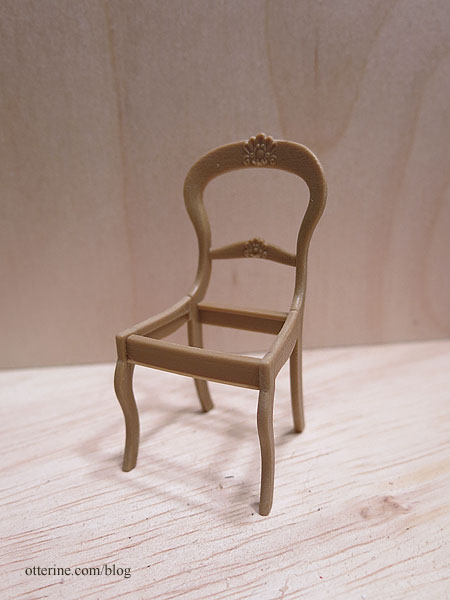
These kits are more delicate in style and often smaller in stature than other 1:12 scale chairs, which works well for the small interior.
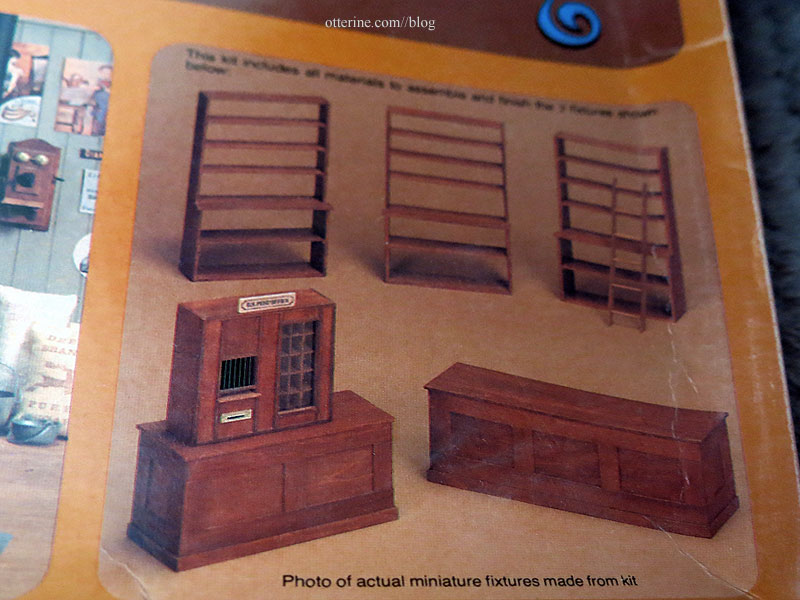
The boards of the shelving units in the Realife Country Store fixtures kit weren’t salvageable due to warping – not even as wood scraps, but they would have required modification to fit the space anyway. Easier to just work from scratch.
After deciding I needed another window on the already finished back wall, I cut an opening without damaging the siding. Whew. But, I measured the back wall window opening incorrectly…it’s off-center. Oy. Guess what, my brain was apparently ahead of me since it knew I needed three inches of space on the left. Had the window been centered, my idea of adapting a 3″ Houseworks kitchen cabinet kit wouldn’t have worked. Double whew! :D
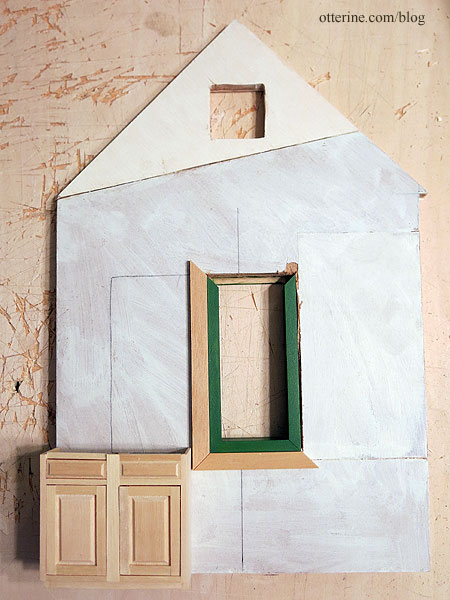
I cut the depth down considerably and altered the construction a bit since this was originally a sink/stove cabinet with false drawer fronts. I used surplus parts from an identical kit I had scavenged before and cut some new pieces as needed.
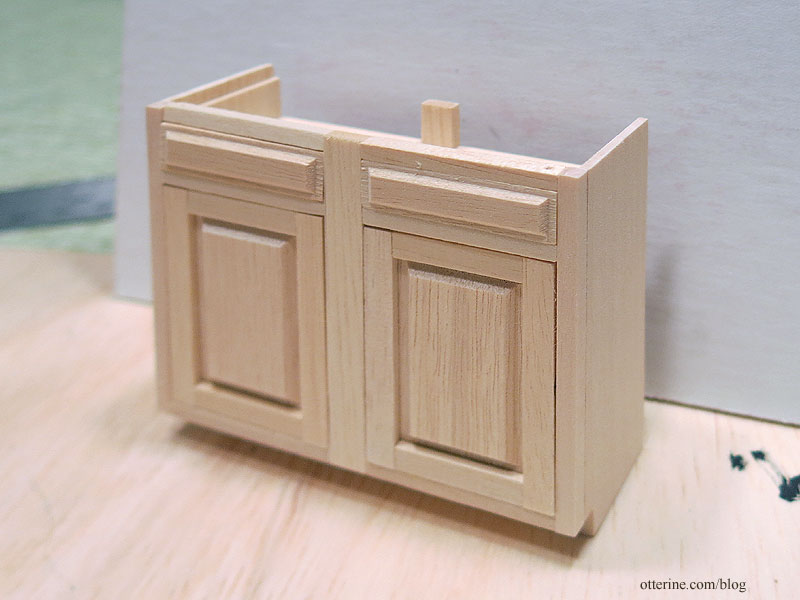
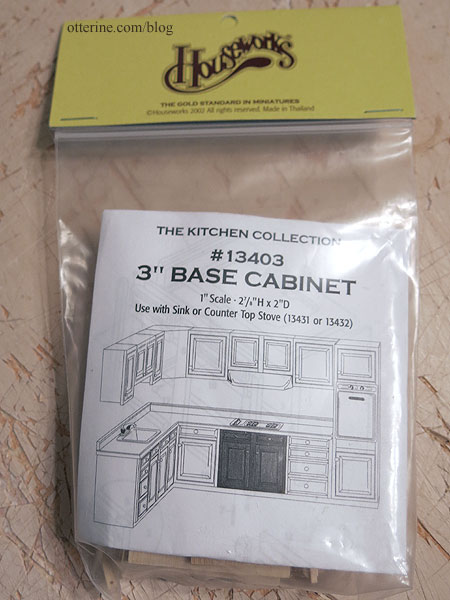
These are great kits, but I usually buy the partially assembled versions if I plan to use them without modification.
The cabinet fills the bottom space, adding storage, but I don’t have to actually fill said space with minis that won’t be seen (nor will I have to dust this space).
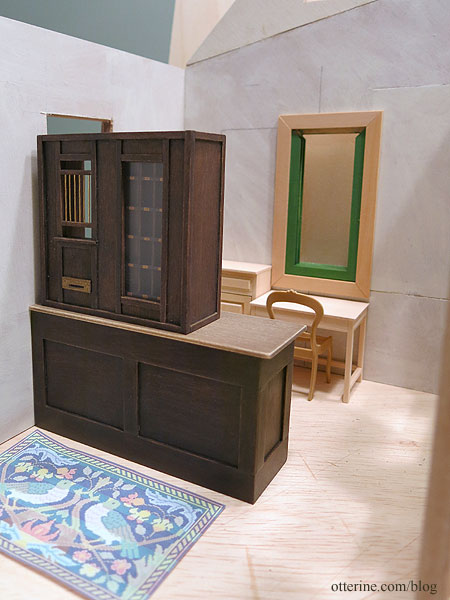
More is planned for the space to the right, of course. :]
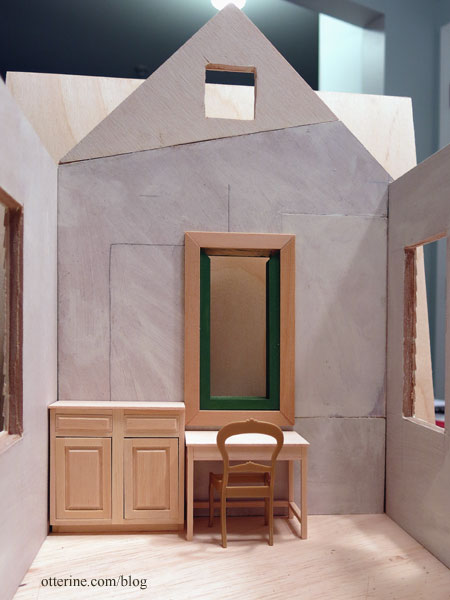
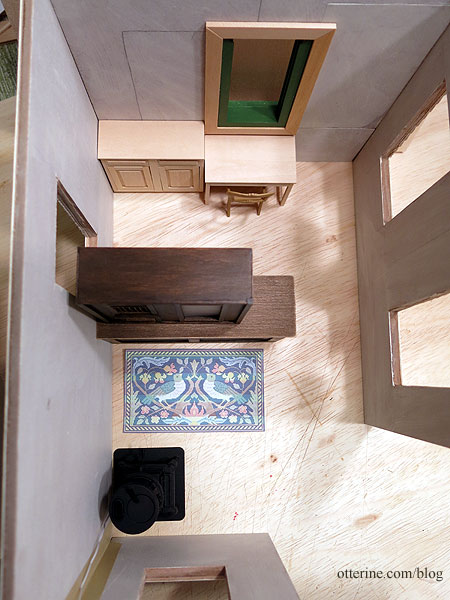
These pieces all fit well, but that window placement next to the postal teller is going to bug me. :\ When I flipped the house structure and furniture arrangement, I neglected to reconsider the window placement. This is when my penchant for leaving a house in dry fit until the end works in my favor. This is a relatively simple fix…cut a new rectangular wall, add siding and paint. It’s a task that I can do in the background while moving forward and using the existing wall for planning, etc. Plus, I will keep the old wall for whatever may come up.
Categories: Ivy Hollow RFD
October 13, 2019 | 0 commentsWe’ve got mail!
Today, my car needed its scheduled maintenance, so I packed my bag of minis and headed over there for a three-hour tour (Gilligan’s Island theme song now firmly in my head.) They have a desk/office area cordoned off for some privacy, so I was able to work comfortably. Sometimes I sit in one of the comfy lounge chairs and stitch, but today was Mail Call day.
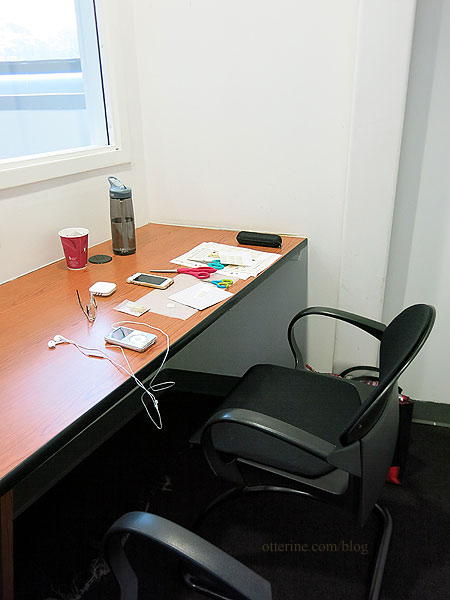
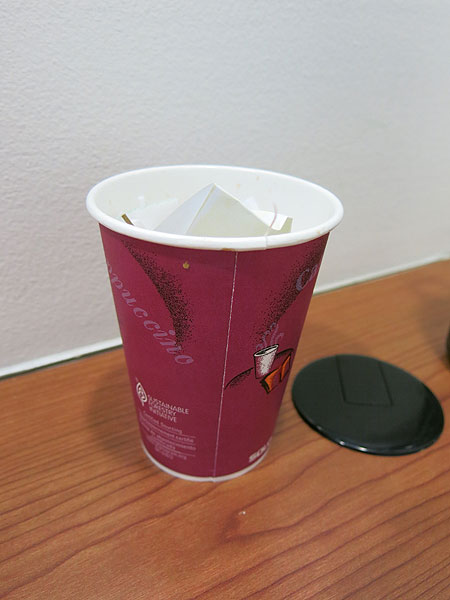
Someone was kind enough to leave their dirty coffee cup behind, but it worked well for a mini trash can. Kismet litter (good punk band name). haaaaaaaaaa
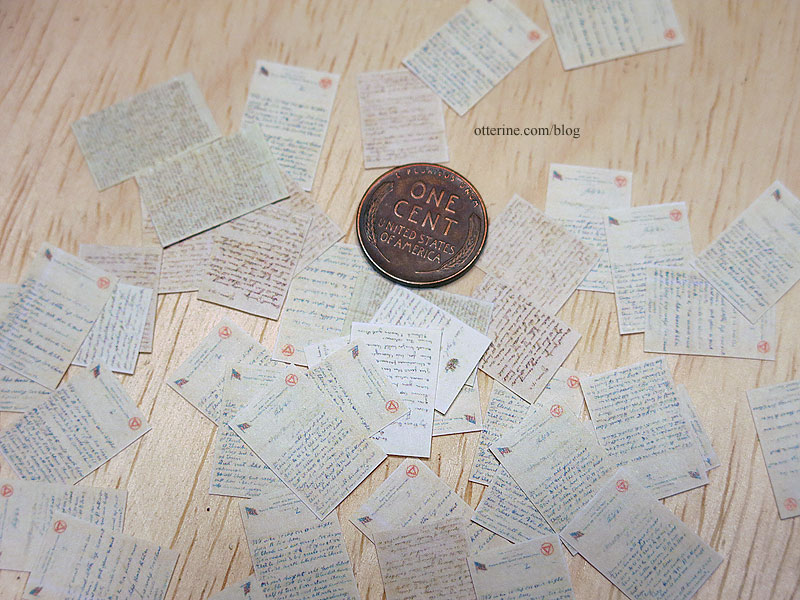
For the past couple of weeks, I’ve done some scouting about online and found a few different sites that had scanned letters and their corresponding envelopes. There is also a wealth of postcards, both mailed and unused, listed for sale online. I tried to limit the ones I printed to true 1917 dates, except for a few that I loved and wanted to include. Here are the letters. They are true to scale and not legible, but they add a nice touch.
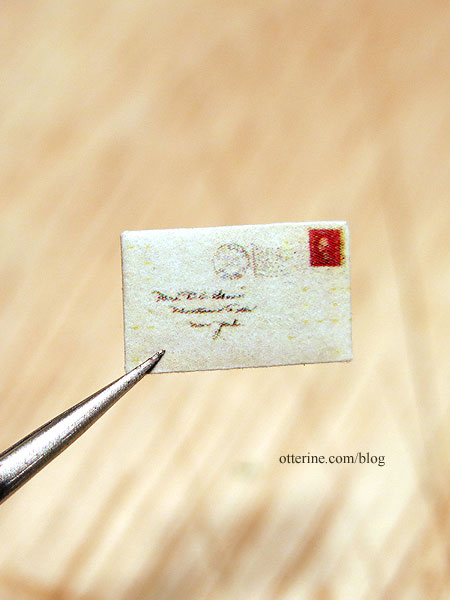
I did print envelopes, but my guidelines were so faint that I am going to reprint those for another day. I did manage to get one matched reasonably well.
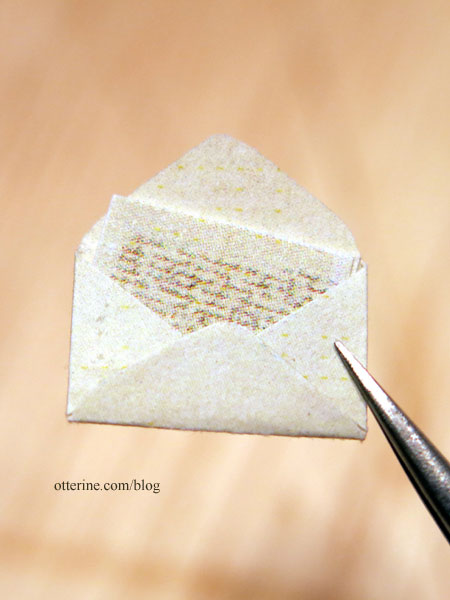
The letters are glued shut, but I like knowing there is a true letter inside.
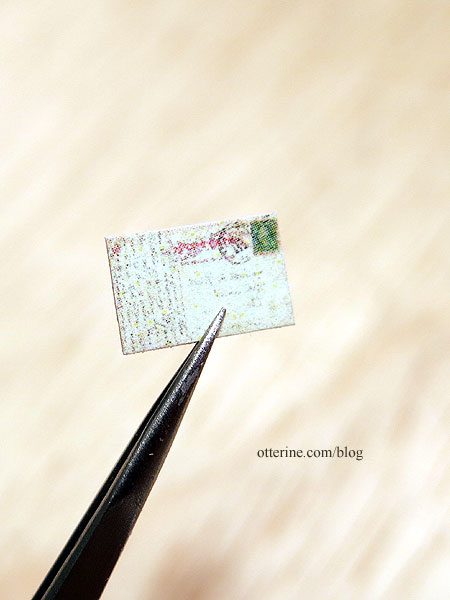
I cut out the postcard fronts and corresponding backs as pairs so I wouldn’t have to play an impossible match game later.
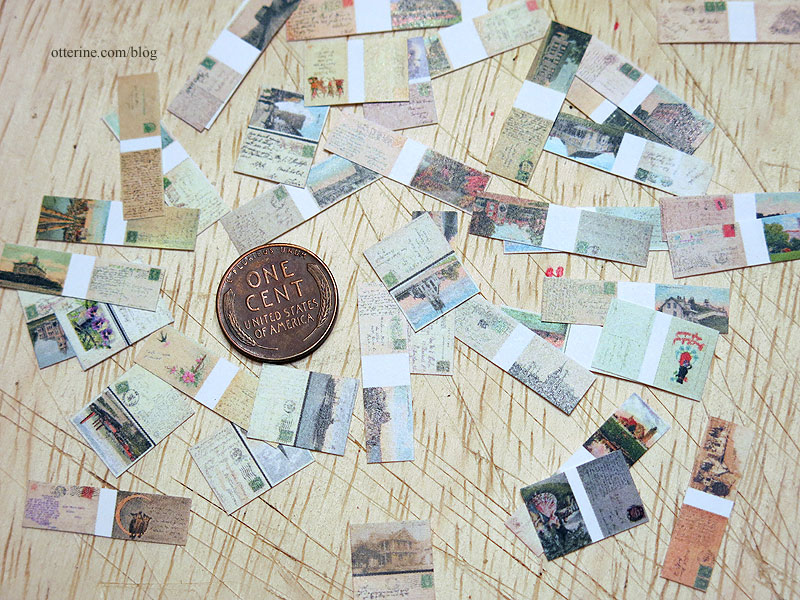
I pasted them back to back for a true postcard facsimile. This is one I fudged – this is a postcard that had a blank back, but I needed the bunnies in my post office.
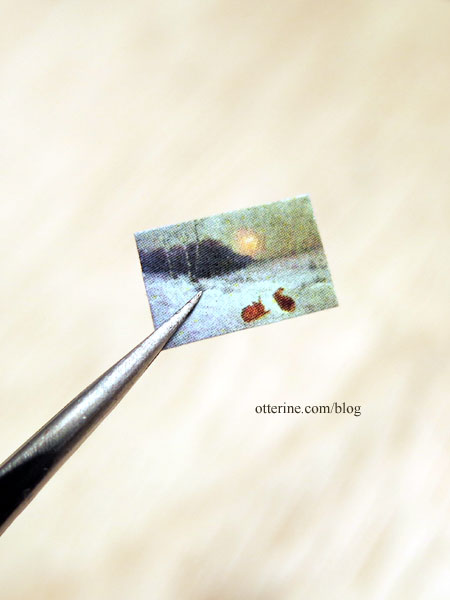
Assembling these will be good busy work for TV time.
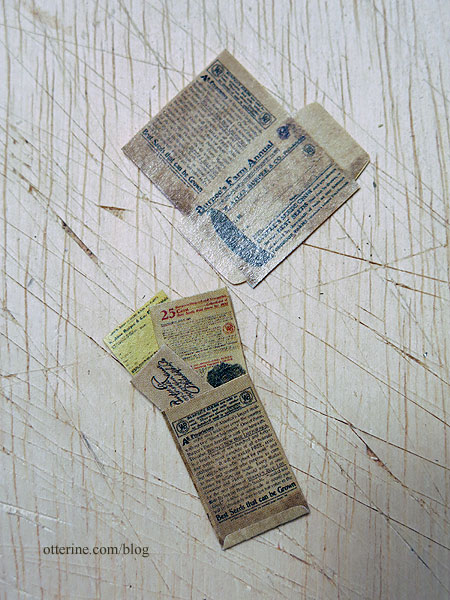
Miniature Collector magazine had printies in their magazines, and I pulled a whole bunch from the recent magazine stash that was gifted to me by a generous reader. One was a sampling of the 1902 Burpee’s Farm Annual. The magazine has a copyright date of March 2007.
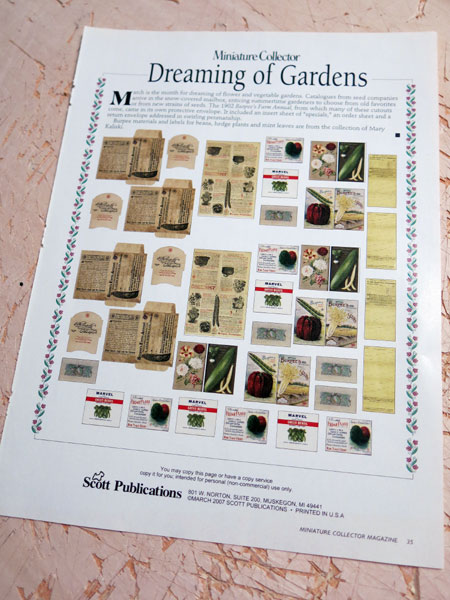
It included a large envelope to hold the mailer, an order form and a return envelope.
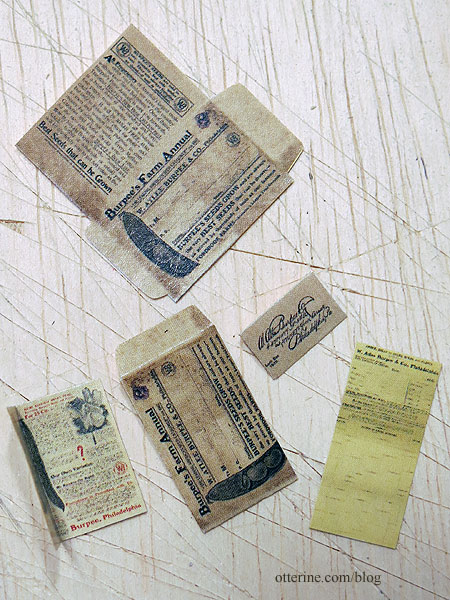
It’s a lovely set, and the notes indicate you are allowed to copy or have a copy service reprint for personal use. Since the magazine paper is a little shinier than I would like, I think I will do just that and make up a bunch. :]
Categories: Ivy Hollow RFD
October 6, 2019 | 0 commentsRealife Country Store fixtures – part 4
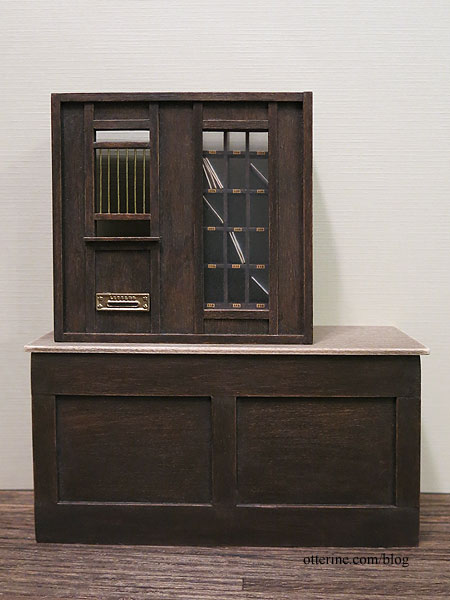
Continuing work on the Realife Country Store fixtures. After getting the parts stained and sealed, it was time for main assembly. I’m still holding off on the countertop until I get ready to set the furnishings in place. The brass rod supplied with the kit was smaller in diameter than the fiber guide holes. I didn’t know how this was supposed to work with that much give.
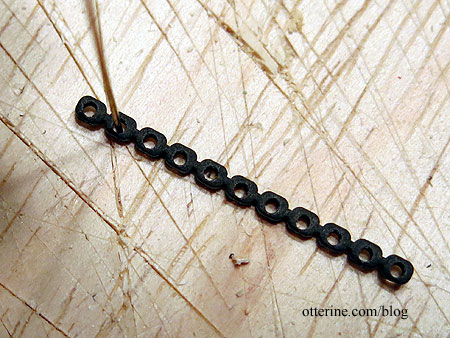
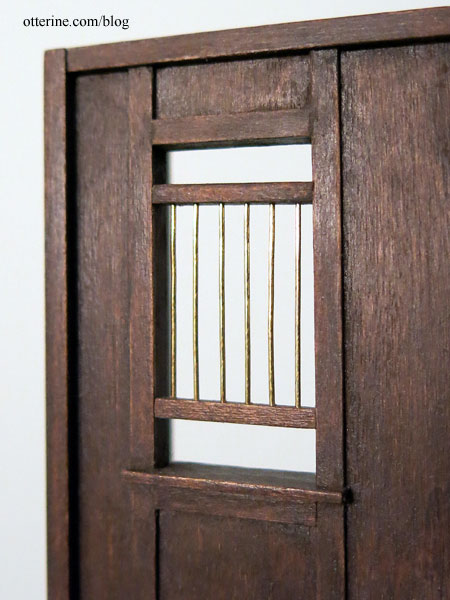
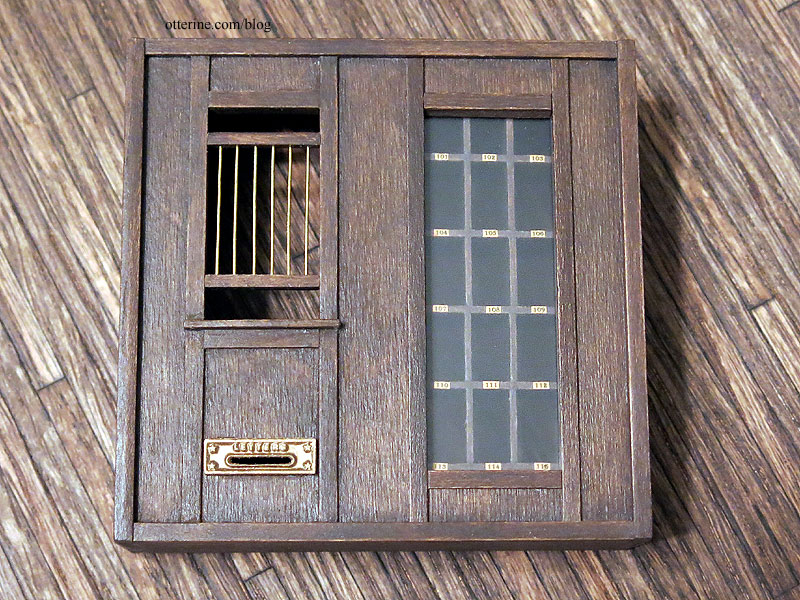
Instead, I replaced the guides with strip wood, measured the placement for the brass bars and drilled holes with a pin vise. The window bars were fiddly, to say the least, but this worked better. It might seem silly to have an open counter and easily thwarted gate then have bars on the post teller window, but I love the look of this piece.
I added numbers to the 15 pigeon holes in the mail sorter. Yep, on the back, too, so the postmaster and the customer can see which box is which.
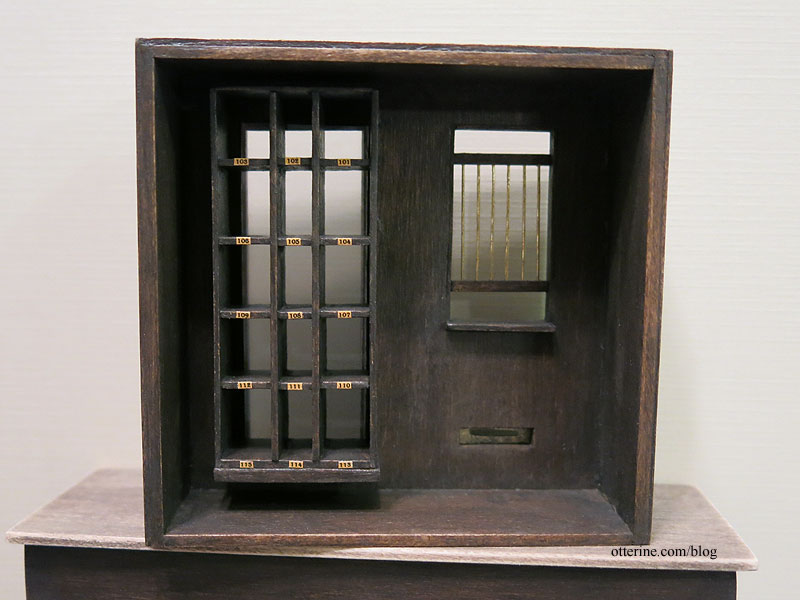
These are 3.5 point type. :O
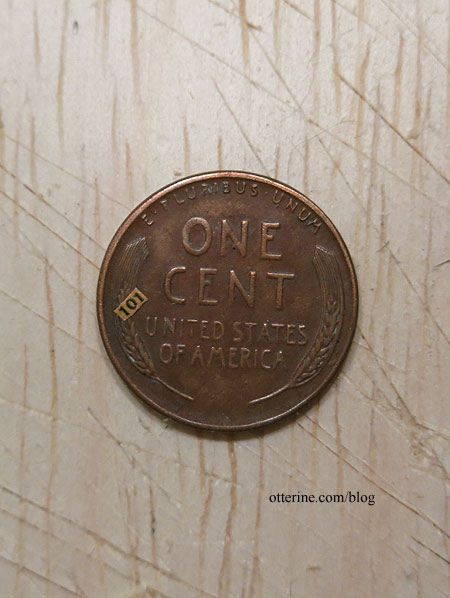
I cut a piece of thin acrylic sheet for the sorter window and then glued trim to hold it in place. I opted to lightly frost the glass to cut down on the glare that would prevent good pictures. I used Testors Dullcote.
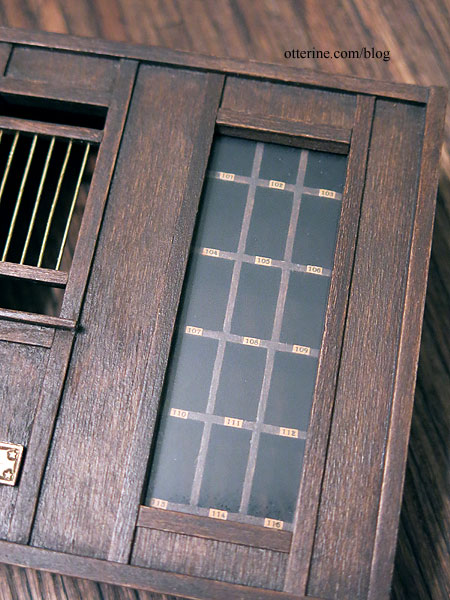
This piece took a lot of work to get a good result, but I’m very pleased with the results.
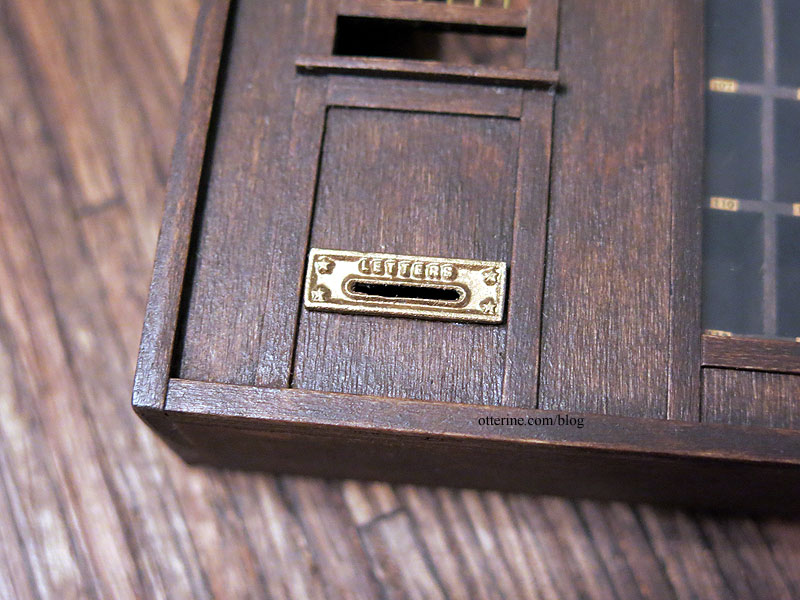
The brass letter slot is a wonderful detail. I had to smooth the edges and carve away some excess metal from the slot, so I touched up the paint overall with bronze acrylic.
I added a few larger letters just to see. I have some smaller mail planned as well.
Categories: Ivy Hollow RFD
October 2, 2019 | 0 commentsRealife Country Store fixtures – part 3
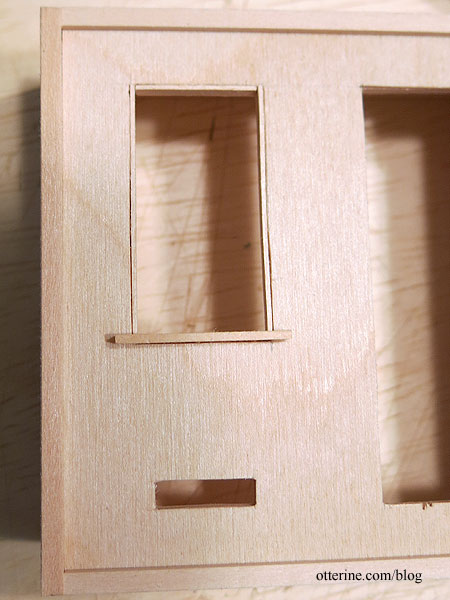
Continuing work on the Realife Country Store fixtures. I cut more away from the window opening and cut new sides to replace the warped kit pieces. I was mistaken about the window shelf – there was a ledge included in the kit. I just hadn’t cut that piece out or gotten that far in the instructions. It’s a usable piece as is, as long as I don’t break it. I trimmed the window since I had used plywood for the front (for stability). This covers the striated edges.
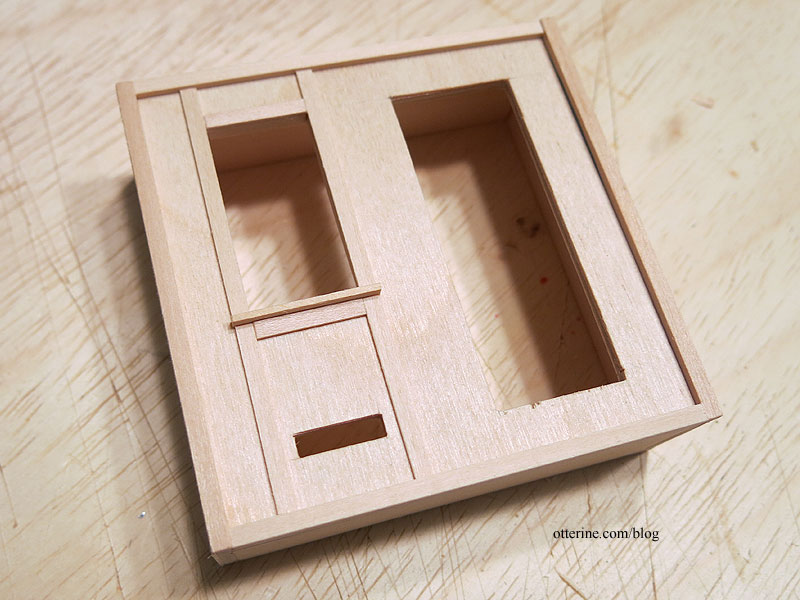
I added trims to finish the postal teller window side, revamping some of the design with trims from my stash. Just a little pizzazz. The sorter side will need to wait until I finish and install the pigeon holes.
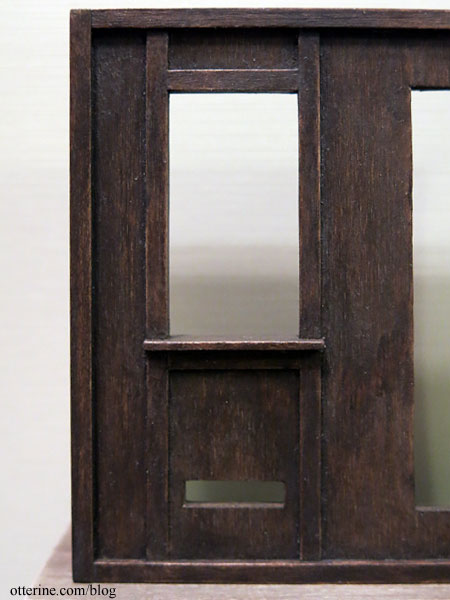
For finishing, I’ve opted for Bittersweet Chocolate mixed with Staining Medium, both by Americana. Actual stains can be harder to work with in small spaces, and the Staining Medium makes paint behave like a stain without the fumes or the long drying time. There’s the benefit of stained wood grain without as much mess. Acrylic paint also helps bind the wood fibers to make sanding between coats more effective.
I sanded after the first application and then reapplied to complete the staining portion. For any glue mishaps or large grain, I added undiluted paint. I then sealed the pieces with satin varnish, making the finish less than perfect to add some character.
Painting the pigeon holes was the worst part. Tiny brush, 15 compartments, four sides each, from the front, then the back – two coats of paint, one coat of varnish. And, they still need touching up. Oy. Good thing the tiny mail will distract. :D
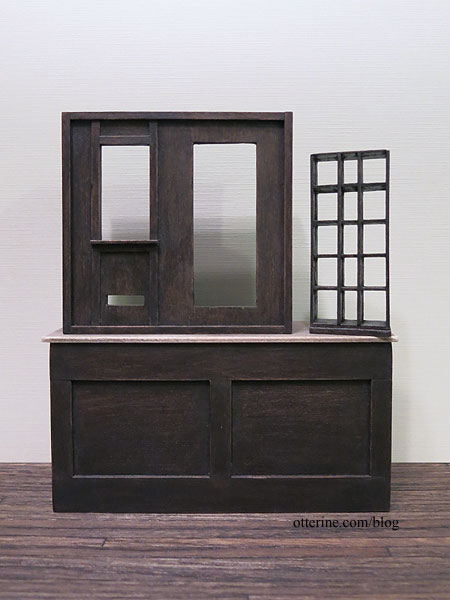
I did paint the first coat on the countertop followed by sanding, though I have work to do on that before I can finish it. It won’t be a contrasting lighter tone in the end.
Categories: Ivy Hollow RFD
September 28, 2019 | 0 comments
NOTE: All content on otterine.com is copyrighted and may not be reproduced in part or in whole. It takes a lot of time and effort to write and photograph for my blog. Please ask permission before reproducing any of my content. Please click for copyright notice and Pinterest use.


