

Coffee table and a birdbath
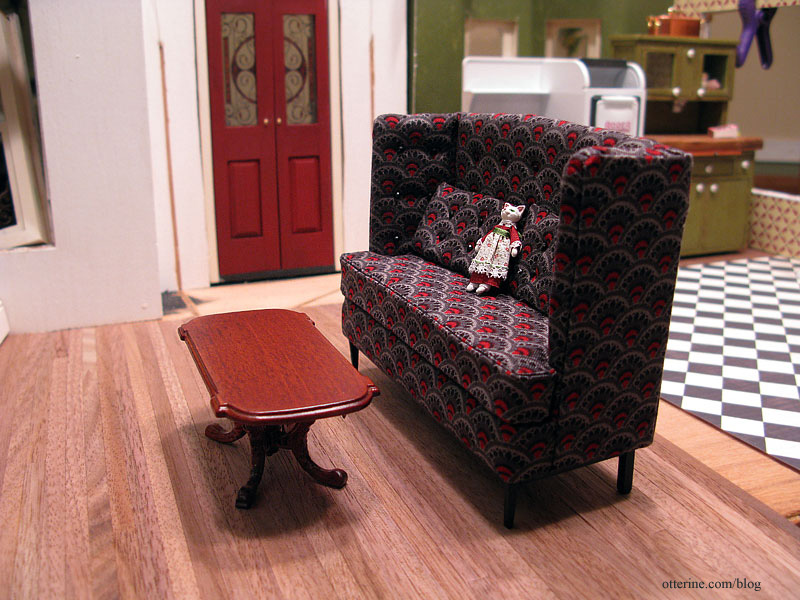
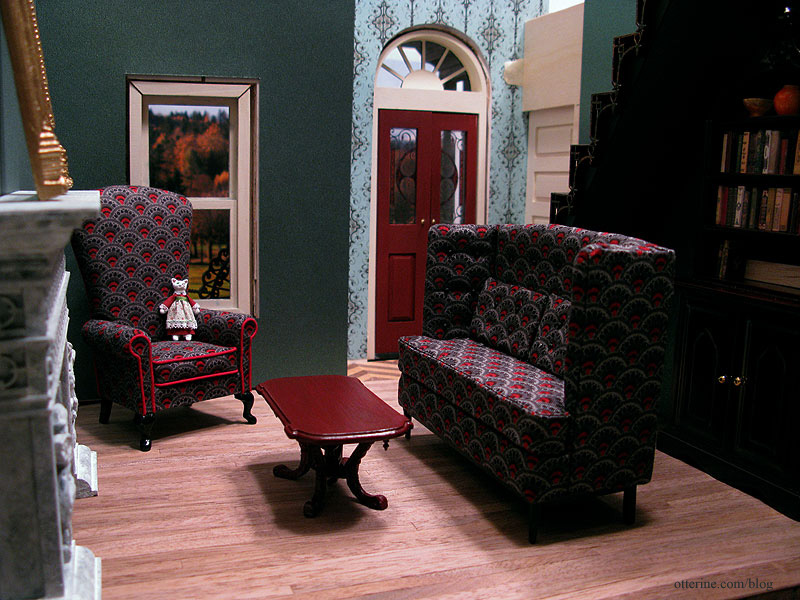
The Chair, The Sofa, the fireplace and the bookcase are such statement pieces in the parlor, as well as the fancy stairs, that I needed an equally expressive coffee table. I bought a closeout Bespaq Eddington Walnut coffee table for its lines though the color was off.
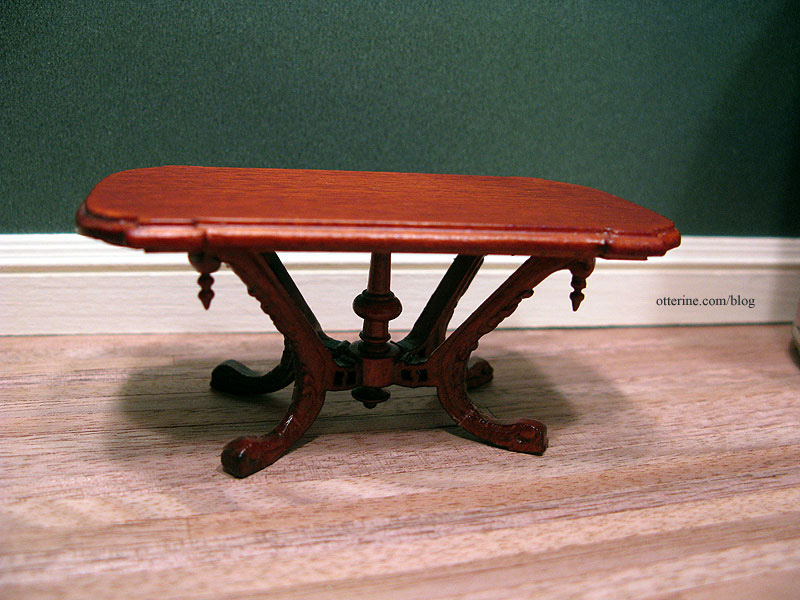
When it arrived, two of the legs had broken in shipment. The damage wasn’t so severe that it couldn’t be repaired, and it was the perfect excuse I needed to refinish the beautiful table. I don’t think I could have convinced myself to paint it otherwise. Here it is before (you can see the leg glued back together on the right).
And, here it is after. I painted it Black Cherry by Folk Art then added a satin varnish. I thought about painting it black at first but figured I would lose the beautiful detail work. It’s a subtle change but it darkened the finish just enough.
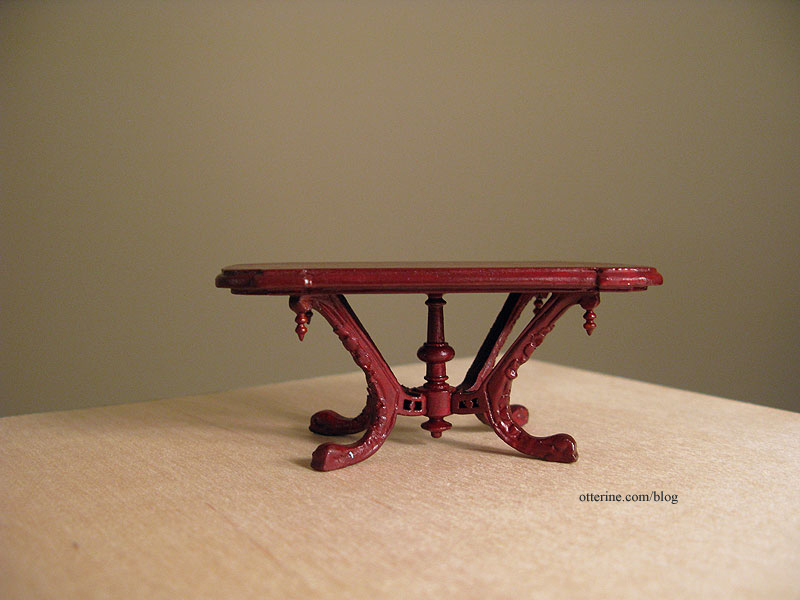
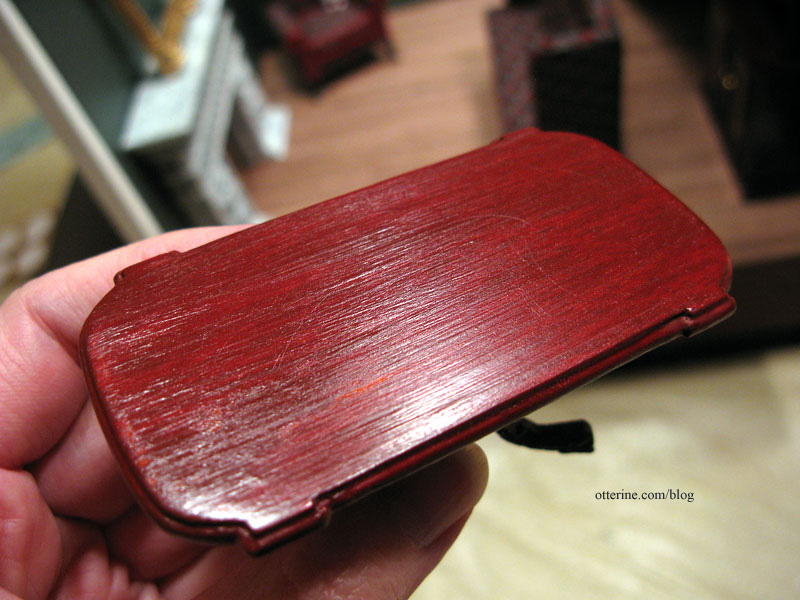
The paint is rather sheer so it kept most of the beautiful wood grain. I scratched up the top just a little and added a top coat of furniture wax. Instantly, the table has a history and has seen many a visitor.
It fits in perfectly with the over the top parlor pieces! The red pulls in color from the upholstery, the front door and the slightly darker mahogany bookcase.
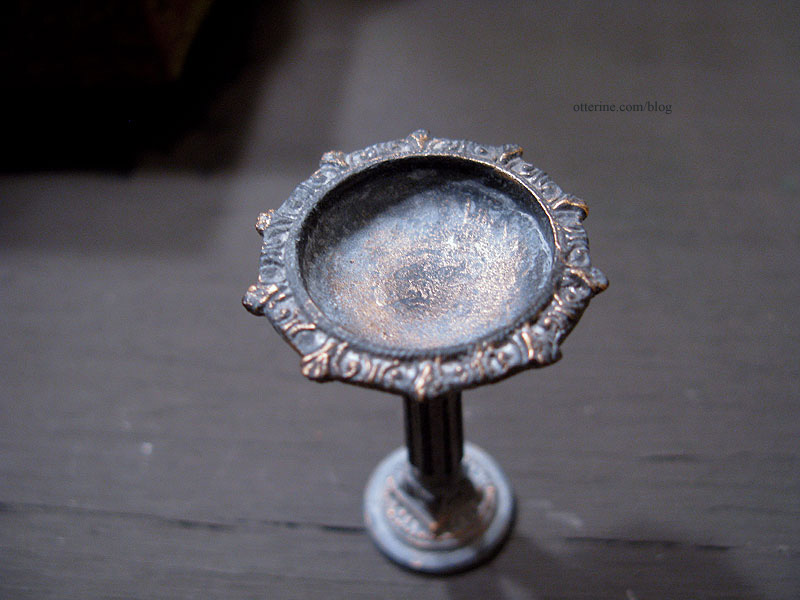
The other new item I have is this aged metal birdbath by Island Crafts & Miniatures. It’s going to look awesome in the overgrown lawn! :D
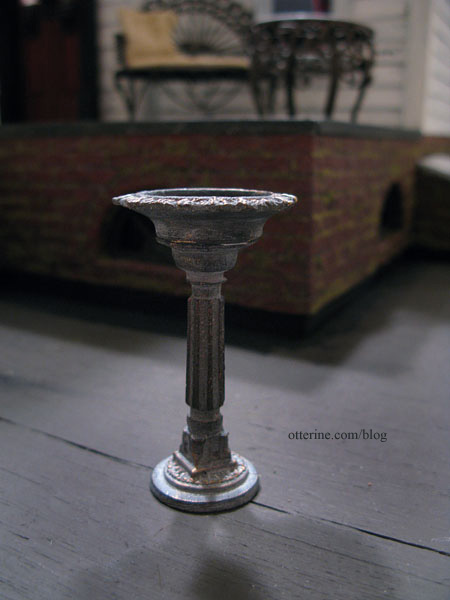
It has the perfect patina!
Both the coffee table and the birdbath are from Dejoux Miniatures.
Categories: The Haunted Heritage
December 1, 2011 | 0 commentsWood and brass train
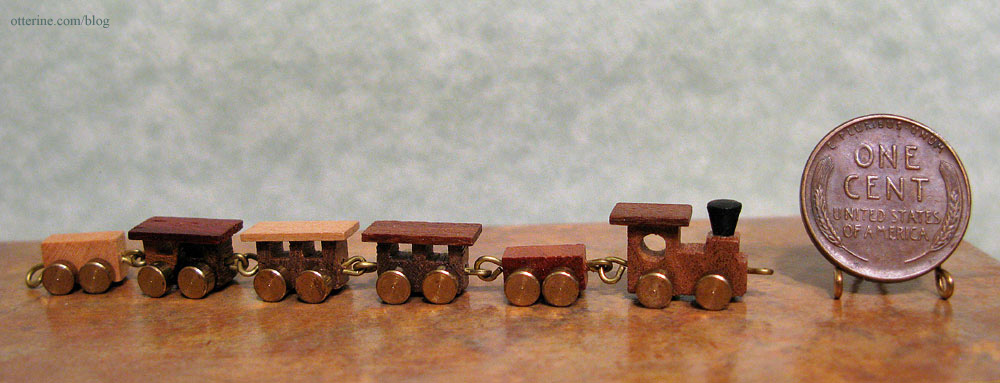
In a recent craigslist miniature lot purchase, there was a beautiful wood and brass toy train. The wheels spin and the cars are attached to one another with hooks. Isn’t it wonderful?! So tiny!
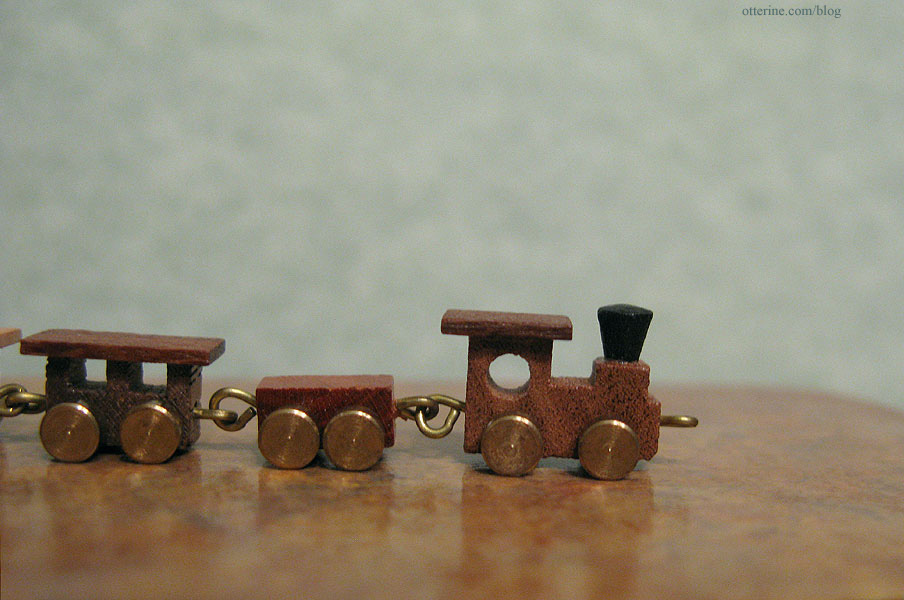
I’m not sure where I’ll display it, but I wanted to share it.
Categories: Miniatures
November 30, 2011 | 0 commentsBeautiful flower in a milk carton planter
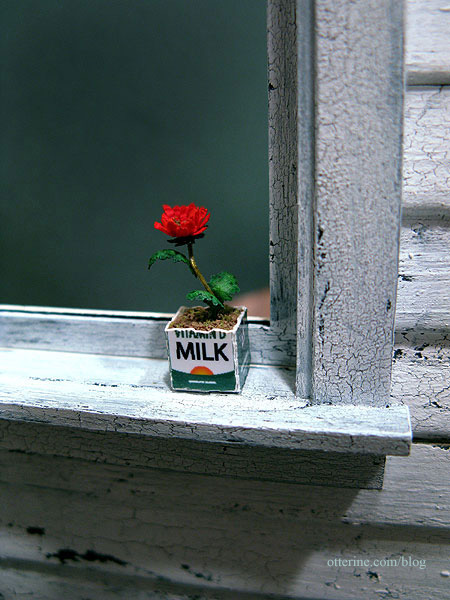
I’ve added a little bit of life to the Heritage from a True2Scale kit. It comes with the glossy printed milk carton bottom, clay, synthetic soil, a stem and a little paper sheet with leaves and flower petals you color yourself. I chose to make mine a vibrant red orange, my favorite color. I added a bit of the soil included with the kit to the center of the flower as well as a light sprinkling of the foam I’ve been using as moss on the chimney.
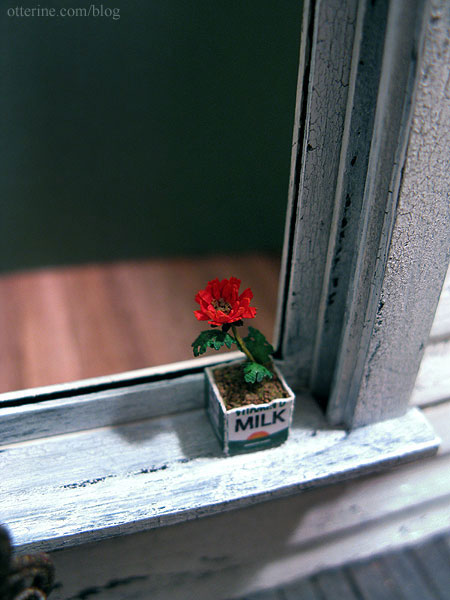
The kit was very simple to put together and the results are so realistic! :D Love!!!!
Categories: Flowers, plants, and trees
November 28, 2011 | 0 commentsHeritage – window upgrade
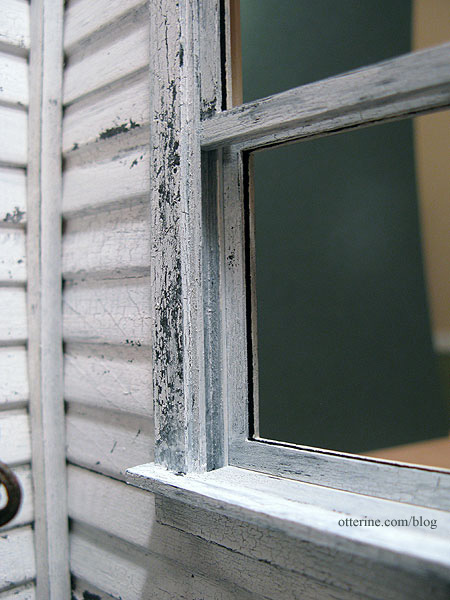
Can you call an old window in need of a paint scraper and some elbow grease a window upgrade? Well, yes, if you are familiar with old splintered die-cut window components. Ha ha. This is a Houseworks working window I am using to replace the original Dura-Craft pieces that just could not be saved. I added wood to the window and to the wall in which it sits to get the proper fit.
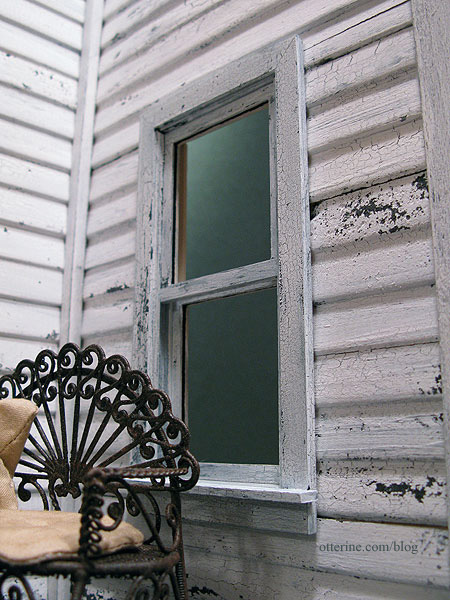
I’ve crackled white paint over a black base for the exterior portions, and the interior has its first coat of Vintage White by Folk Art. I don’t have the glass in yet since I am still working on the interior portion but I popped the main assembly into place to see how the exterior aging worked with the siding. We have a winner! :D
Categories: The Haunted Heritage
November 27, 2011 | 0 commentsHaunted Heritage chimney, part 8
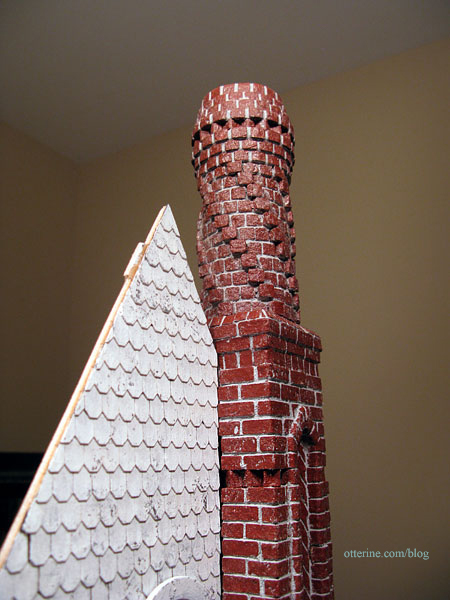
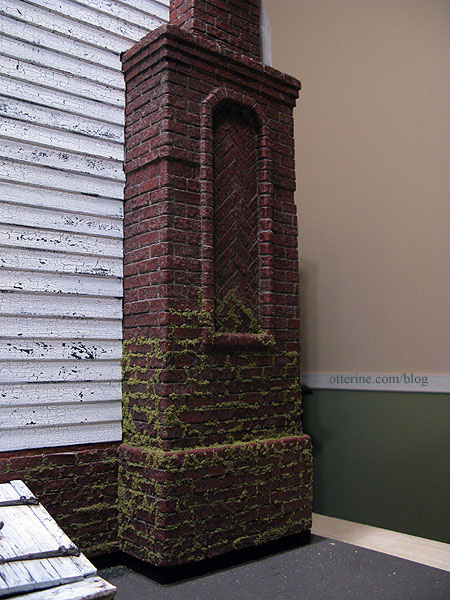
Continuing work on the chimney. After completing the chimney construction, I sealed the bricks with satin varnish to protect the paint. I then used Andi Mini Mortar to grout the chimney in the usual manner. Just this simple step already changes the feel of it and brings out the herringbone patterns and the dimensional portions. :D

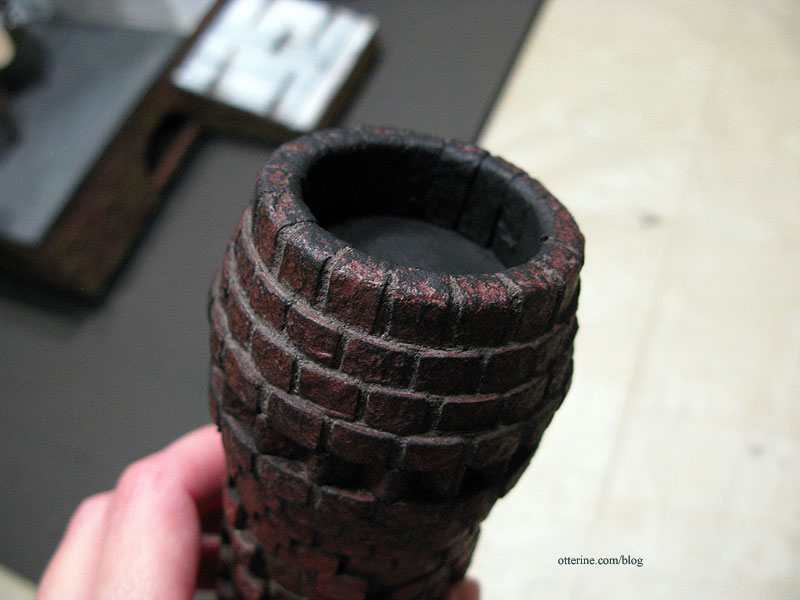
As expected, the topper was more challenging to grout but not as bad as I thought it would be. I rubbed the grout (spackling) into the spaces with my finger on the very top and on the flat surfaces between the spirals. After wiping away the excess, I went back in with a toothpick to remove any excess from the corners around the spiral bricks. I also pushed extra grout into the lines I couldn’t reach with my finger. I used a wet brush to clean the sides of the spiral bricks as well.
All in all, it worked well. There is a bit more excess grout on the topper surfaces but a dark paint wash will significantly tone down the light grey residue.
I love how much solidity the grout adds to the whole structure.
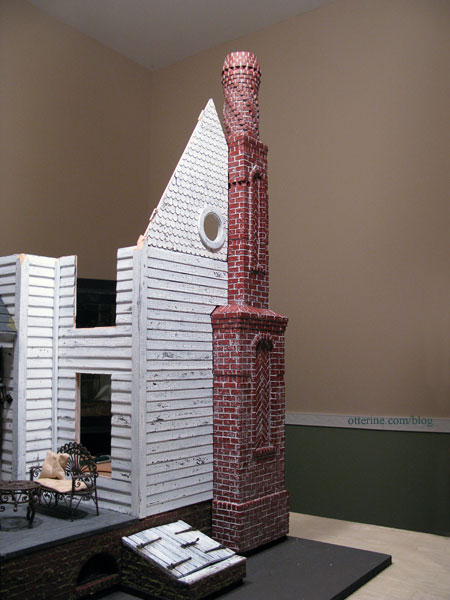
For final finishing, I first aged it with a wash of black, brown and grey paints.
It darkened the grout and gave a more realistic coloration to the brick.
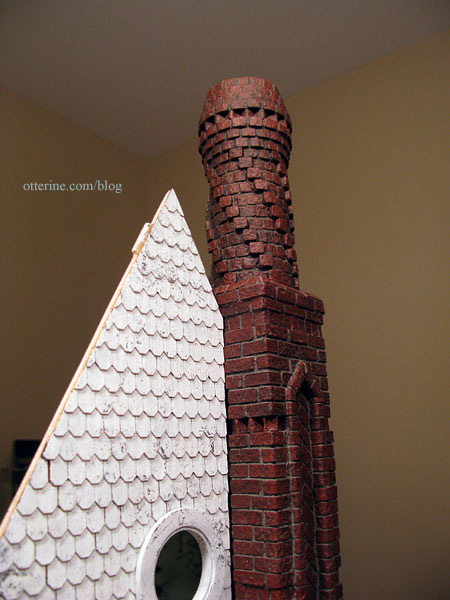
I painted the inside of the topper black and dry brushed black paint on the top lip and over the upper rows of bricks. Grandma needs to call the chimney sweep! :O
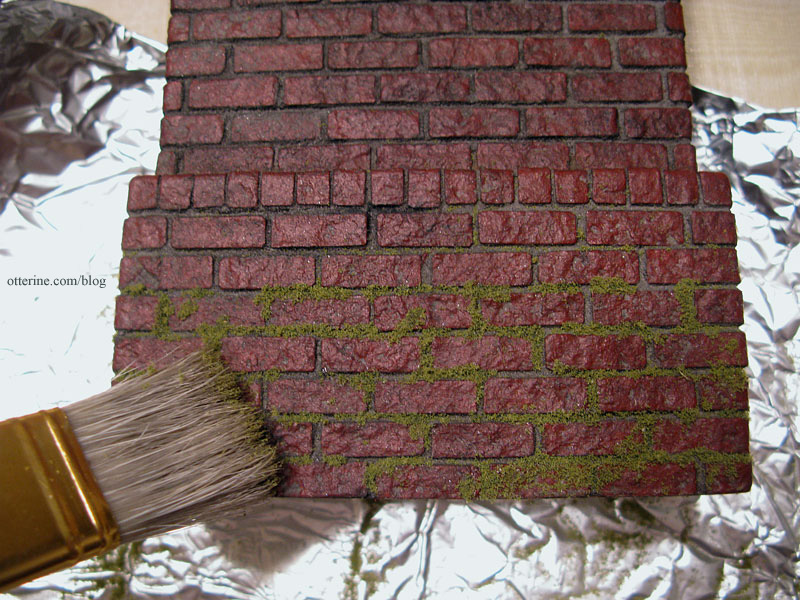
Then it was time to apply the moss: Fine Turf, Burnt Grass by Woodland Scenics. This time I used a glue syringe to apply Aleene’s clear gel tacky glue. It’s faster than applying it with a toothpick, especially when working on a larger area. I don’t apply it to all of the grout lines, just here and there, and on some portions of the face of the bricks. Makes it seem more realistic to me.
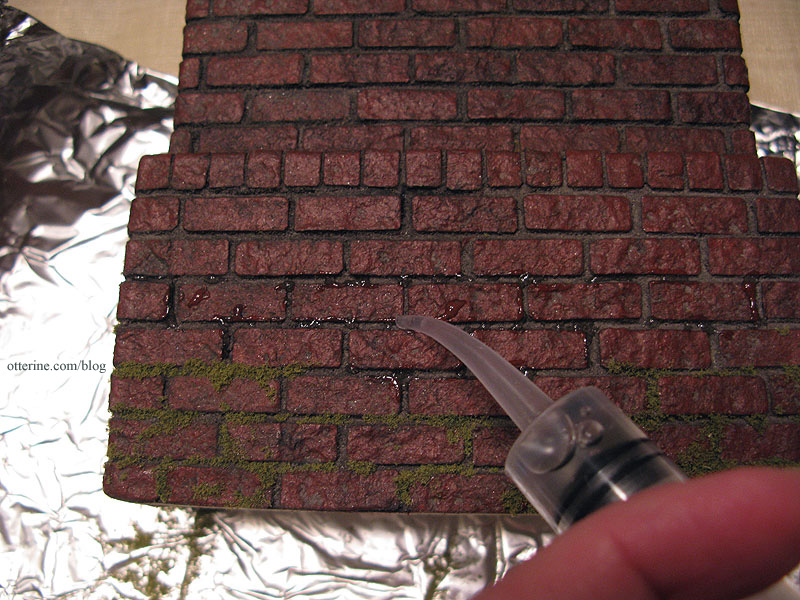
I like to use a plastic container to hold the moss as I work since the bag it comes in can create a lot of static, and you can’t really pour the excess back into the bag without making a huge mess. I also work on a sheet of foil to make it easier to catch the excess and put it in the storage container.
Using my fingers to disperse pinches of foam, I apply a liberal amount over the glue.
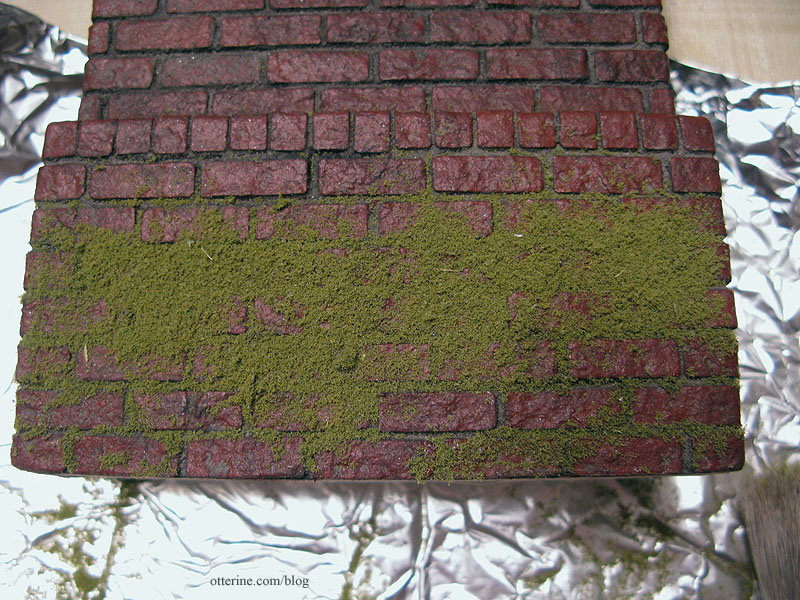
I press it in with my fingers and let it sit a few seconds before tipping the chimney and letting the excess fall back into the plastic container. I use a large soft brush to lightly remove the excess.
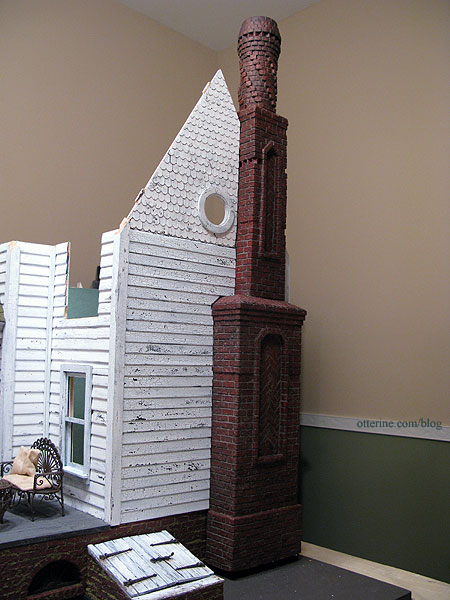
So far so good! Once the glue dries completely, I will brush the chimney more vigorously to remove more of the moss material. The plan is to also taper off the moss toward the top, with only patches here and there. Have to leave some brickwork exposed after all that work!
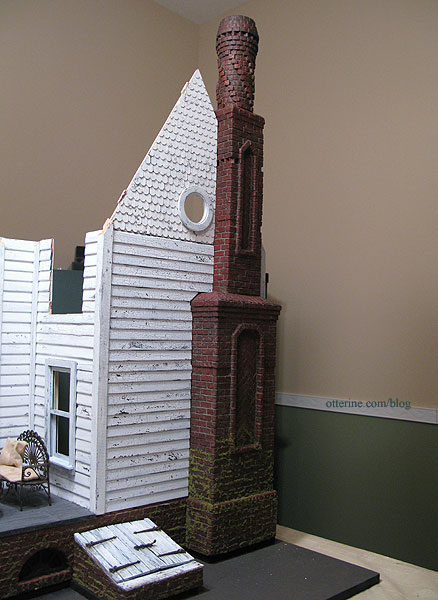
I added more moss along the connection with the house to disguise any minor gaps between the siding and the chimney. Once the chimney is permanently attached, I’ll add a bit more moss in the gaps to fill in. I’m also thinking a dried out old ivy vine would look marvelous!
Categories: The Haunted Heritage
November 26, 2011 | 0 comments


NOTE: All content on otterine.com is copyrighted and may not be reproduced in part or in whole. It takes a lot of time and effort to write and photograph for my blog. Please ask permission before reproducing any of my content. Please click for copyright notice and Pinterest use.


