

Mail Wagon – part 13
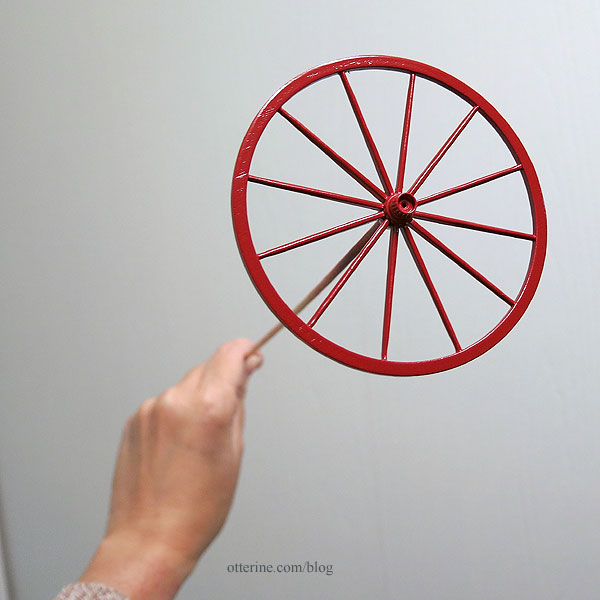
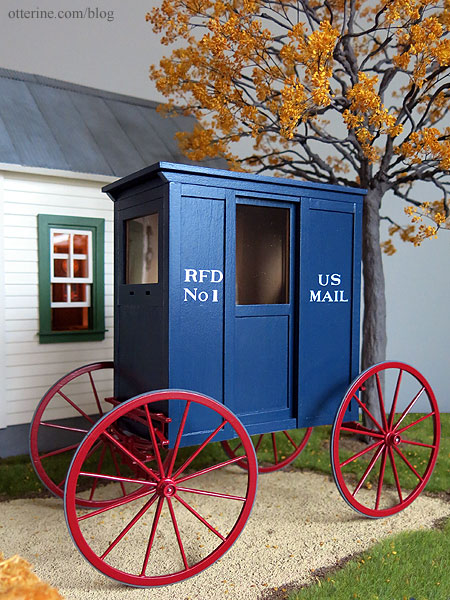
Continuing work on the mail wagon. While I was painting one day, I went ahead and finished up the wheels. I painted them flat white, then gloss Cherry Red by Krylon.
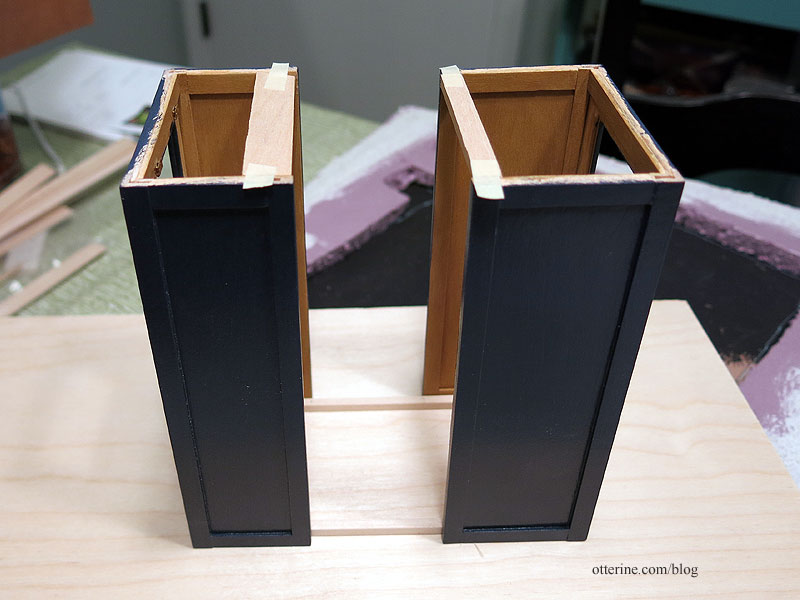
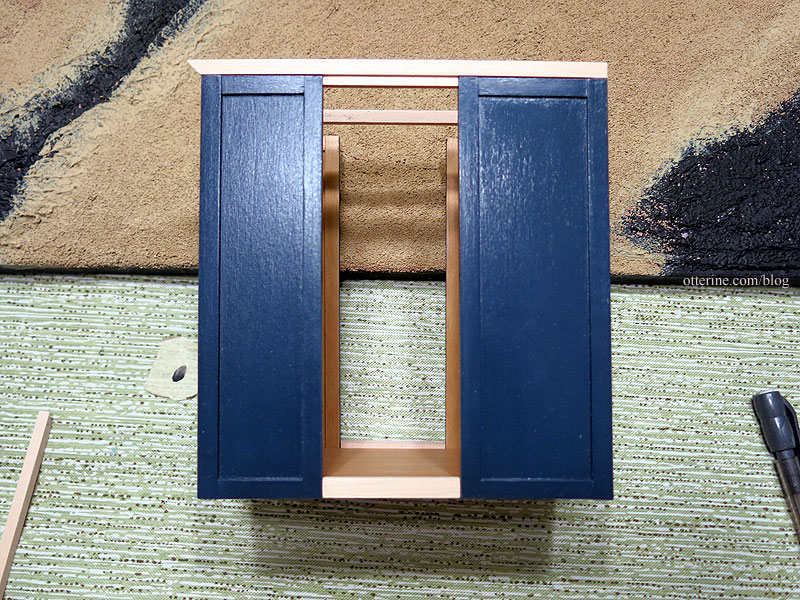
I joined the front and back cabin assemblies using strip wood along the inside bottom, using spacer boards at the top to keep the front and back assemblies square as I worked.
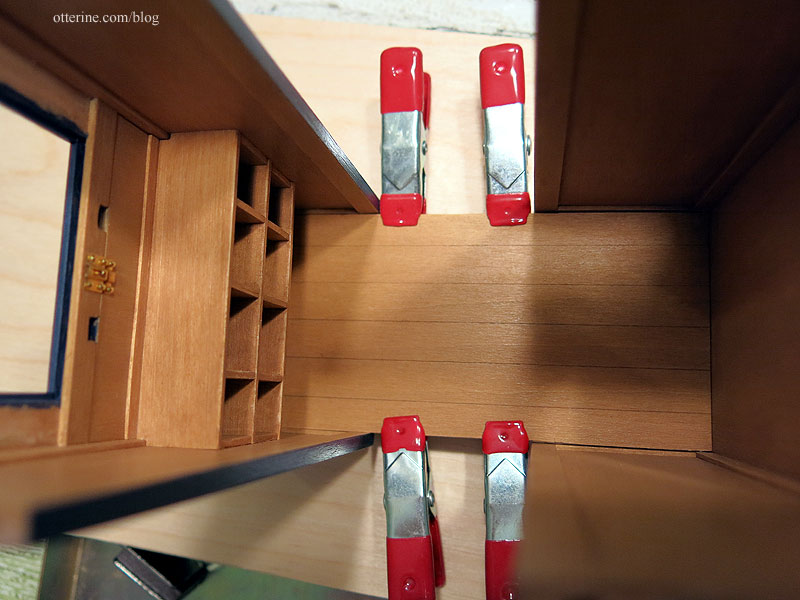
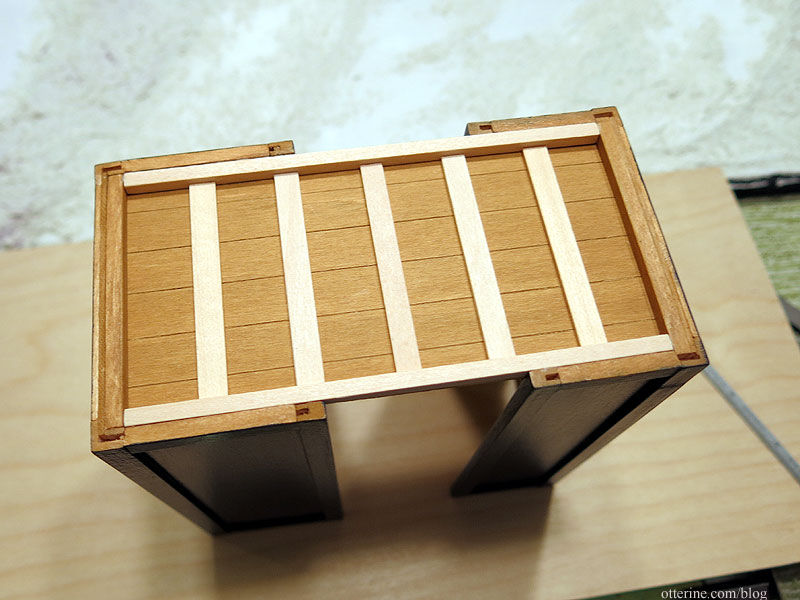
I installed the floor and then added more support boards underneath.
You can see I added the same scored lines on the bottom to mimic individual boards.
I added strip wood along the top to finish the walls and to fill the gaps on the top and bottom of the doorway. These wagons would have had slightly curved rooftops, but I left mine flat for ease of building. I did add some shaping to the front sides.
I cut a piece of 1/16″ thick basswood the exact shape of the ceiling opening.

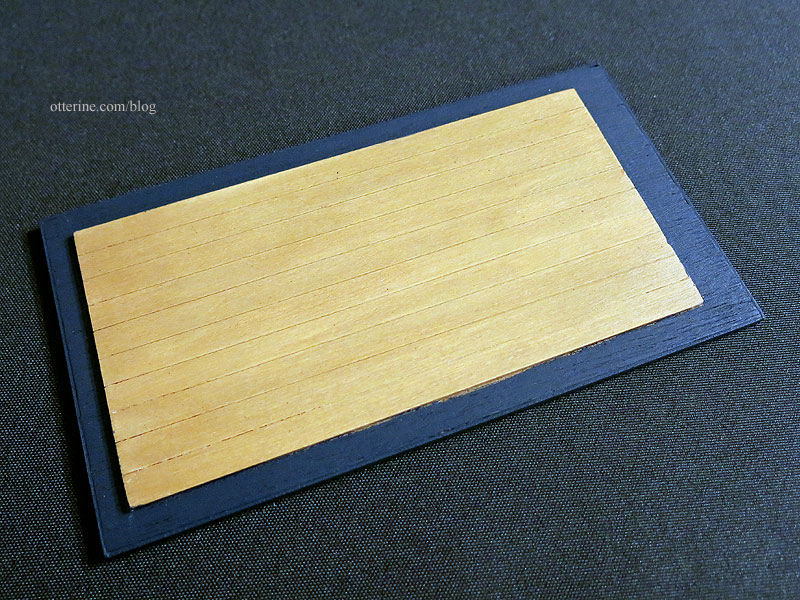
I cut a roof board from 1/8″ thick luan plywood (leftovers from Walnut Bay Light) and covered the edges with thin basswood. I added the 1/16″ thick basswood ceiling to the plywood which would allow the roof to sit firmly in place but remain removable. I again scored the basswood to mimic individual boards. Having a removable roof means I can always try my hand a curved roof later. I apparently didn’t take progress photos of this part, so here is the roof after painting.
From the inside, it looks solid. :]
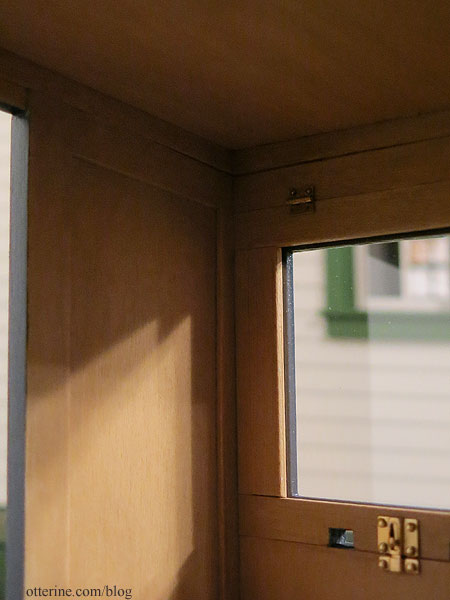
From the outside, you can’t tell it’s not all glued together.
Categories: Ivy Hollow RFD, Model Cars, Vehicles
December 20, 2019 | 0 commentsIvy Hollow – tiny stamps and a postal cat
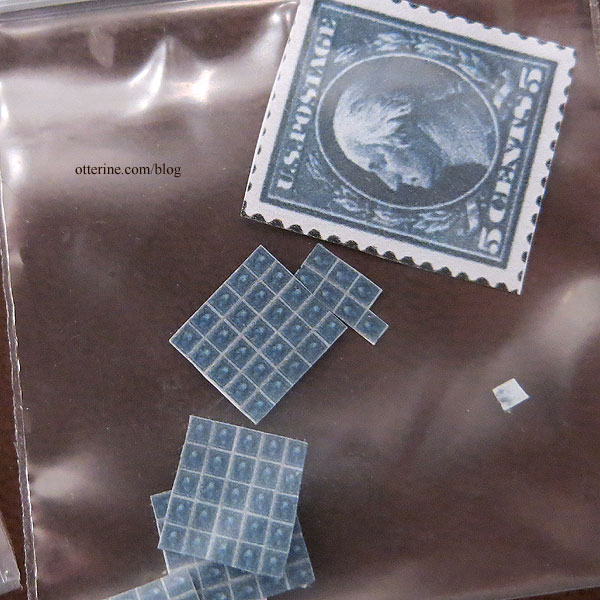
As I was building, the delightfully talented Anna sent me some mini stamps she made. She included real life size prints of the original inspirations as well.
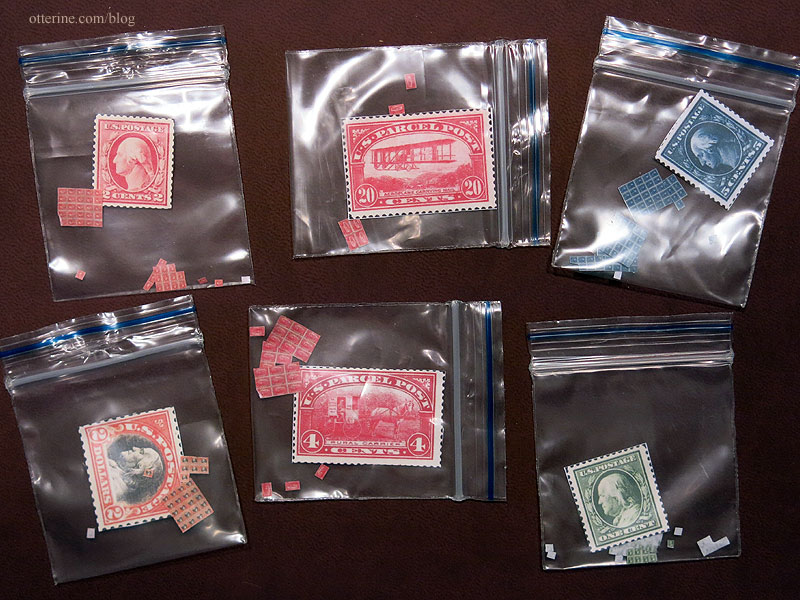
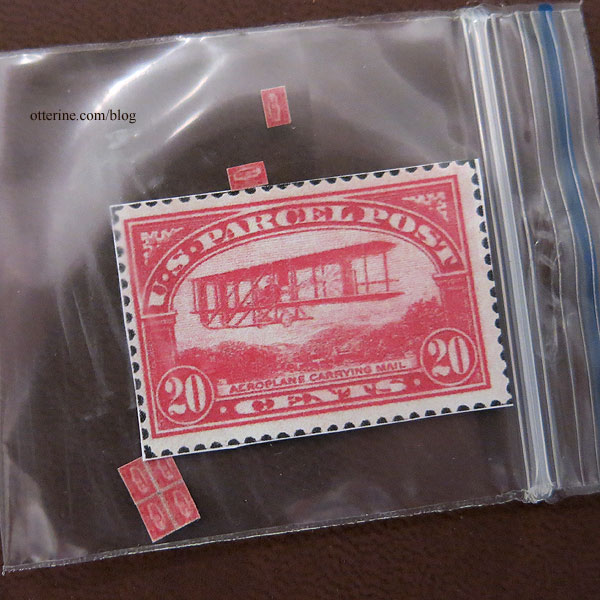
One has a biplane in honor of The Aero Squadron Lounge.
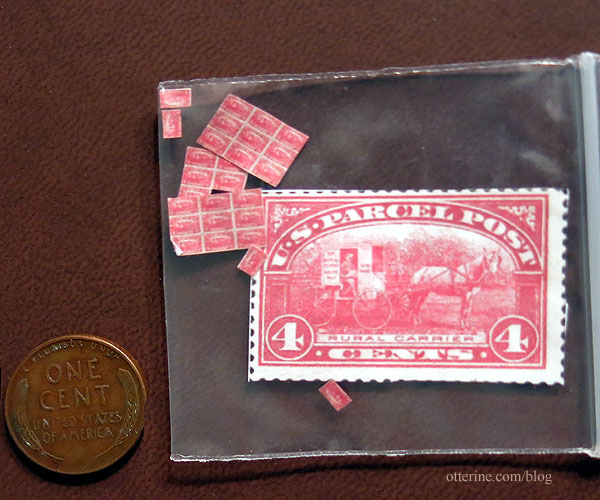
Another has an RFD wagon.
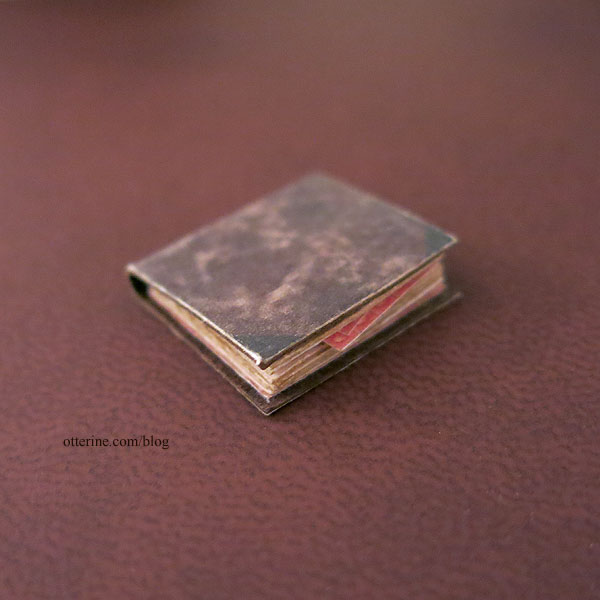
There’s even a book to keep them organized for the postmaster. :D
Thank you, Anna, for your wonderful and generous gift!
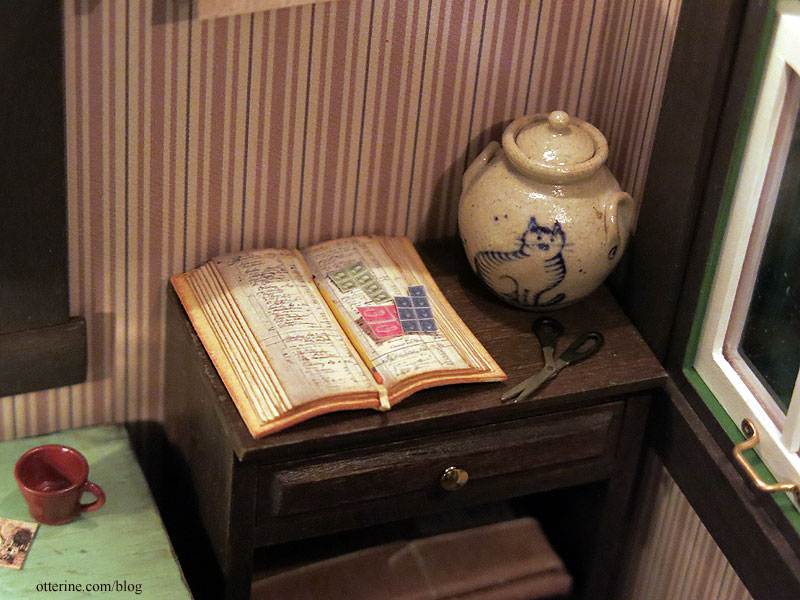
I’ve set a few on the ledger from Looking Glass Miniature. There’s also a cat food jar by Jane Graber for when Chester gets the munchies.
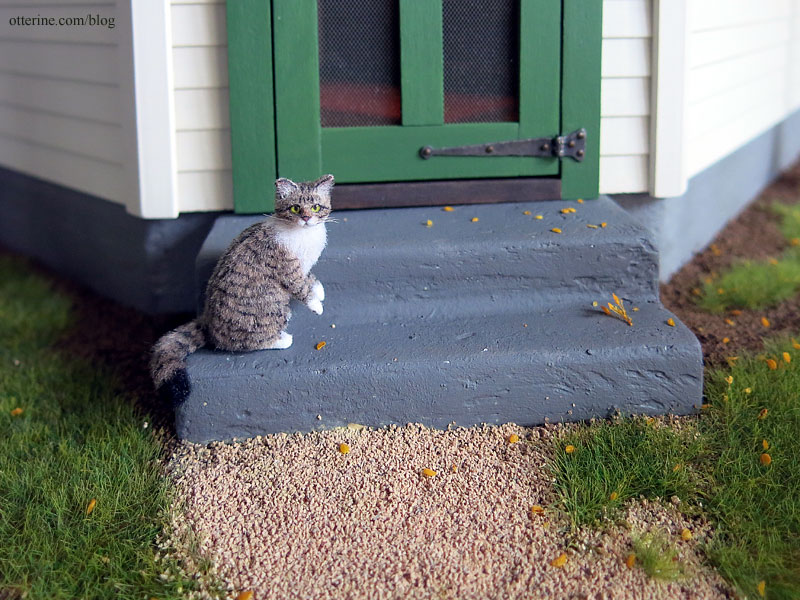
And, you know cats do! Chester was made by 2014erok. I had so much fun playing in the mini dirt this time around – the landscaping got to be a lot less manicured.
Categories: Animals and birds, Ivy Hollow RFD
December 19, 2019 | 0 commentsMaking a 1/12 scale horse – part 5
Continuing work on the 1/12 scale model horse. After the initial primer coat, I fine-tuned the body and then did a final primer coat.
I started the final paint with some shadowing. I thought he looked like Batman right here.
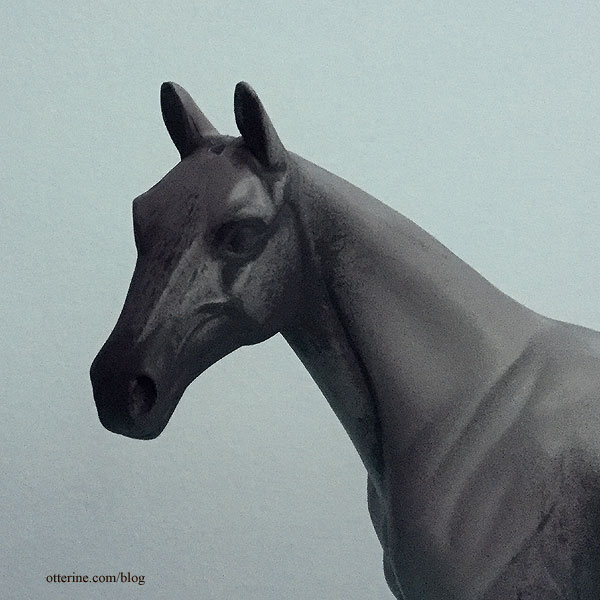
The hair was accomplished with multiple layers of paint using small and large brushes. I made a lot of it up as I went.
Some areas on the body turned out better than others, and I can always rework later…but I was pleased enough to move on. I do really like the face.
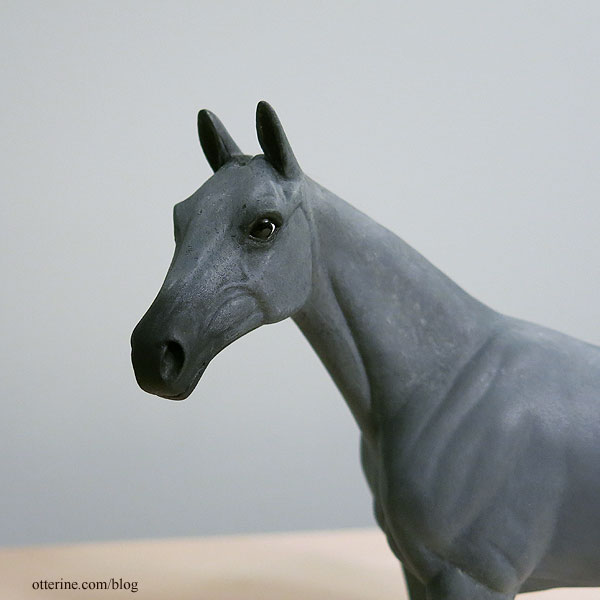
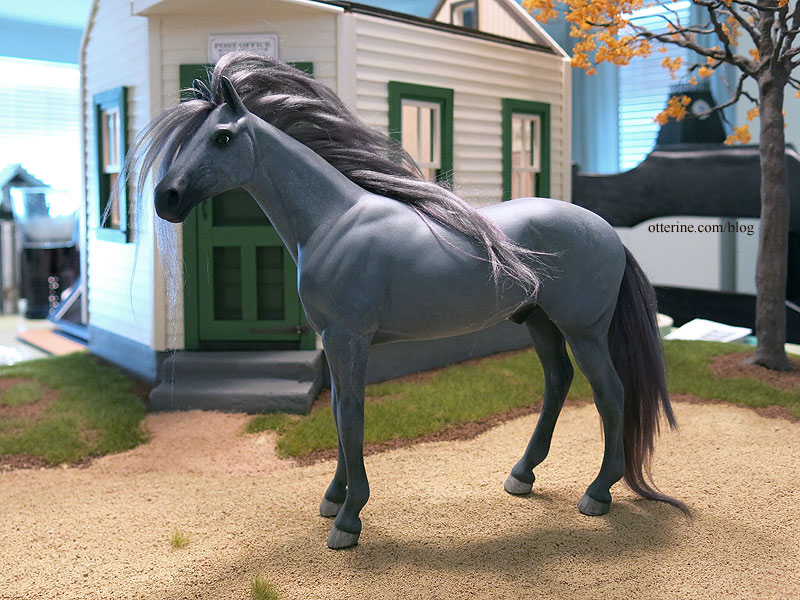
The mohair I bought photographs as muted purple, but it looks charcoal grey in person. Even with the mismatched color, I can see just how having the mane will transform the look overall.
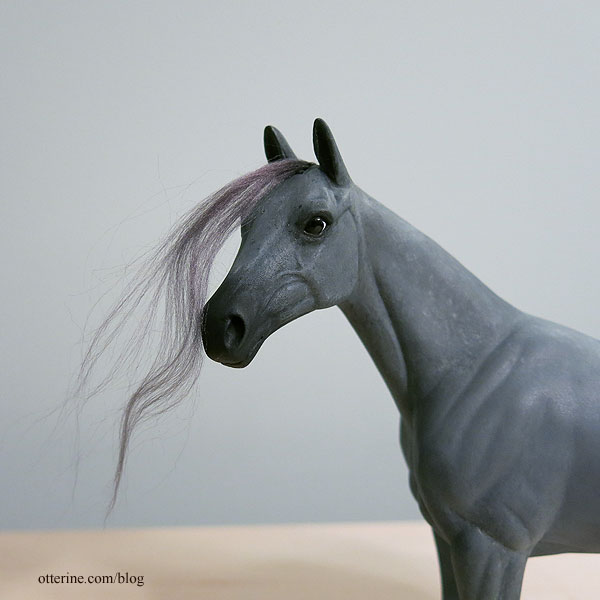
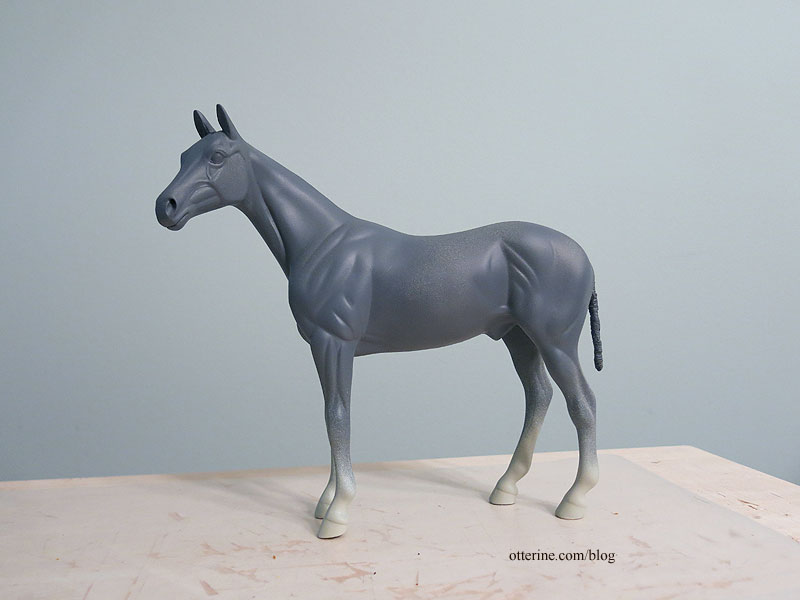
Since I was on a tight deadline, I completed Jebediah with the purple grey mohair, but I can always redo the mane and tail in the future. Here’s what he looked like right after the hair was applied.
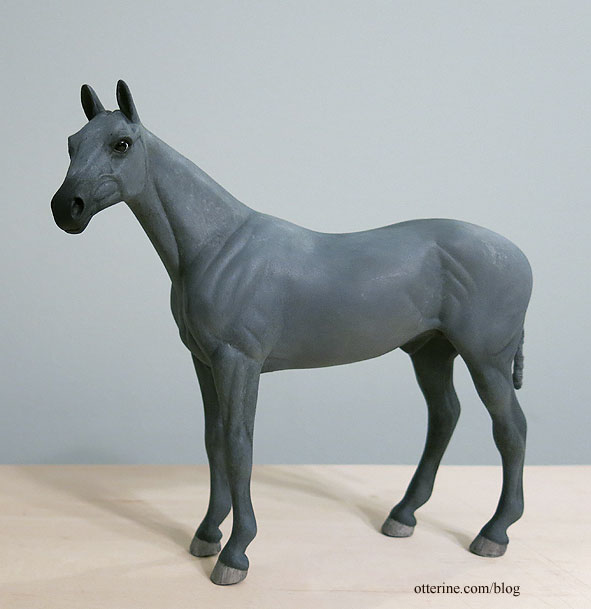
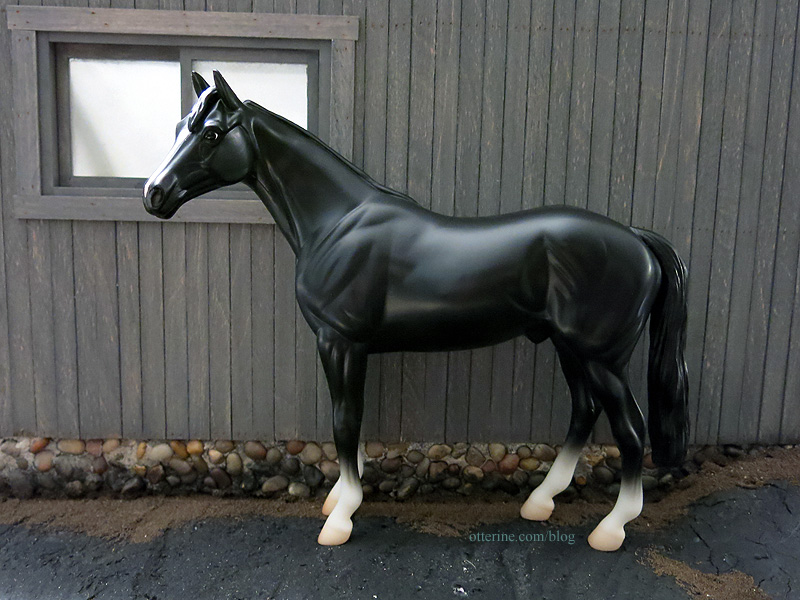
As a reminder, this is where I started – a 1:12 scale Breyer Thoroughbred.
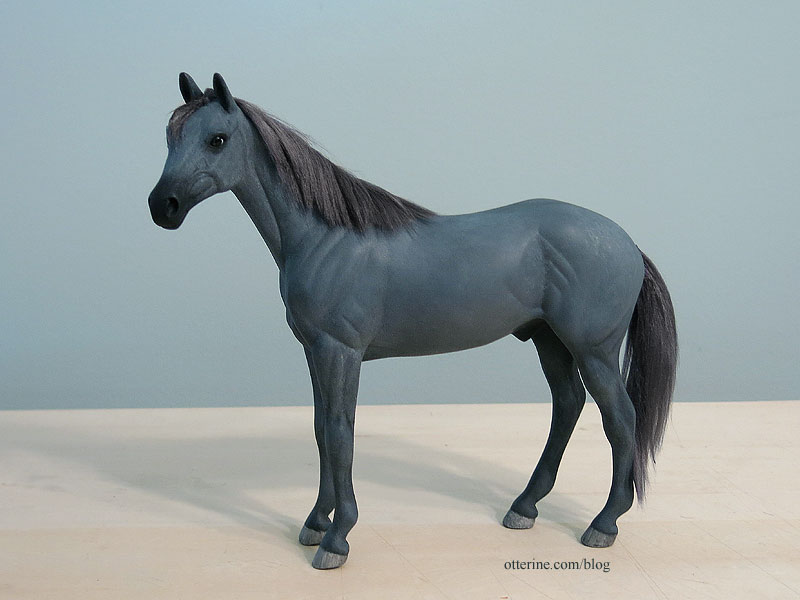
The fibers curled a little when I wet them for styling and cutting, but they flattened out as it dried. It’s less wispy and artificial than it looked out of the package. I’m not a fan of the purple hue of the hair (below I’ve color corrected in PhotoShop, which is a pain), and I think a darker hair would look better overall. This was my first time hairing a horse, and I think it turned out pretty well. :]
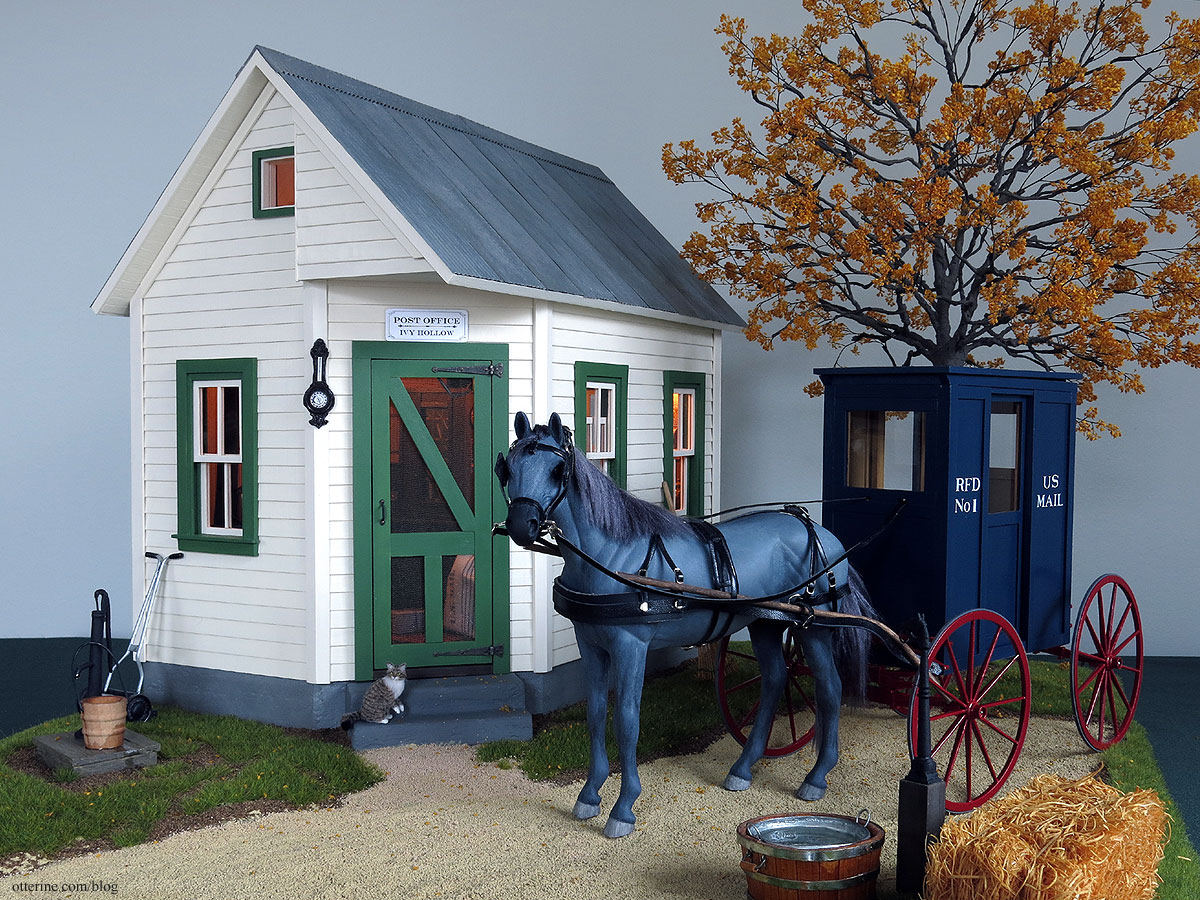
Modeled with a driving harness by Tiki from Kulp Model Horse Store. I would like to make my own harness someday, but it is definitely an art that requires a good deal of study and practice.
Categories: Animals and birds, Ivy Hollow RFD
December 15, 2019 | 0 commentsIvy Hollow – windows
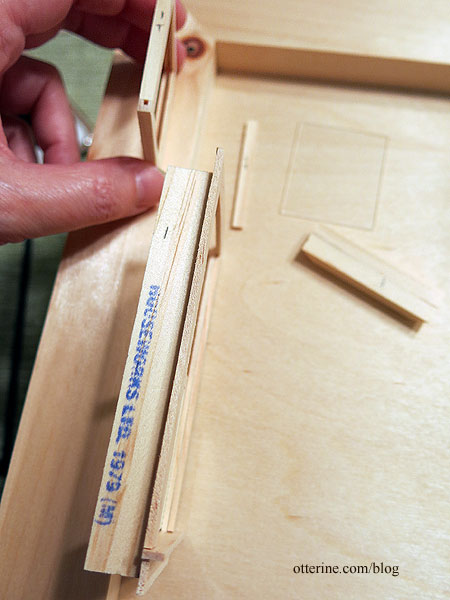
I’m using five attic windows for my tiny post office since they are in better proportion to the building overall. I love working with pre-made components for their time-saving appeal, but they do require some work to get in top shape. One of my favorite aspects is the way the windows come apart completely for finishing. I label the parts per window (including direction, too) since I already know they fit well right out of the package. Labeling them keeps the parts straight during the painting process.
I added 1/16″ thick strip wood under the edge of the outer casing since my walls were thinner than the required depth.
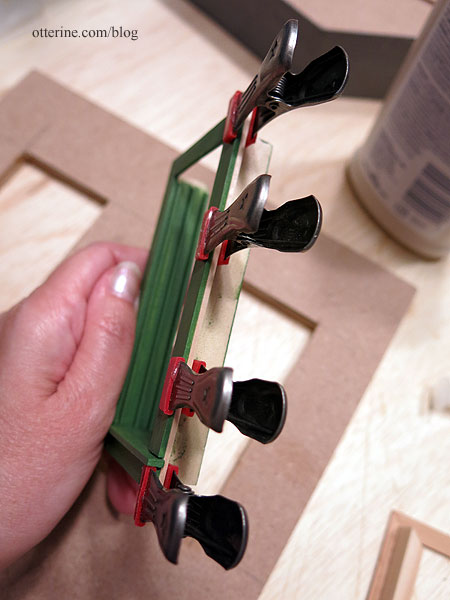
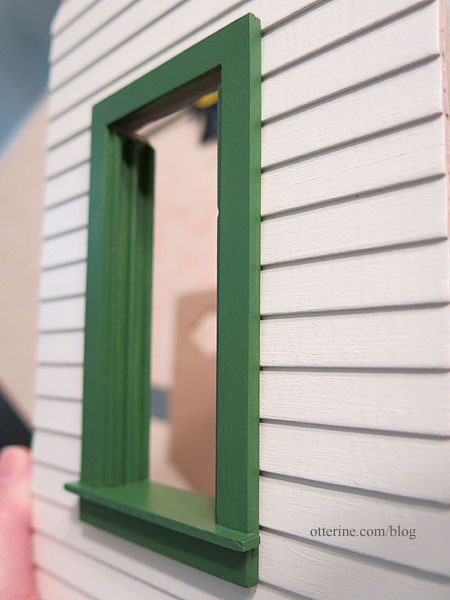
I painted the frames Woodland Green satin paint by Americana. Here you can see the added thickness of the outer frame isn’t even noticeable or out of proportion.
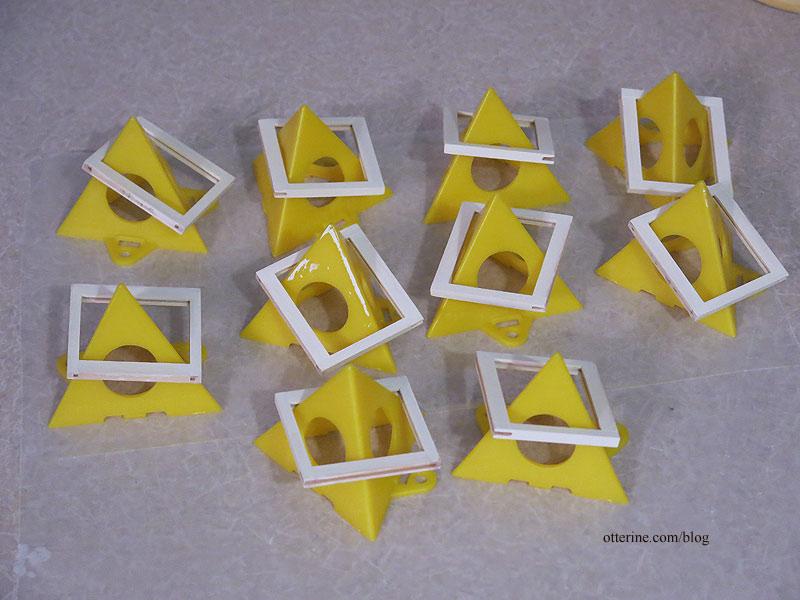
I painted the sashes Vintage White by Folk Art. Here I’m using my Painter’s Pyramids to hold the sashes while they dry (this previous post shows how to use them when painting walls to counteract warping).
This is the first time I’ve painted a window two different colors! I doubt I will ever do this on a deadline again.
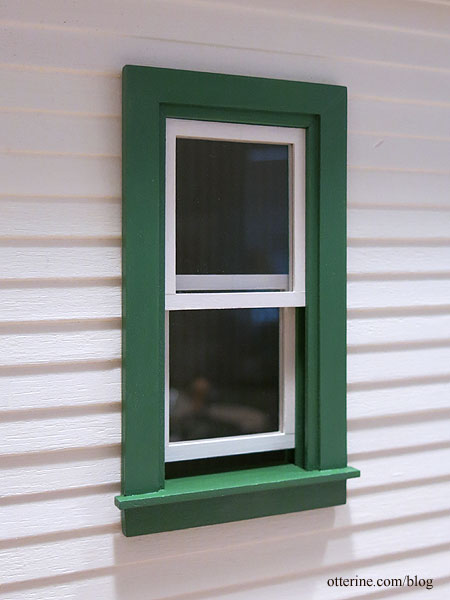
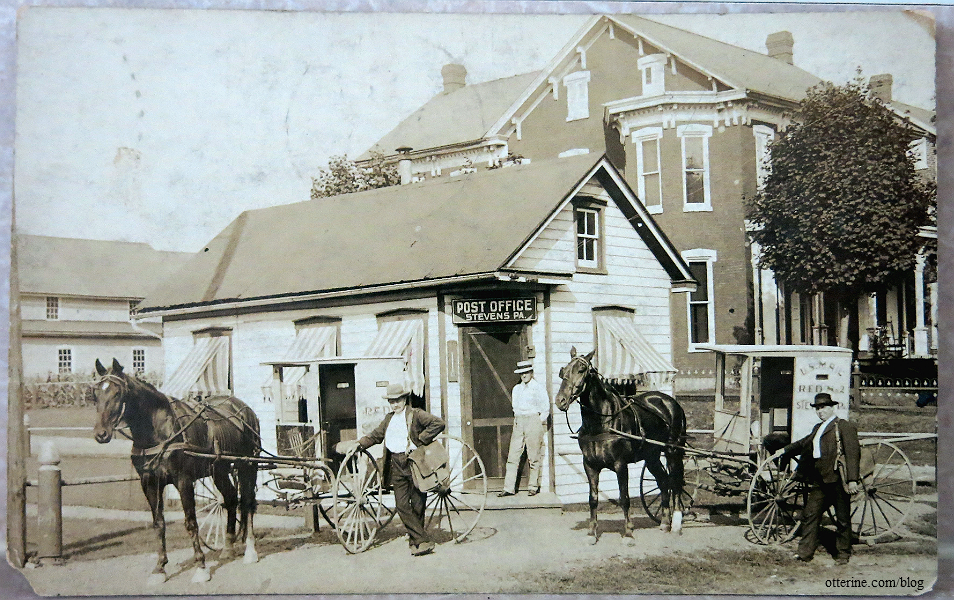
But, my original inspiration had two-tone windows.
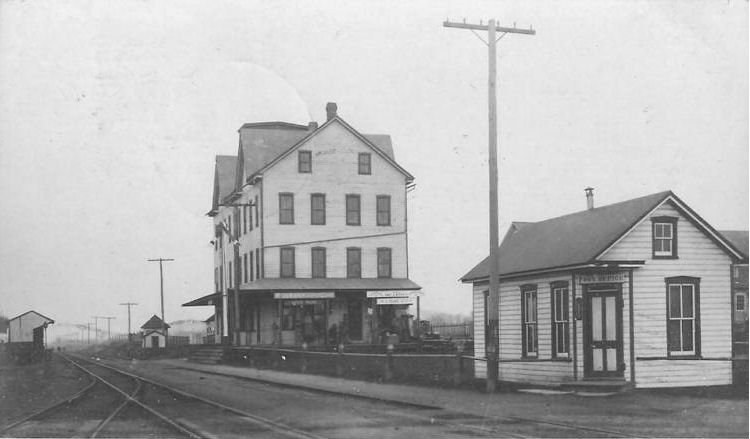
image from West2K, used with permission I’m skipping the awnings (shown in the original postcard below) not necessarily for time constraints as I would love to make awnings, but you will be able to see into my post office only through the windows and front door unless you lift off the roof. Adding awnings would restrict viewing.
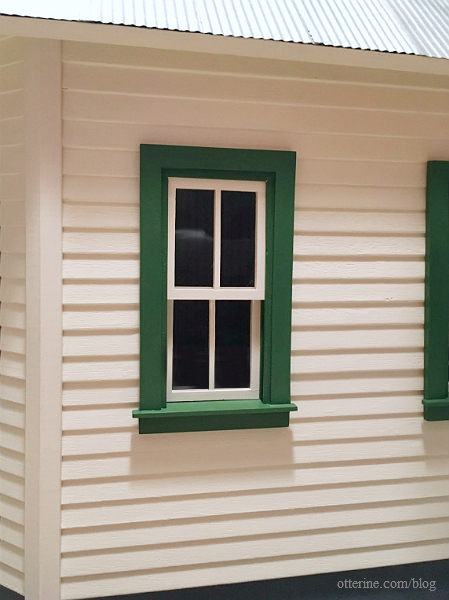
I ended up adding the mullions, and it transformed the windows instantly. :D
Categories: Ivy Hollow RFD
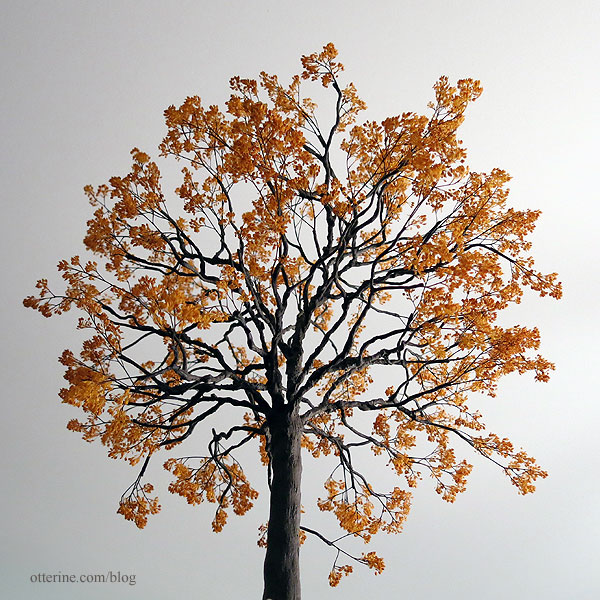
December 11, 2019 | 0 commentsIvy Hollow – autumn tree
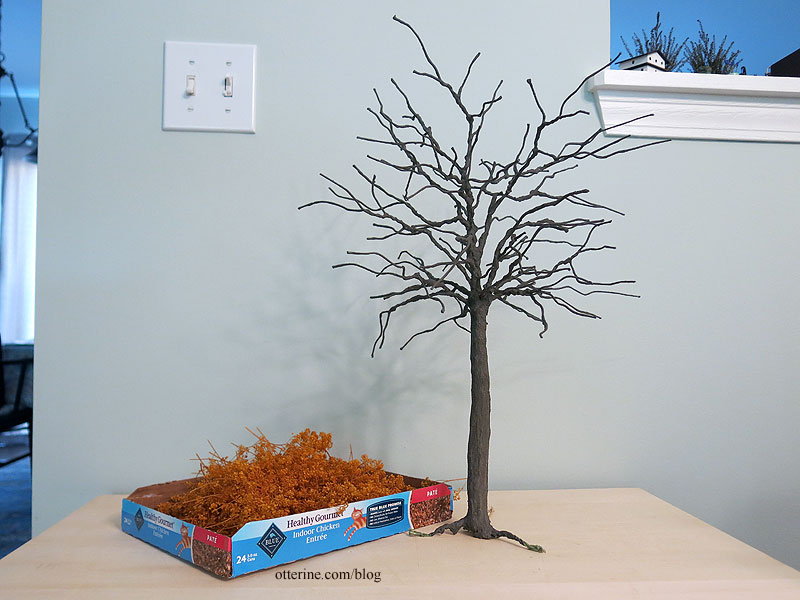
I’m working on another tree this year. I used the same wire and putty technique I’ve used in the past for the trunk, and candytuft for the foliage – notes at the bottom.
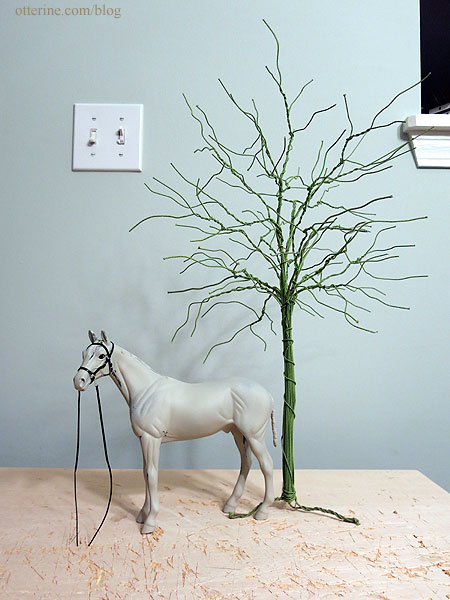
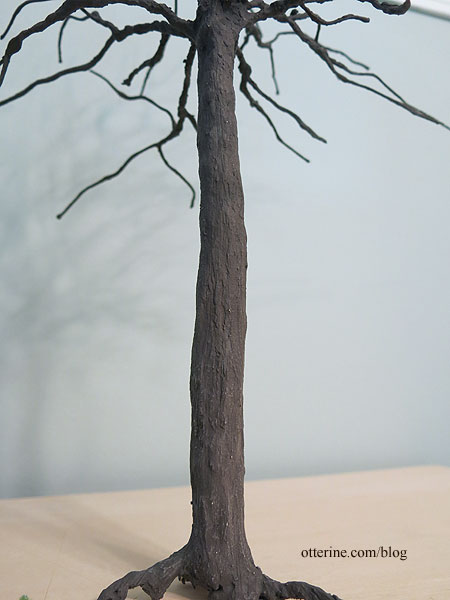
The first layer of putty is on with at least one more to go, where I will add texture.
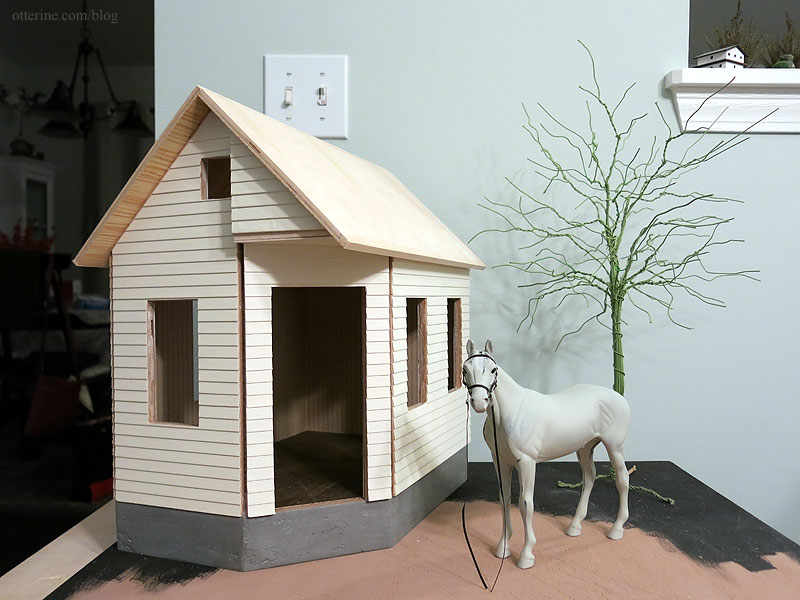
I like how the tall tree forces the perspective. Jebediah looks more in scale with the tree in place.
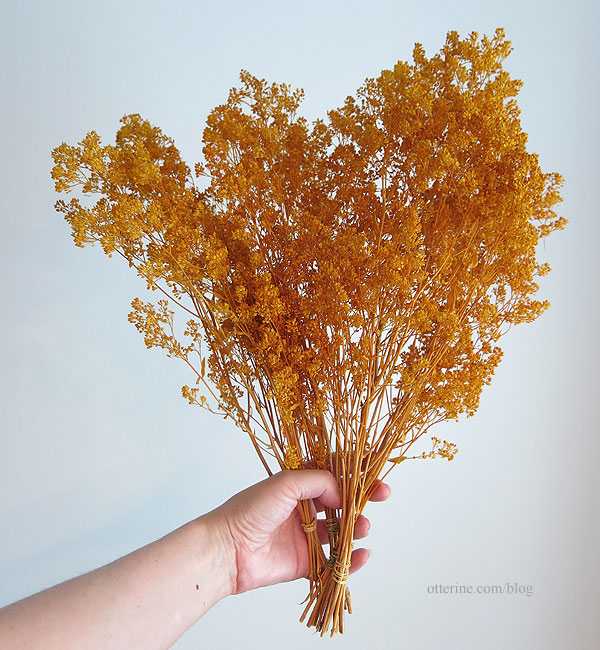
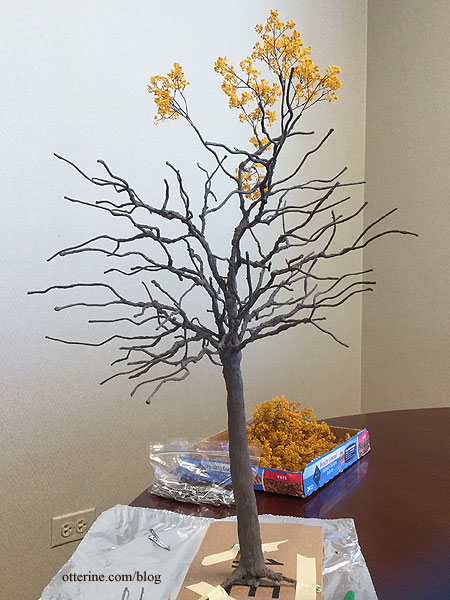
I used candytuft for the foliage. This is autumn gold candytuft from Scenery Solutions (no longer available).
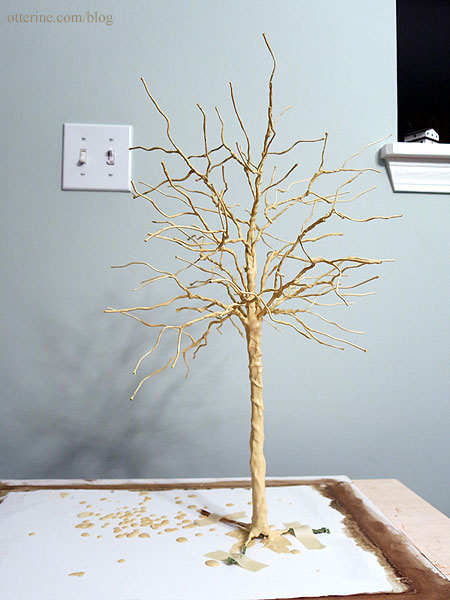
I painted and detailed the trunk and separated the foliage branches from two bundles of candytuft. Too bad I can’t just say “alakazam” and have the foliage appear on the tree.
The trunk is somewhere between grey and brown. I mix at random and fine-tune until I get there since there isn’t a good color straight out of the bottle.
Good thing I chose autumn, so my tree can be sparse.
And, finished….
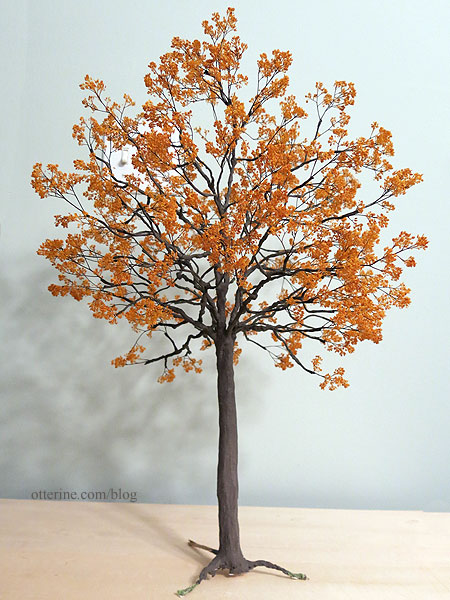
Love looking up through the branches.
———
Notes: Link to the first tree I made using this technique – follow the links in the first sentence back through the process. For the trunk, a good starting source if you can find it is the DVD Master Miniaturists: Landscaping Primer with Diane Myrick. I found mine through interlibrary loan. This whole series is just awesome! For the foliage, I used a tutorial by Connie Sauve on using candytuft, but the tutorial link is no longer active. I bought the candytuft from Scenery Solutions, but they no longer sell it.Categories: Flowers, plants, and trees, Ivy Hollow RFD
December 11, 2019 | 0 comments


NOTE: All content on otterine.com is copyrighted and may not be reproduced in part or in whole. It takes a lot of time and effort to write and photograph for my blog. Please ask permission before reproducing any of my content. Please click for copyright notice and Pinterest use.


