
Mail Wagon – part 15
Continuing work on the mail wagon. Many of the pictures in this post show the parts after painting since I was on a deadline and had little time to take progress photos.
The chassis from the doctor’s buggy kit had wonderful detail, but it was not made for a straight bottom cabin like my mail wagon. The original chassis planned for a curved reach. That’s the long bar that connects the front axle assembly to the rear axle assembly.
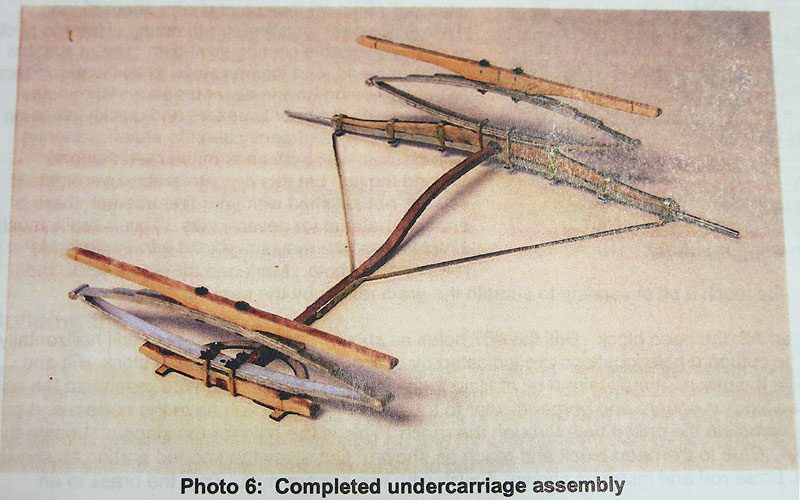
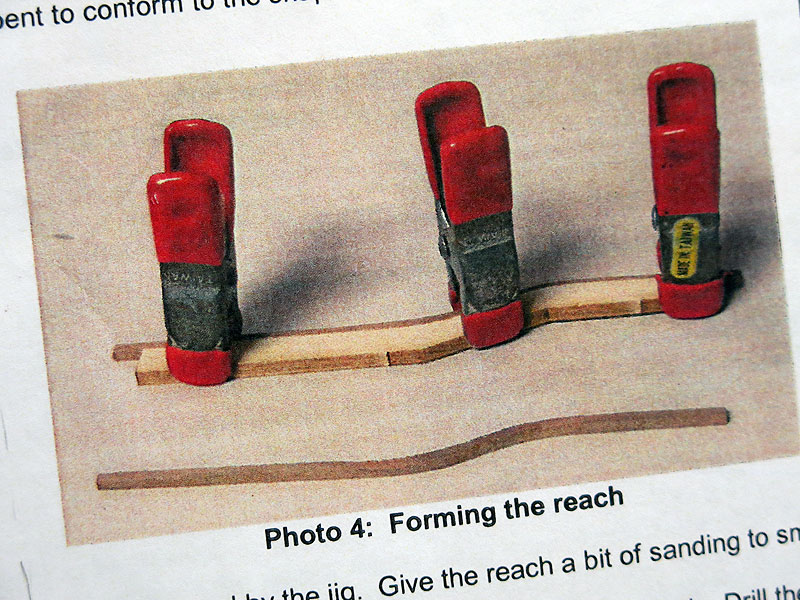
Mine had to be relatively straight but also account for the slight difference in height between the front and back wheel hubs. Since it was such a slight incline, I used a long piece of 3/32″ basswood as my new reach without any curve built in. The kit was supposed to come with a piece of cherry for the reach, but I couldn’t find it. It’s entirely possible it was in the box originally, but I misplaced it.
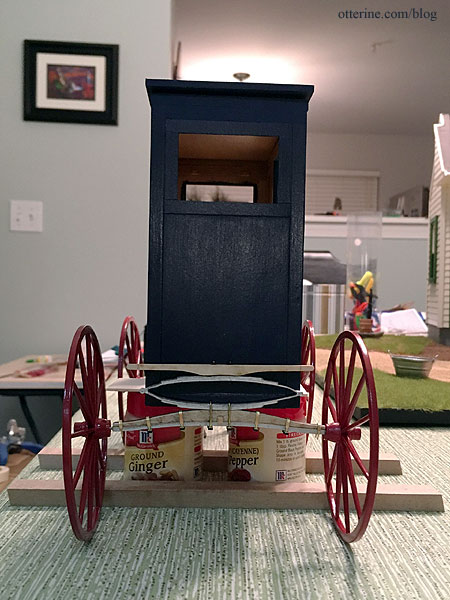
In case you ever need to know, the small McCormick spice bottles are just under 2 1/4″ tall. :D The spice jars helped me mark where the front and rear spring bars would hit the cabin.
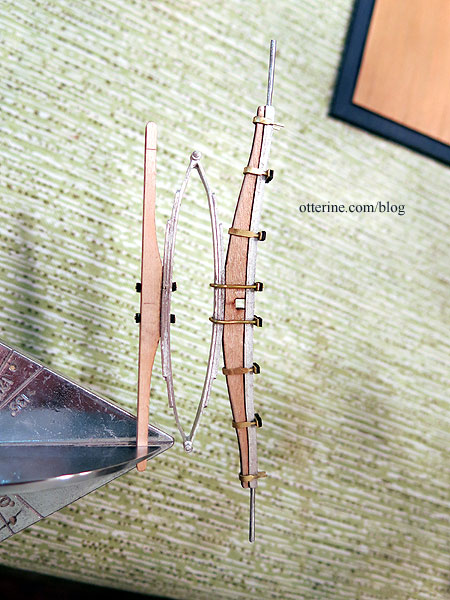
I trimmed the spring bars to fit since my cabin was skinnier than the original doctor’s buggy passenger compartment.
The front and rear body hangers from the original kit are soft metal, so I was able to straighten them out and bend to the new shape needed.
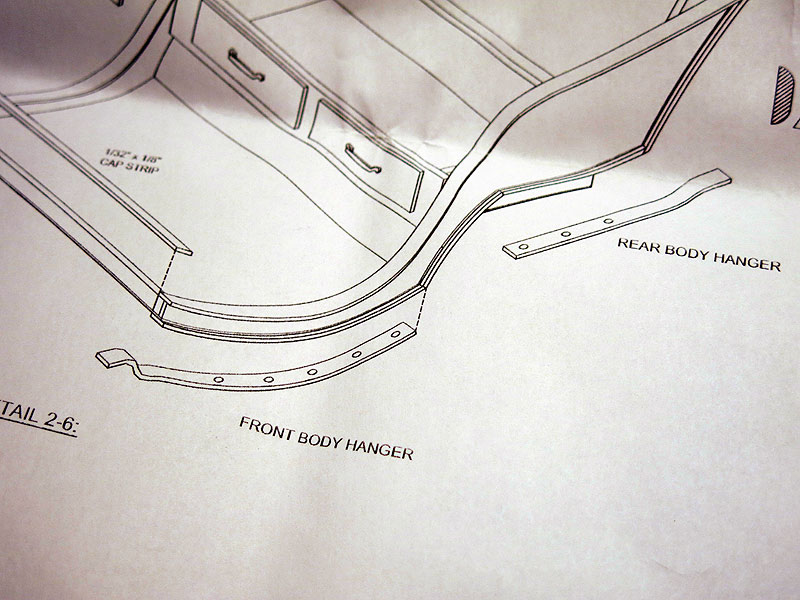
I drilled holes for nails to be added. These are also epoxied in place for stability and durability.
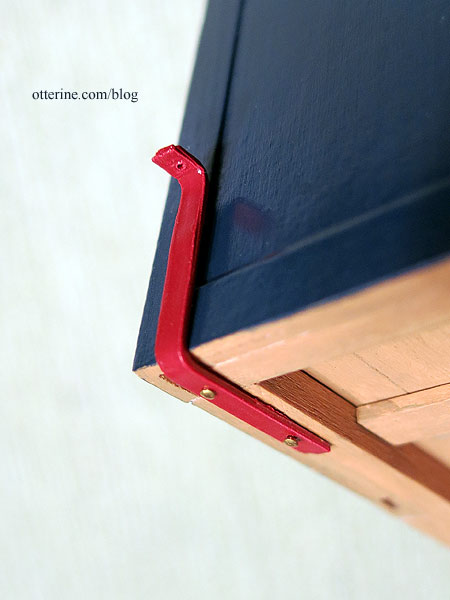
The body hangers sit on top of the spring bars, suspending the cabin above the reach. I left them unattached at this point.
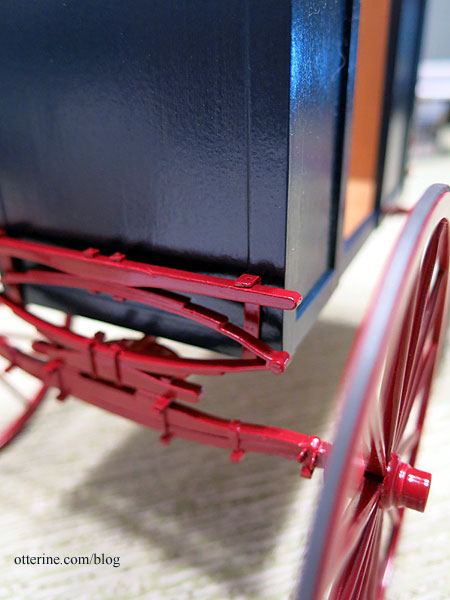
After I had the placement, I could slide the excess reach out the back and trim it to fit.
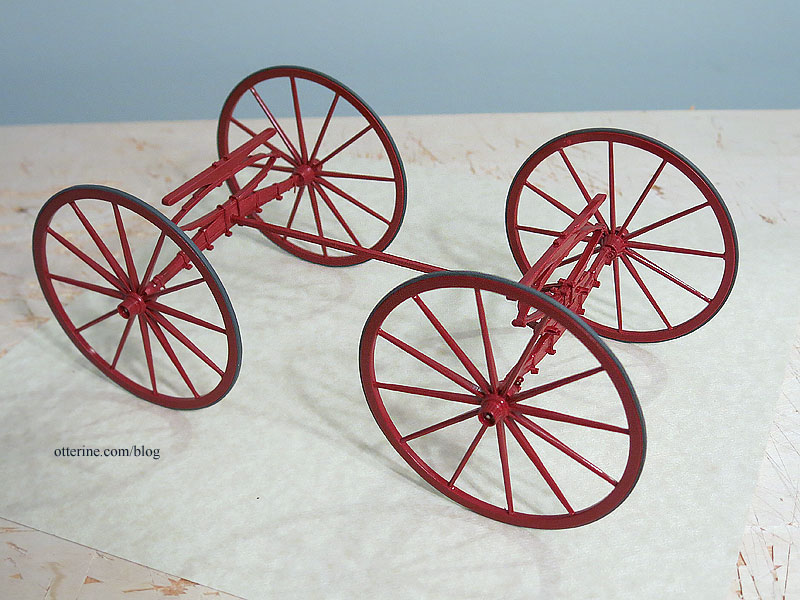
Chassis completion to be continued….
Categories: Ivy Hollow RFD, Model Cars, Vehicles
January 27, 2020 | 0 commentsPaint Nite, in miniature – 2
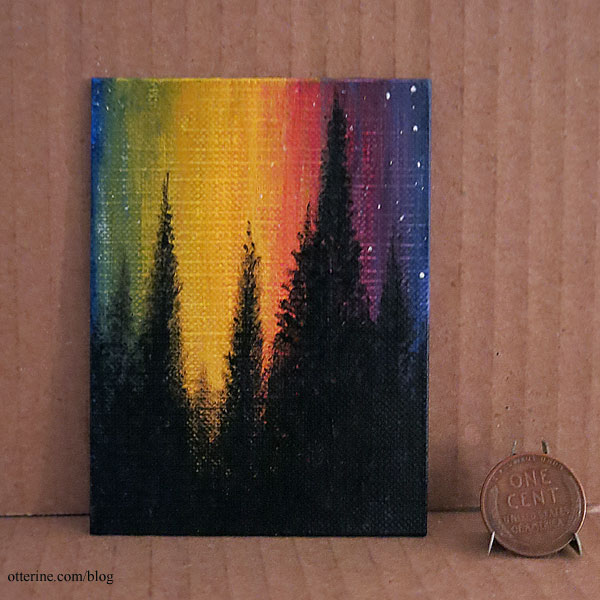
I once again went to a Paint Nite event at a local restaurant (you can see my previous painting here). From the link here, you can see the rainbow forest painting the artist and host Sarah Benkin would be teaching. I brought a mini sized canvas instead of using the provided canvas. The mini canvas was made using a textured note card glued to mat board with spray adhesive and then coated with white acrylic. I had to leave off some elements due to the scale change, but it was so fun! I already have a ticket for a future painting event.
Categories: Art and paintings
January 21, 2020 | 0 commentsIvy Hollow – landscaping, part 2
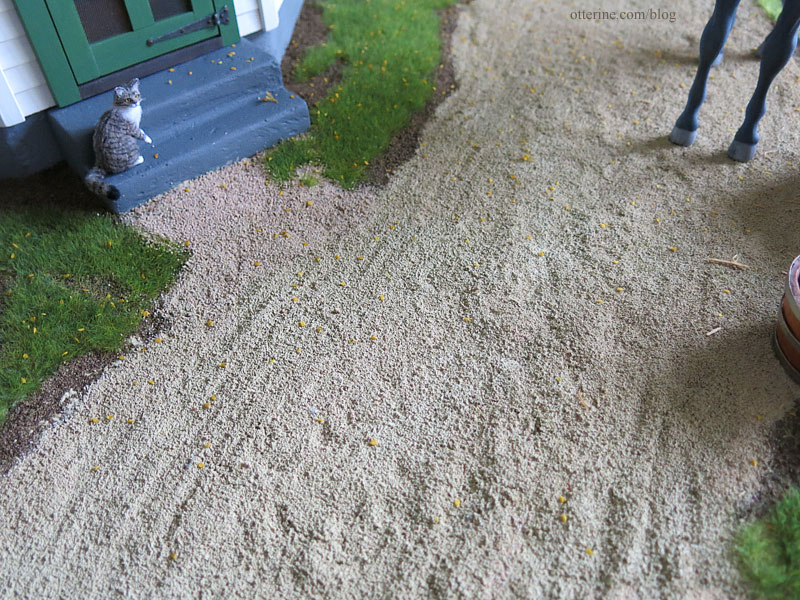
Completing the landscaping. I used Woodland Scenics Fine Dark Brown Ballast to serve as dirt and Fine Ballast Buff as the gravel. I ran the wagon wheels and patted Jebediah’s hooves on the loose gravel before setting it in place with Woodland Scenics Scenic Cement applied with a pipette (thank you, Debora – these pipettes are still among my favorite tools). The buff color is too red for my taste, so I applied tan paint washes over it to change the hue. (I have a post on working with these materials here, though now I usually skip the glued on layer and just use the Scenic Cement.)
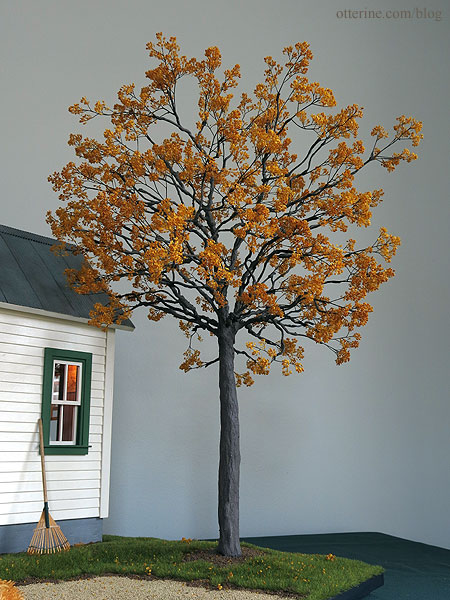
I made an autumn tree this year using the same wire and putty technique I’ve used in the past for the trunk. Having a sparse tree meant it took less time to create, which helped with my tight deadline.
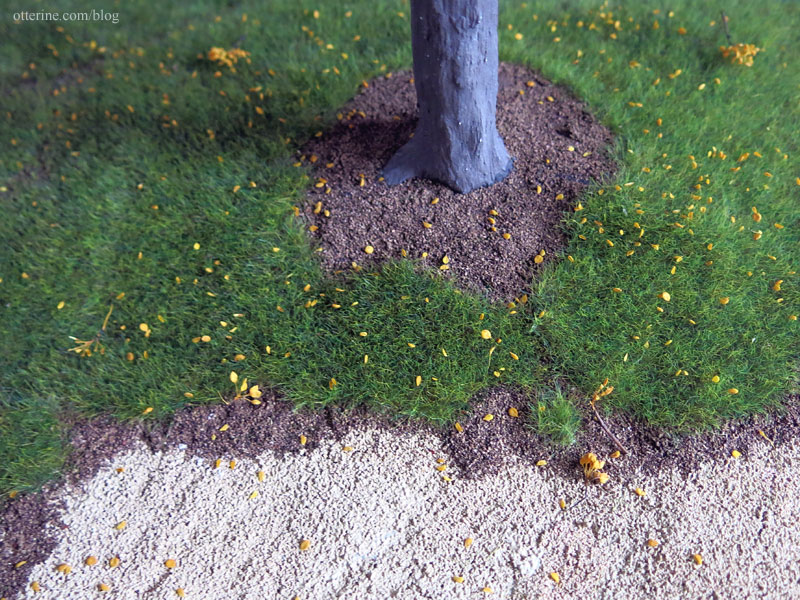
The grass mat is Wild Grass Forest Floor by Heki from Scenic Express (they call it Pasture TurfGrass on their website). These particular grass mats are pricey, but the high grass with variegated coloration is spot on in scale. The sheets are only 6″ wide, though they are 17″ long, so there are places on the landscaping board that always need to be pieced. These are my favorite to work with because of the backing, which is a clear, rubbery substance that makes it more flexible than the paper-backed grass mats. (Here is a post on working with the grass material.) Since I had leftover branches, I stripped the leaves from them and littered the ground.
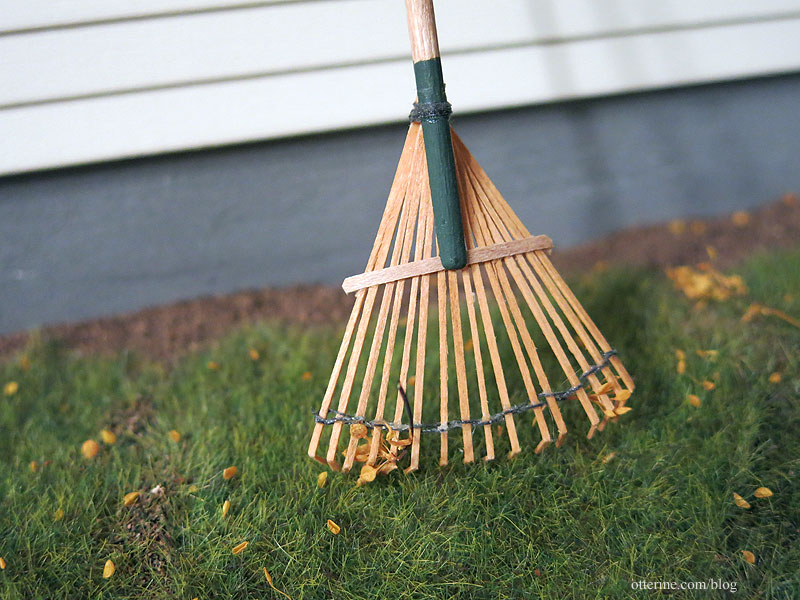
I was sure to get a couple of little bits caught in the lovely rake by Sir Thomas Thumb.
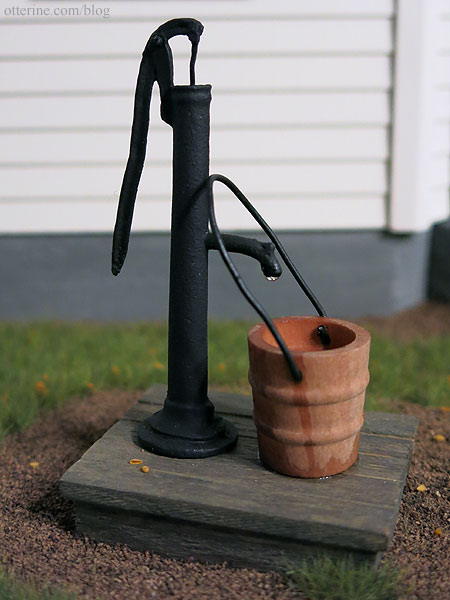
The pump was an unfinished metal mini from the local shows, and I had the bucket in my stash. I built the platform to hold both pieces. When I added the resin (Acrylic Water from Walmart), it leaked through the bucket. I led a path of it over the edge and let it do what it wanted. A happy accident. :] There is also a droplet from the spout.
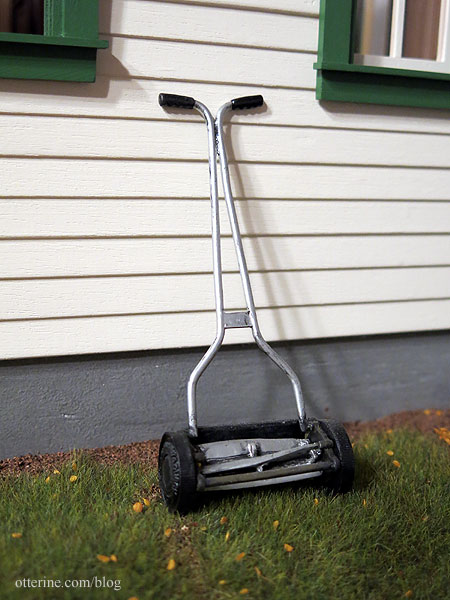
I borrowed the lawn mower from Ye Olde Taxidermist. It was made from a Phoenix Model kit from Jennifer’s of Walsall.
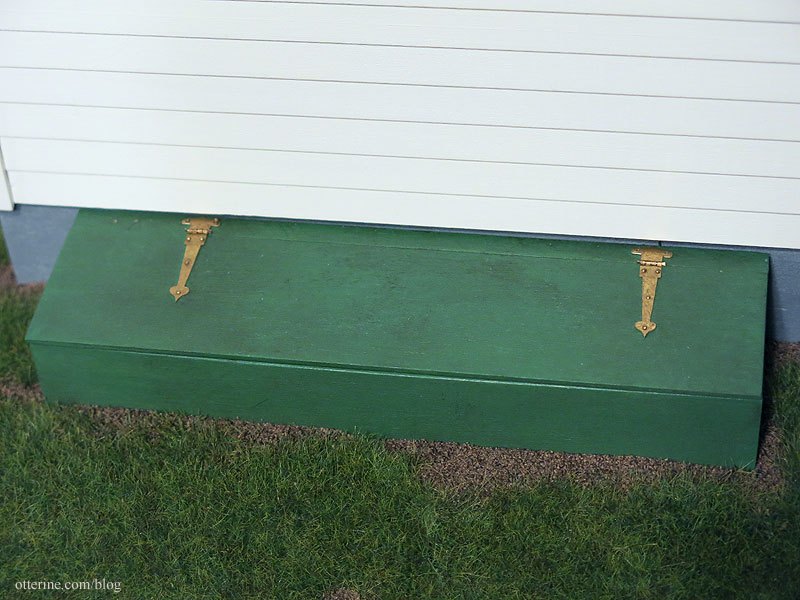
I needed to be able to access the wiring, but there was no room in my tiny post office. I built a shed in the back that will allow me to hide the wiring while looking like a planned part of the build.
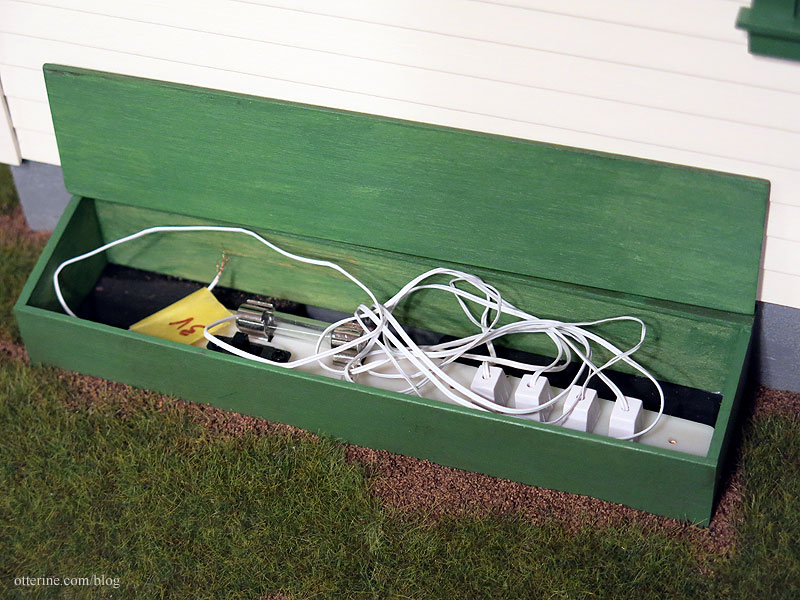
I used some fine brass hinges bought in miniatures lot some time ago, and one of them promptly failed after I glued the shed in place. A little epoxy and new nails, and we’ll be back in business. In the meantime, I just hold the top part of the hinge down when I open it.
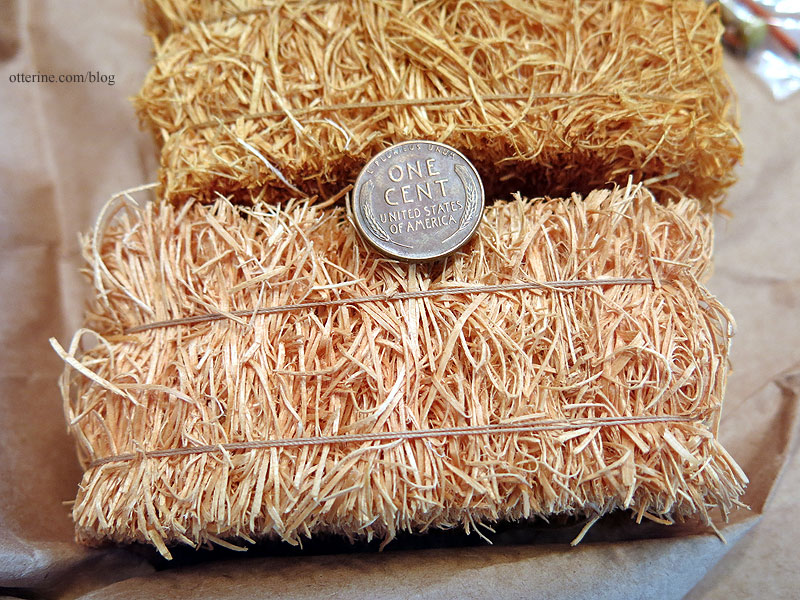
One of the best hay bales I have ever seen in miniature was purchased from Maple Leaf Miniatures.
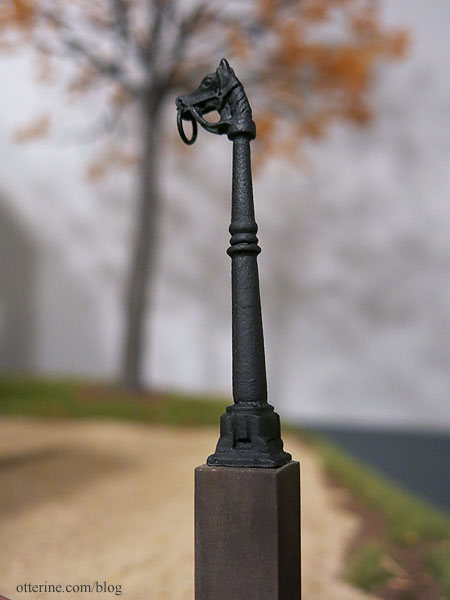
The horse hitching post was an unfinished metal mini from the local shows, and I added a wood base. I swapped the silver ring for a black one to better match the painted finish.
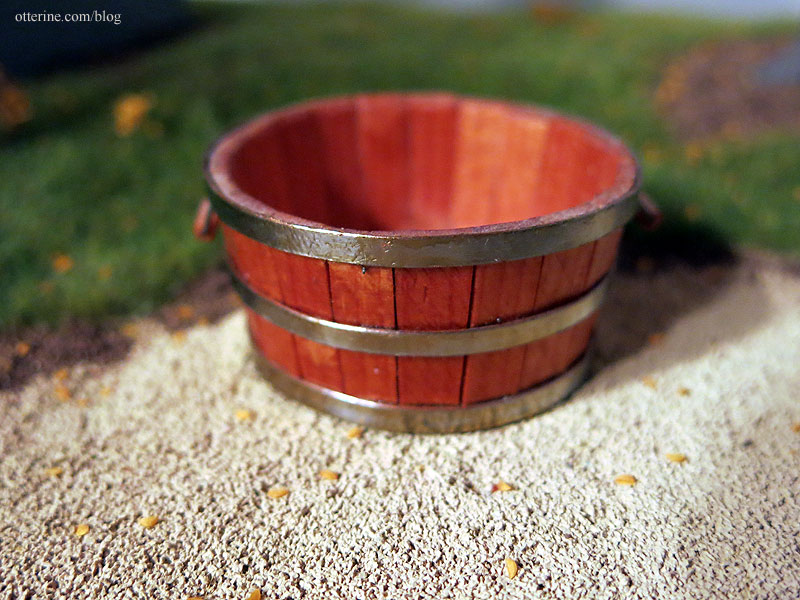
While I was searching for a bucket to add water for Jebediah, I ran across this gem signed March 9, 1964 B.A., numbered 4.
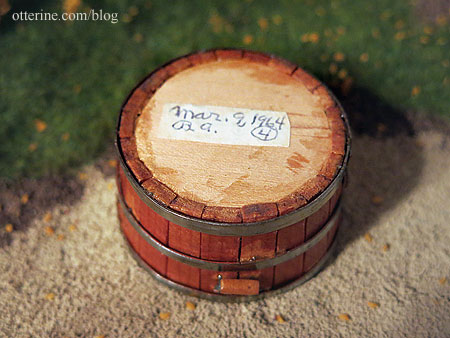
It looked great in the photos, but no one else bid on it but me. When I received it, I loved it even more. There was no way resin water was going to be added to this.
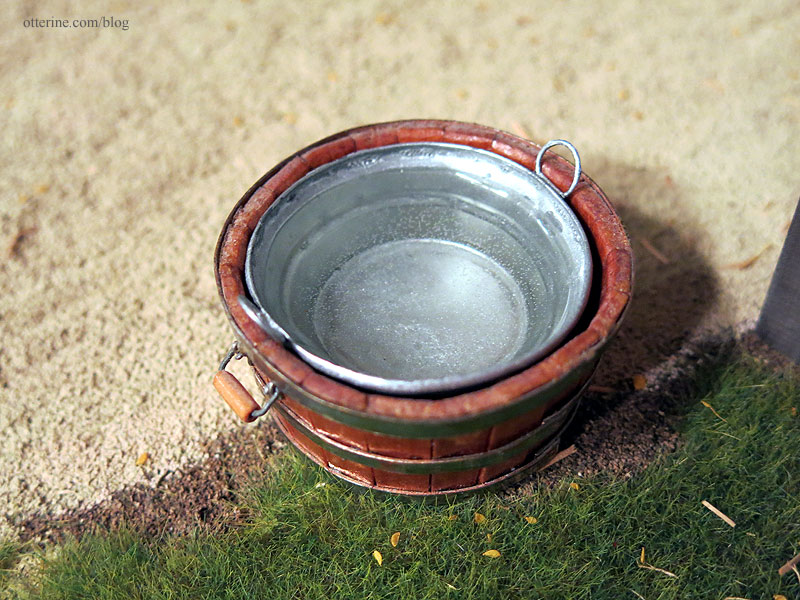
Luckily, I had ordered window pulls from my friend Greg at All About Miniatures, and he included a gift of metal buckets. I was able to add the resin water to one of the metal buckets and set it inside the vintage wood mini. Thank you, Greg!
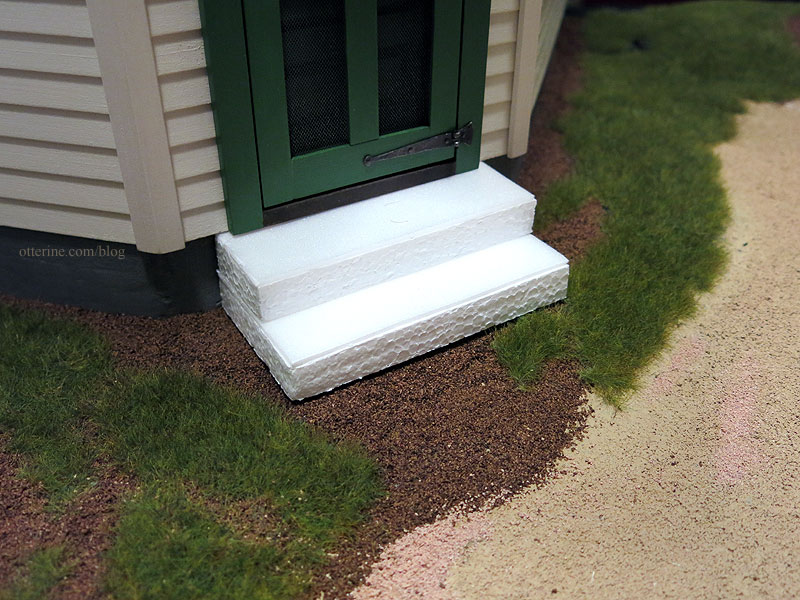
The concrete front steps were made from styrofoam, spackling and paint.
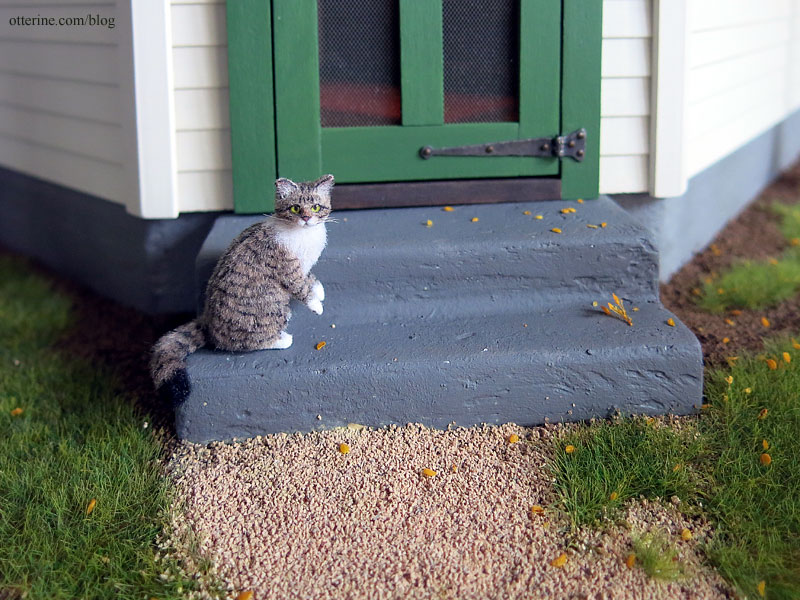
Chester was made by 2014erok. I had so much fun playing in the mini dirt this time around – the landscaping got to be a lot less manicured.
Categories: Ivy Hollow RFD
January 4, 2020 | 0 commentsMail Wagon – part 14
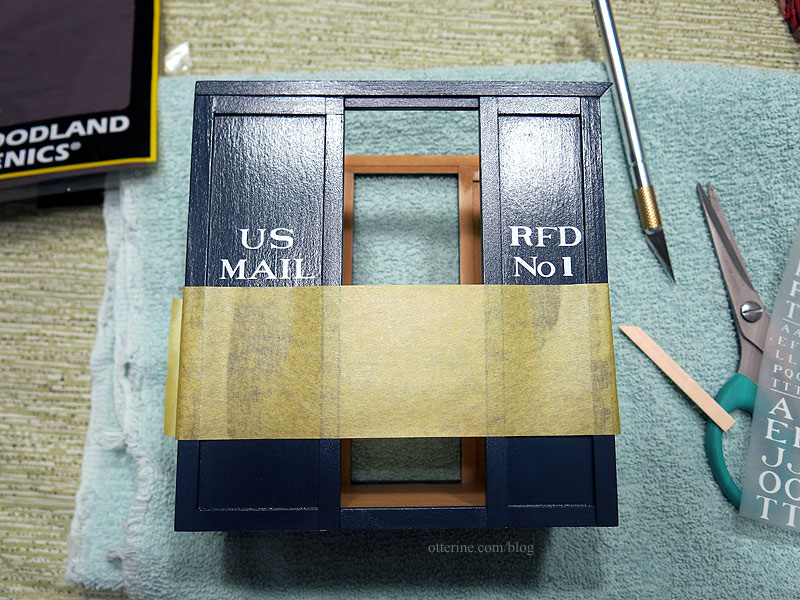
Continuing work on the mail wagon. Once the painting and sealer were done, I could move on to the lettering. I neglected to put on the cross detailing before the last coat of sealer but plan to add it later, so I took that into consideration when I did the layout. I used frog tape to create a line to follow and used a towel to cushion the cabin as I worked.
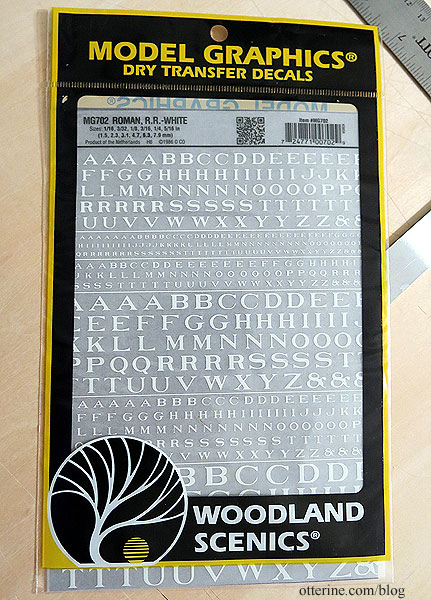
The letters are rub-on transfers by Woodland Scenics – Roman White in six sizes from 1/16″ to 5/16″ on one sheet. I used 1/4″ for the main letters except size 3/16″ for the “o” in No. (As an Amazon Associate, I earn from qualifying purchases.)
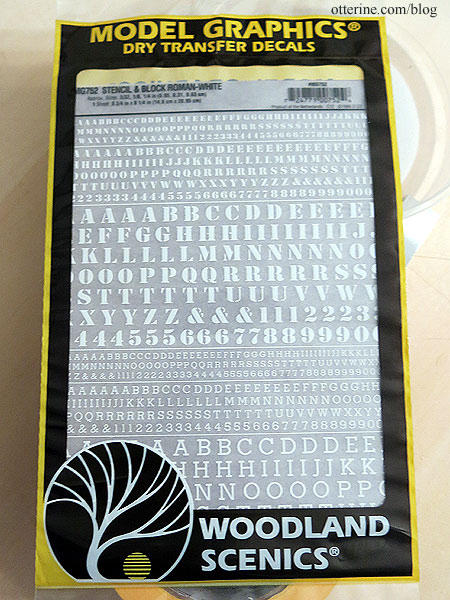
Since these didn’t come with numbers, I bought Roman Stencil/Block Letters White in three sizes from 3/32″ to 1/4″ on one sheet. I used the Stencil font size 1/4″ for the rural route “1” designation.
Since you can transfer all or part of a letter, I cut down the long portions of the “F” and “L” for a cleaner look.
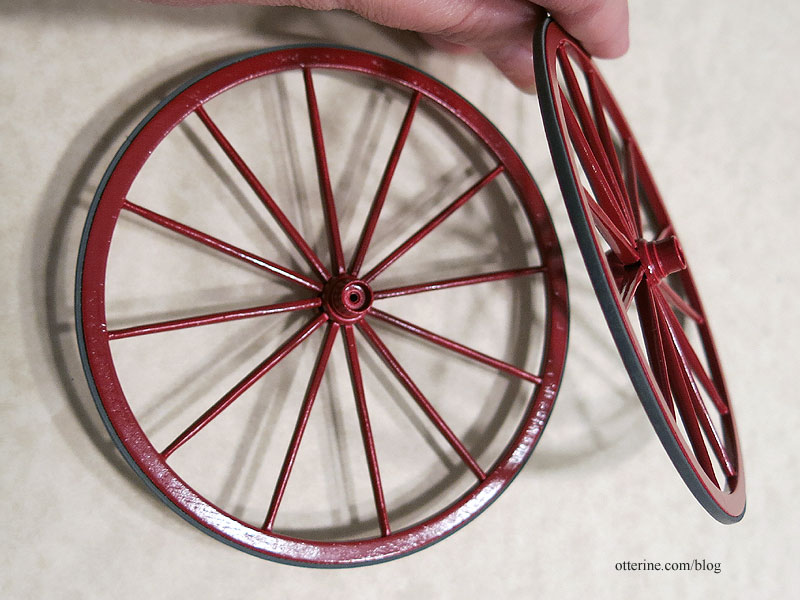
Originally, wheels would have had metal around them to protect the wood. The kit supplied laser cut rubber material for the tires, but there were two issues with this. First, if you recall, the original kit wheels and spokes were not cut correctly and needed to be replaced. Once I received the replacements, I opted to use the “waste” circles between the true wheels for sturdier construction. This meant one set of the rubber tires was too short. Besides that, it would have been very messy to glue these fiddly bands.
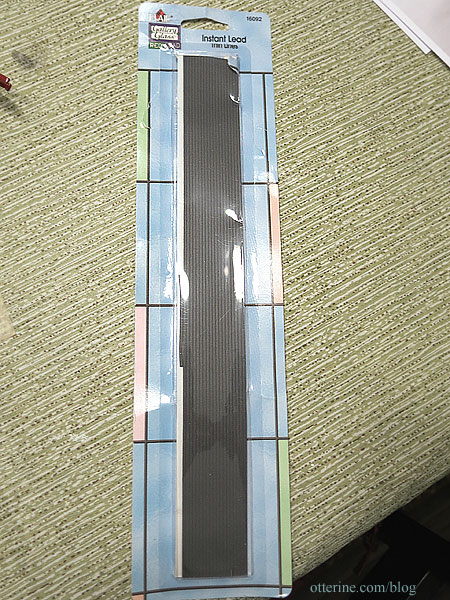
Instead, I turned to a material I had used before for another wagon project – Instant Lead Lines (thin version). These are a rubber like material with adhesive already applied. There is a wider version of this material, but it was too wide for my wheels.
The thin tires add just enough extra detailing to the wheels and were easy to apply and cut to size. They look close enough to metal without further fiddling.
Categories: Ivy Hollow RFD, Model Cars, Vehicles
January 1, 2020 | 0 commentsMail Wagon – part 13
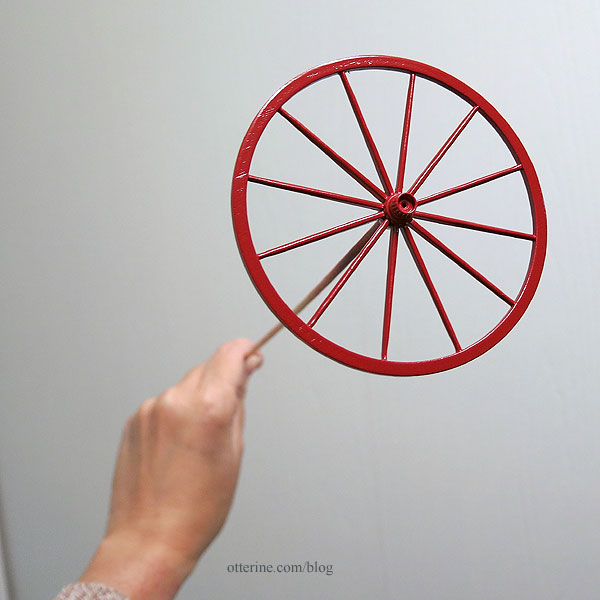
Continuing work on the mail wagon. While I was painting one day, I went ahead and finished up the wheels. I painted them flat white, then gloss Cherry Red by Krylon.
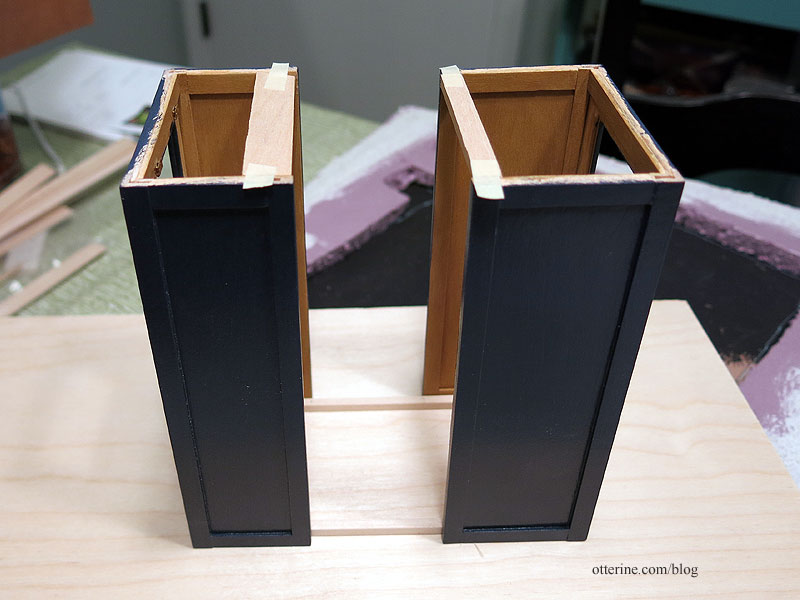
I joined the front and back cabin assemblies using strip wood along the inside bottom, using spacer boards at the top to keep the front and back assemblies square as I worked.
I installed the floor and then added more support boards underneath.
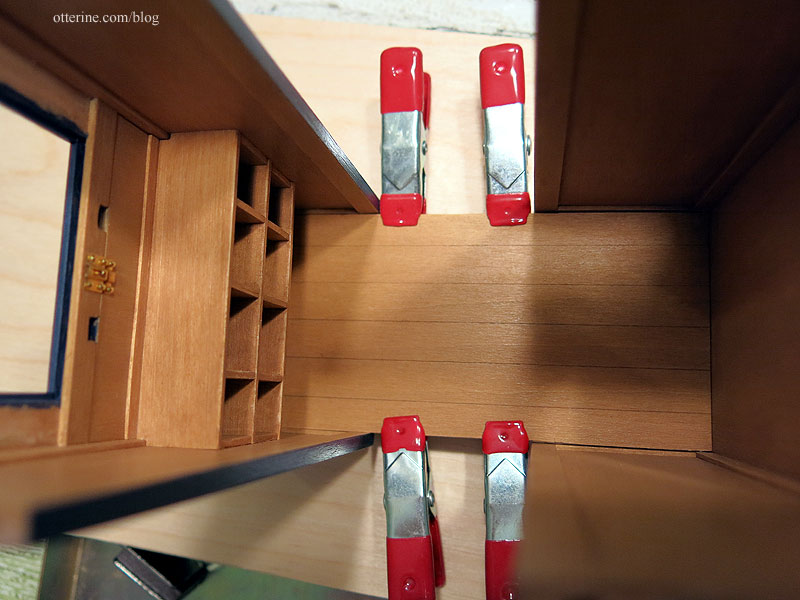
You can see I added the same scored lines on the bottom to mimic individual boards.
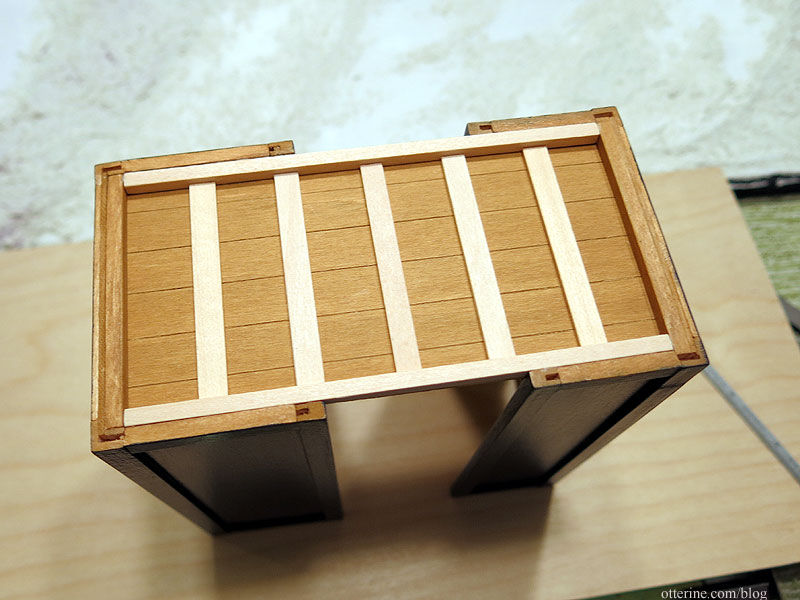
I added strip wood along the top to finish the walls and to fill the gaps on the top and bottom of the doorway. These wagons would have had slightly curved rooftops, but I left mine flat for ease of building. I did add some shaping to the front sides.
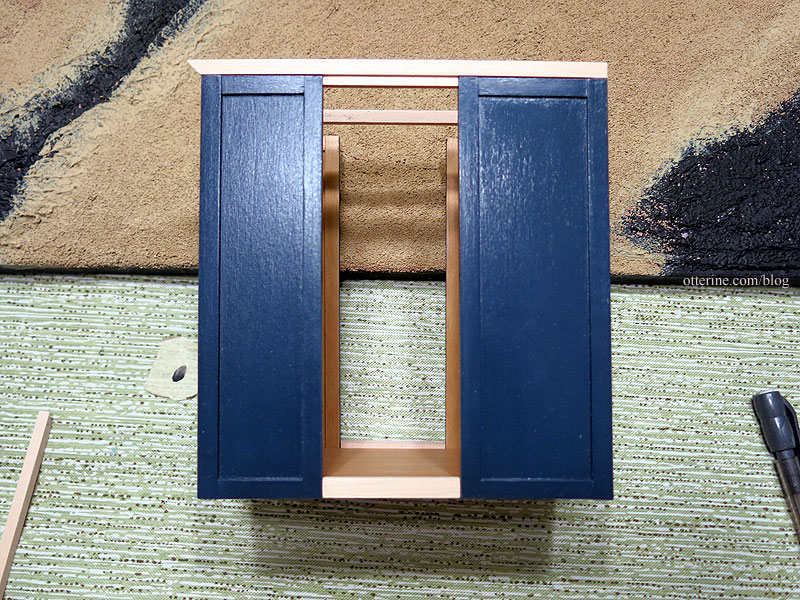
I cut a piece of 1/16″ thick basswood the exact shape of the ceiling opening.
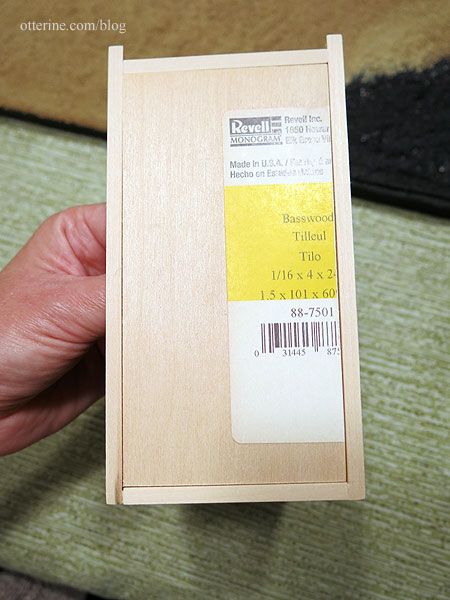
I cut a roof board from 1/8″ thick luan plywood (leftovers from Walnut Bay Light) and covered the edges with thin basswood. I added the 1/16″ thick basswood ceiling to the plywood which would allow the roof to sit firmly in place but remain removable. I again scored the basswood to mimic individual boards. Having a removable roof means I can always try my hand a curved roof later. I apparently didn’t take progress photos of this part, so here is the roof after painting.
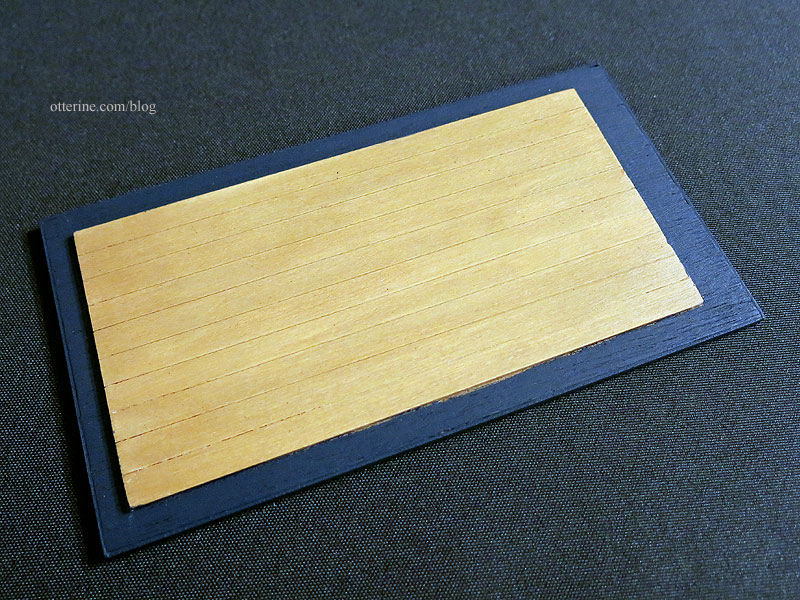
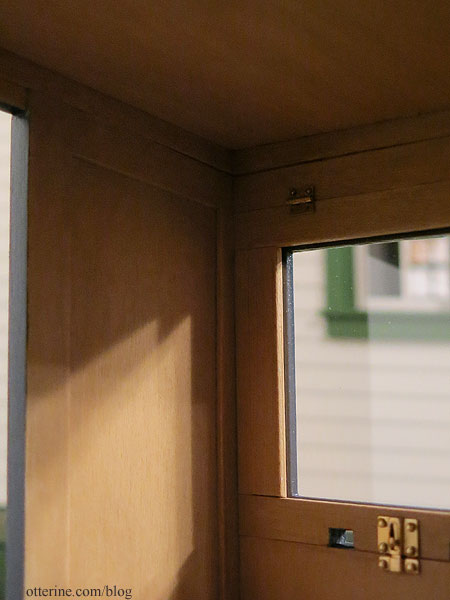
From the inside, it looks solid. :]
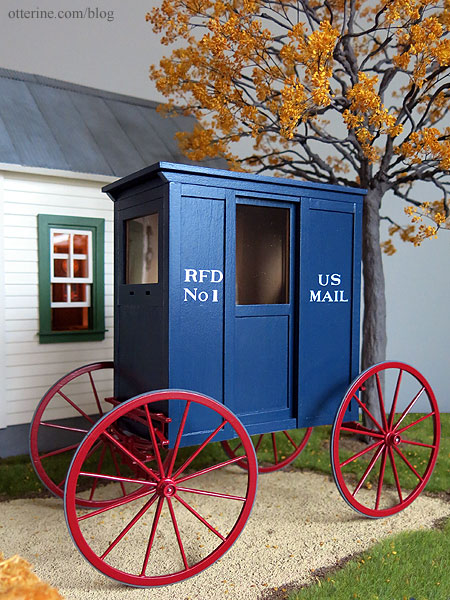
From the outside, you can’t tell it’s not all glued together.
Categories: Ivy Hollow RFD, Model Cars, Vehicles
December 20, 2019 | 0 comments
NOTE: All content on otterine.com is copyrighted and may not be reproduced in part or in whole. It takes a lot of time and effort to write and photograph for my blog. Please ask permission before reproducing any of my content. Please click for copyright notice and Pinterest use.


