

Wee “c” Miniatures Show – 2012
I went to the last local miniature show last night, and it is still going on today, the Wee “c” Miniatures Show. I went with a modest cash budget and came home with extra funds. Unfortunately, most of my receipts didn’t have store names and the show program didn’t have a map of vendors, only a list of names.
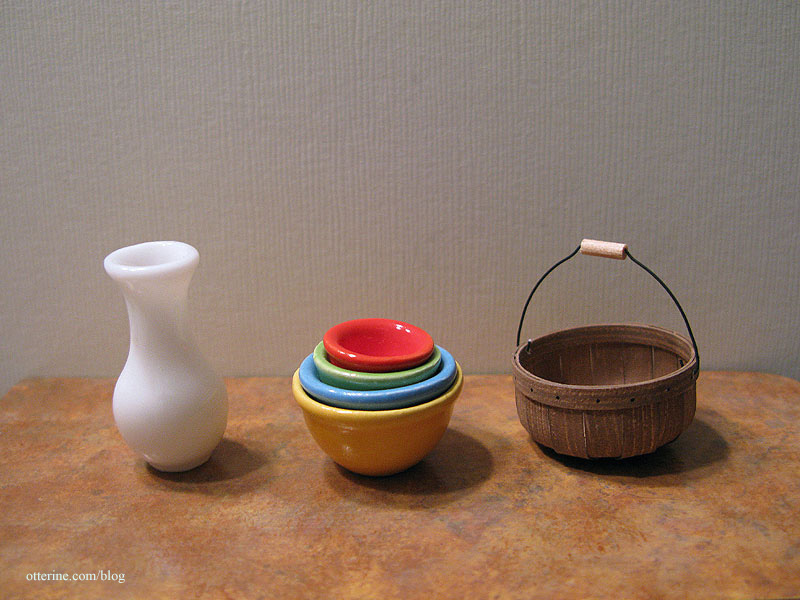
Patricia M. Wehmeier Miniatures – she has a wonderful collection of vintage and unusual items, and I’ve purchased from her before at other shows. I bought from her a white vase and a set of colorful stacking bowls. The basket is an Al Chandronnait creation from Greenhouse Miniatures (no website).
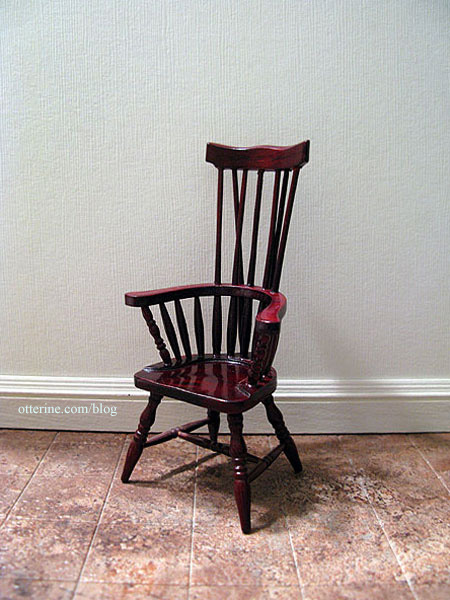
This unusual chair is also from Patricia.
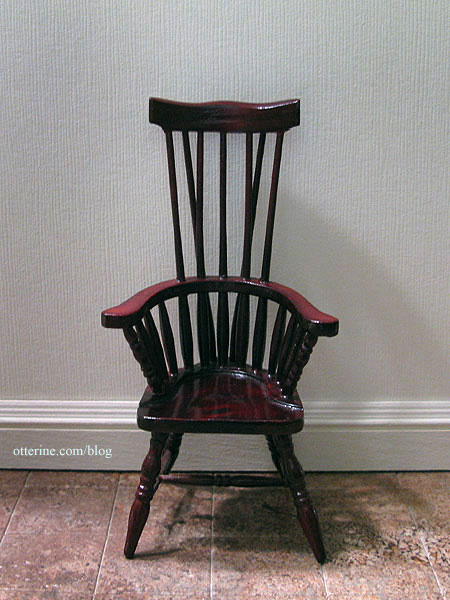
I plan to paint it since the shiny mahogany finish doesn’t do it any justice. :]
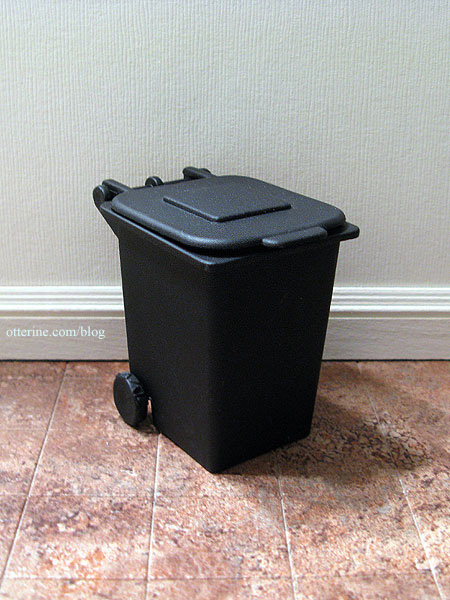
I also bought a fun wheelie bin from her table.
The same vendor where I bought the basket from had some nicely priced white china – Greenhouse Miniatures (no website).
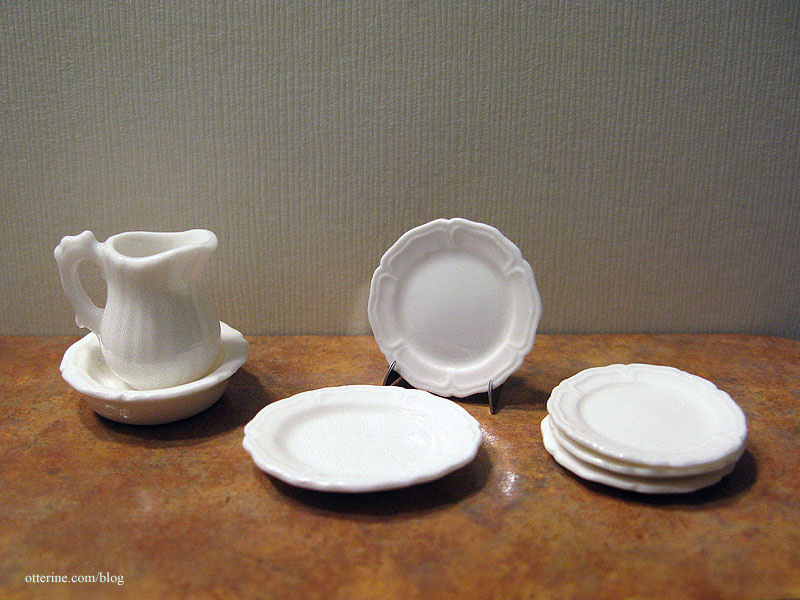
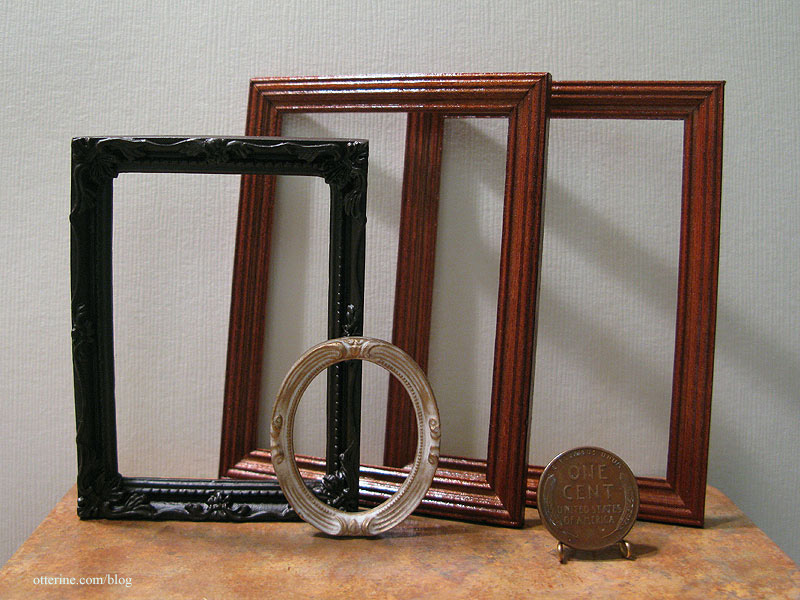
I also picked up two larger wood frames from her. The other two frames are from other vendors.
I picked up some fabric, landscaping items and a large pack of fine gauge floral wire, which seems to be rather elusive in the local craft stores.
Categories: Miniature Shows and Shops
November 10, 2012 | 0 commentsHeritage – foyer lighting
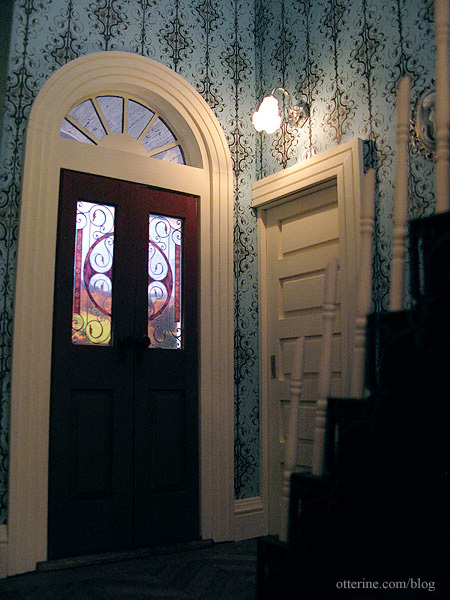
I had originally planned to have a hanging light descending from the second story ceiling to the top of the foyer area, but I changed my mind because I didn’t think it would hang straight enough to suit me. The fixture is lightweight, and the chain would follow the curve of the electrical wire. It would need constant adjusting. Forget that nonsense.
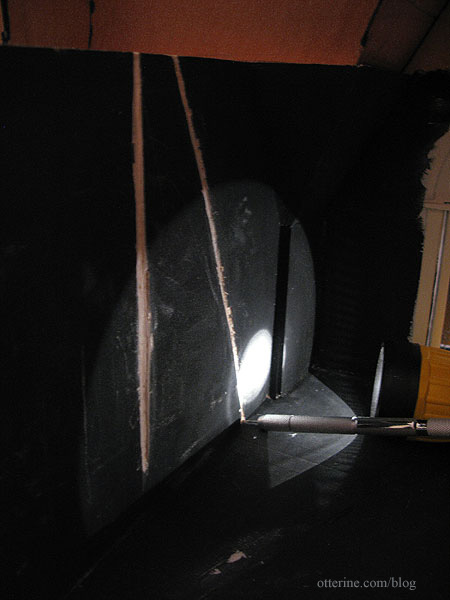
I opted for a small silver wall sconce from my lighting stash since it is small enough to not be intrusive but gives off a good amount of light. The only reason I was able to add a wall light without any deconstruction is the fact that the bedroom wallpaper hasn’t been completed, so adding a wire channel was fairly straightforward.
I drilled a hole from the bottom of the wiring channel in the bedroom wall, angling slightly downward into the foyer. The hole is high enough so it won’t interfere with the working pocket door. The front channel you see is for the bedside lamps when I get to them.
I glued the light in place with the bulb facing downward. With the light on, the bulb would be distractingly bright when viewed through the open stairwell. I can still reach the fixture to remove the shade and change the bulb as needed. The silver also works well with the silver-framed wall art.
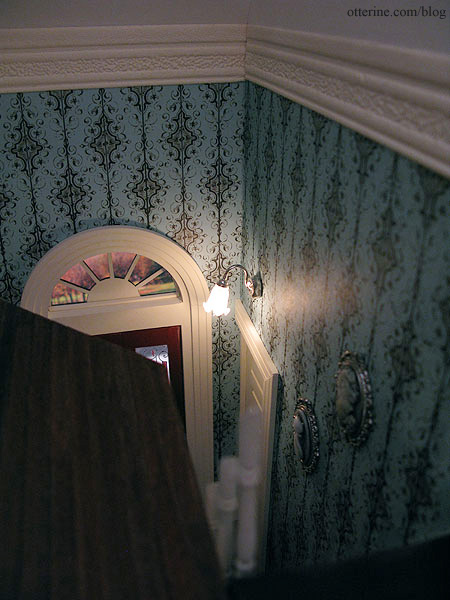
It’s just enough illumination without looking out of place. :]
Categories: The Haunted Heritage
November 5, 2012 | 0 commentsBaking in mini – my maiden voyage
I used to make clay foods when I was young for my childhood dollhouse, but that was limited to mostly hamburgers. :D Since rediscovering minis as an adult, I’ve seen so many talented food artisans online and at the mini shows.
I recently bought some suitable colors of clay and started experimenting.
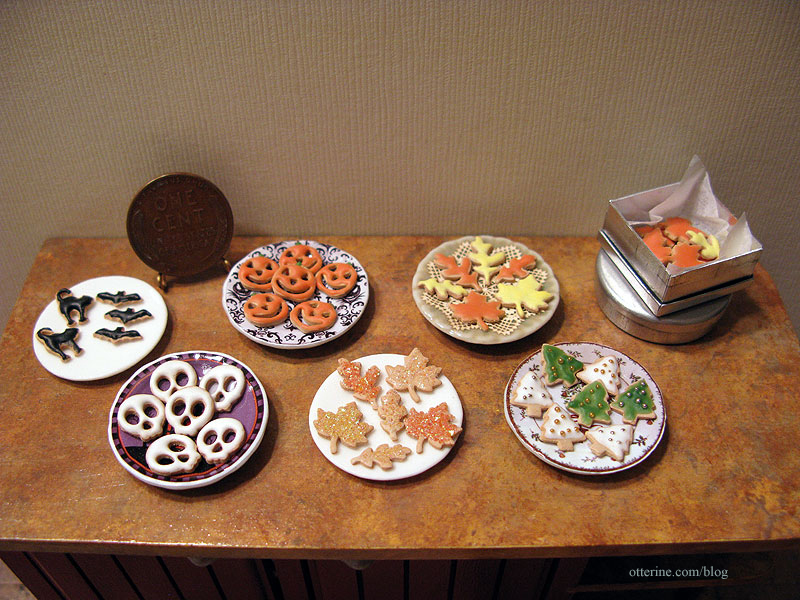
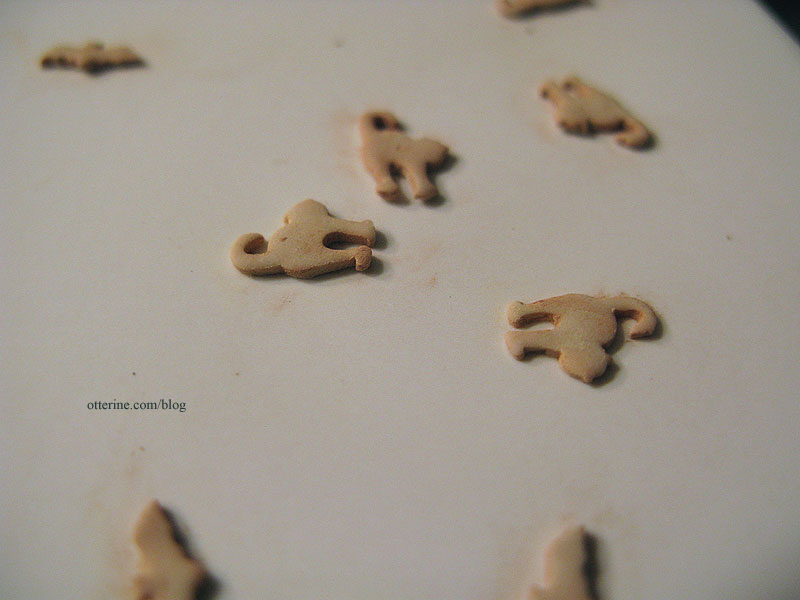
Here is the first batch of cookies using Fimo clay in the color sahara. I started with bats and cats since making festive cookies was part of the to-do list for my Halloween display that I didn’t have time to finish before the holiday.

I used chalk pastels to give them some golden color. After baking, they really do look like plump, warm-from-the-oven cookies! :D
I used clay mixed with the Translucent Liquid Sculpey as well as oil paint mixed with the Translucent Liquid Sculpey to make icing for the cookies. The oil paint was certainly easier to mix and work with, so I will pick up a starter set of colors next time I head to the store.

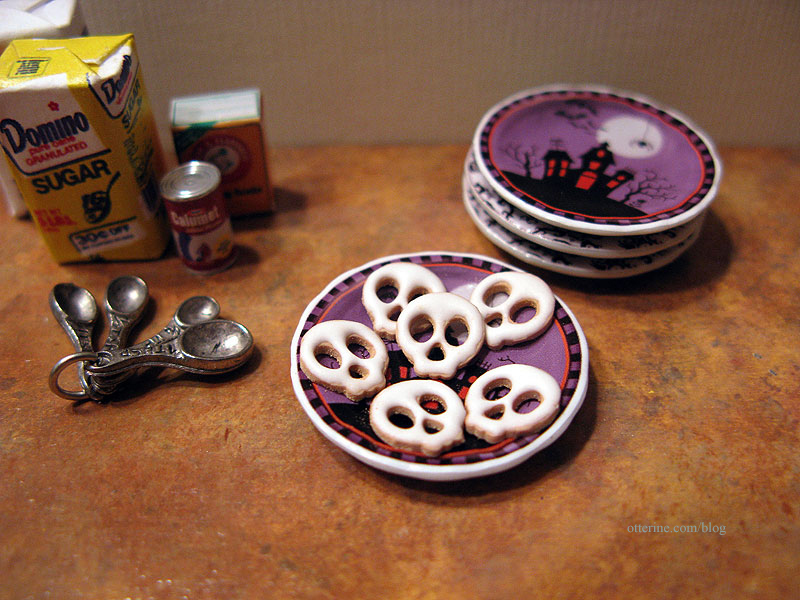
Here’s a plate of skulls with white frosting. I don’t know why, but these are my favorite. :D
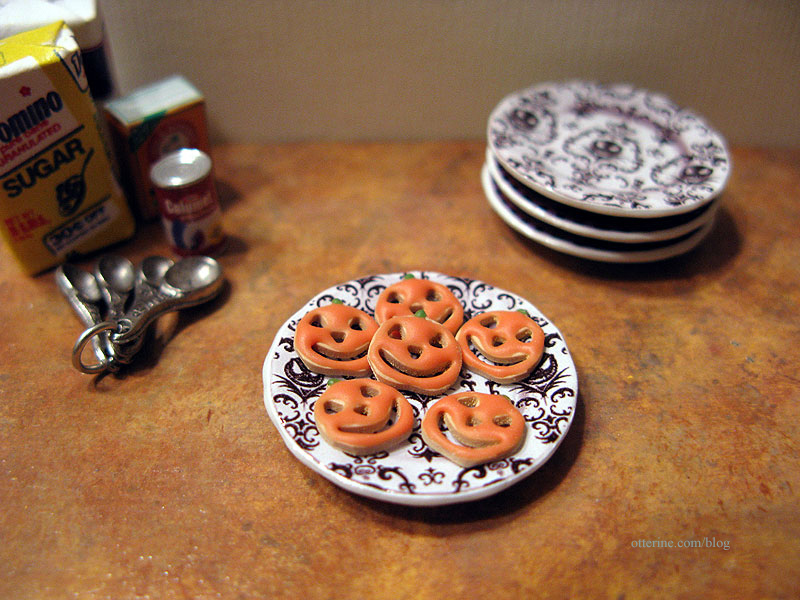
The pumpkin cookies are rather fun, too.
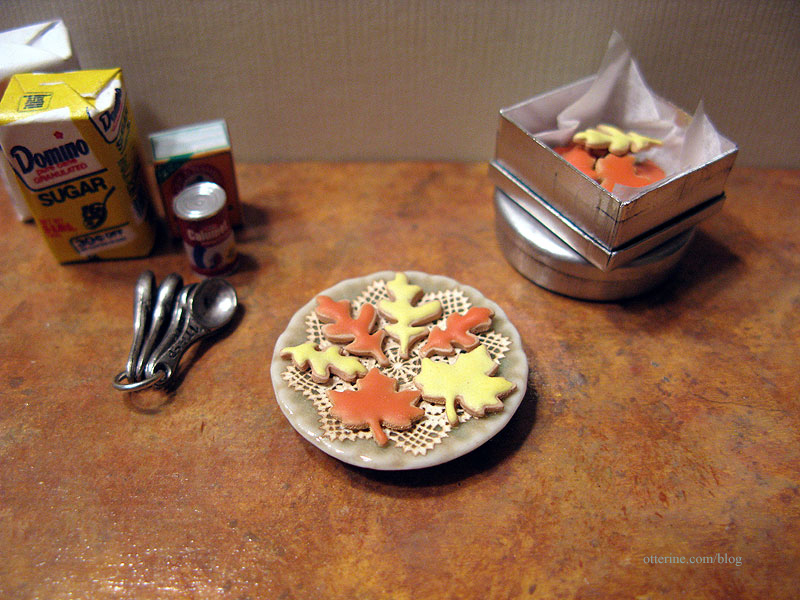
The leaf cookies could be used for the general autumn season or for a Thanksgiving setting.
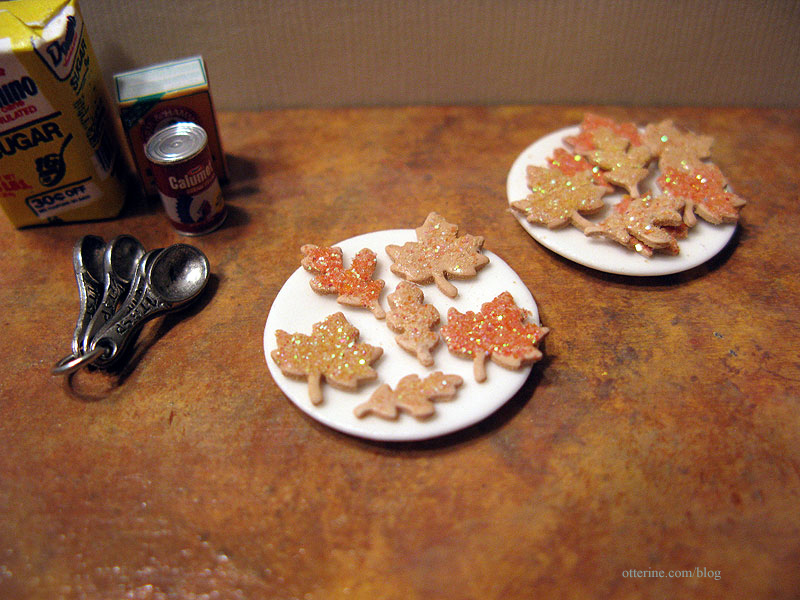
I left some of the leaves bare and decided to try a different method, coating them in three shades of glitter to mimic sugar cookies.
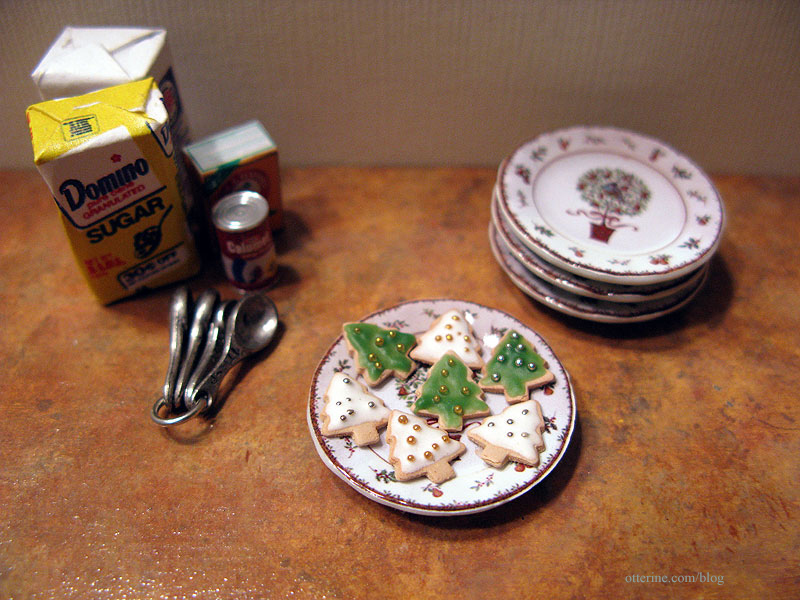
The frosted Christmas trees have added micro beads in gold and silver.
I spent all day on these lovelies and certainly had fun, but after all that work…there aren’t any cookies I can actually eat!!!! :O
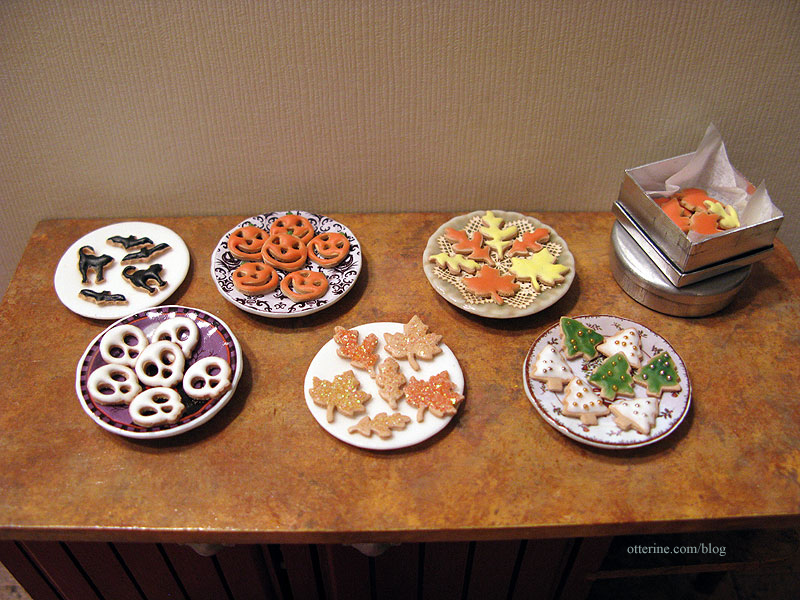
Two designs of Halloween plates and Christmas plates from A Lavender Dilly. Plate with doily from Stewart Dollhouse Creations.
Categories: Miniatures, Polymer clay
November 3, 2012 | 0 commentsJack-o’-lantern
What’s a Halloween display without a jack-o’-lantern?! Ophelia wouldn’t hear of it!

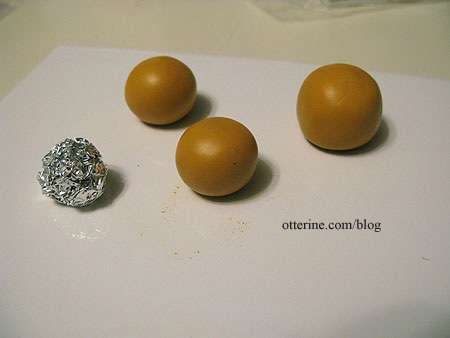
I’ve seen many techniques used online and in books for making hollow pumpkins from polymer clay. Most often something is baked inside: styrofoam, foil or a glass marble. Each of these has pros and cons. The styrofoam just seems noxious to bake, but maybe I’m wrong. The glass marble can cause breakage when you try to remove it, which makes me worry about all the effort to make it look good being ruined in an instant. The foil doesn’t seem the easiest to remove, but it seems the least noxious and easier than the marble…so that’s the way I went.
I used Fimo ochre clay around the foil ball and then added Fimo cognac clay around the clay ball. This way, the inside would be lighter than the outside once carved.
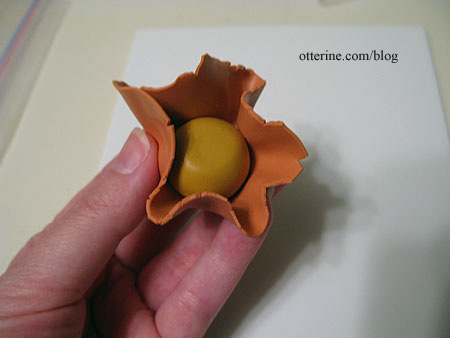
I added lines and texture but decided to carve my pumpkin after baking to minimize handling while the clay was pliable. I did plan to leave one or two of the pumpkins intact just for decoration, but I made all three the same way just in case.
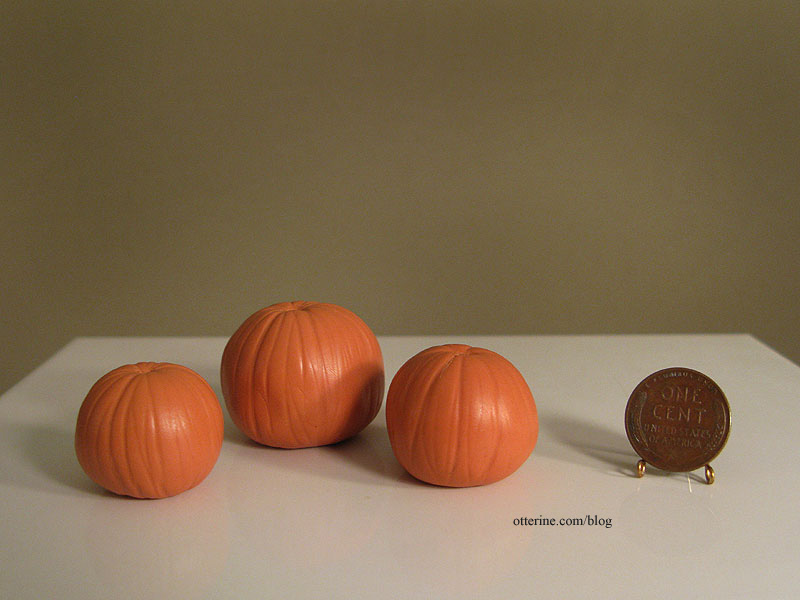
I used pastels to color the clay before baking to deepen the color and emphasize the sculpted lines. Here they are after baking.
After the clay cooled, I cut the removable top, removed the foil innards and carved the pumpkin face. None of these things proved easily done. The clay was thicker and harder than I thought it would be. It didn’t ruin the illusion in the end, but I ended up making only this one for lack of time.
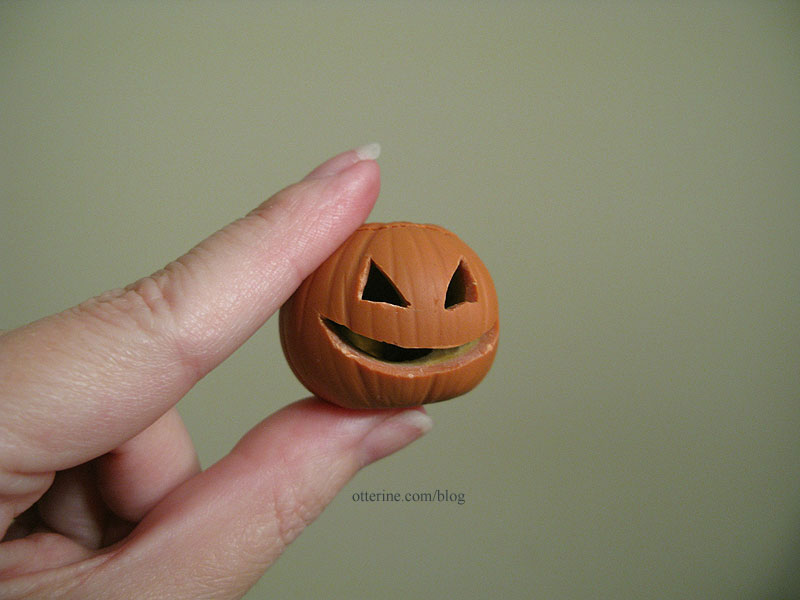
I used a grape stem for the top, an idea I saw on Joann Swanson’s blog. I used the larger main stem, though, and it was still green. I microwaved it to dry it out, and bleh…did it ever smell bad. Hahahaha
After gluing the stems on, I brushed on a thin coat of Sculpey satin glaze, even on the stems to seal them. It gives them a wonderfully realistic waxy finish. It also disguises the cutting and carving marks.
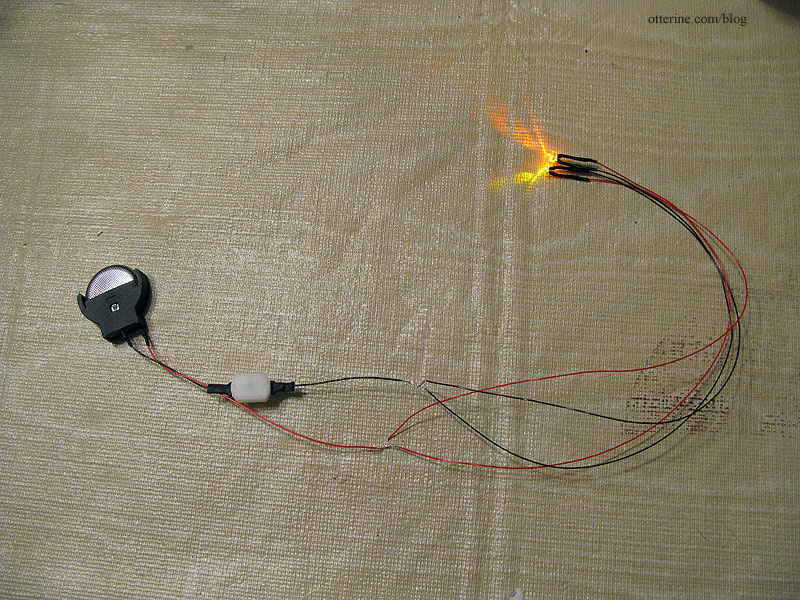
I drilled a hole in the bottom for the LED.
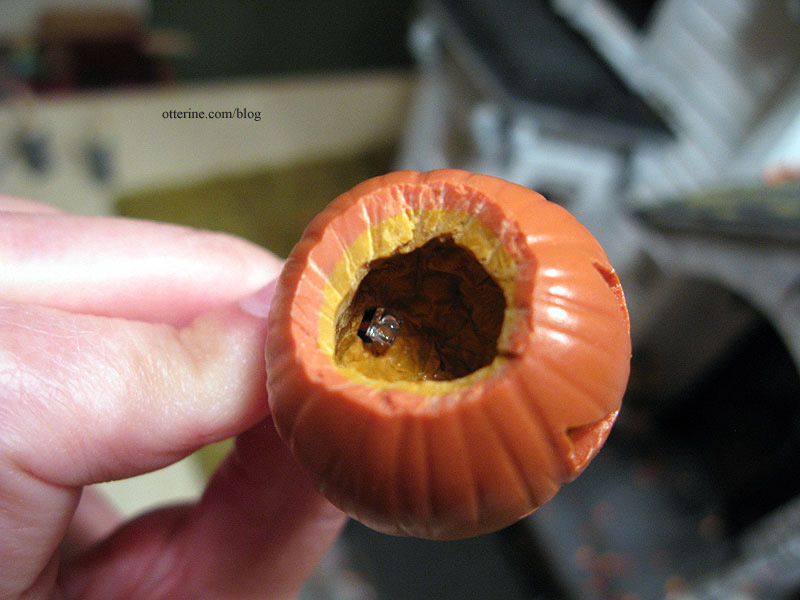
These are flickering LEDs from Evan Designs. They attach to a 3V battery adapter with a switch and come in yellow or orange. I bought both colors since I wasn’t sure which would look better, or if I would want a combination of the two. I ended up using a single orange bulb for my jack-o’-lantern since it was the better color of the two and plenty bright on its own.
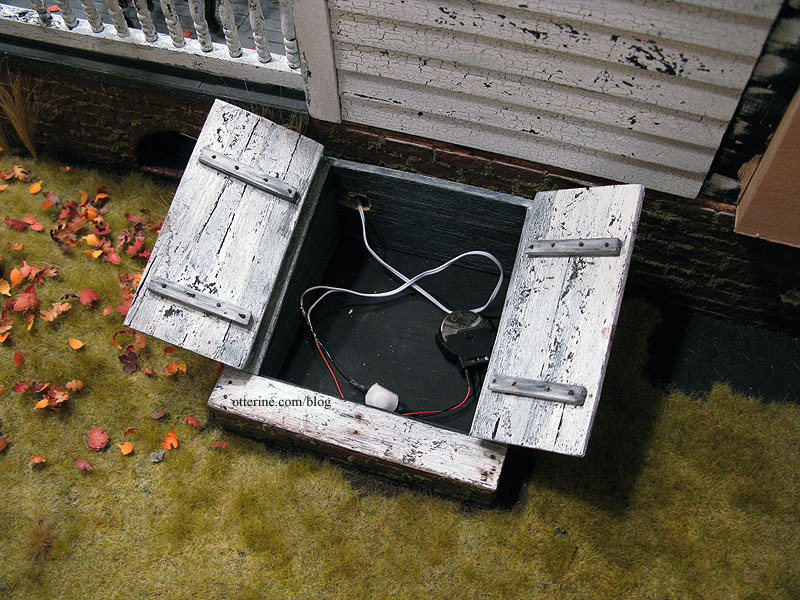
I had already run the wire through the foundation so I could operate the switch in the cellar doors. Here’s the battery and switch in the cellar.
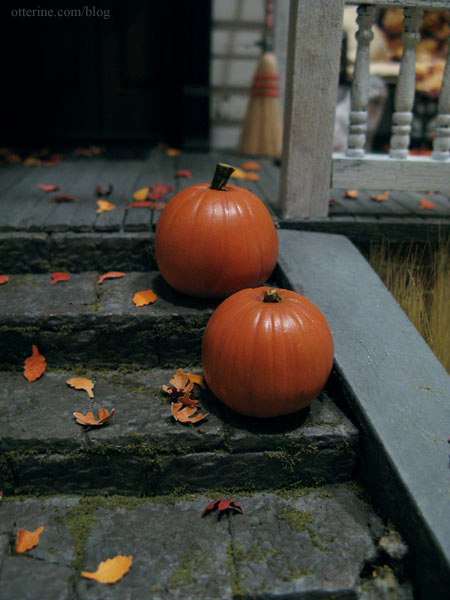
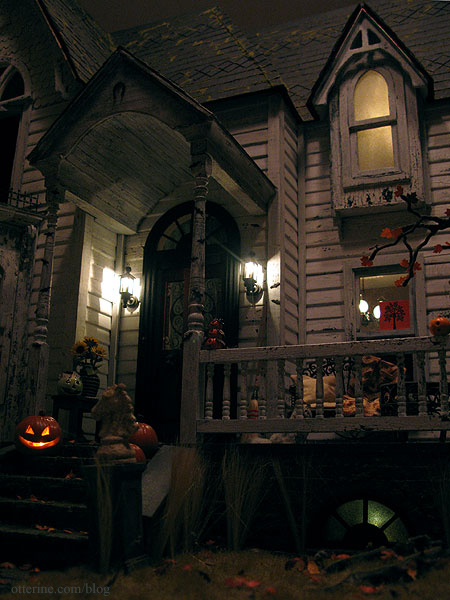
The light is on and pumpkins are in place! Hooray!
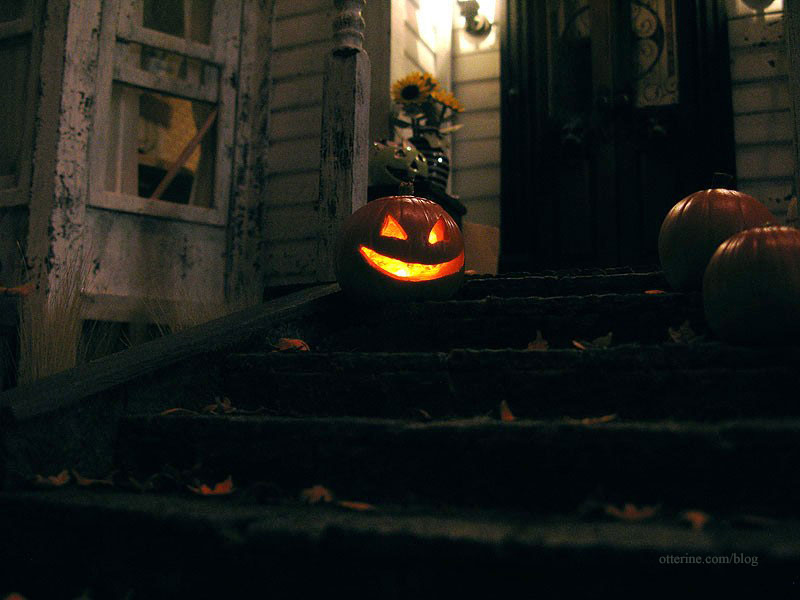
I think this requires a movie. ;D I apologize for the poor quality of the video, but it’s the best my camera will do. At least you get to see the flickering LED!
I will definitely use these flickering lights for the parlor fireplace, too. That wiring will be an easier endeavor to accomplish, though.
Categories: Polymer clay, The Haunted Heritage
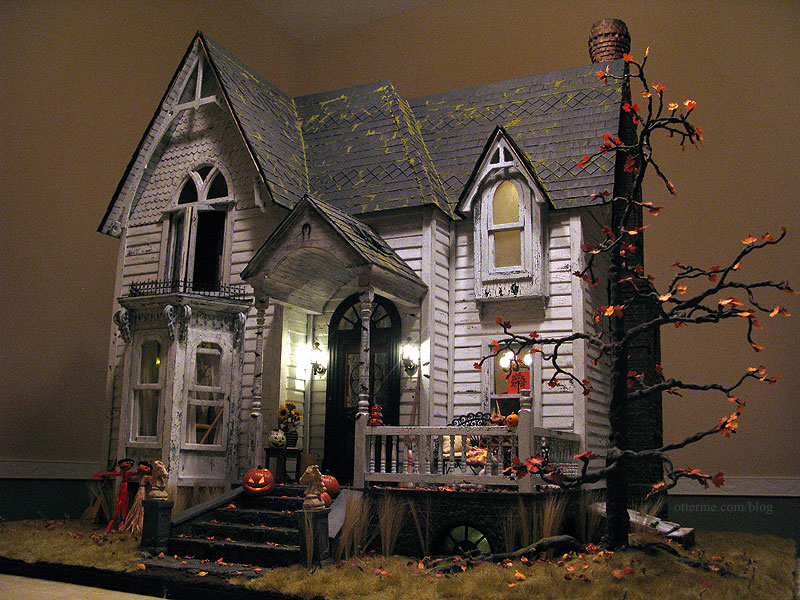
November 2, 2012 | 0 commentsHappy Halloween 2012
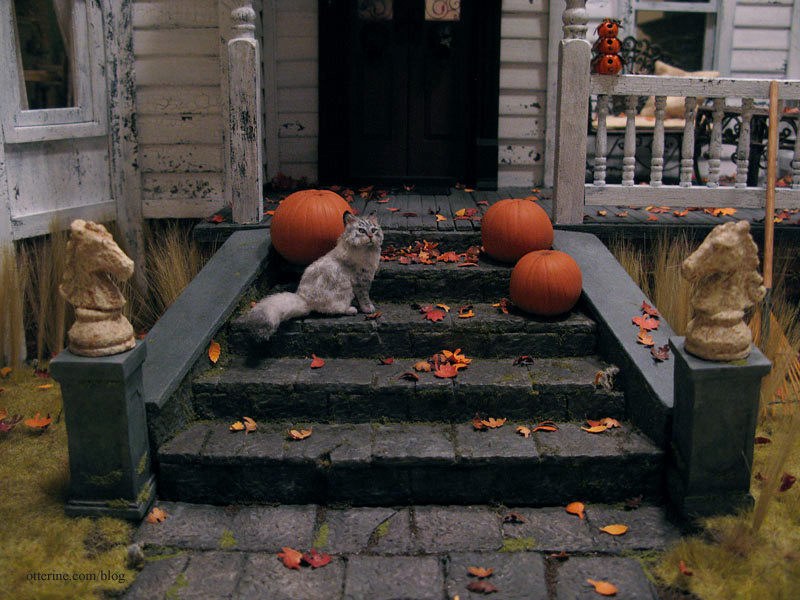
There was a challenge posted on Mini Mod Pod to make a Halloween scene. Well, even though the Heritage is incomplete, grandma is open for business on Halloween!
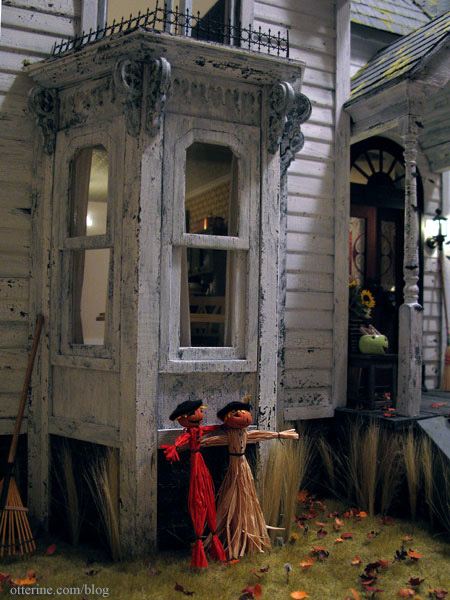
Her kitchen broom is poised by the settee, and the local children insist they’ve seen her fly around the yard on it. Grandma says she wishes it would fly around on its own and clean the leaves off the front steps. Haaaaaaaaaa!

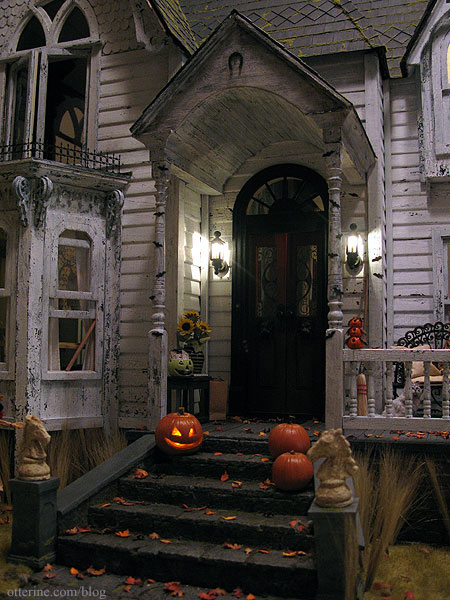
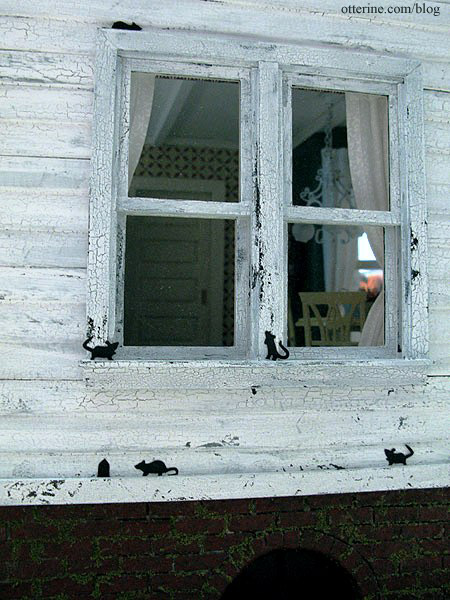
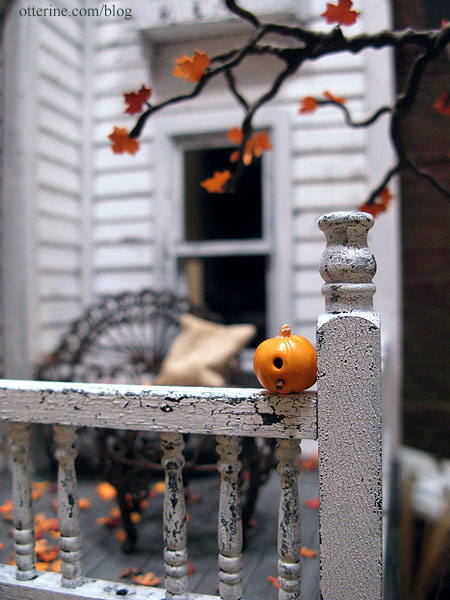
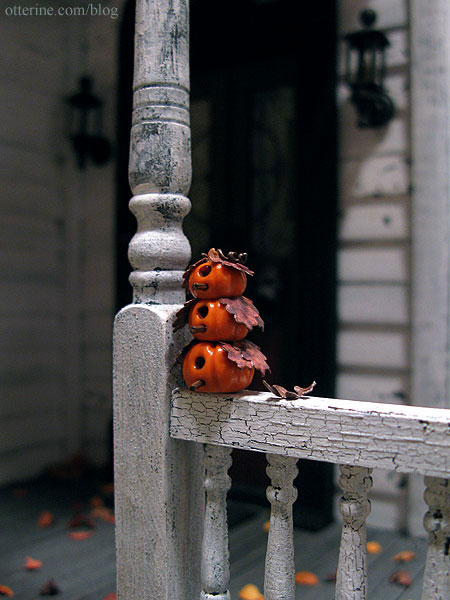
Grandma has a freshly carved jack-o’-lantern out front.
I apologize for the poor quality of the video, but it’s the best my camera will do. At least you get to see the flickering LED!
Carving one was hard enough, so she left the others whole. ;]
There are bats flying around the portico. :O
Mice are trying to break into the kitchen. :\
Mr. and Mrs. Scarecrow have stopped by to say hello. I made these for the tutorial I posted earlier.
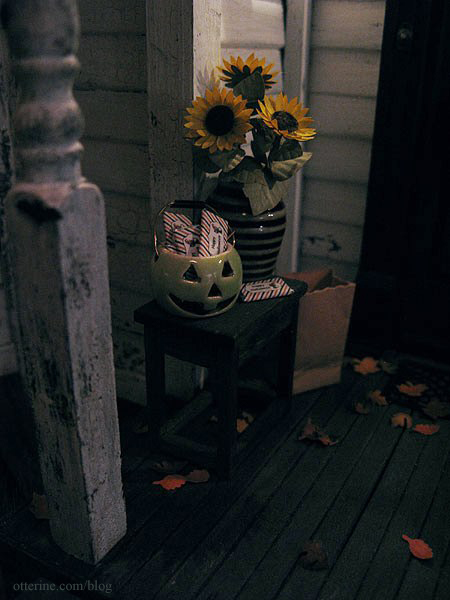
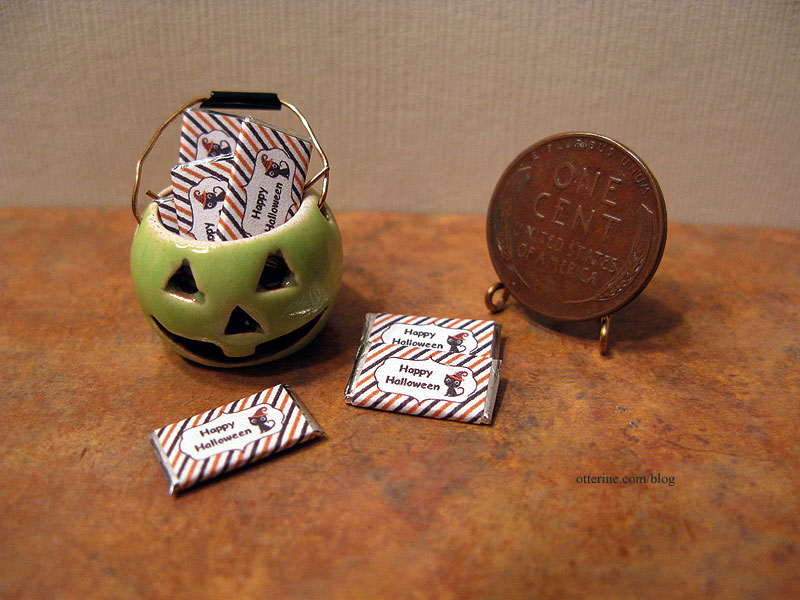
I’ve borrowed the step stool from Baslow Ranch and the sunflowers from Baxter Pointe Villa for the front porch. The ceramic pumpkin basket by Alex Meiklejohn holds candy for trick-or-treaters. Grandma gives out full sized chocolate bars! She has more in the bag in case they go fast.
The chocolate bars are made by wrapping foil around tiny pieces of cardboard (1/4″ x 1/2″) and then applying a custom made label. The candy wrapper label came from Today’s Creative Blog, but I had to change the font. The original type was illegible when printed so small. I love the vintage feel and personal touch of these wrappers. I thought about using actual candy wrapper images, but grandma is more creative than that!
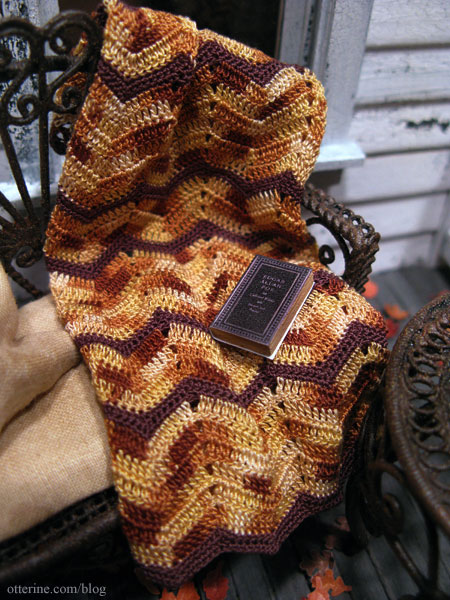
Looks like grandma has been reading Edgar Allan Poe outside while enjoying the crisp autumn air. The afghan was made by Mary of Woodland Miniatures/Roslyn Treasures. I made the book for the Heritage parlor bookcase.
The two pumpkin birdhouses are by Whimsy Cottage Minis.
This one Lyssa bought for me. :D She also made the tree and owl picture you see in the front window by the settee.
So, will you dare to climb the front steps for a full sized chocolate bar?!!
Or, are you a scaredy cat who worries about ending up in the cellar?
Boo!
Categories: The Haunted Heritage
October 30, 2012 | 0 comments


NOTE: All content on otterine.com is copyrighted and may not be reproduced in part or in whole. It takes a lot of time and effort to write and photograph for my blog. Please ask permission before reproducing any of my content. Please click for copyright notice and Pinterest use.


