

The Bishop Show 2013 – Day 1
I found quite a lot at the Friday preview at The Bishop Show. :D
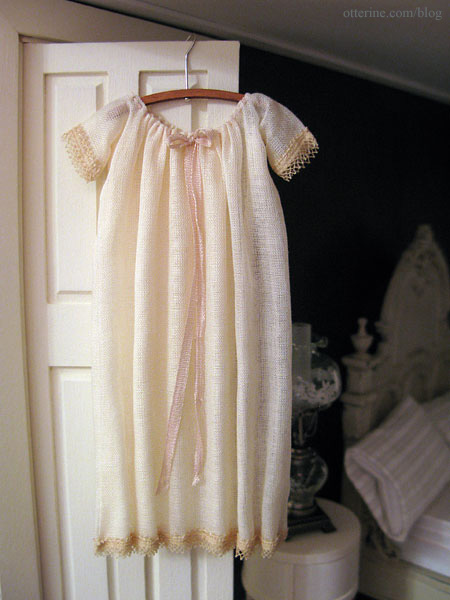
Gorgeous nightgown from Janet Middlebrook – this is so perfect for grandma and the Heritage. I don’t have hooks installed on the doors yet, though. :] Janet had so many beautifully made clothing items from this delicate nightgown to intricately detailed historical costumes. Simply beautiful work!
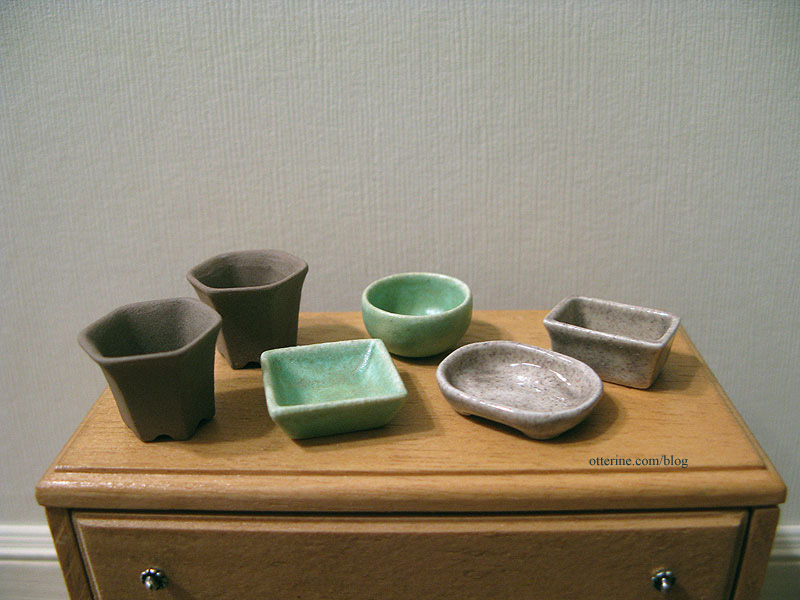
Pottery from The Enchanted Garden. Lovely finishes!
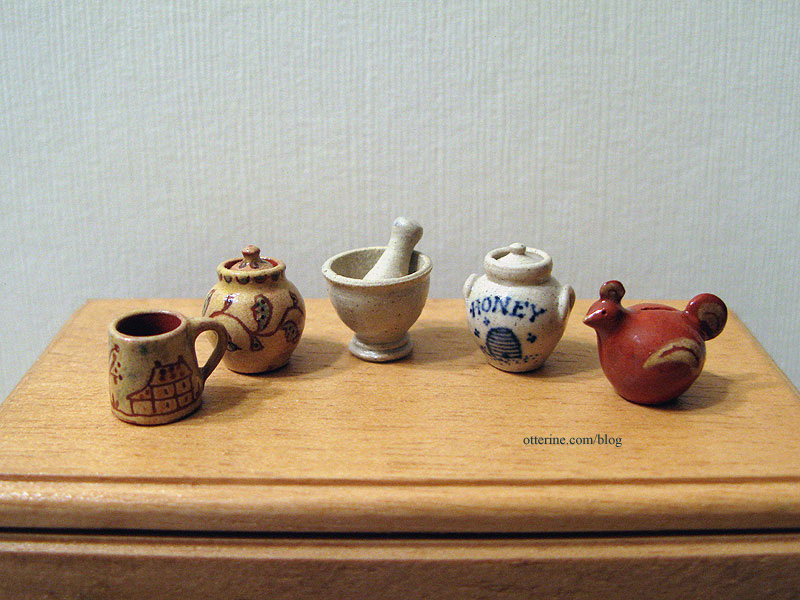
Pottery from Jane Graber. Beautifully detailed pieces. The bird is a bank.
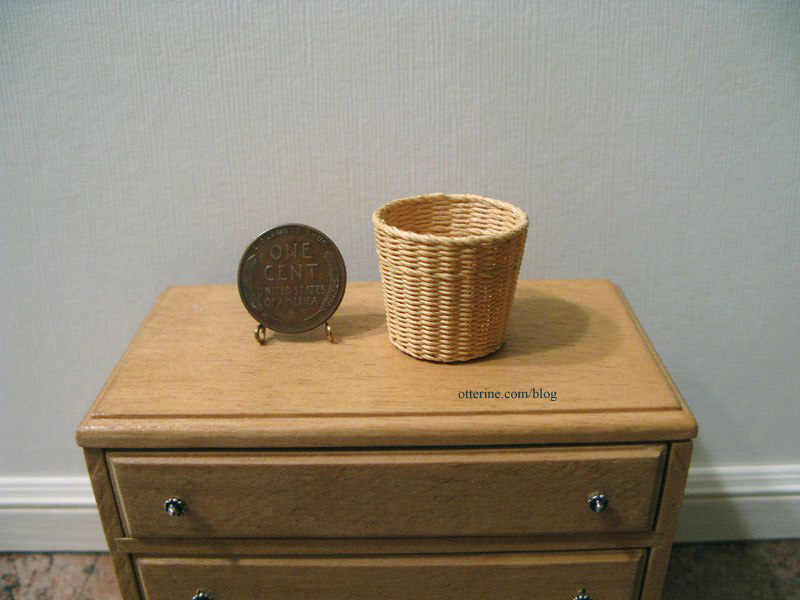
Wicker waste basket from Jane Graber. The weaving is so fine on this basket.
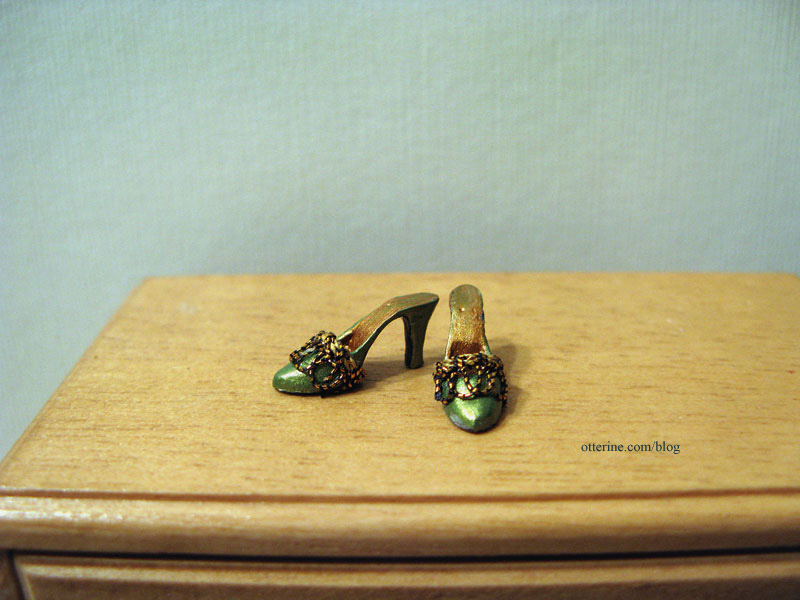
Shoes from Spencer’s Nook. I want these in real life size! :D
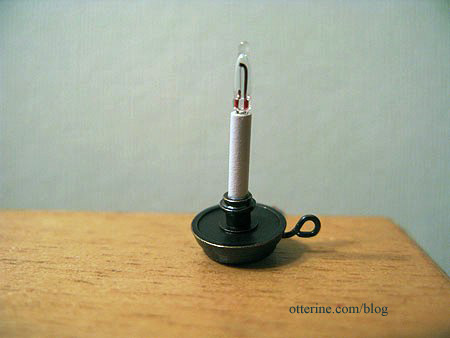
Lighting from Ray Storey. He’s always so personable and the quality of his items is wonderful.
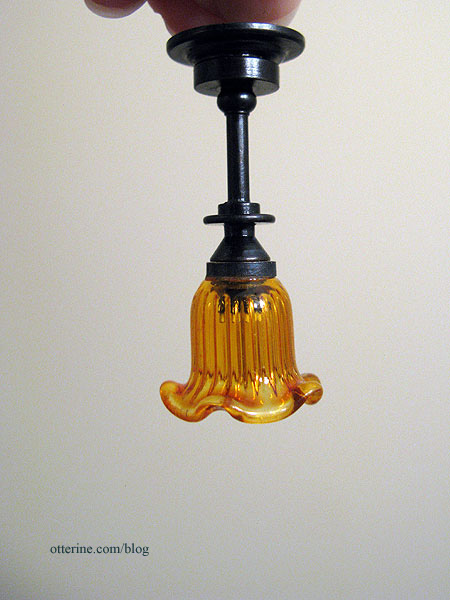
I bought a pair of these.
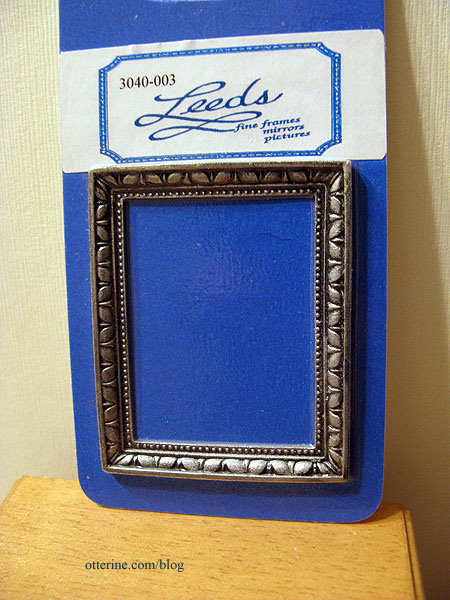
Frame from Leeds.
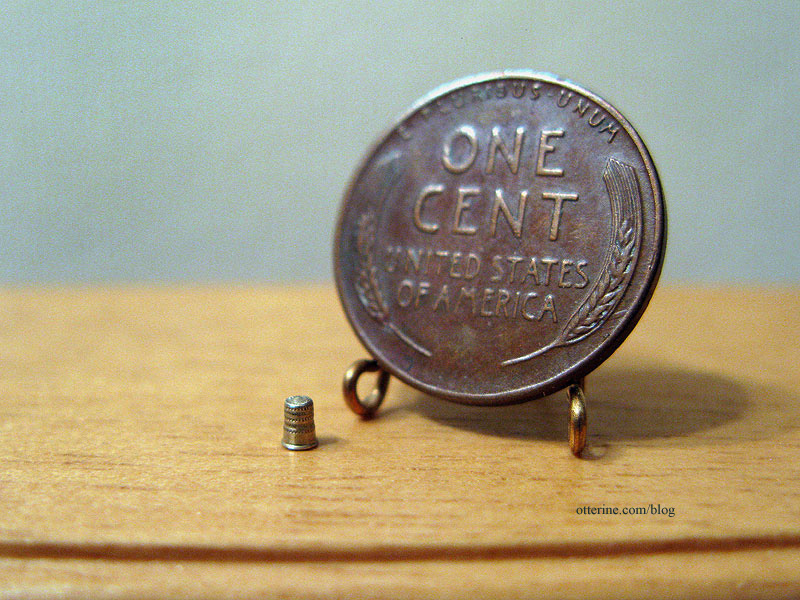
Thimble from Vilia Miniatures. Impossibly tiny with wonderful detail.
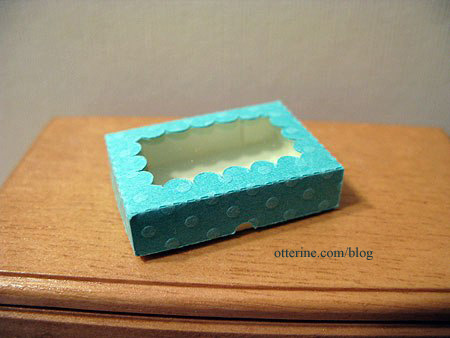
Box from Vilia Miniatures.
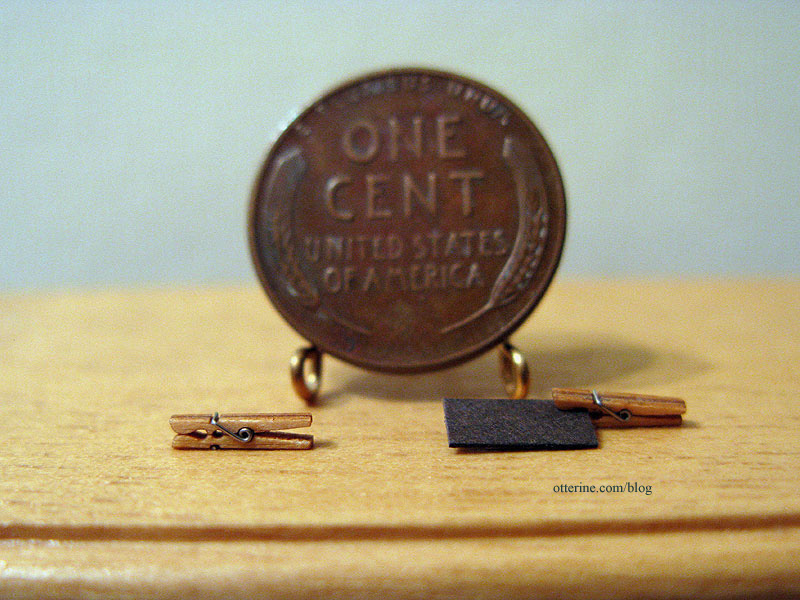
Working – yes, working – clothespins from The Little Dollhouse Company.
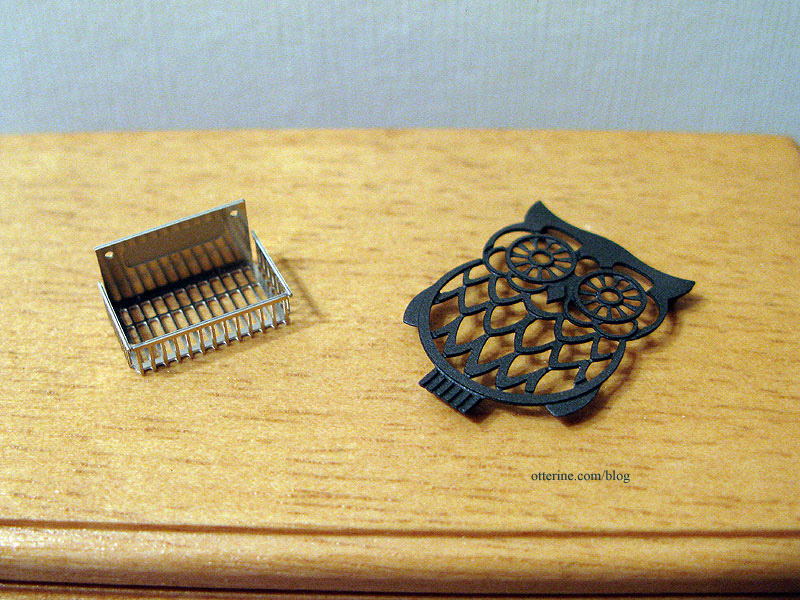
Owl trivet and tray by le mini di Pierluigi from The Little Dollhouse Company.
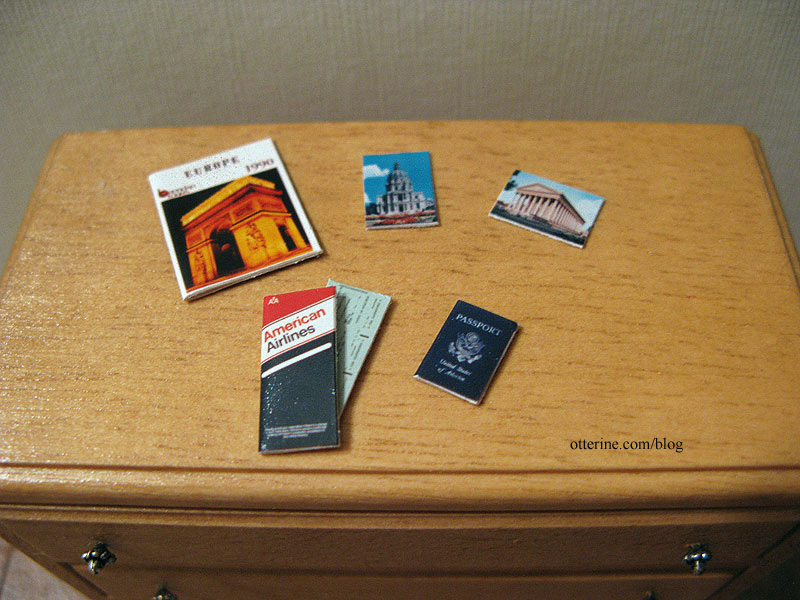
Travel items including a passport, airline ticket, postcards and brochure from Small Talk. These are for the Brownstone, home of our world traveler. :D
Categories: Miniature Shows and Shops
April 20, 2013 | 0 commentsToys in the attic
I was the lucky winner of Andrea’s recent giveaway, and I chose her Farm Animals Funny Cubes in miniature for grandma’s attic…so vintage, so cute!!! Aw, look at the cute Piggie!
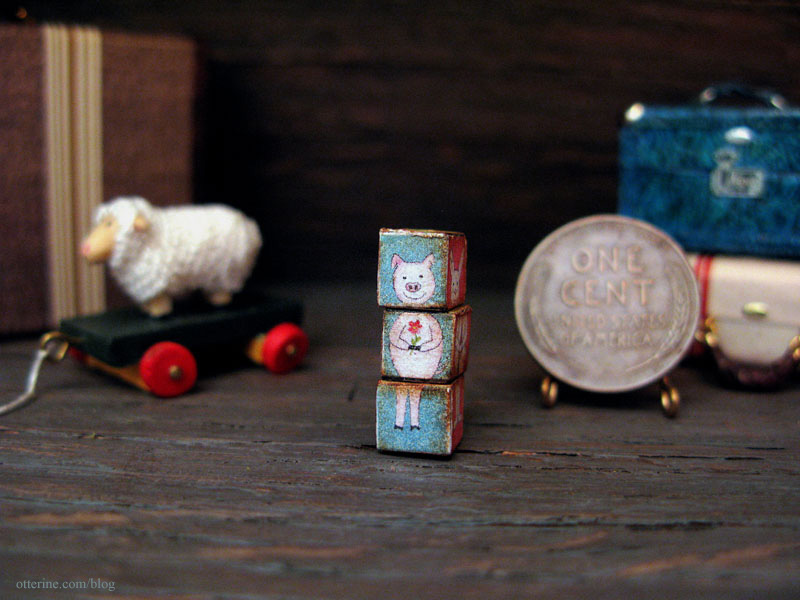
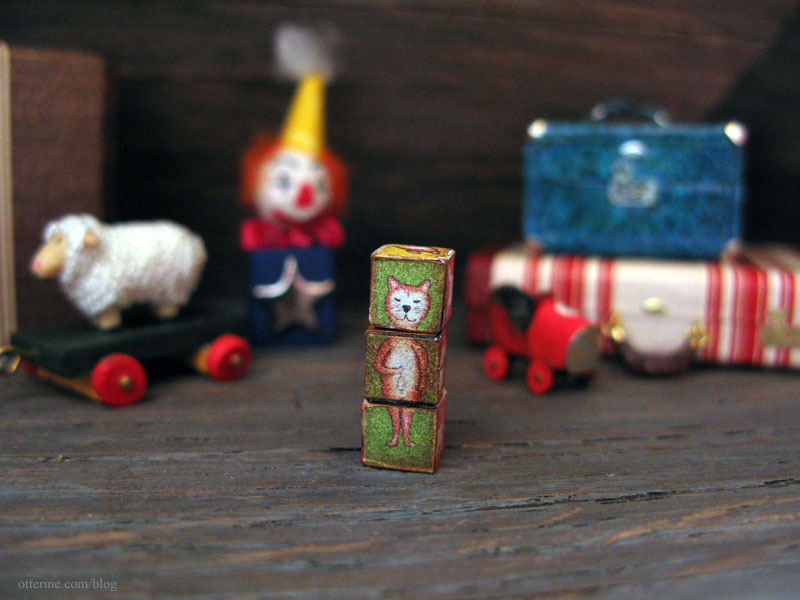
Each cube measures 1/4″ and each side has part of one of six animals. Kitty…
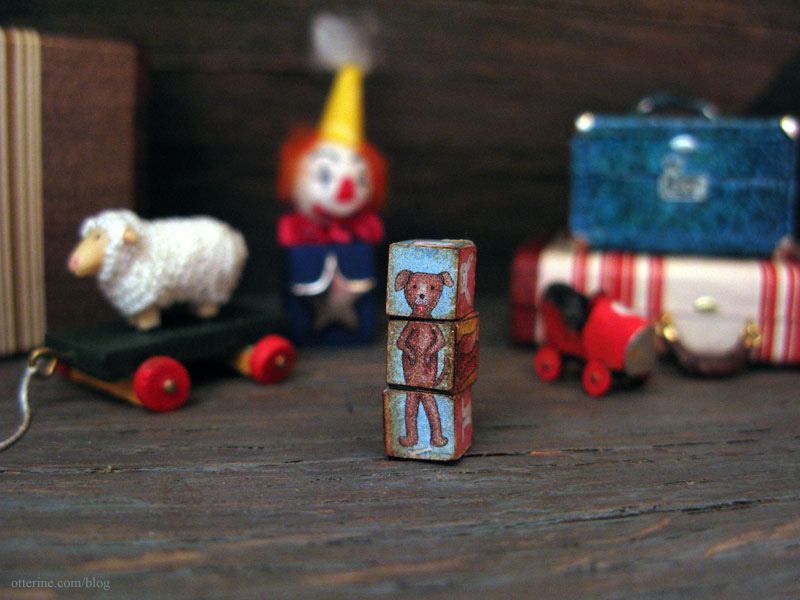
Doggie…
Foxy fox…
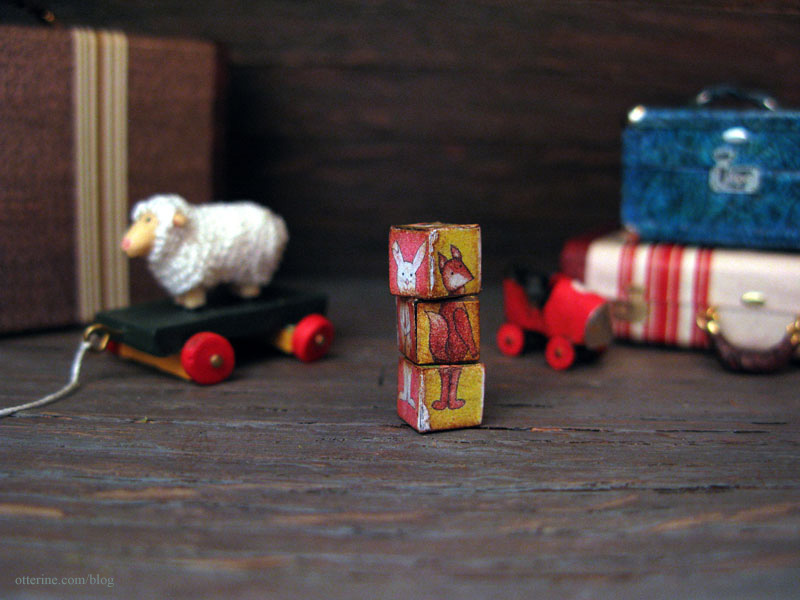
Cow…
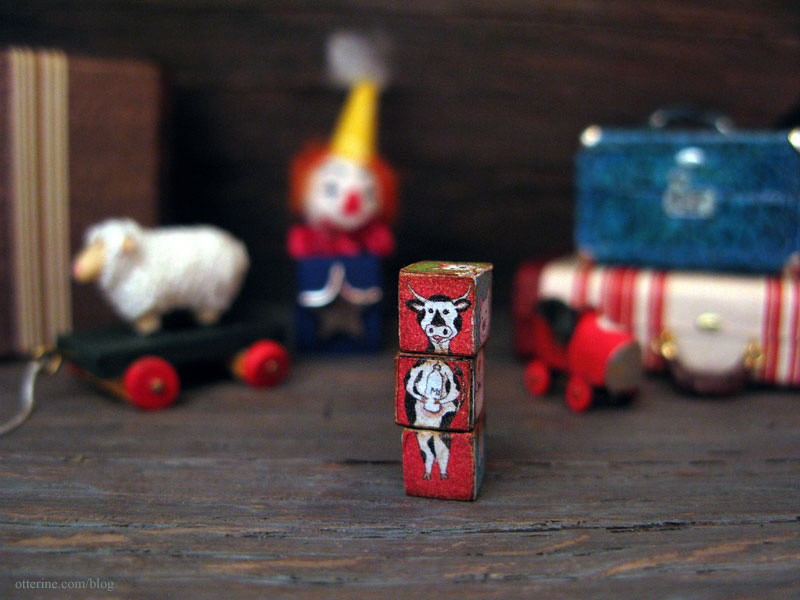
And, a Bunny. Andrea made the tiny race car, too. The lamb is from eBay, and the suitcases are by Fran.

Lyssa attempted to scare the bejesus out of me by sending a clown in the mail. But, I am fearless!!! So there….
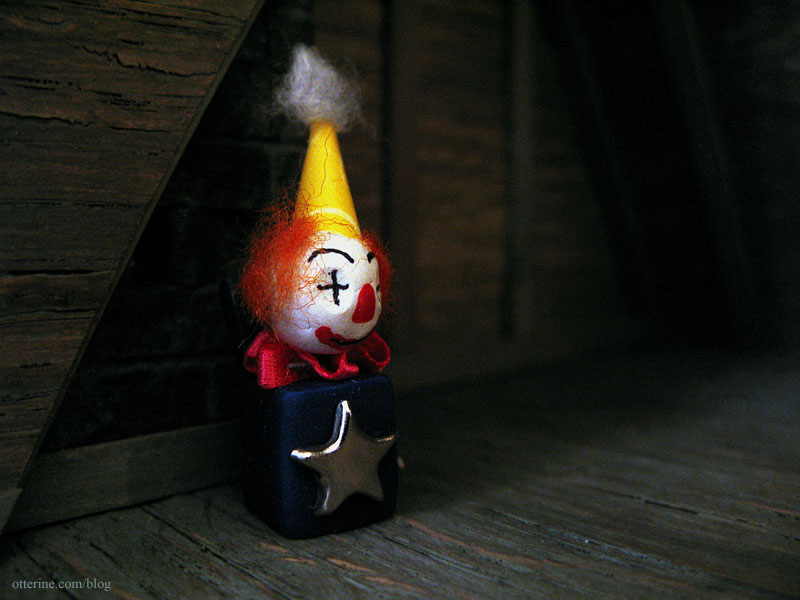
Yeah, kinda creepy. Ok, moving on…. BAH! He moved!
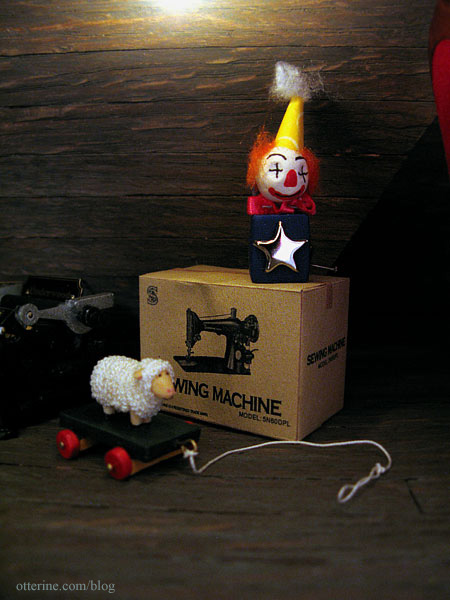
Thanks so much Andrea and Lyssa!!! You are the best!
Categories: Miniatures
April 19, 2013 | 0 comments3 Blind Mice Show – April 2013
Last night, I headed to the first of the local mini shows: 3 Blind Mice. Since the IMA Show is no longer running, this show grew considerably in size. There were vendors all over! :D
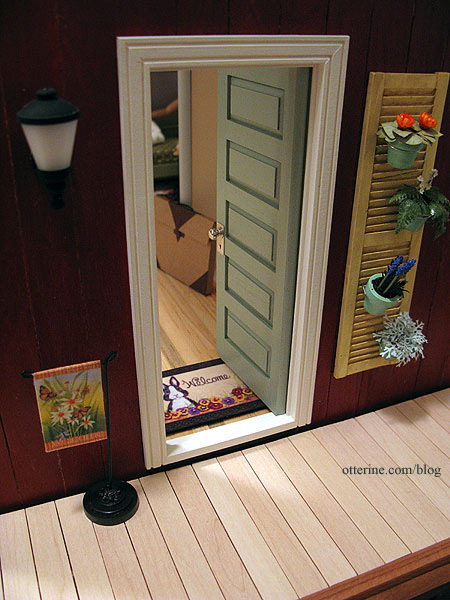
For The Art Studio, I bought a flag with a stand and a door mat from Designs by Janet.
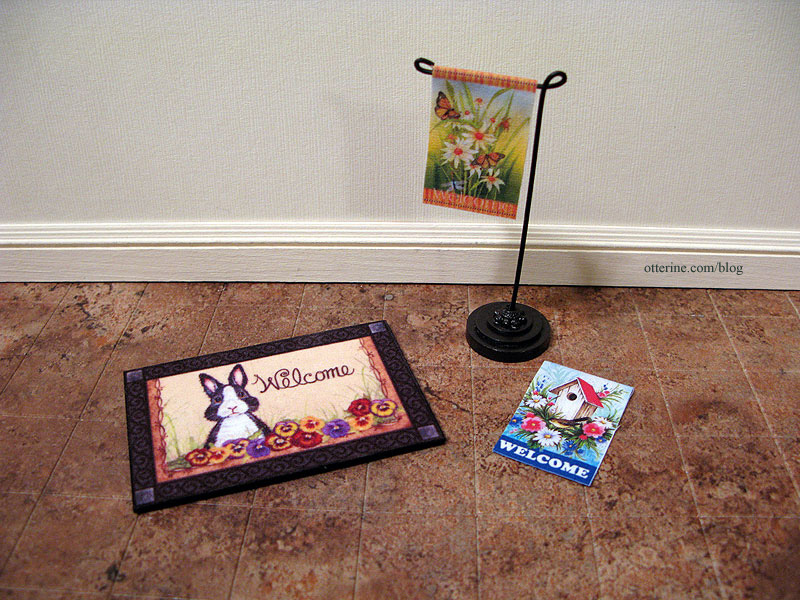
They add a little welcoming whimsy.
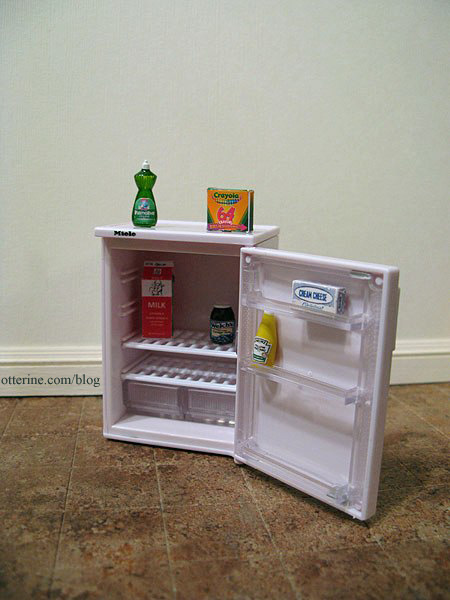
I also purchased a few items for the mini fridge from Golden Acorn.
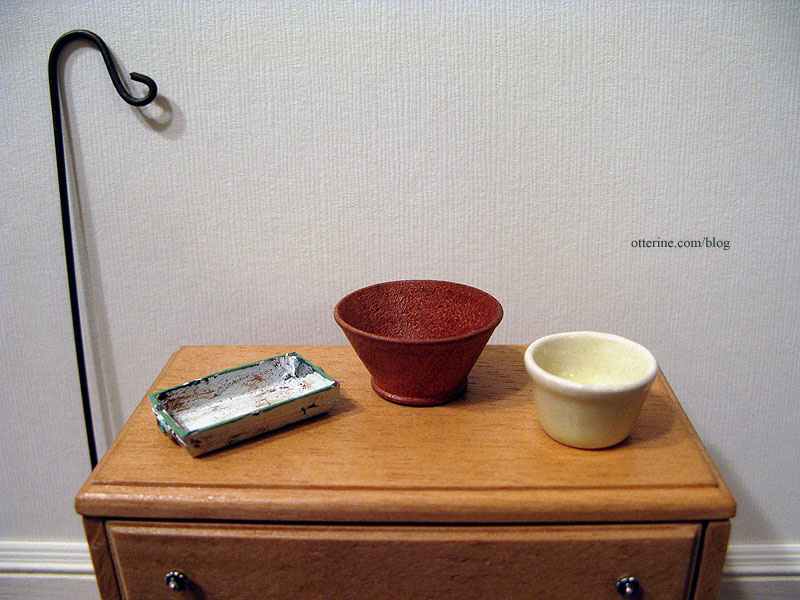
The white tray on the left is for the Studio, but the others are just to add to my accessories collection. These are all from A Pocket Full of Wishes.
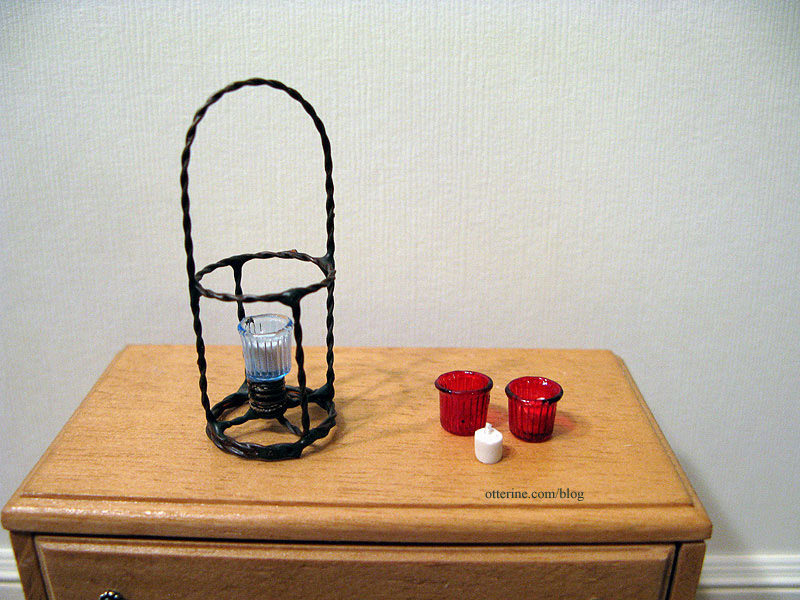
Also from this vendor are some decorative votives and a candleholder.
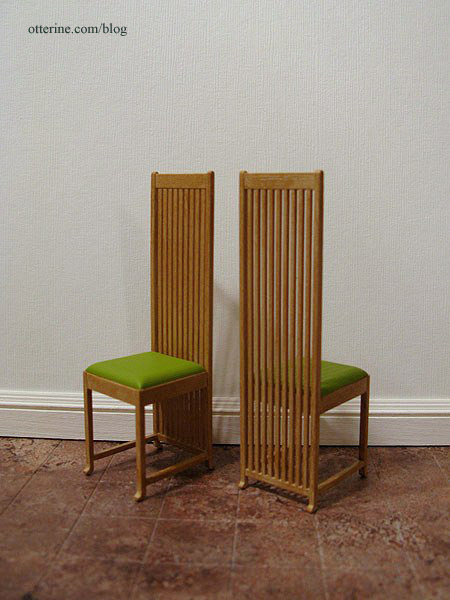
I’ve had my eye on these REAC Frank Lloyd Wright chairs for a couple of years, so I picked them up from William Cambron Designs – a vendor who always has a nice selection of modern miniatures.
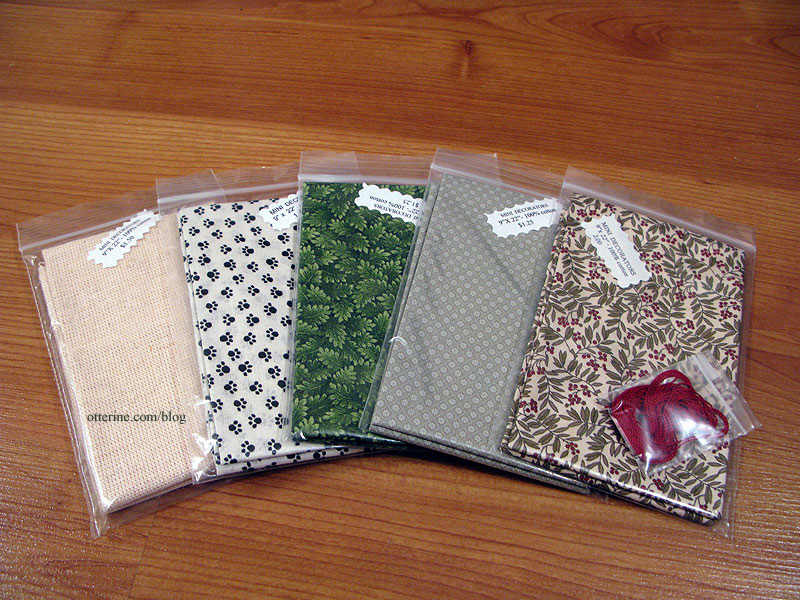
From Mini Decorators, I found some great fabrics. I’ve been looking for that one on the right for the past couple of years. The one on the left is used to weave miniature carpets. She had some nice designs, so I’ll give it try. :D
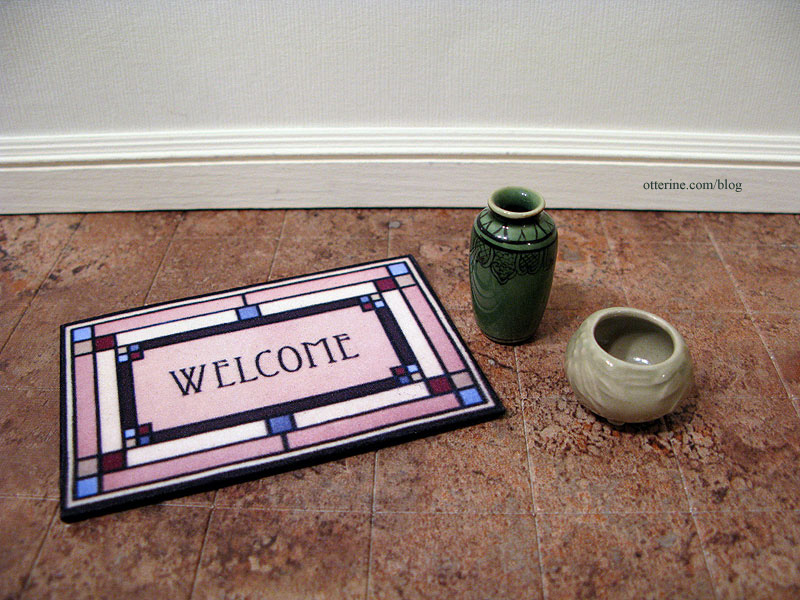
The rug is from Designs by Janet but the vase and pot are from other vendors.
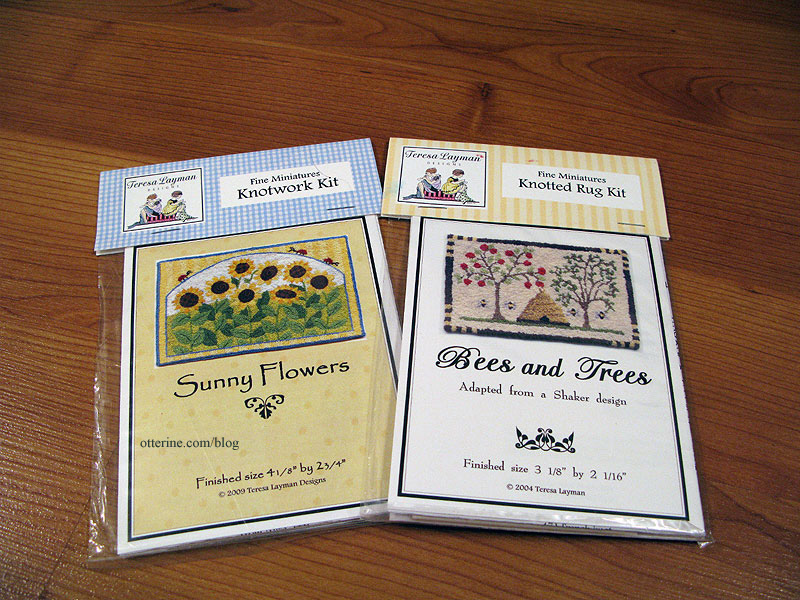
I bought two French knot rug kits by Teresa Layman. I’ve never stitched one of these, but they look so perfectly in scale in miniature.
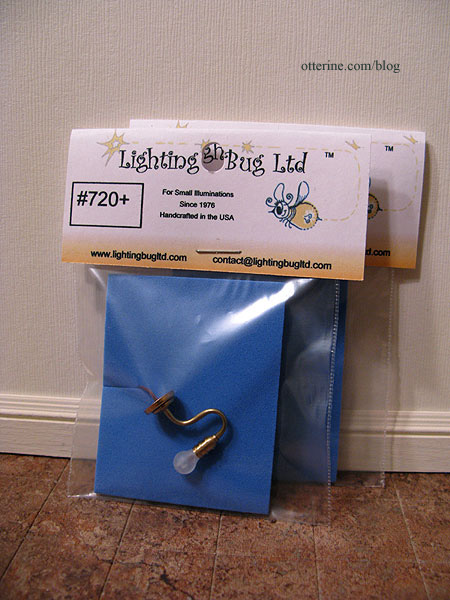
Two more lights from The Lighting Bug for an upcoming project.
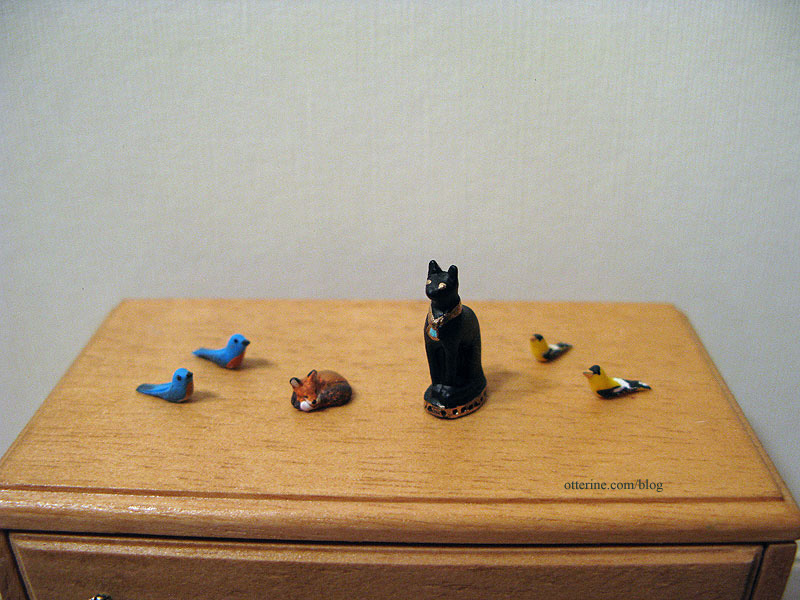
I always buy birds from Barbara Ann Meyer of Mini Gems, but this time she had a tiny fox and Bastet statue that drew me in, too!
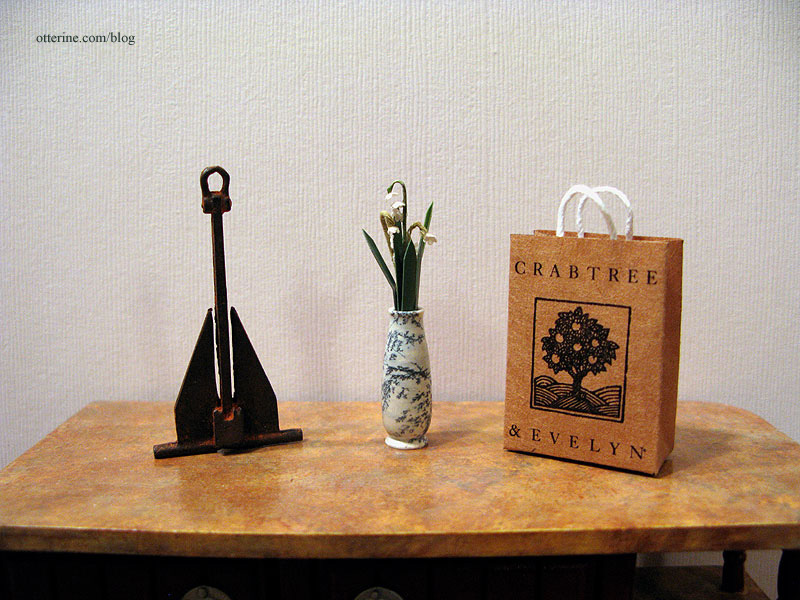
While I’m showing new minis, here are a few I picked up from All Small Miniatures when I bought the shingles for the Studio. The stool is also for the Studio, but the other items are for my accessories collection.
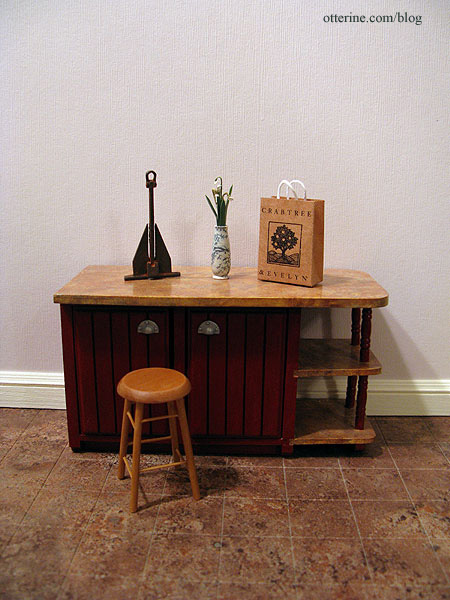
The anchor will be for Jasper Inlet Light, and the vase will likely end up in the Heritage.
Categories: Miniature Shows and Shops
April 19, 2013 | 0 commentsThe Artist’s Studio – Hummingbird shower part 4
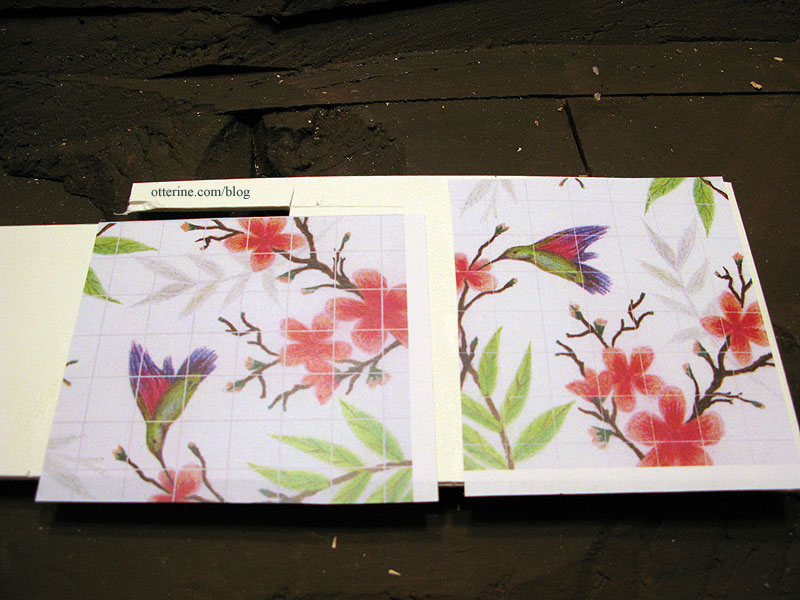
Using the two tile images shown previously, I did a test sample to see how the sealer would look. Since I had success with the Old World Tile in Baxter Pointe Villa, I decided to use the same Triple Thick Gloss Glaze in this instance. I used spray adhesive to attach my printed image to a mat board scrap, using the same part of the image for both to get an apples-to-apples comparison.
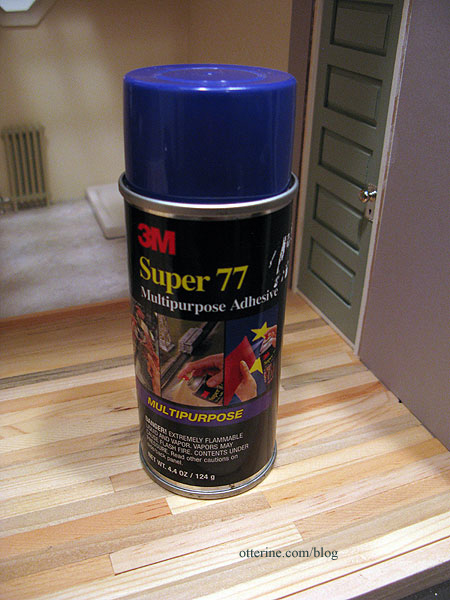
This is the spray adhesive I use. :]
I added the Triple Thick Gloss Glaze and let it dry overnight. I recommend two nights of drying time when using this, but I just needed to get a rough feel for the grout lines and wanted to move forward with the process. Here is the glaze before scoring the lines. The thick glaze really transformed the image, though I wasn’t really careful with the application on these samples. I’ll take better care to spread it evenly for the final.
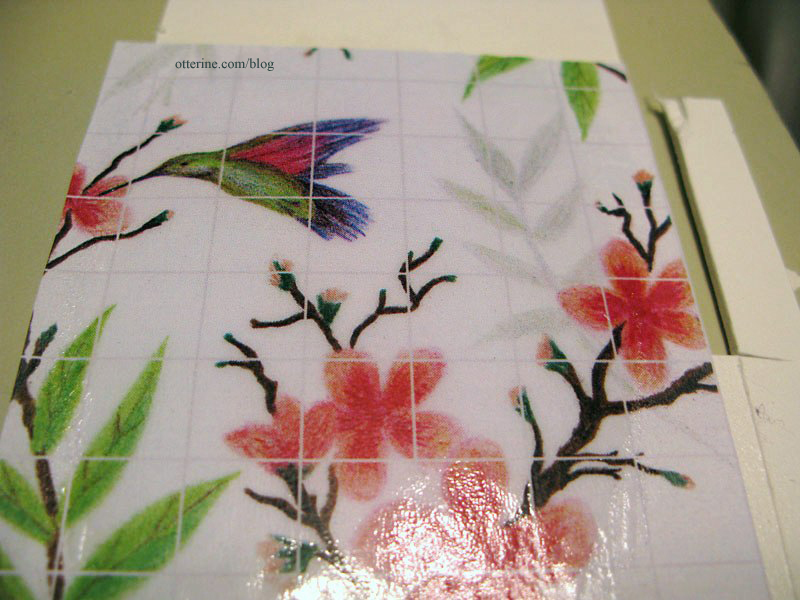
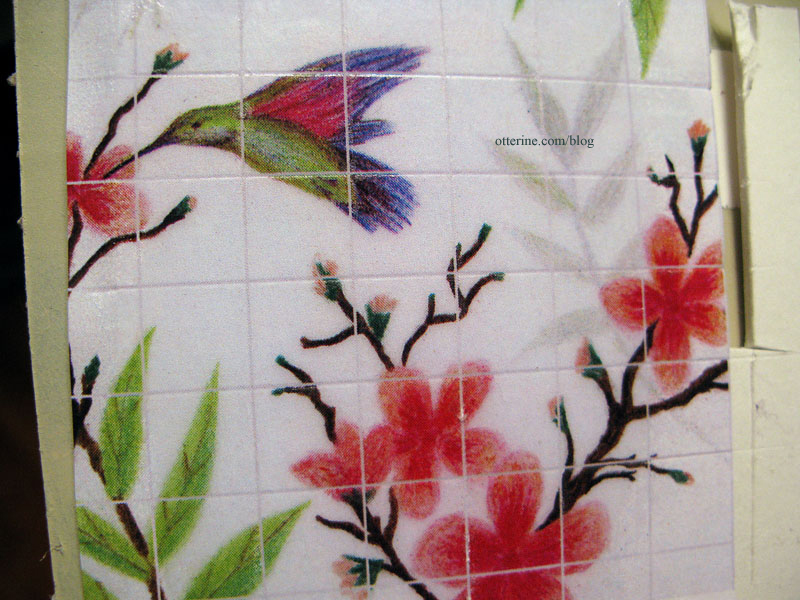
10-pixel grout lines 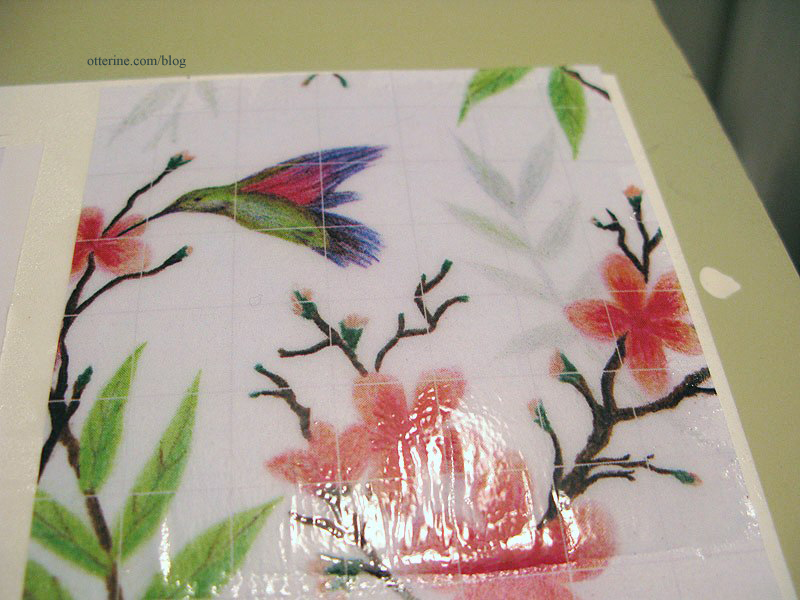
5-pixel grout lines I used a ball stylus to trace over the lines. As expected, the glaze lifted in some areas since it really needed another full day of drying time. This won’t happen in the final process since I’ll be sure to leave it alone the required time.
10-pixel grout lines 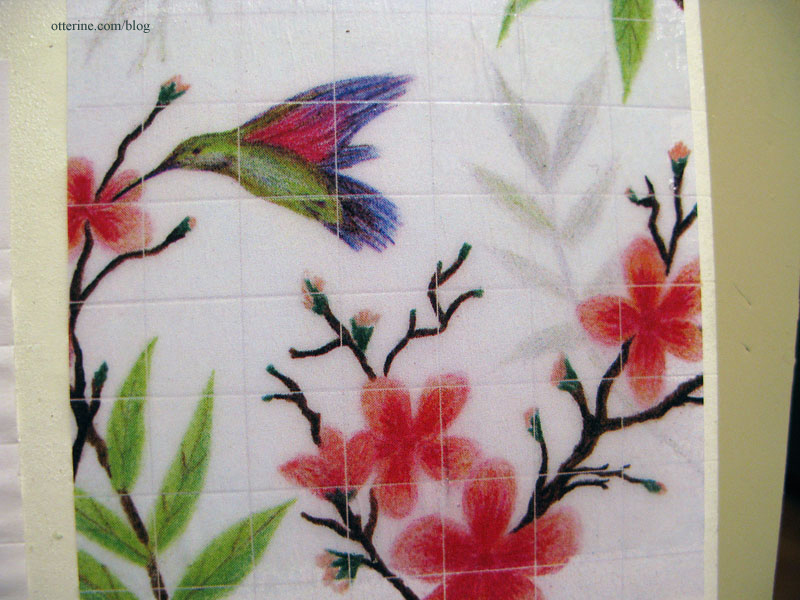
5-pixel grout lines I think the 10-pixel is the clear winner here. Not only were the lines easier to see to trace but it just seems a better break between the individual tiles. Next up, the real deal…
Categories: The Artist's Studio
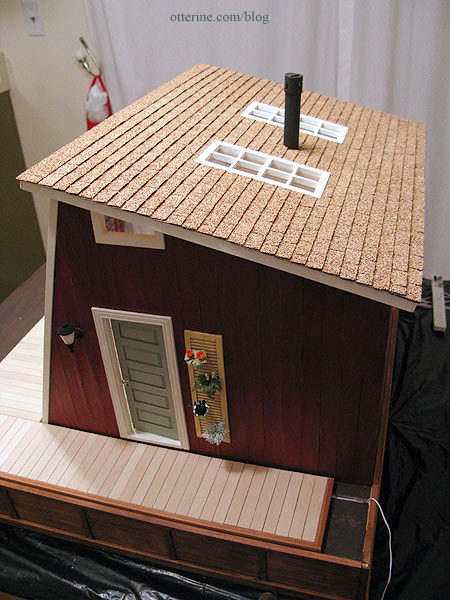
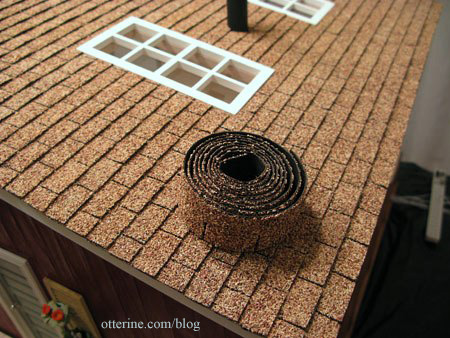
April 18, 2013 | 0 commentsThe Artist’s Studio – Shingles and chimney
I was able to find two packages of Desert Tan rectangular shingles at All Small Miniatures, a brick and mortar dollhouse shop about an hour from my home. I had called local stores to see if anyone had them in stock, and the woman at All Small Miniatures had exactly what I needed. She was gracious enough to hold them until the weekend when I could drive out to get them. Meant to be! :D
Of course, while I was there, I had to look around…and other minis jumped into my shopping bag before I left. Anyway, on to shingling!
I used Quick Grip to attach these to the roof board. Easy peasy.
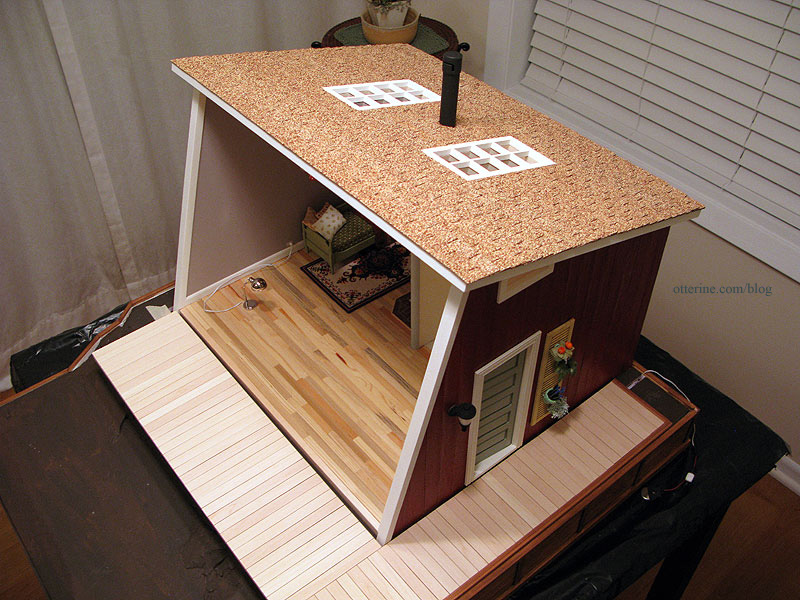
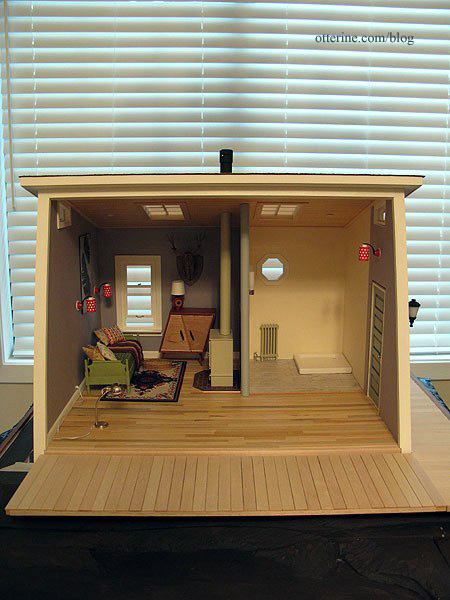
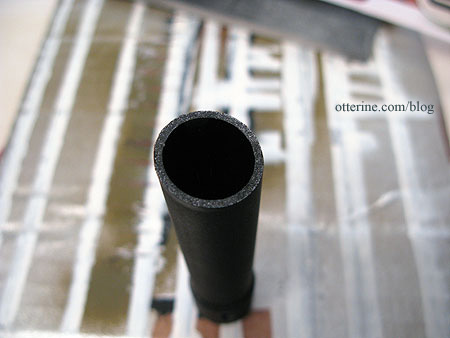
The chimney is made from bits and bobs. I had used a similar setup for Baslow Ranch. I tried to attach the chimney in the same spot as the wood stove, lining up the two visually.
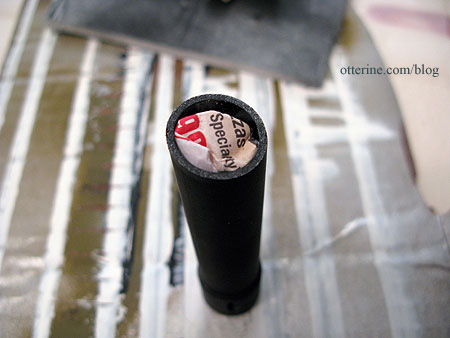
I super glued the chimney parts together and then spray painted it flat black. Since the chimney is hollow, I added a crumpled bit of newspaper inside to increase the gluing surface.
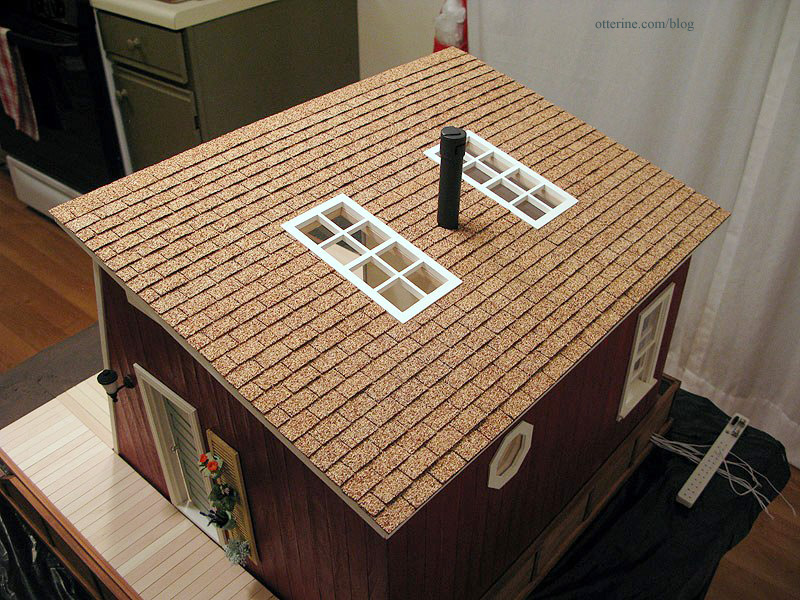
I cut the shingles around the pipe.
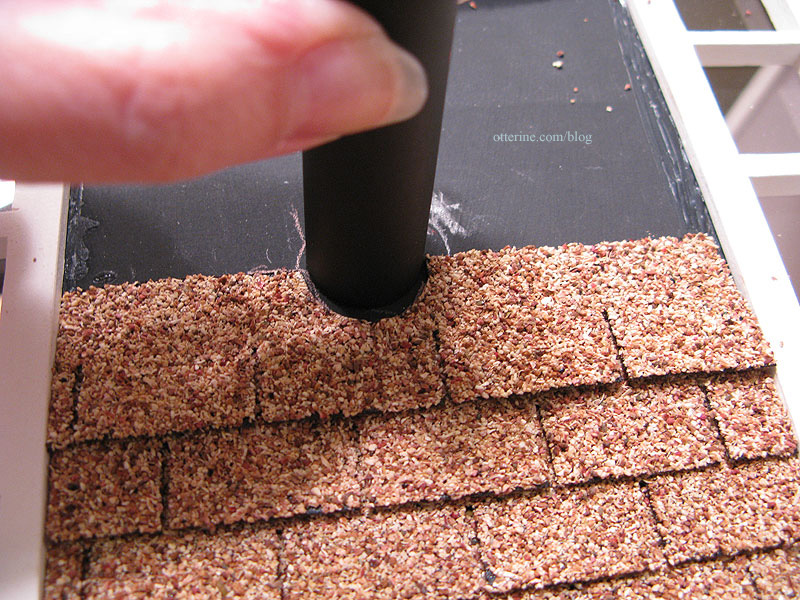
It’s a nice, seamless finish. :]
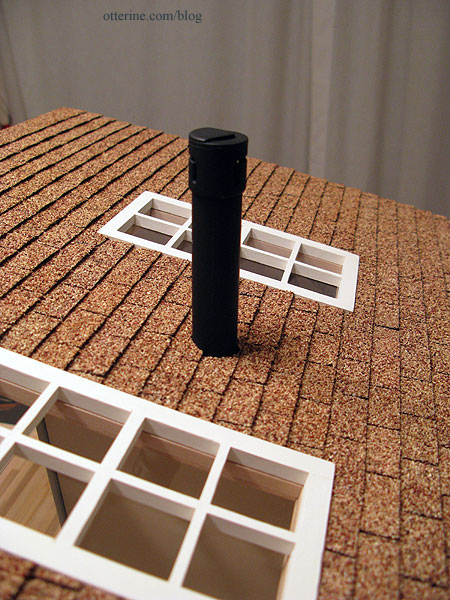
The desert tan is a great color with the red and walnut base.
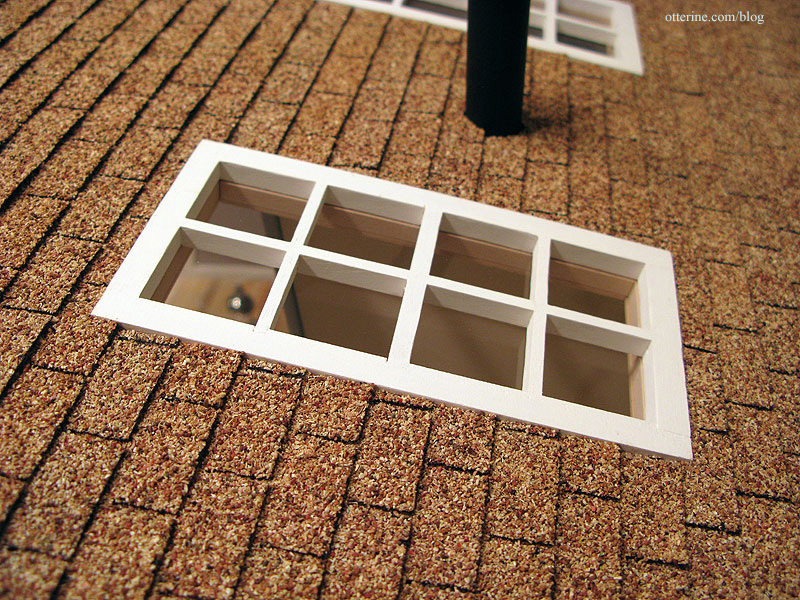
The skylights are perfectly set into the surrounding shingles.
I had a little left over in the end.
I want to offer a special thank you to Lori at Happily Ever After for taking the time to check if she could get the shingles for me. Thank you to Lolly’s for also being so helpful. And, thank you to Fran for letting me know about a new product at miniatures.com – laser cut paper shingle strips that you paint with stone spray paint to get the color you want. It would have been a great second choice!
Categories: The Artist's Studio
April 17, 2013 | 0 comments


NOTE: All content on otterine.com is copyrighted and may not be reproduced in part or in whole. It takes a lot of time and effort to write and photograph for my blog. Please ask permission before reproducing any of my content. Please click for copyright notice and Pinterest use.


