

The Artist’s Studio – The Deck, part 6
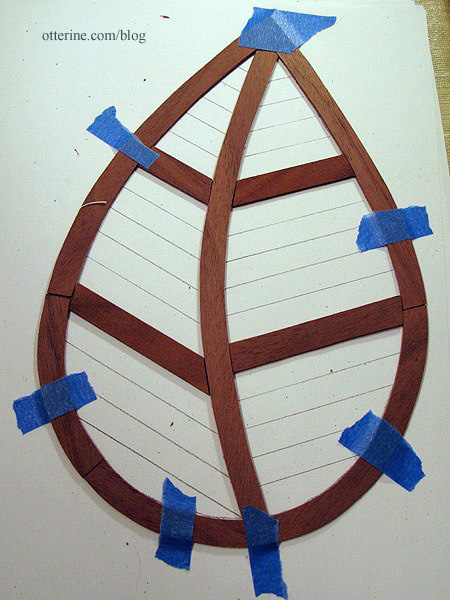
I taped the outer walnut boards and the center vein onto the frame support to mark where the support beams should end under the surface boards.

I cut the frame using the scroll saw, cutting in slightly to allow room for a veneer finish around the outside.


The local Home Depot had only the iron-on pre-glued veneer strips, and I didn’t want to wait to order online, so I used birch veneer. I had some leftover from previous projects. I cut a strip 1/4″ wide and glued it around the outer edge. It doesn’t hit every point, but that’s fine with me. It creates a natural, smooth finish around the outer edge and hides the framework (unless viewed from underneath).

After staining the veneer with Minwax Plantation Walnut, I began gluing the boards to the framework, using wood glue supplemented with super glue gel. Once I had the walnut pieces glued in place along the outer edge and center, I pressed the assembly flat with magazines and waited for the glue to dry.

Once the glue set on leaf 1, I started adding the cross boards using wood glue (and super glue gel only as needed). In some areas, the frame seems to show more than I would like but in the end it shouldn’t be as obvious.

By having the copy of the drawing underneath, I could see where to apply the glue so it wouldn’t seep out.

One leaf assembly done! :D

Categories: The Artist's Studio
April 25, 2013 | 0 commentsThe Artist’s Studio – The Deck, part 5
I finished up the second leaf for The Deck.

The third leaf had the most complicated design of the three, so I left it for last. Once the second leaf was complete, I went back to the first leaf and re-cut some of the boards for a better fit. Next was figuring out the framework. As a reminder, here is the frame support system for the real life deck.
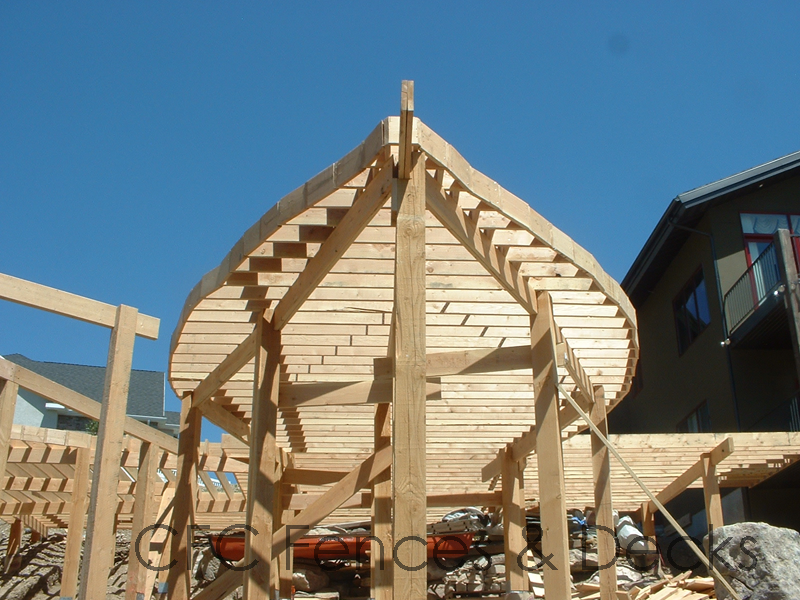
image from CFC Fences & Decks I mainly needed a frame that would attach to each surface board and be stable enough to be elevated over the front of the landscape board. Using another printout of the first leaf, I began building the frame with a center beam. From there, I planned to cut skinny sticks (to save on cost) to create cross beams every half inch. This should create multiple glue points for each board. Here is my mockup to determine layout.

I notched the center beam and cross boards for a solid fit, using glue to reinforce the joins.
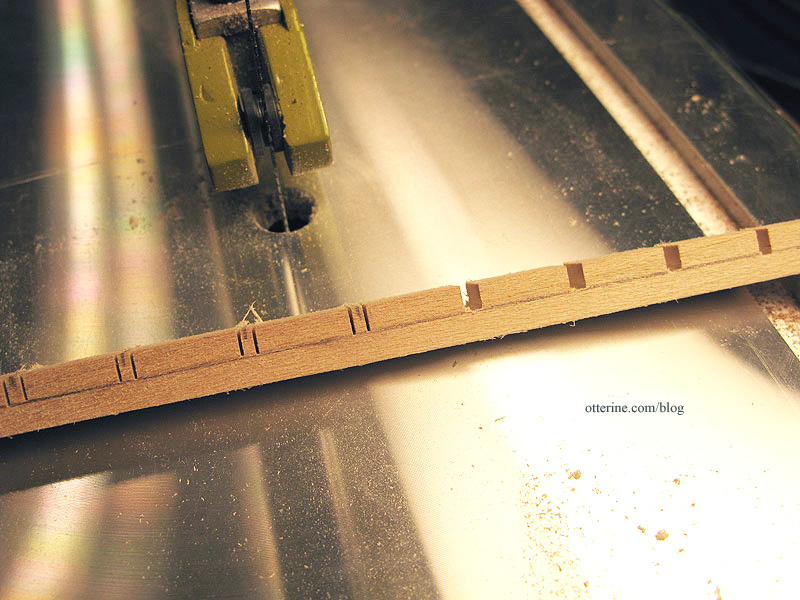

I used bass wood for the few areas where the skinny sticks were too short and left the ends long for now.

To add stability on the outer edge, I added more skinny sticks. These are not the cleanest cuts I’ve ever made, but you will see these only as the underneath structure of the deck.

I cut these notches using my handheld Dremel since they were angled and the main spine was glued together.

Next up…finishing the third leaf surface boards and building the basic frames for leaf 2 and leaf 3.
Categories: The Artist's Studio
April 24, 2013 | 0 commentsThe Artist’s Studio – The Deck, part 4
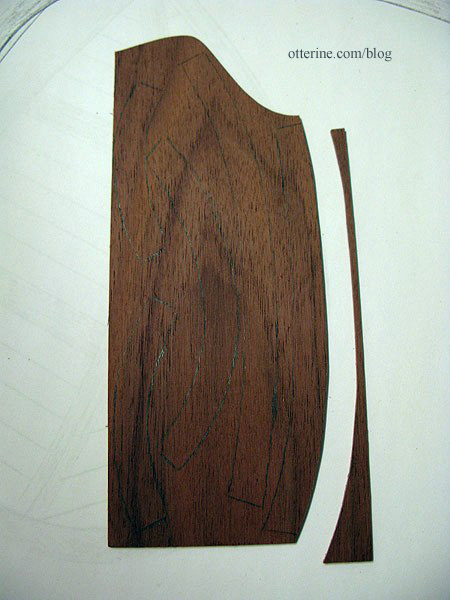
With the straight portions of The Deck assembled and the leaf patterns drawn, it was time to start cutting the pieces for the first of the leaves. Elga, who is a fabulous woodworker, suggested I cut the outer walnut frame in pieces, keeping the grain lengthwise as much as possible. I marked the outer frame into five pieces and cut them from the paper pattern.

I traced them onto the 1/16″ thick walnut sheet and then started cutting along the guidelines.
Here’s the cut outer frame with the center vein and walnut cross boards.
Then I cut the bass wood cross boards to fit. Each one is marked with a number so I can reassemble them easily.

The first leaf is now cut…two more to go and then the support frames need to be built.

Here’s the second leaf started.

Already, I am getting better at cutting and fitting. I’ll likely go back and re-cut a few of the boards from the first leaf that don’t fit as well as I’d like. :]
Categories: The Artist's Studio
April 23, 2013 | 0 commentsTiny paint tubes and other art supplies
The Artist’s Studio needs art supplies, of course! While searching for some suitable minis for the Studio, I ran across an amazing tutorial by Carol at true2scale using the metal wrapped from wine bottles. She provides paint labels, a box template and a painting for her tutorial. I printed my paint labels on Avery label paper to make it a little easier to work with, but I still used some tacky glue to keep the labels secure. I think I made mine a little smaller than the ones she did, so instead of adding beads for caps I dipped the tapered tips into black paint.
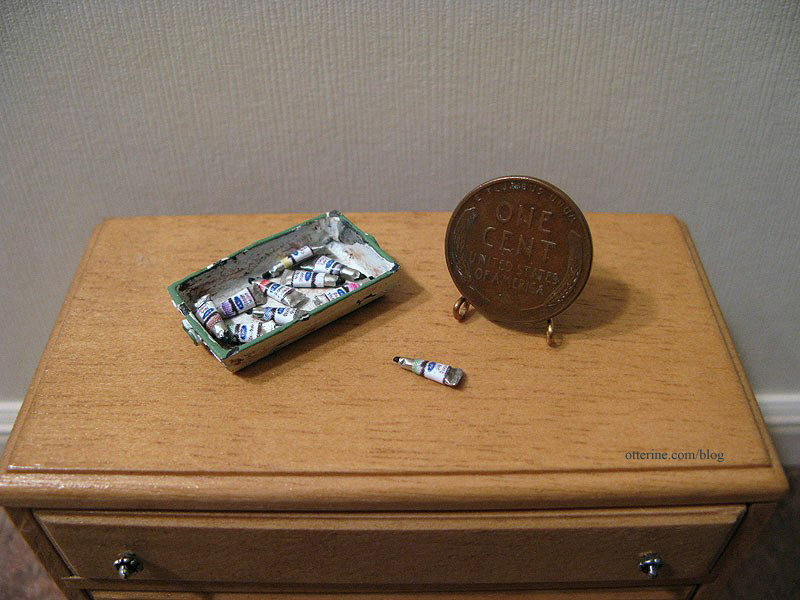
I think I might have been a little rough with the tiny tubes, because they look like they’ve been squeezed before, not fresh out of the packaging. :D I rather like that, though…looks more realistic when they all vary a little. I bought the tray at The 3 Blind Mice show specifically for the paint tubes.

I also made a portfolio from a pattern in Dolls’ House Details by Kath Dalmeny. I used a piece of Kraft Cardstock by Recollections, found in the scrapbook paper aisle at Michael’s. It’s the perfect thickness of cardboard for miniatures. I used imitation leather paper by The Paper Company for the accents and thin rope for the handle instead of paper. And, yes, it opens. :D

Lyssa sent me some bead jars. I added some extra labels from Carol’s tutorial to finish them for the Studio. These will help fill some shelf space. Thanks, Lyssa! :D

Categories: The Artist's Studio
April 21, 2013 | 0 commentsBishop Show, day 2; 3 Blind Mice, day 2 – 2013
Gorgeous working clock by Halls Miniature Clocks from Small Treasures.

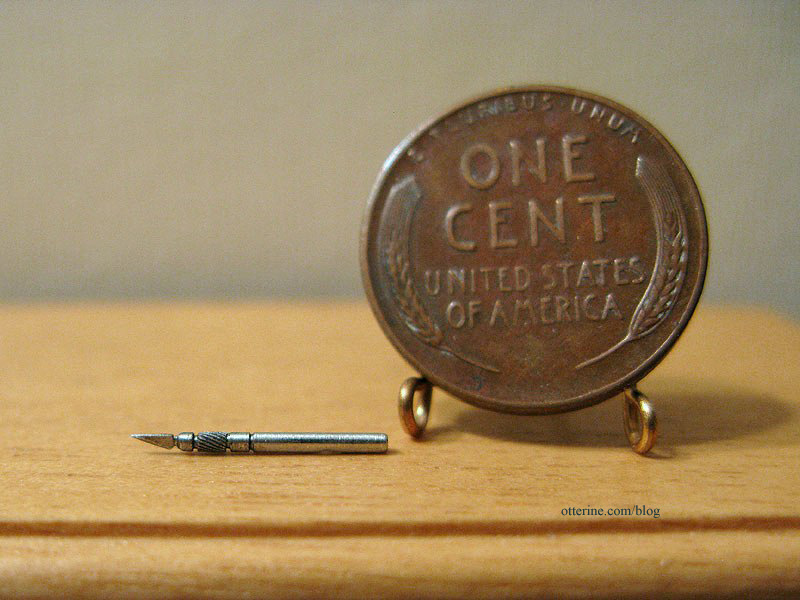
Perfect X-Acto knife from Ulus Miniaturas. I bought his can opener last year.
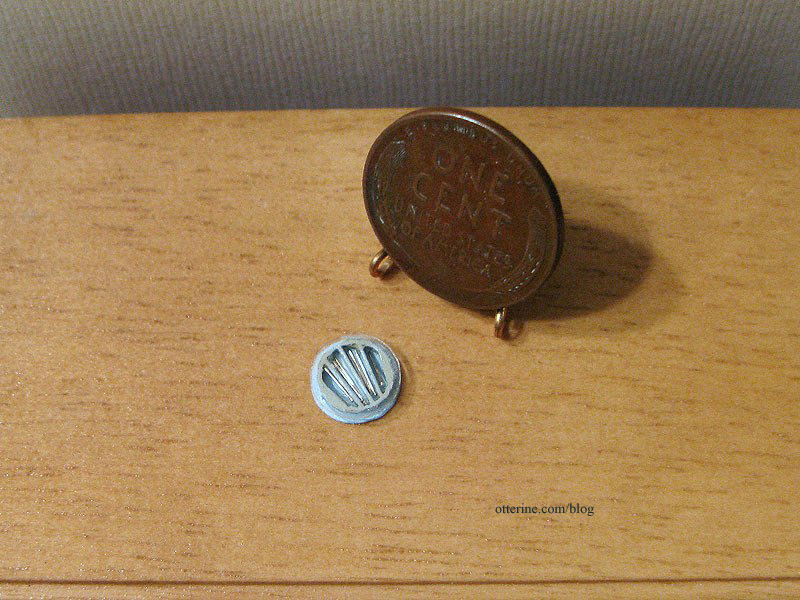
Needles from Vilia Miniatures – same vendor for the thimble.
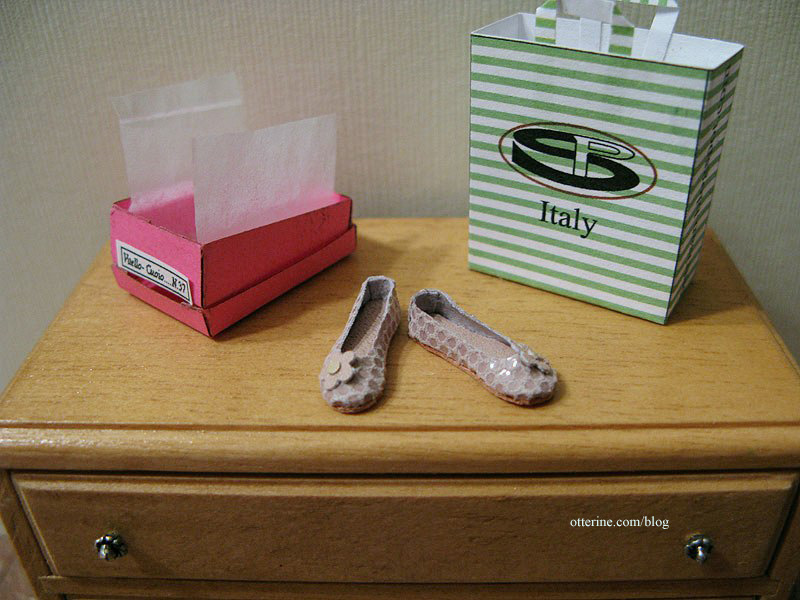
Ballerina flats from Patrizia Santi. These came with a wonderful shoebox and bag.
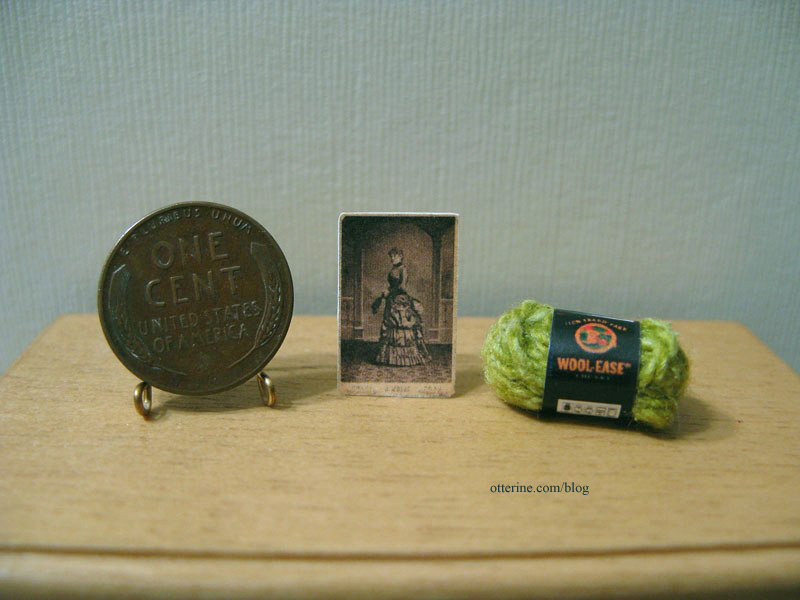
Vintage photo and yarn from L. Delaney. It was great to see her books and other printed minis in person, all great quality.
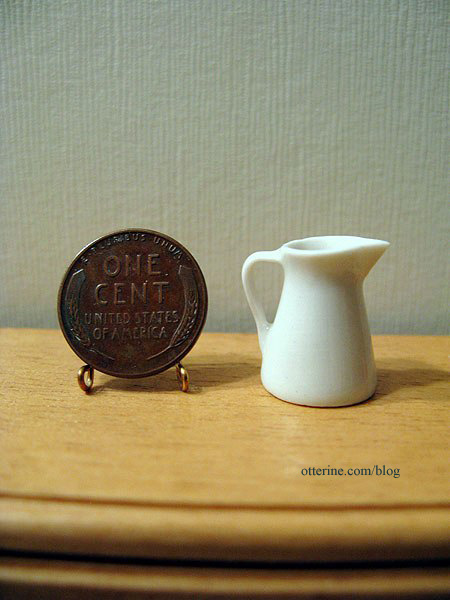
A lovely white pitcher from Templewood Miniatures.
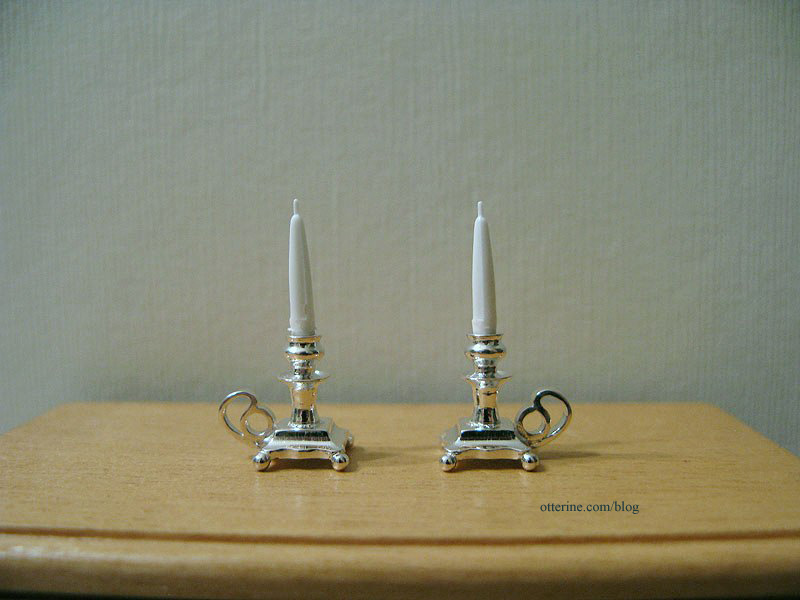
Before April insists I made her buy things, let’s remember she’s the one who got me over to the Miniatures in Silver table. She chose her items, and I picked up the pair she didn’t take. :D
Back to the 3 Blind Mice show as well…
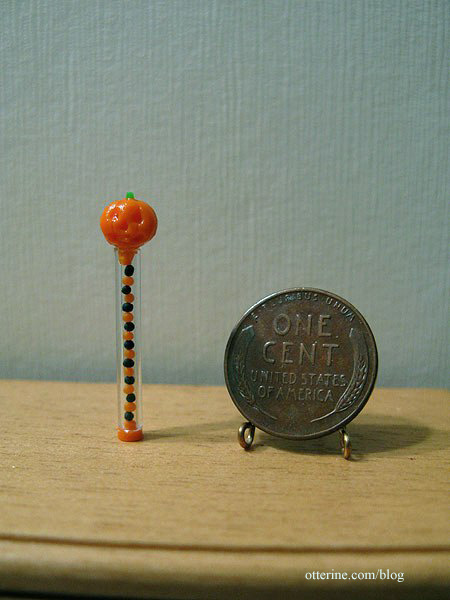
Pumpkin candy wand from A Pocket Full of Wishes.
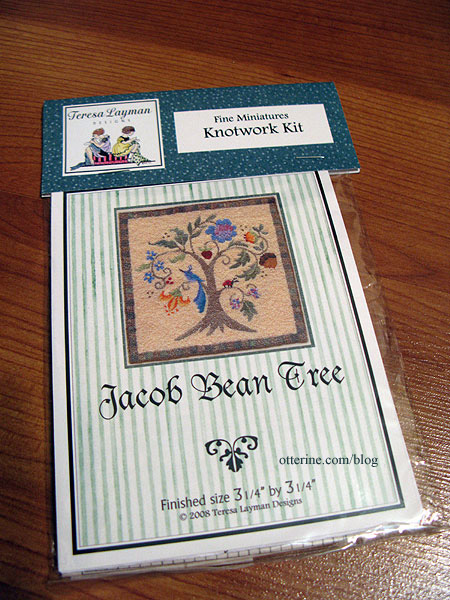
Another Teresa Layman French knot rug kit.
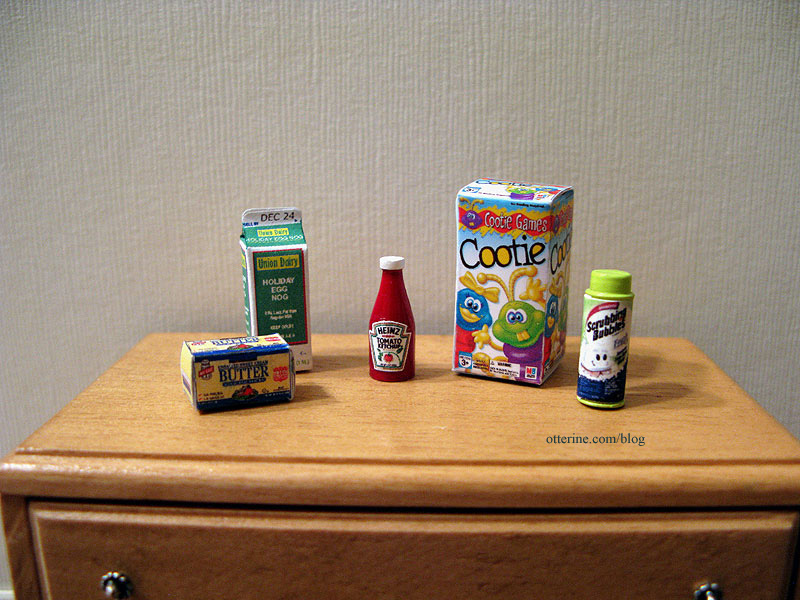
Cootie game and more household/food items from Golden Acorn. I had this game as a kid, and I think it’s still at my parents’ place.
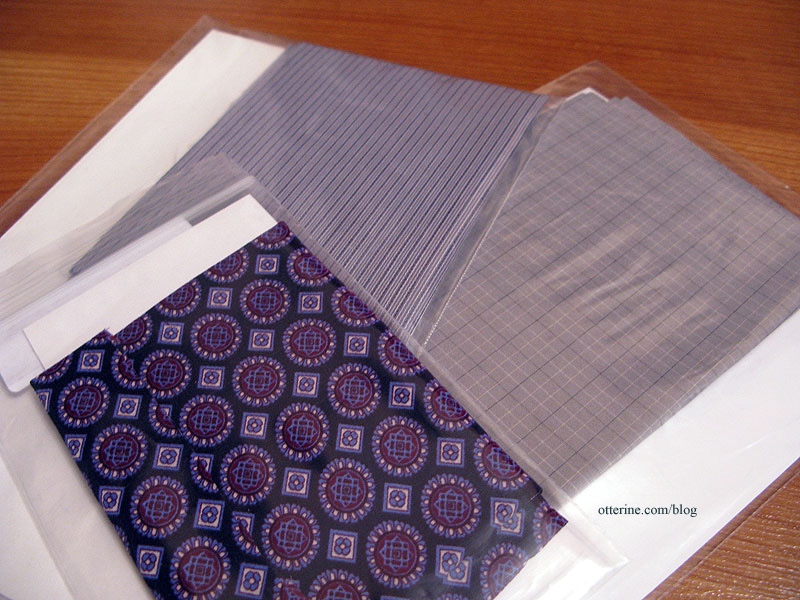
Fabrics from Tiny Textiles & More.
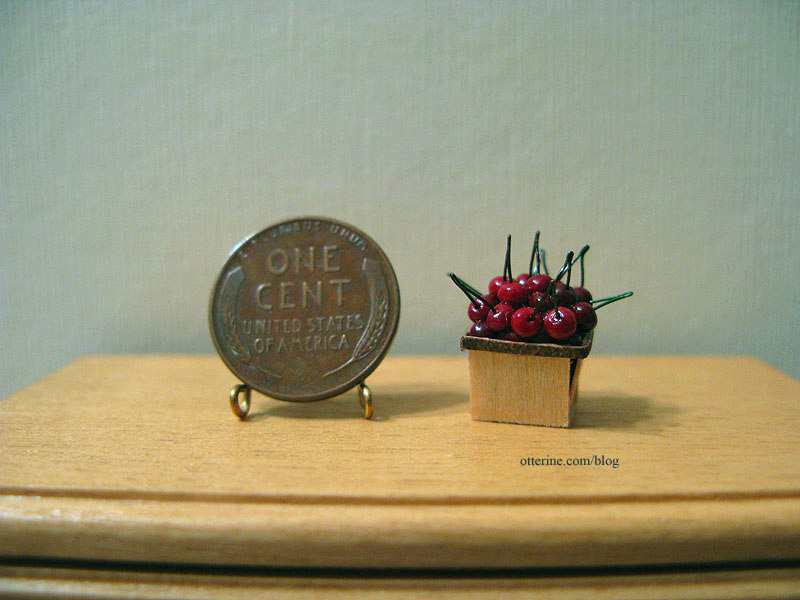
A pint of perfect cherries from The Garden Path.
Beautiful vase from Jason Feltrope.

Categories: Miniature Shows and Shops
April 21, 2013 | 0 comments


NOTE: All content on otterine.com is copyrighted and may not be reproduced in part or in whole. It takes a lot of time and effort to write and photograph for my blog. Please ask permission before reproducing any of my content. Please click for copyright notice and Pinterest use.


