

Midnight Snack
MinisModernas is running their second annual modern minis contest, and I set up a scene in The Artist’s Studio called “Midnight Snack.”
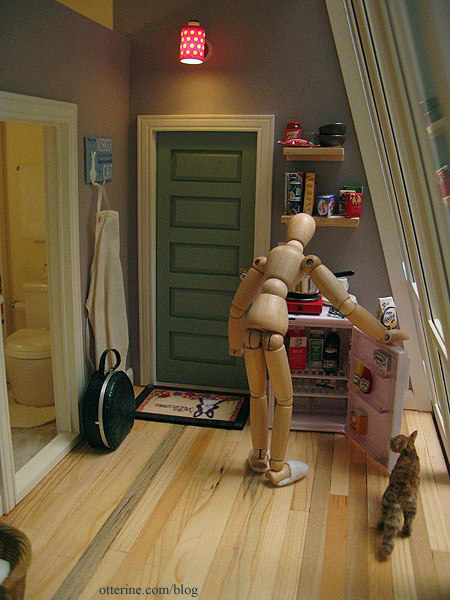
Looks like Cora is hungry, too.

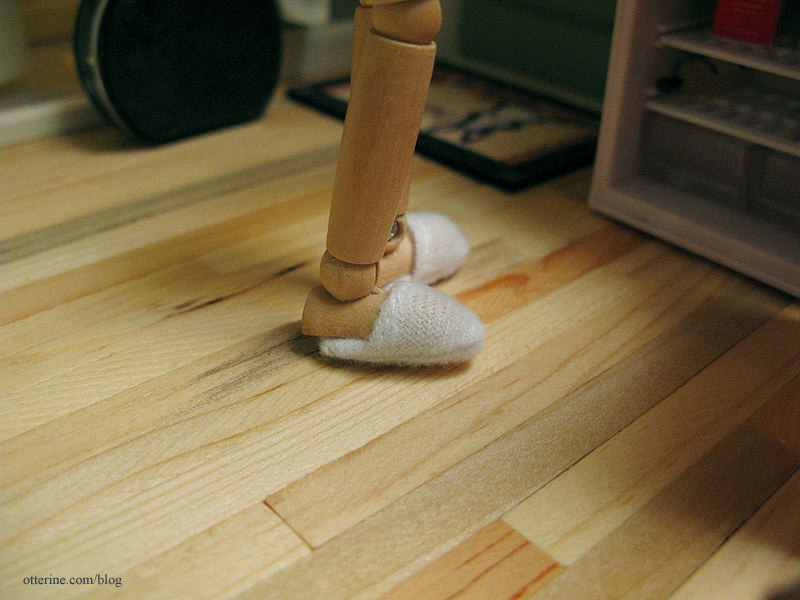
The slippers are from the Heritage, and I couldn’t believe they fit! :D
The goldfish crackers are from Cindy at Snowfern Clover.
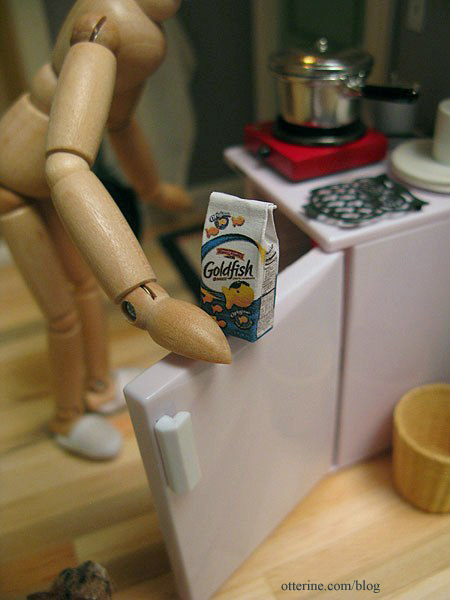
Yes, there are tiny goldfish crackers inside. Amazing!

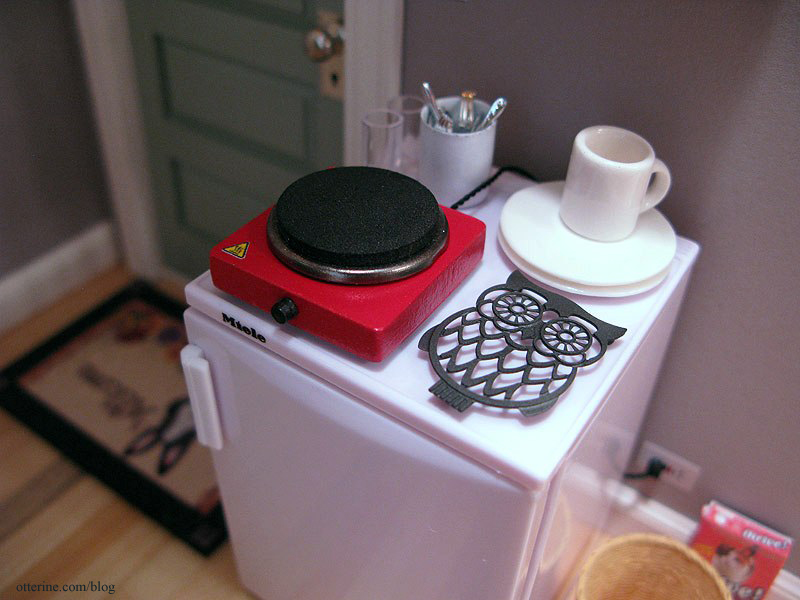
Here’s what the kitchen looks like without the model setup.

The hotplate was made by me and is one of my favorite features of the Studio. :]
Thank you to MinisModernas for a wonderful modern minis contest! :D
Categories: Roomboxes and Mini Scenes, The Artist's Studio
June 1, 2013 | 0 commentsMorgan No-Slip Hoop
I inherited a set of plastic embroidery hoops from my grandma. They are in good shape, but I’ve always had a love-hate relationship with embroidery hoops. They never keep the fabric tight enough, and I constantly need to adjust the fabric.
To do French knots and punchneedle embroidery successfully, you need tight fabric in the hoop. I think it’s the fact that you’re continually putting pressure on the fabric and it slips more and more as you work.
I needed a larger hoop besides, so I did some online searching and found the Morgan 12″ No-Slip Hoop. It has a groove in the middle that keeps the hoop from coming apart until you loosen the wingnut.
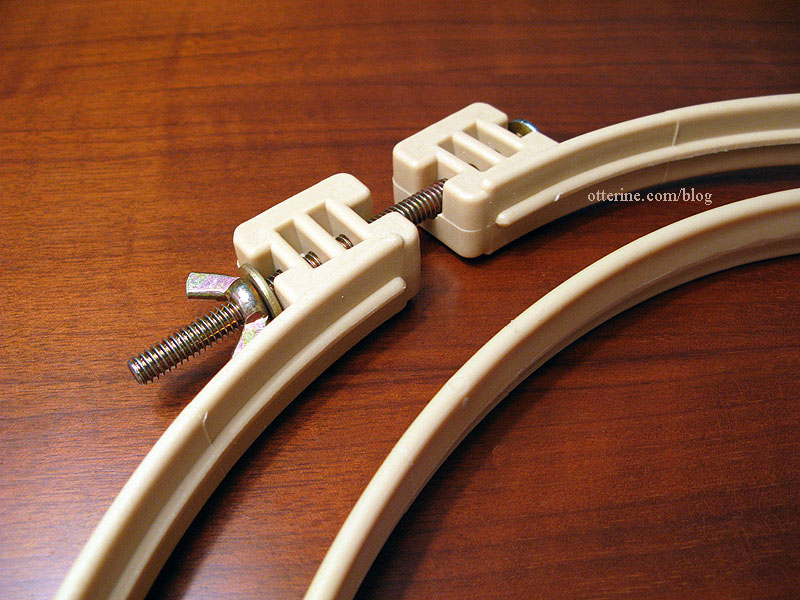
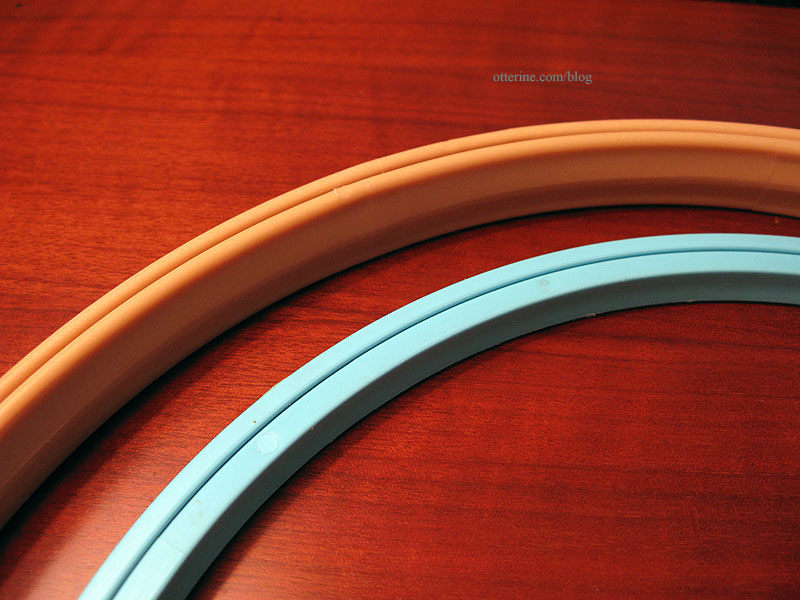
It does have a taller profile than the usual embroidery hoop, but I didn’t find it to be uncomfortable or heavy to work with.
I had cut my fabric too close since I thought a 10″ hoop would work, so I sewed on some additional fabric.

I tightened the fabric in the new hoop.
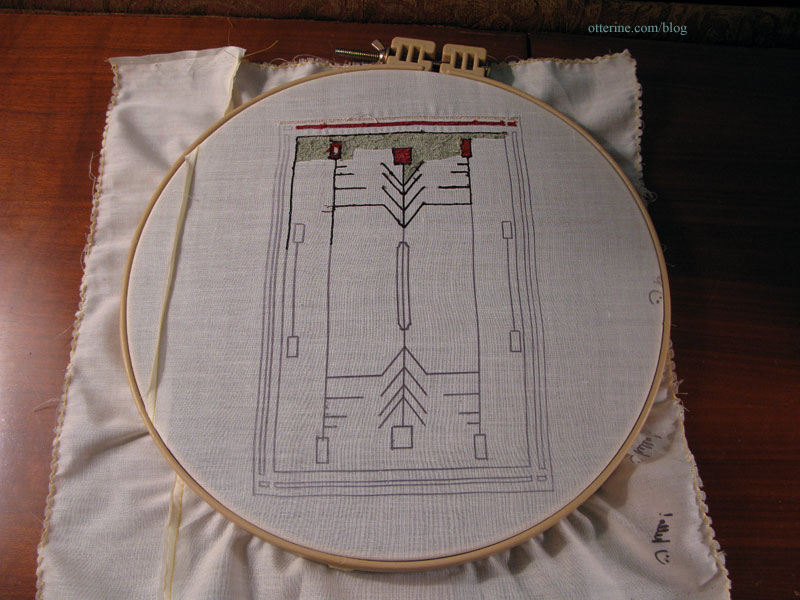
I stitched a few rows and could already tell the difference. The fabric was tighter than I had been able to get it in the regular hoop and it stayed taut the entire time I stitched. Hooray!!!!
Categories: Needlework - French knot rugs
May 29, 2013 | 0 commentsTurnaround staircase
A long time ago, when I was planning the Haunted Heritage, I wanted to use a turnaround staircase. I first saw this type of staircase in the Franklin Mint Heartland Hollow house that belonged to fellow Greenleaf member Jenn (Elsbeth) (see the rest of her wonderful photos here).

From the kitchen side. 
From the living room side. I was not able to use these in the Heritage for lack of floor space, but I always planned to use them someday. Well, that time has come!
My initial plan for the chalet involved a spiral staircase, but the turnaround stairs offer a better solution. Lyssa built a set of these in her Undersized Urbanite entry, so she’s done some of the heavy lifting for me already. I also want to thank Sandra for sending me additional pictures of the staircase from her own Heartland Hollow. They helped a lot with planning.
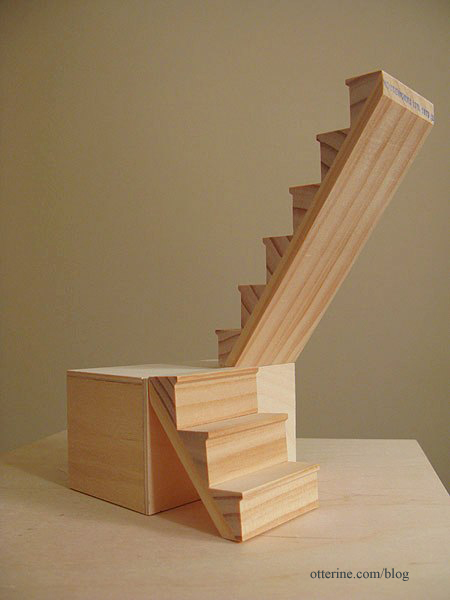
I started with a Houseworks narrow staircase kit. I used a coping saw to cut two sections: one with three steps and one with six steps.

I built a box for the landing from scrap wood.

The base has an open back because it will sit against the wall instead of being out in the open like the inspiration photos.

I added pins to help hold the top section to the base. The lower section will lean against the box.

Here’s the basic structure. I will finish the front, top and sides of the box when I get to the decorating phase.
Update: I still have this staircase but never ended up completing the chalet.
Categories: Mt. Sydney Chalet
May 23, 2013 | 0 commentsHaunted Heritage chimney, part 12
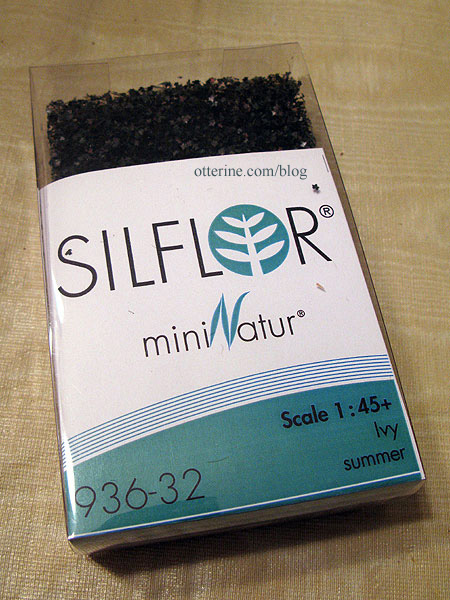
Completing work on the chimney. While I didn’t want to cover up all the lovely egg carton brickwork of the massive chimney, I did think some ivy was in order. You know I don’t shy away from cutting and shaping individual leaves, but I found something that not only looked realistic but made life easier. This is O-Scale (1:45) English Ivy from Scenic Express (Silflor Summer Ivy by Mininatur).
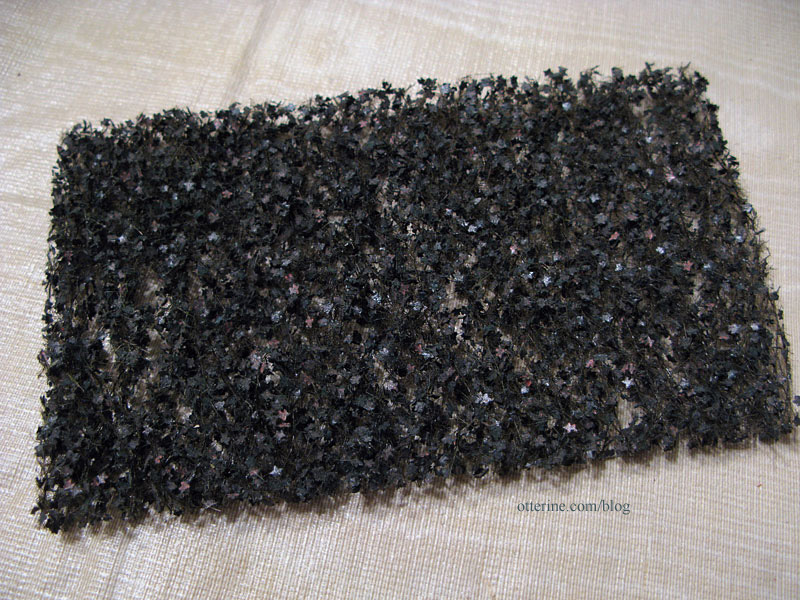
There are three sheets in the box. The leaves might be small for true 1:12 scale, but it worked very well. You cut and stretch it to create long vines.
I thought this store was called Scenery Express since I first started buying their landscaping materials, and that’s one of the web addresses that will get you there…but I just noticed that it is in fact Scenic Express. Maybe I always had it wrong or they changed the name or they just have two domain names for the same place. Regardless, they have a great selection of landscaping materials.
I didn’t overdo it and used just under one sheet of the ivy for the project, using Aleene’s clear gel glue to attach it to the house and chimney.
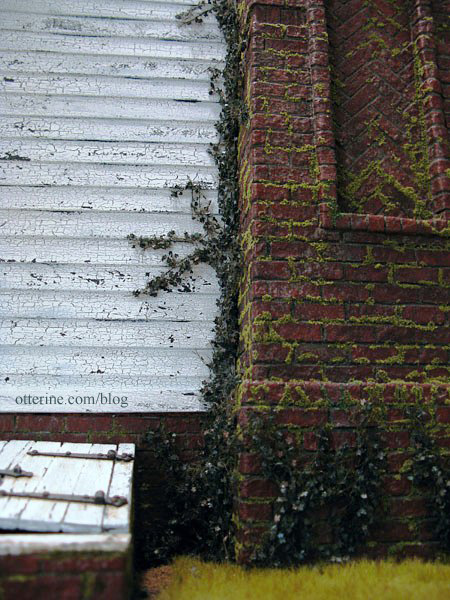
It disguises the awkward edge trim around the chimney.

Here’s the back side of the chimney.
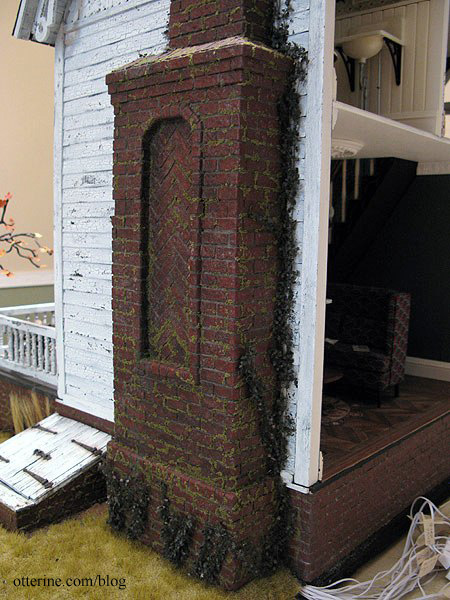
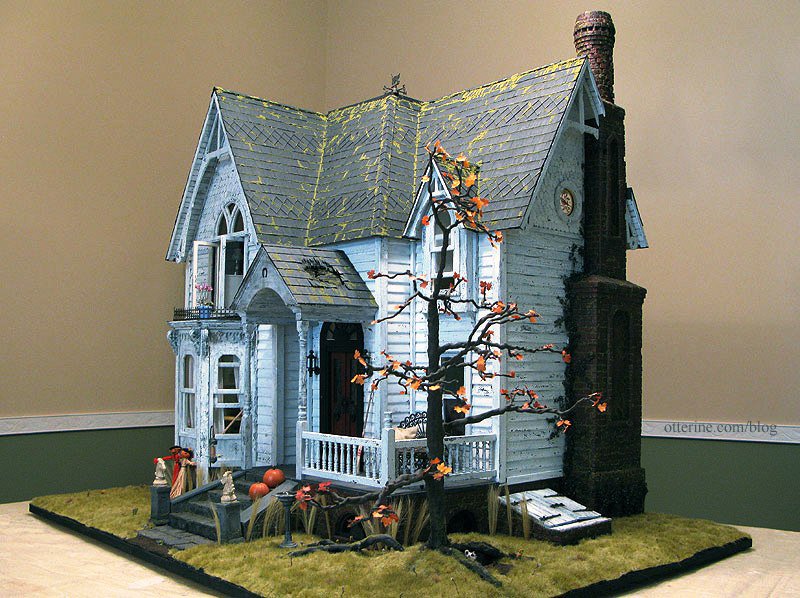
The chimney is now complete! :D
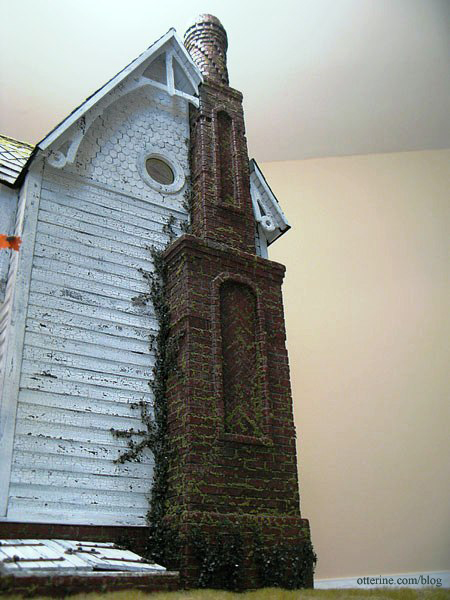
It amazes me how each little thing changes the look of the build.
Categories: The Haunted Heritage
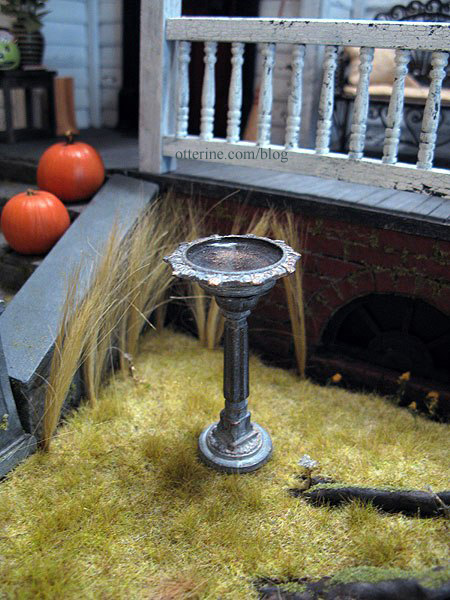
May 18, 2013 | 0 commentsHeritage – lawn ornaments
I added a beautiful aged metal birdbath by Island Crafts & Miniatures to the front lawn. The last time I made an aquarium, I used some leftover Acrylic Water resin to fill the bowl. The birdbath is from Dejoux Miniatures.
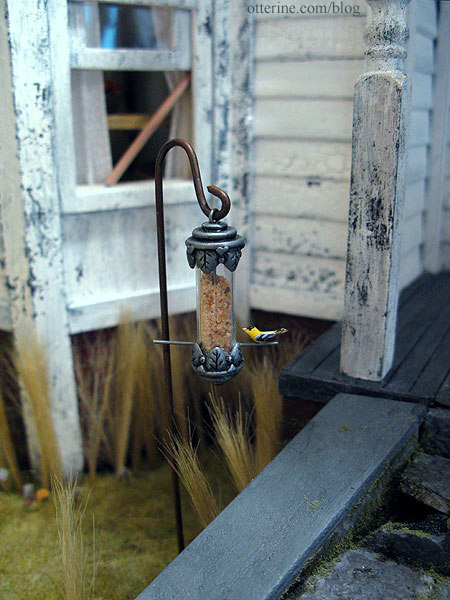
I also planted the shepherd’s hook on the side of the stairs to hang one of my birdfeeders. :]
Categories: The Haunted Heritage
May 17, 2013 | 0 comments


NOTE: All content on otterine.com is copyrighted and may not be reproduced in part or in whole. It takes a lot of time and effort to write and photograph for my blog. Please ask permission before reproducing any of my content. Please click for copyright notice and Pinterest use.


