

Parlor drapery, completed
The pelmets and pleated draperies worked so well in the kitchen, I decided to add them to the one parlor window as well. There is a lot going on in this room in the way of color, texture and pattern already, so I again chose a soft white printed curtain topped with a subtle pelmet.
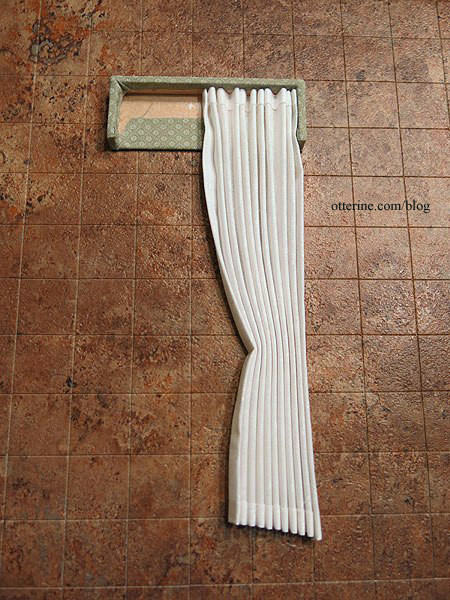
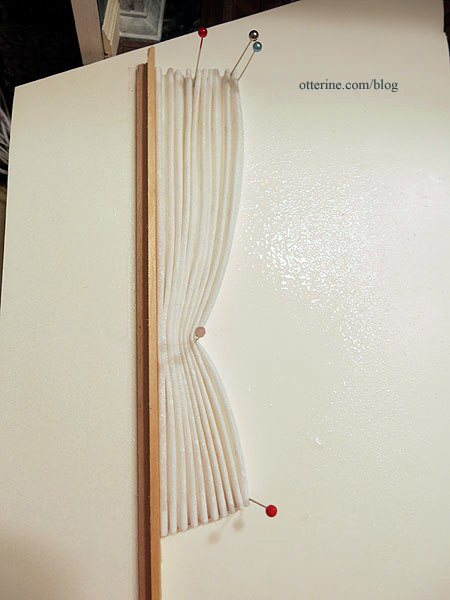
Here is the panel after the Aleene’s Stiffen Quik dried. Using the back board for the straight left edge resulted in a much cleaner panel than the all-pin version I did for the kitchen.
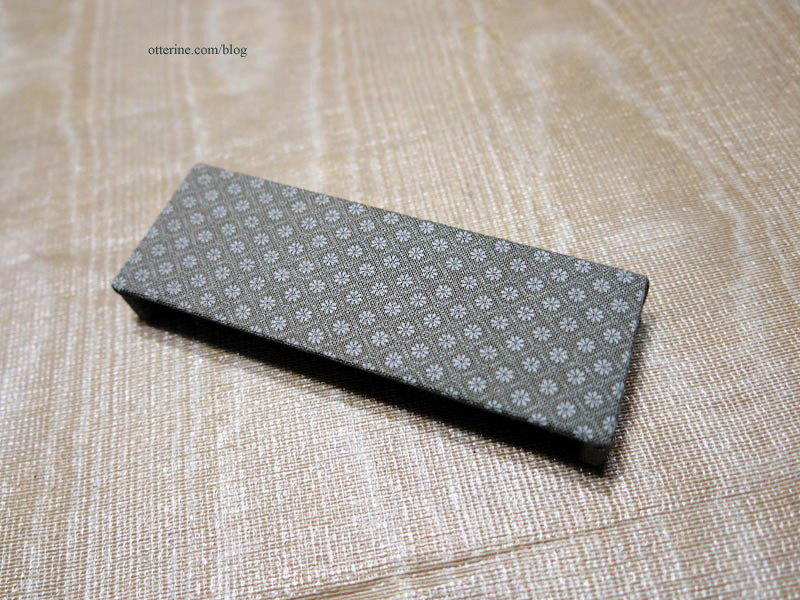
I made a tall pelmet since there was a lot of space between the window and the ceiling. In the photo below, the bedroom pelmet (top) is smaller than the one I made for the parlor (bottom).

A tall pelmet with long curtains makes a window look taller. I covered the pelmet with a soft grey-green fabric from Mini Decorators, purchased at one of the local mini shows.
I glued the curtains to the pelmet.
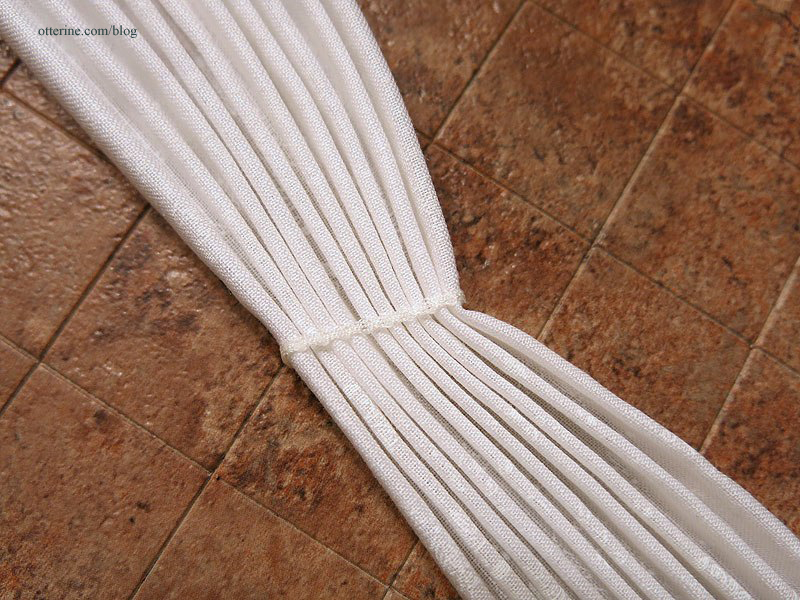
I glued a piece of fairy lace around the bend to serve as a tieback.
I glued the crown molding in place and touched up the joins first to make sure the window treatments were spaced properly on the wall. This also eliminated my possibly slopping paint onto my new window treatments. I then glued the pelmet to the wall.
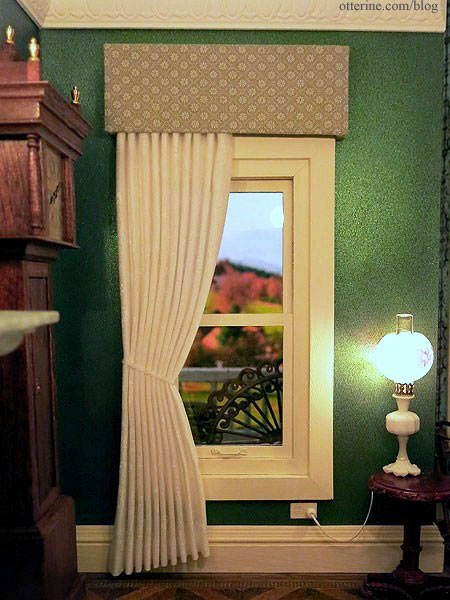
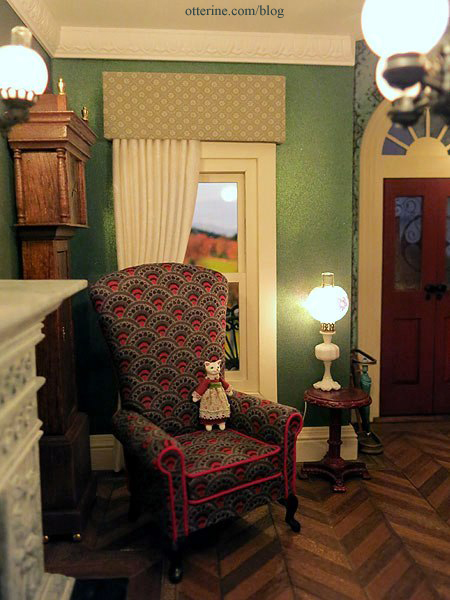
I opted for a single side swept panel for the sole purpose of not hiding that little outlet I took the time to add. Though The Chair will block both the curtain and the outlet for the most part, anyone who looks for the details will find them.
I think this simple panel and pelmet adds just the right amount of design to complete the décor, and the white curtain reflects some soft light into an otherwise dark corner.
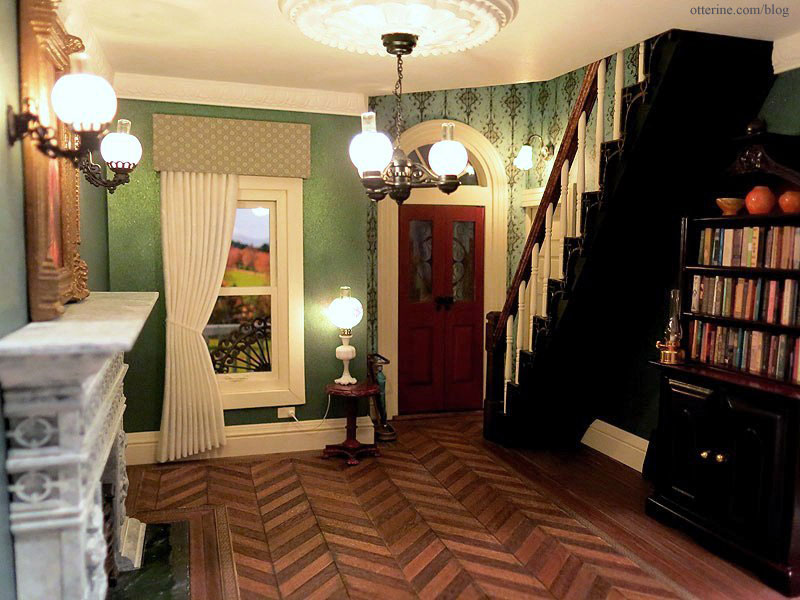
The parlor is complete now, but it’s too late to set up for a fully decorated photo shoot.
Categories: The Haunted Heritage
July 29, 2013 | 0 commentsParlor and bedroom drapery, part 1
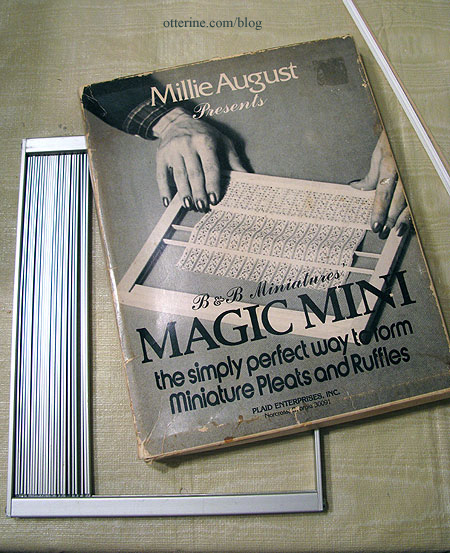
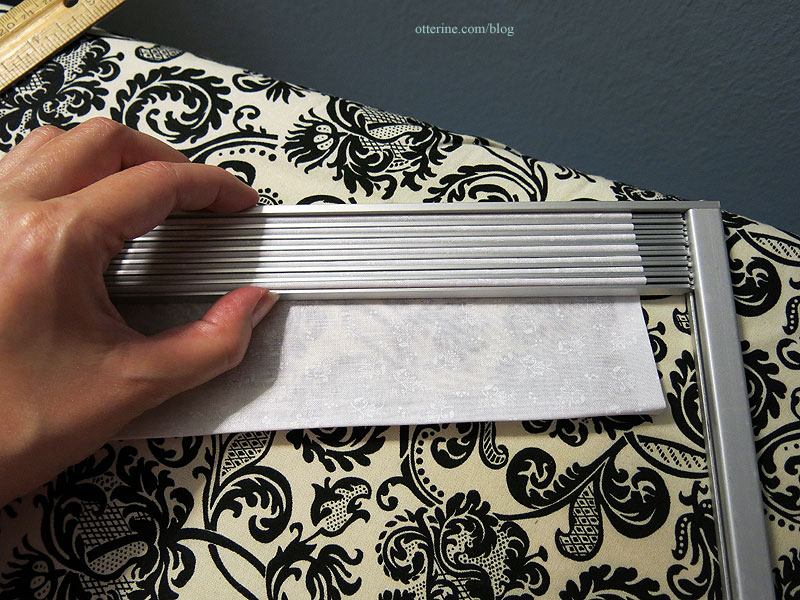
Today was a fabric day, and I used my vintage Millie August Magic Mini pleating tool.
I turned under the four edges of the fabric panels first, but I didn’t sew or glue them. Once the drapery is in place, it won’t show and it won’t be touched so fraying isn’t much of a worry. Plus, I find that there is less pulling and binding when the edges are left unsecured.
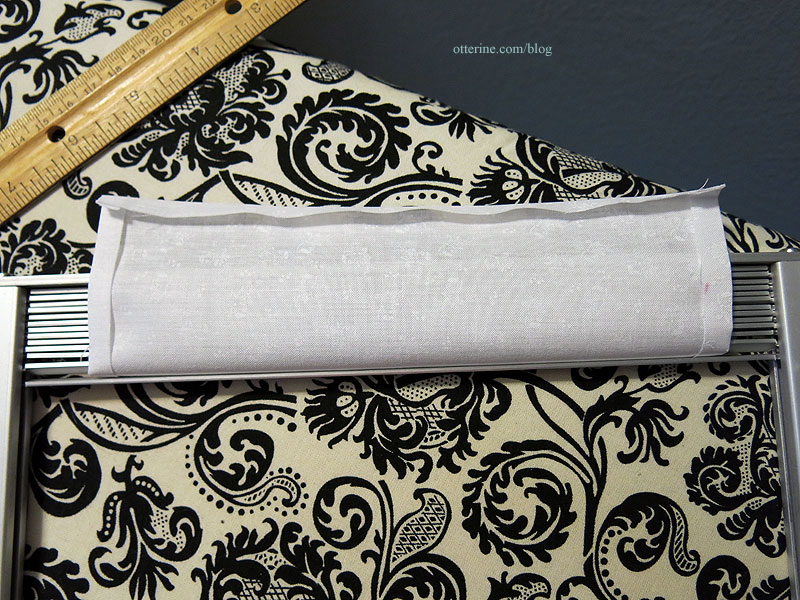
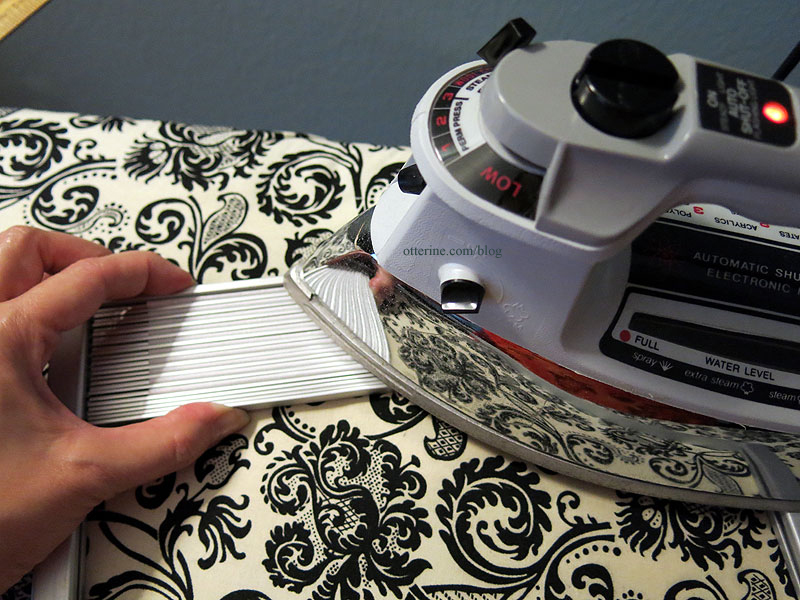
The instructions indicate you should wrap the fabric around the metal slats and then use a steam iron. So, that’s what I did. :]
I removed my panels just before they were completely dry so I could manipulate them more. For the bedroom wall panel, I adjusted the pleats by hand on a piece of waxed paper. I had to pleat this panel in sections since it was wider than the number of pleat bars could handle at once.
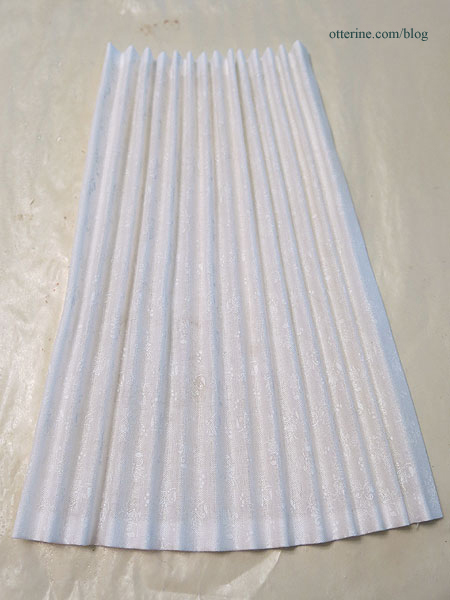
I used Aleene’s Stiffen Quik to hold the shape. The panel will stay here until completely dry.
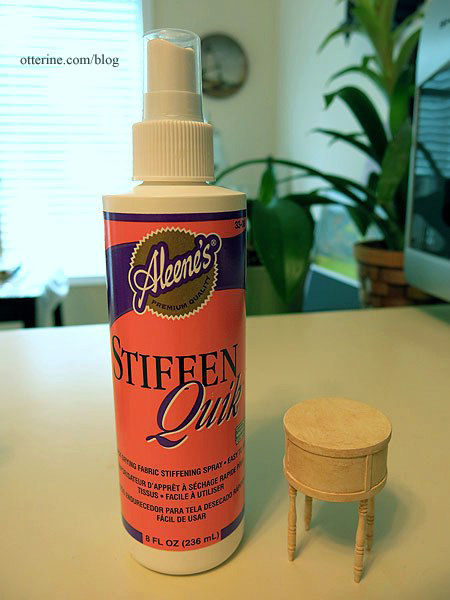
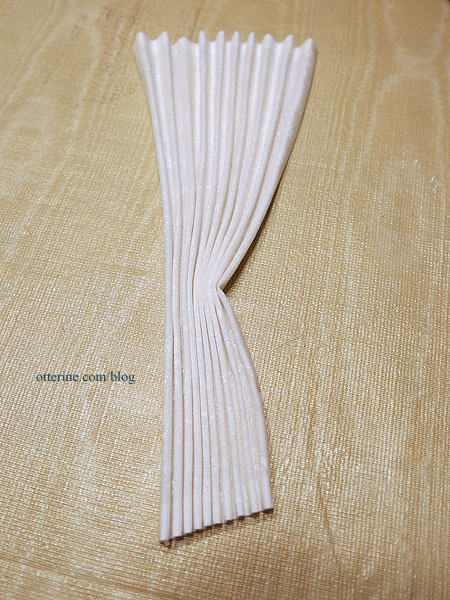
For the parlor drapery, I took a scrap of foam core board and attached a spare piece of wood trim using double sided tape. This gives the drapery a straight back to lean against. Using as few pins as possible, I created the fold where the tie back will be. Pins do leave holes in the fabric that can sometimes be tricky to remove, especially on white fabric where the slightest dark spot can show so easily.
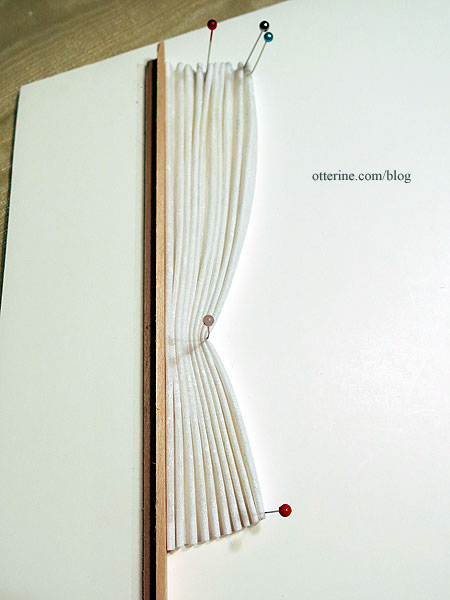
A good spray of Aleene’s Stiffen Quik, and the panel was set aside to dry.
Categories: The Haunted Heritage
July 28, 2013 | 0 commentsBees and Trees – how to finish a French knot rug
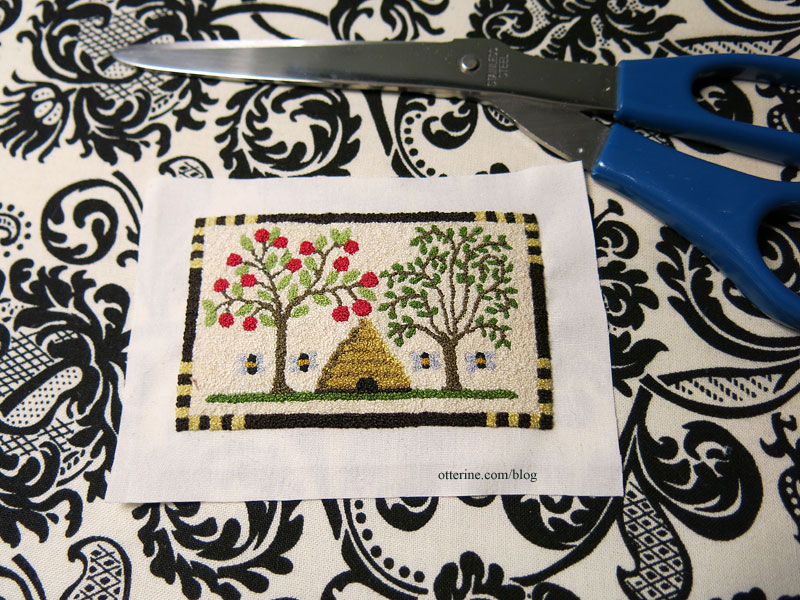
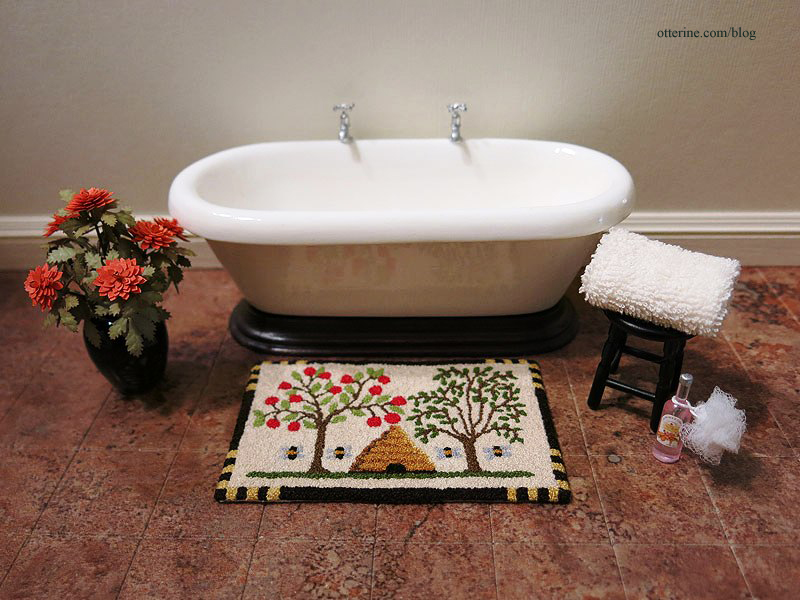
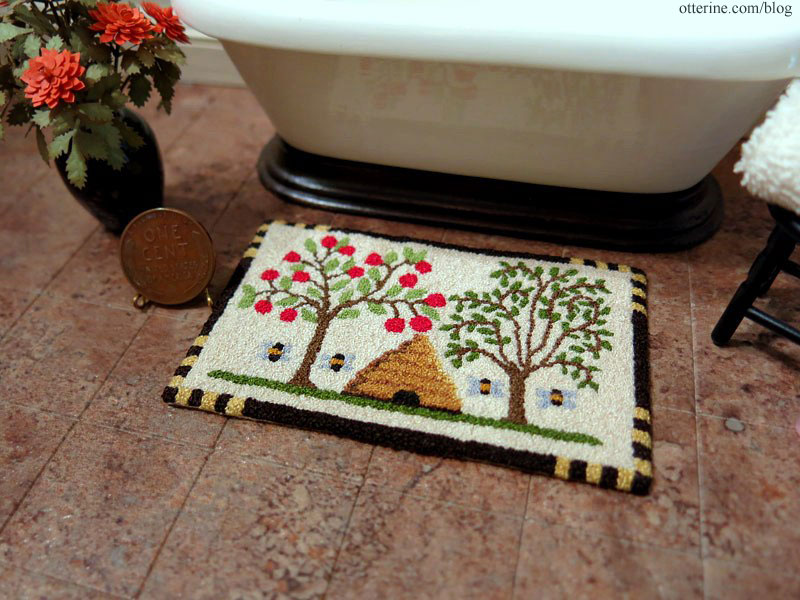
I finished stitching the Bees and Trees French knot rug kit by Teresa Layman. It took me a total of 34.75 hours of stitching time, just over 5.25 hours per square inch for this tiny 3.25″ x 2″ rug. :]

I love the way it turned out, but I don’t think I will combine Colonial knots with French knots in my future rugs. I like both knots separately, but not together. The French knots are smaller and look cleaner in my opinion, especially when you have Colonial knots mixed in.
The following section is how I finish my rugs. I’m sure there are a number of ways to finish a rug, but this is the method I prefer.
I trimmed then turned under the edges, pressing them flat with an iron.
I try to roll the backing behind the outside edge of stitching as much as possible.

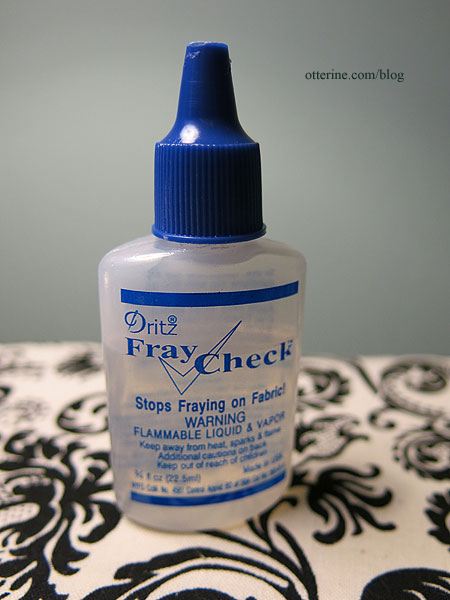
I put a small dab of Fray Check on each corner.

I folded each corner in, trying to make it as tight and invisible (from the front) as possible.

I then trimmed inside each corner to reduce the bulk. This is why I use Fray Check, to make sure these corners stay true over time.

I trimmed the turned edges closer.

I cut a piece of iron-on adhesive sheet smaller than the rug, making sure it would cover the turned edges.

I use Heat-n-Bond Ultimate.

I ironed it to a piece of scrap cloth. This cloth is actually from the same French knot kit, cut away when I trimmed the rug edges.
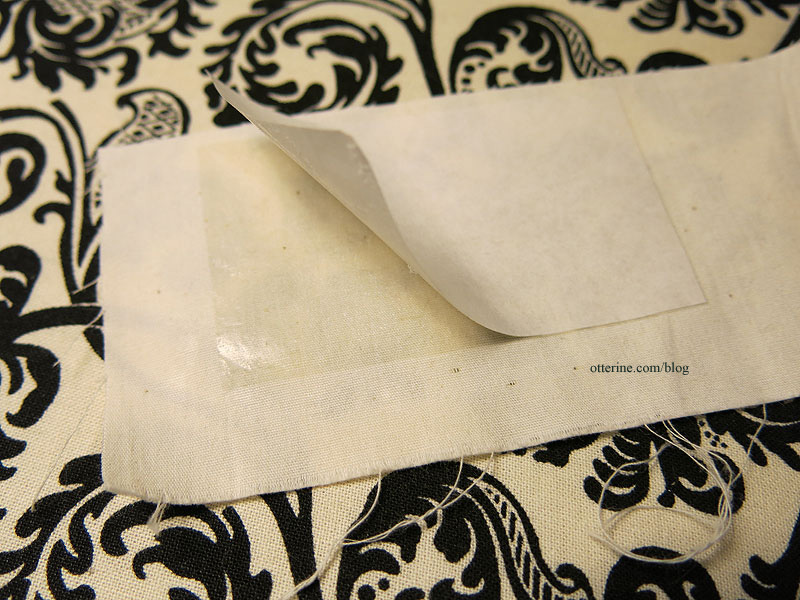
I cut around the scrap cloth and checked the fit on the back of the rug.

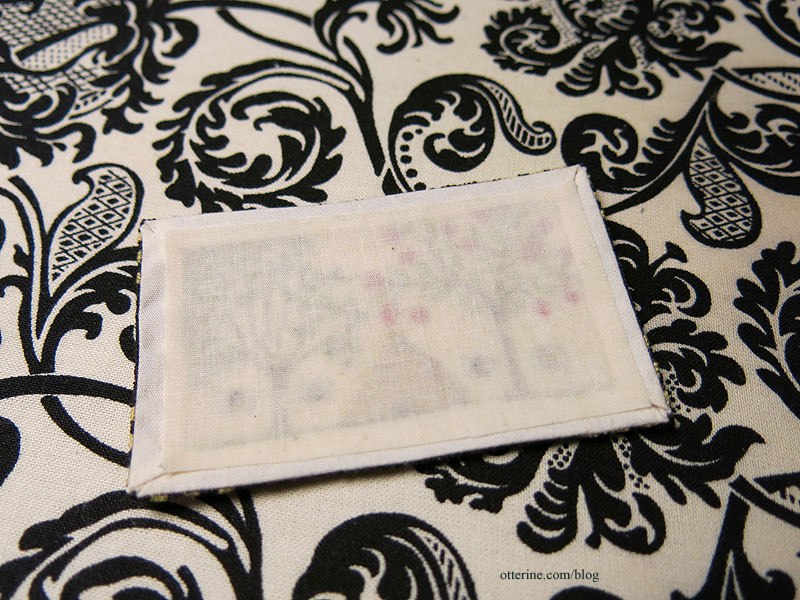
I then ironed the scrap cloth to the back of the rug. This adds only the slightest thickness, but it protects the stitching in the back and keeps the edges secure. It also helps keep the rug flat.
I just want to run my mini toes through that soft pile rug! :D
Here’s a penny to show the size. You can see just a hint of the turned edges. If I find it bothersome in its final location, I will color the edges of the turned fabric with a permanent marker of the closest matching color.
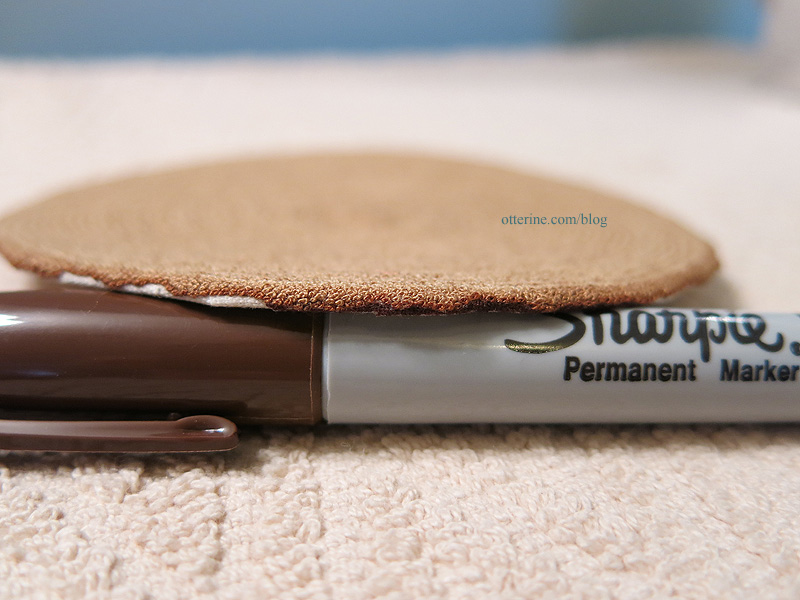
Here’s an example from the Tree Ring rug, where I used a brown Sharpie to color the turned edges to make them less conspicuous. You do have to be careful with this method and use a light touch, but it works well.
Here’s the French knot rug in comparison to the Prairie punchneedle rug.

The pile is definitely finer with French knots, but punchneedle takes considerably less time and is still convincing in miniature.

Categories: Needlework - French knot rugs
July 22, 2013 | 0 commentsFancy bow front dresser, part 3
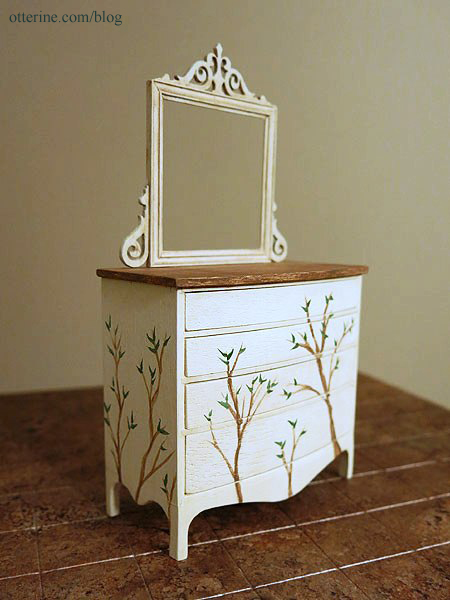
Continuing work on the fancy bow front dresser. As much as I loved the bare branches, I decided to go ahead with more painted details on the bow front dresser for the Heritage bedroom.
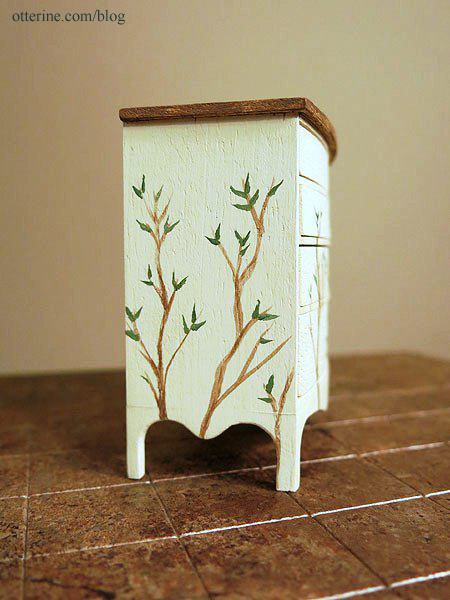
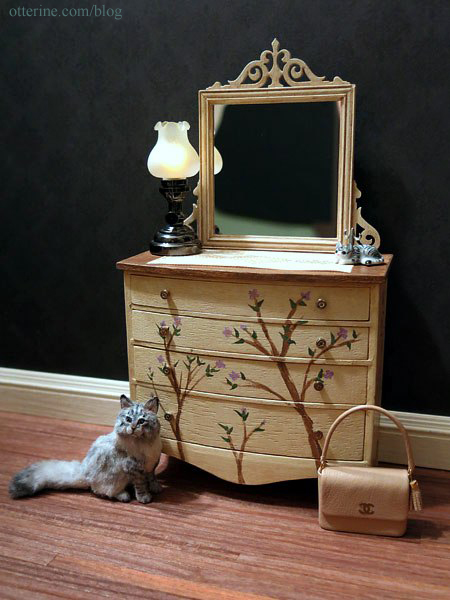
I added a smattering of leaves.
It softened the look overall.
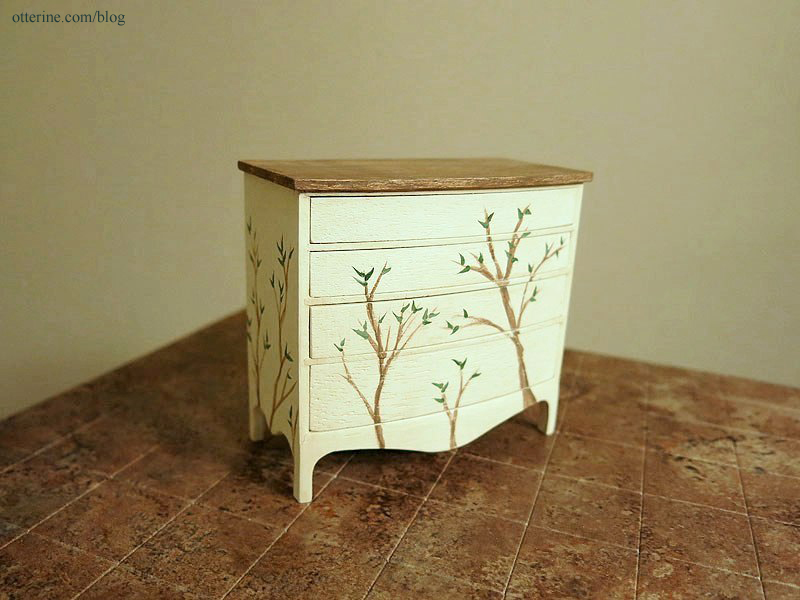
I added pale lavender flowers and then added a satin varnish. I would like to add a bird and left space for one, but I need to practice painting that small. The knobs are vintage hardware I bought from The Little Dollhouse Company at the Bishop Show.
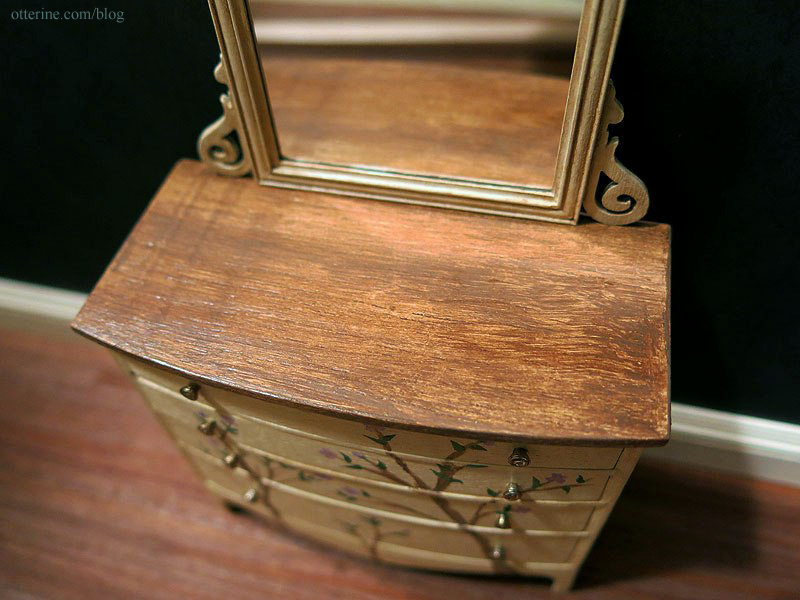
I love the worn wood top.
The paper lace doily is from Stewart Dollhouse Creations. The cat figurine, ring holder and doily were purchased at the local mini shows.
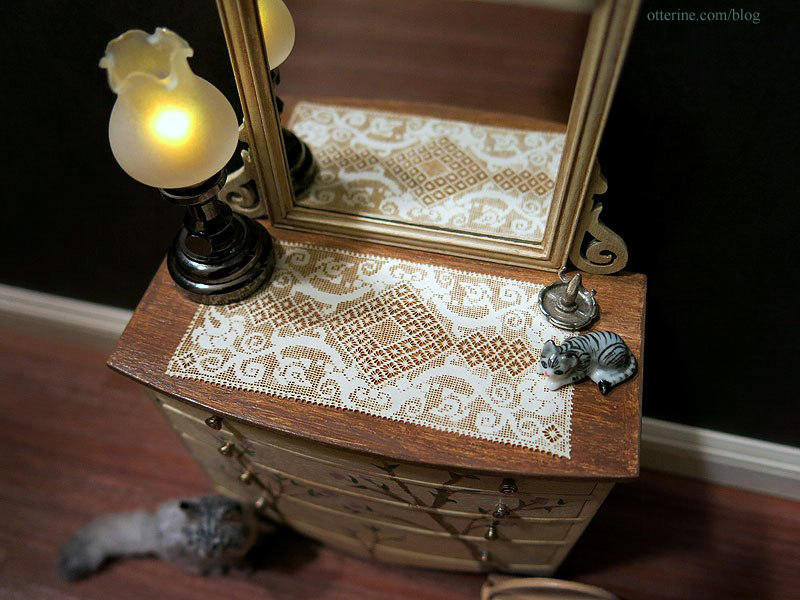
The Bentham Tulip Table Lamp by Houseworks is from miniatures.com, and I painted the LED to make the light more natural — a tip picked up on the Greenleaf forum.
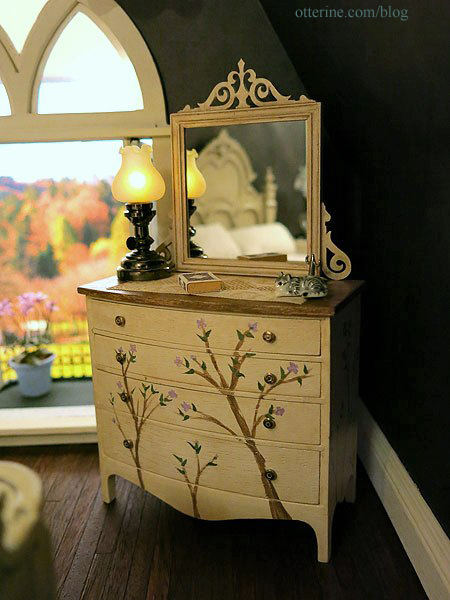
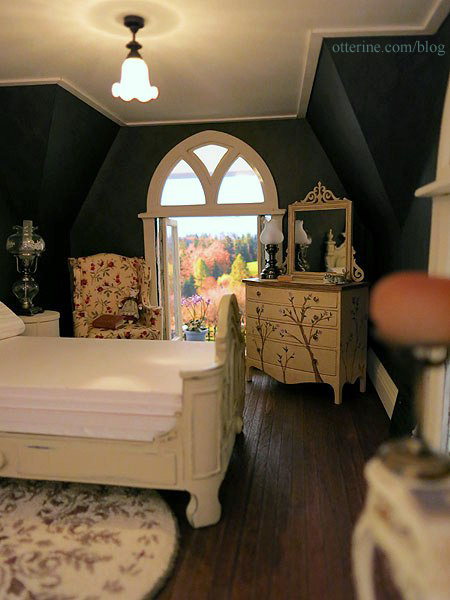
I think the dresser fits wonderfully with the bedroom furnishings.
Categories: Furniture, The Haunted Heritage
July 18, 2013 | 0 commentsFancy bow front dresser, part 2
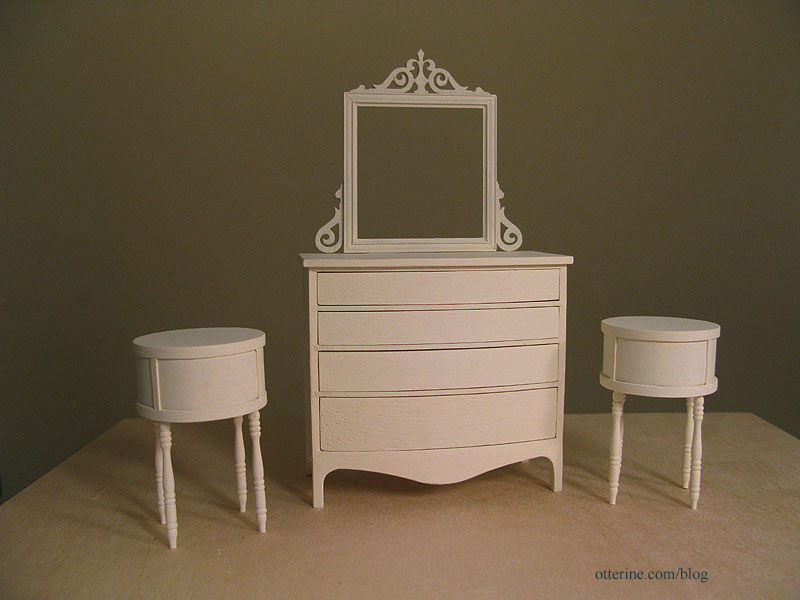
I’ve worked more on the fancy bow front dresser including two coats of Tapioca paint by Folk Art.
The dresser construction left some gaps between the parts, so I spackled and sanded those seams before painting.
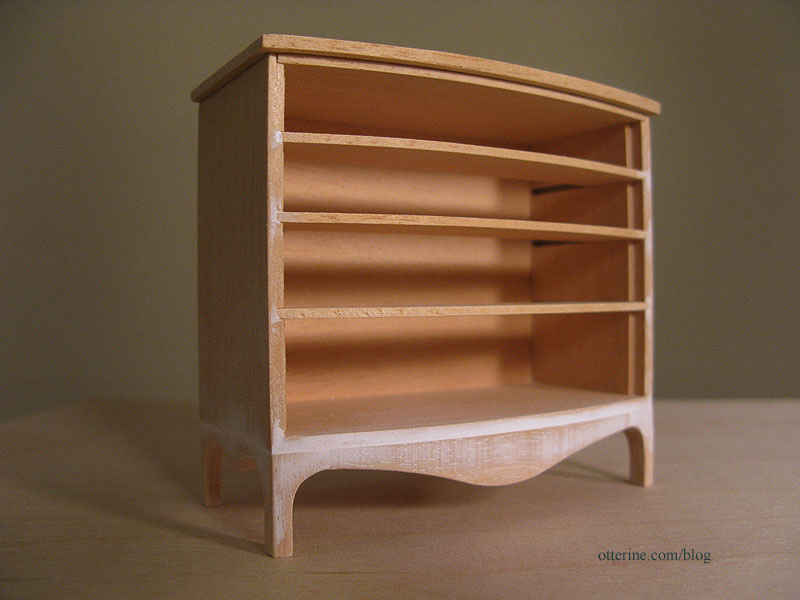
The dresser drawers have been sanded to fit. I’m always wary of that phrase. I bumped a corner on only one drawer, so I think I did pretty well.
The kit didn’t fit all that well in the front – the drawers were too recessed in comparison to the dividing panels. I added a shim of veneer to the inside back. This helped level the drawers in front by pushing them forward slightly.

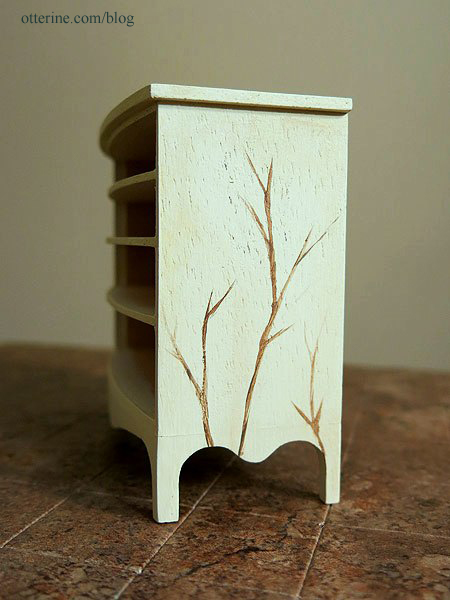
I wanted a painted finish with branches, flowers and birds, so I bought some small detailing brushes for fine painting.

I added an aging wash and then painted on the branches. The nice thing about making a vintage painted dresser is if you mess it up, you just wipe away the paint. And residue just adds to the age and depth of painting.
To paint the front, I added the drawers.
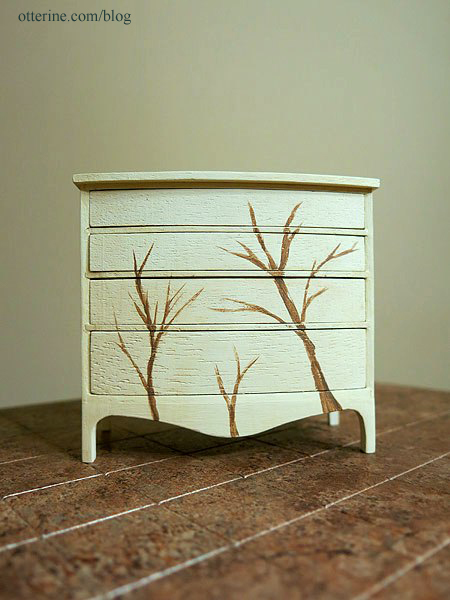
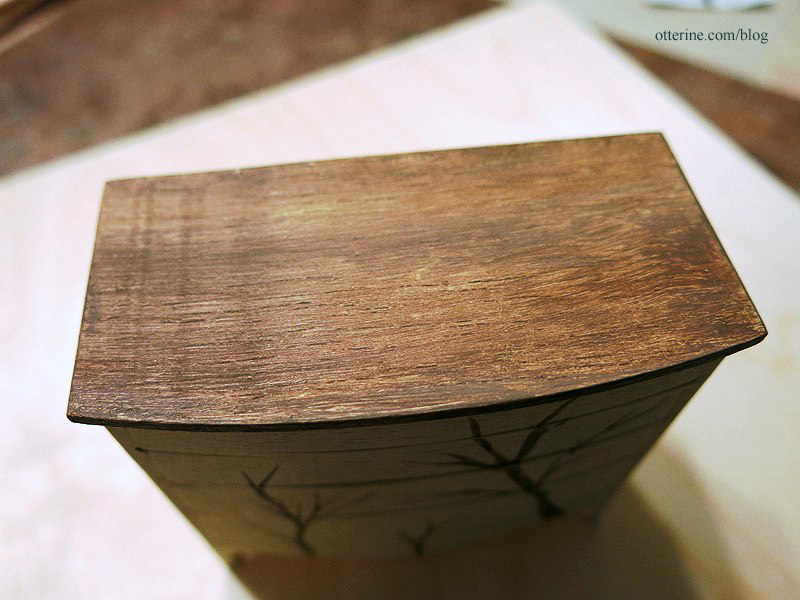
Once I had the branches painted, I masked off the top.
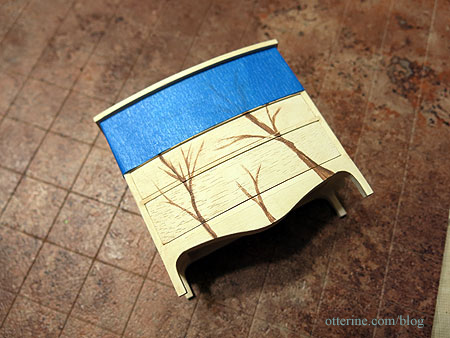
I painted it to look like stained wood. There are a few imperfections in the wood that I could not sand out in the initial construction, but it works well for a vintage piece.
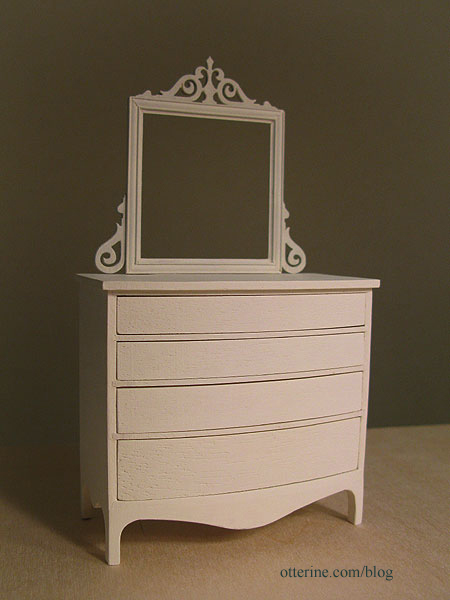
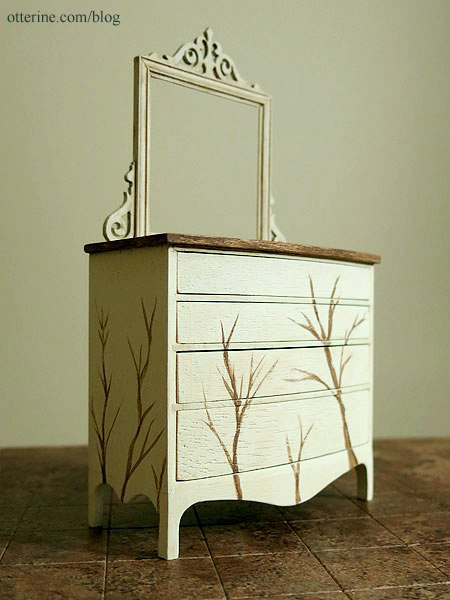
With the mirror propped in place, it looks like we’re getting somewhere.
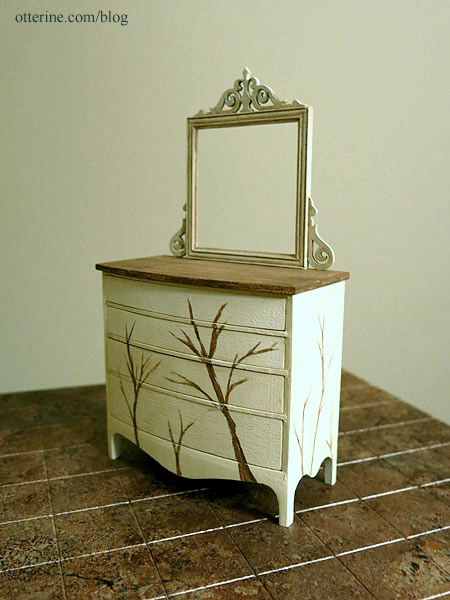
I rather like it with just the branches, but I wonder if it looks too incomplete like this…hmm…
Categories: Furniture, The Haunted Heritage
July 13, 2013 | 0 comments


NOTE: All content on otterine.com is copyrighted and may not be reproduced in part or in whole. It takes a lot of time and effort to write and photograph for my blog. Please ask permission before reproducing any of my content. Please click for copyright notice and Pinterest use.


