
1950 Volkswagen Beetle
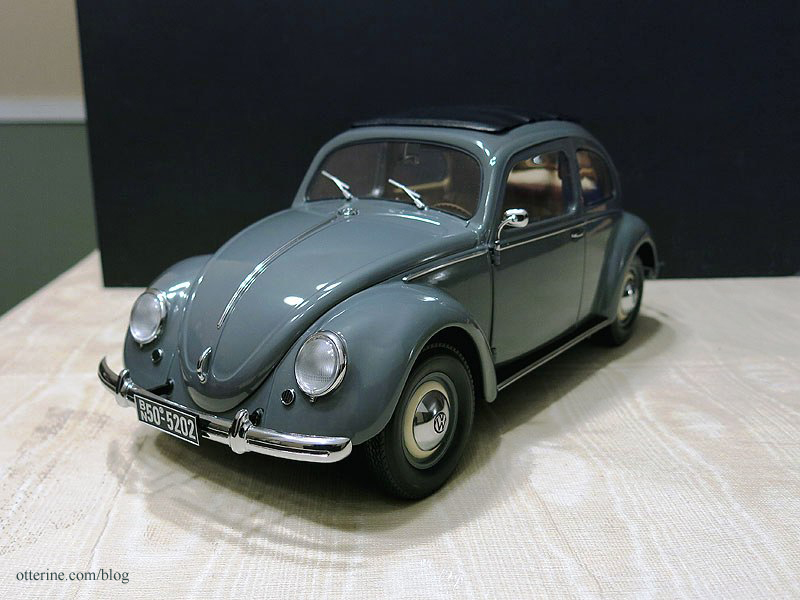
This beauty is a 1950 Volkswagen Beetle Saloon 1:12 scale model by Sun Star.
The 1:14 scale Audi TT remote control car I have is a nice reproduction, and I love that its headlights are functional as well. It photographs well, even though it doesn’t look as realistic in person.
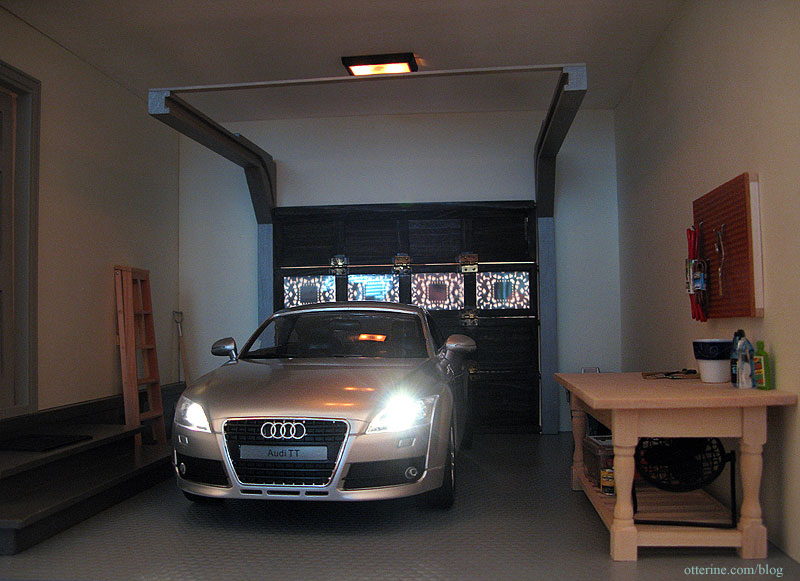
But, having a true 1:12 scale car for inside a 1:12 scale garage is the best for realism.
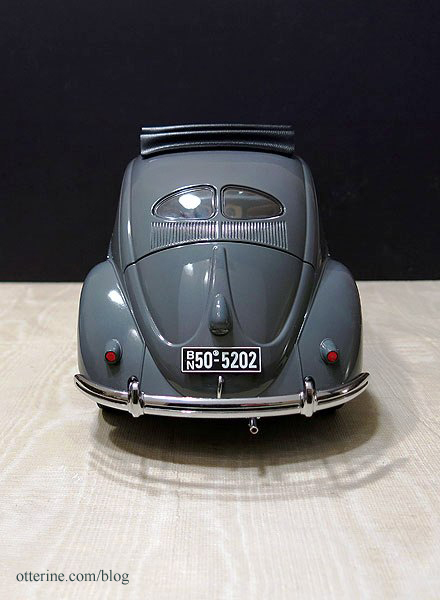
Look at the orange flag turn signal by the door. :D
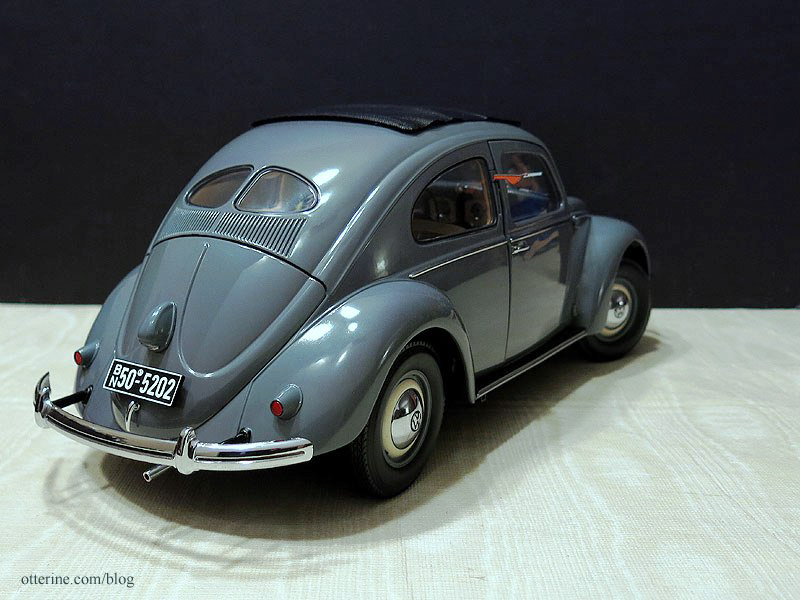
It has many moving parts and wonderful detail. There’s a tool with the model to help open the doors, hood and trunk. The front seats move forward, as does the back seat. The steering wheel controls the wheels. It is a bit rickety while rolling, but maybe that’s to scale, too! ;D I wasn’t too sure about the salmon pink carpet, but it’s growing on me.
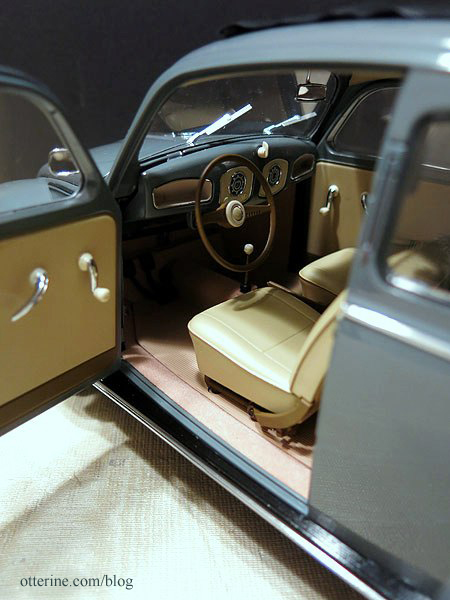
The cloth top retracts to show the interior.

Included with the model are a set of tools, a spare tire, a jack and lug wrench. Yes, the lug wrench works to remove the tires! :D I used a bit of mini hold wax on each of the tools because they were not fastened into the case and fell all over.

The case sits inside the spare tire and fits into a space under the hood. I placed the jack and lug wrench in there, too.

Engine in the back.

Some of the paint had a purple cast, and from what I’ve seen online, that seems to be a characteristic of this particular model. On mine, however, it was rather streaky.

I took some mild soap and water to it only to discover a weird pink residue on the tissue. It took some elbow grease to remove it all, but it’s now much better.

I mention this only in case someone buys one based on my blog post…so you aren’t surprised if this happens. The paint problem is in no way a bad reflection on the eBay seller, but more a problem from the manufacturer. The model I received was new in box. I’ve been very pleased with the seller’s communication. It turns out this is supposed to be a “pearl finish” for the car. That’s all and good, but it’s streaky and comes off. So, I’m glad I went ahead and scrubbed it off. I don’t plan to sell it, so I don’t care much about “resale value” without the pearl finish.
The Houseworks garage door kit is from miniatures.com. I’ve made a quick mockup to test the fit for the Beetle.

The fit is just right! :D

Categories: Model Cars, Vehicles
August 30, 2013 | 0 commentsPrairie Rug – a major setback
At 29.25 hours of work on the Prairie Rug, a major problem came to light with this project. You can clearly see the two different colors of green/grey in this photo. I didn’t notice this until photographing the rug tonight since the colors look relatively close in person, but the camera really picked up the difference.
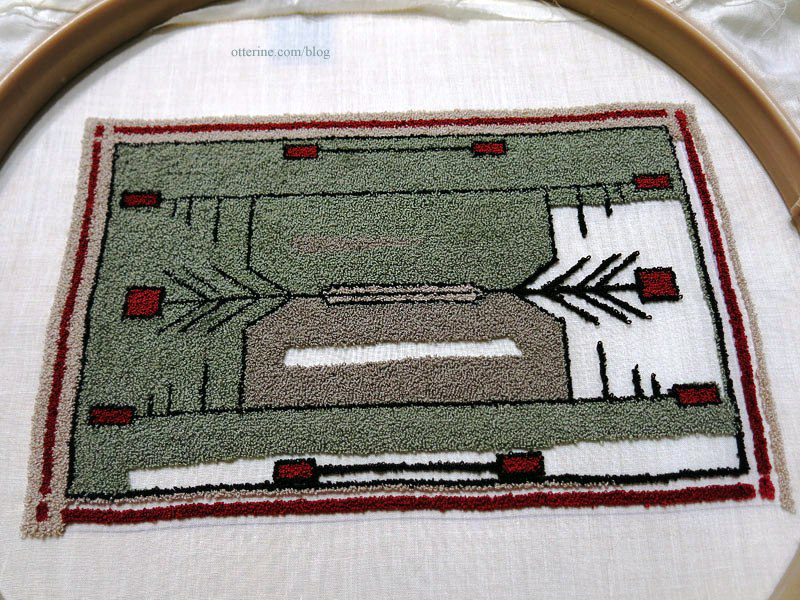
I am using a different brand of floss – Sullivans – for this rug because the store I went to did not carry DMC. I’ve always used DMC and have never had a problem. Of course, I’ve never done large swaths of color in DMC to make a fair comparison, but Sullivans clearly has shifts in dye lots. There’s no indicator of dye lot on the Sullivans tags as there is on DMC tags. I photographed the three skeins I have left on the rug, and they match the grey. I’m just glad this wasn’t a huge investment of time. It’s still frustrating and disappointing. :\
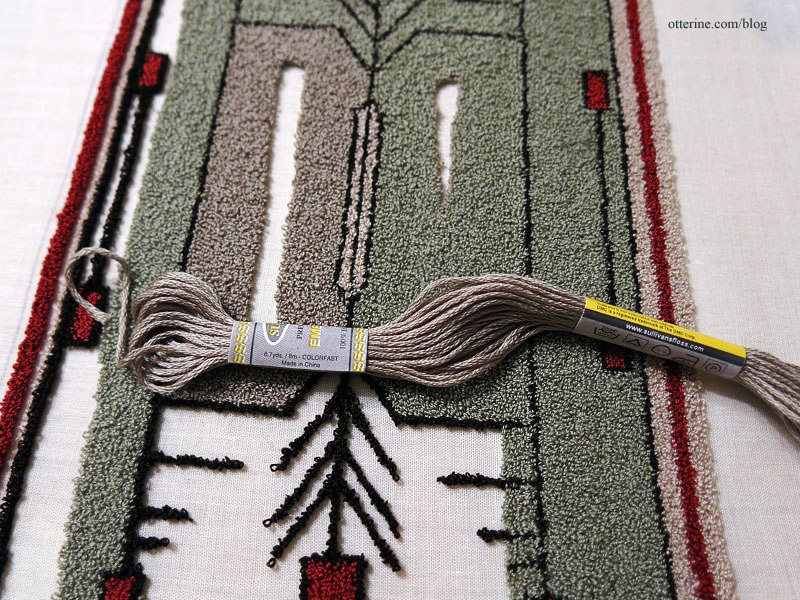
I contacted Sullivans, and they were very apologetic about the dye lot problem. They said they’ve never had this happen before. They sent a photo of their stock 45118, and I told them that looked like the color I bought. I requested four skeins, but they generously sent me a full boxed dozen. Unfortunately, these match the latest grey. I must have bought some old stock along with the newer stock that is now produced. Just to be clear, to the naked eye, they all look like sage green; it’s the camera that picks up the difference in color.
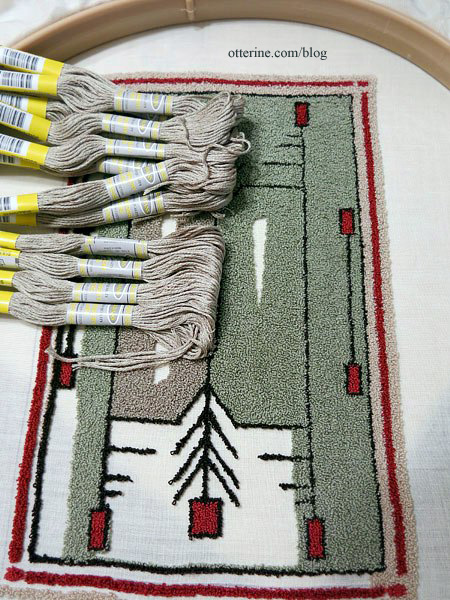
I have to say I was pleased with the quick reply from Sullivans and their willingness to help resolve the issue. No matter what brand I buy in the future, if I am going to have large expanses of one color in a project, I will shop with my camera to make sure they all match one another.
Categories: Needlework - French knot rugs
August 29, 2013 | 0 commentsThe Bishop Show Fall 2013
The fall Bishop Show is a small show, but many of my favored vendors are usually there so it is always worth the trip. And, you get to see the spring show workshops in person. :]
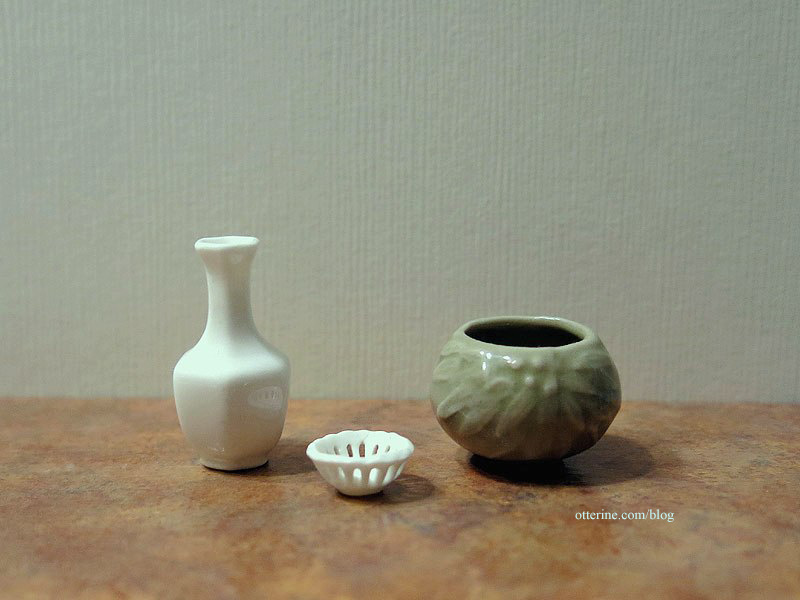
From Carol’s Bloomers: white vase, white candy bowl, green pot.
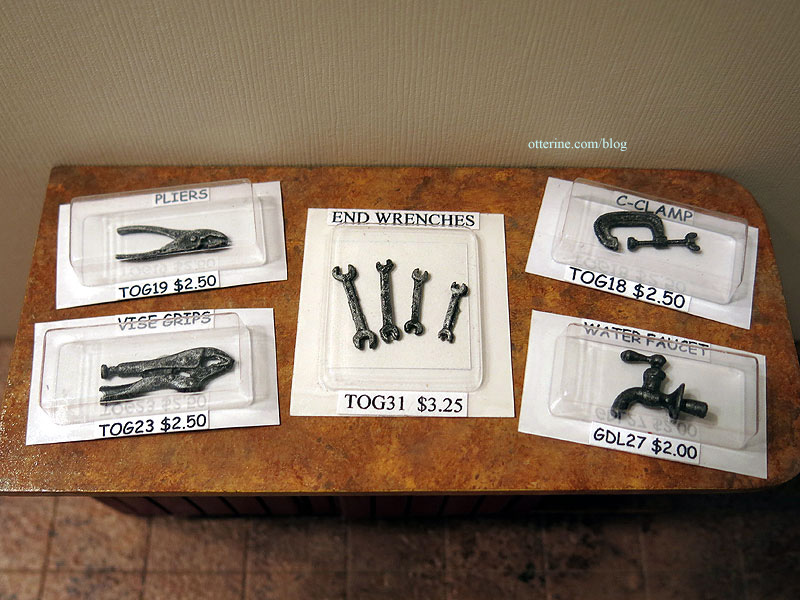
From Wright Guide Miniatures: tools and a water spigot.
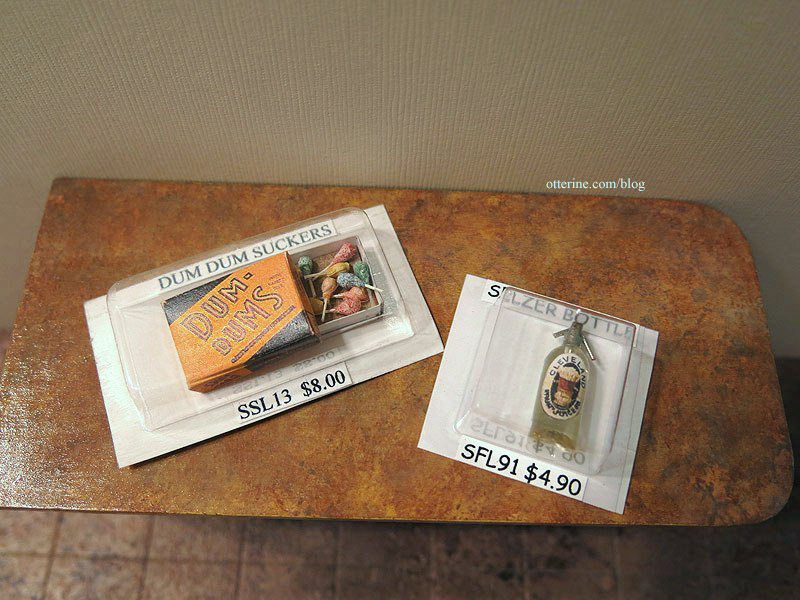
Vintage dum-dums and a seltzer bottle.
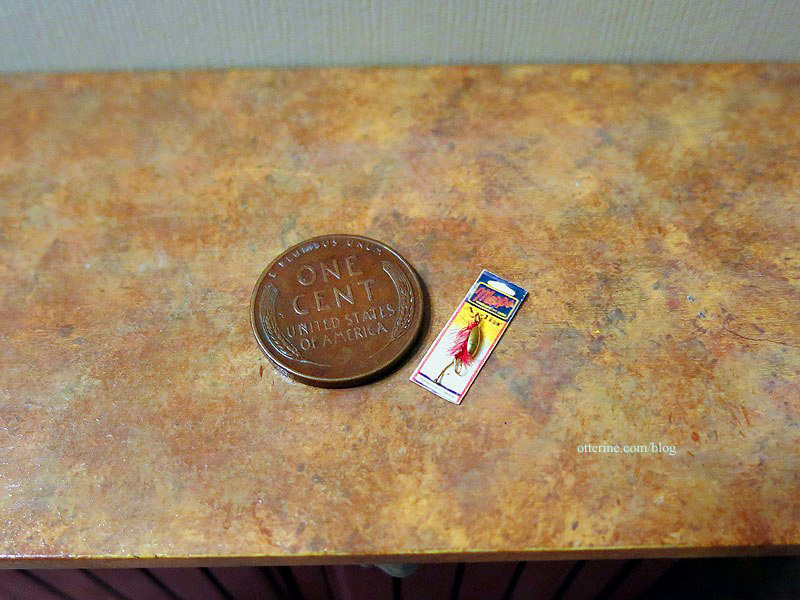
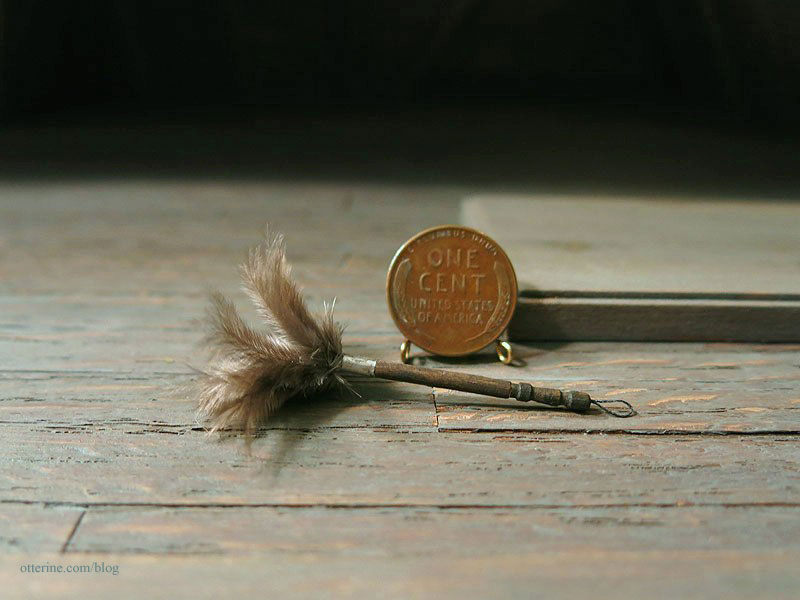
Tiny feathered fishing lure.
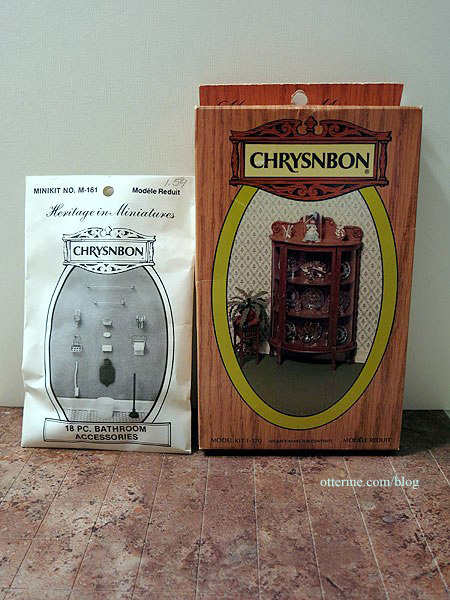
From Tiny-Tique: two Chrysnbon kits.
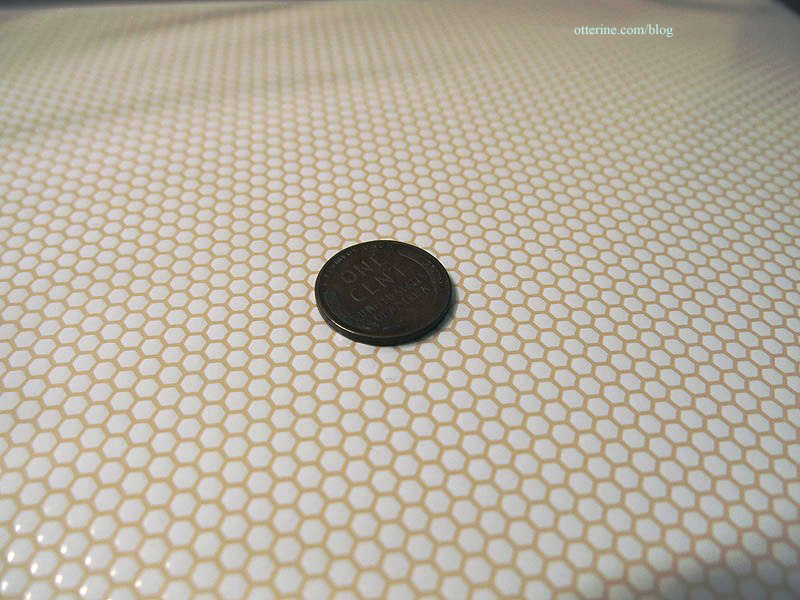
Hexagonal tile flooring.
Categories: Miniature Shows and Shops
August 25, 2013 | 0 commentsMushrooms!!!!
I am finishing up some landscaping for the final Heritage post showcasing the exterior and the overall build itself. But, I thought this element deserved its own post…mushrooms!!! :D

I started with Peiwen Petitgrand‘s book on making clay food.
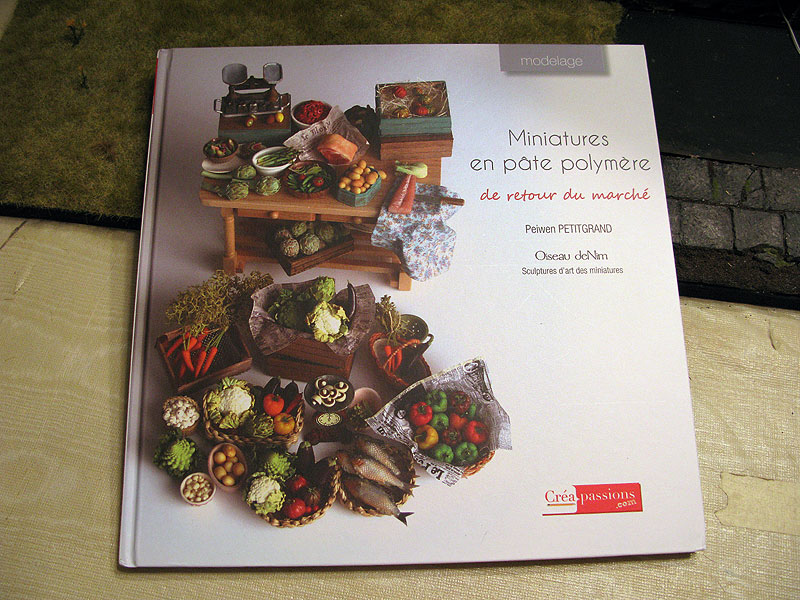
I had already planned to start with mushrooms since I wanted some for the Heritage lawn. Her instructions are wonderful, even though my French is very rusty. I was able to figure out the basics well enough. I made only a few changes. I added pastel coloration before baking and made the stems longer to have something to plant in the ground. I also made my molds a little variable, misshapen and left any imperfections. It translated into a more realistic result. :D

The undersides have the slotted detailing like the real thing. Even though it’s nearly impossible to see once the mushrooms are planted, I love knowing it’s there.

I planted them all around The Tree but wonder if these will last the night with Grahame on the loose! :O
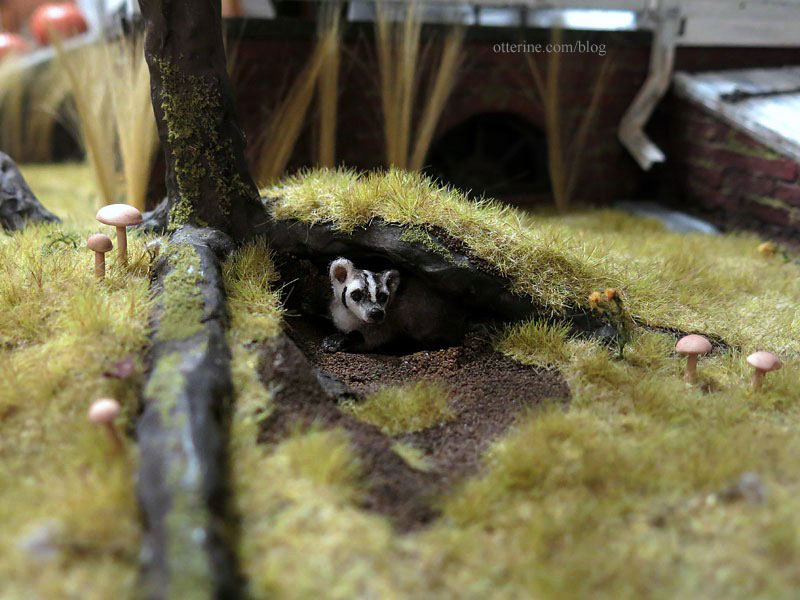
I might be making more tomorrow. Haaaaa!

Categories: Polymer clay, The Haunted Heritage
August 18, 2013 | 0 commentsThe Haunted Heritage – 1920s inspired kitchen
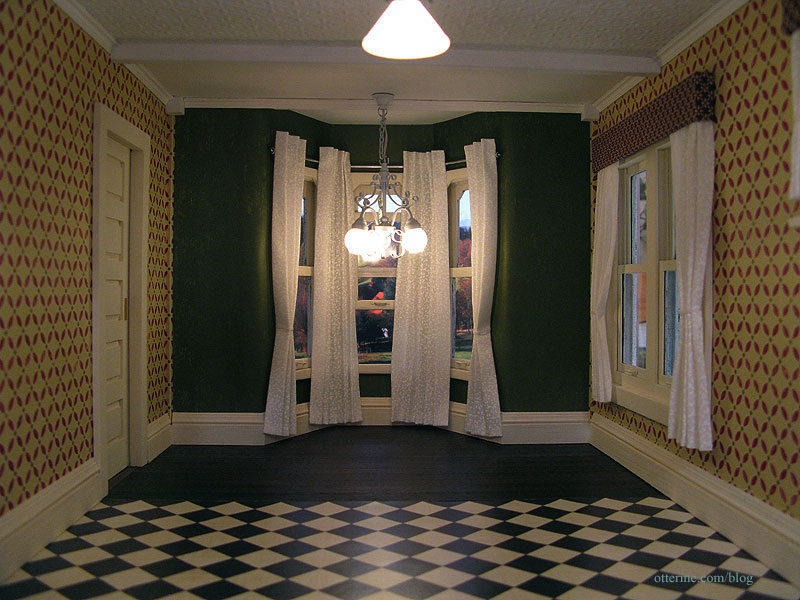
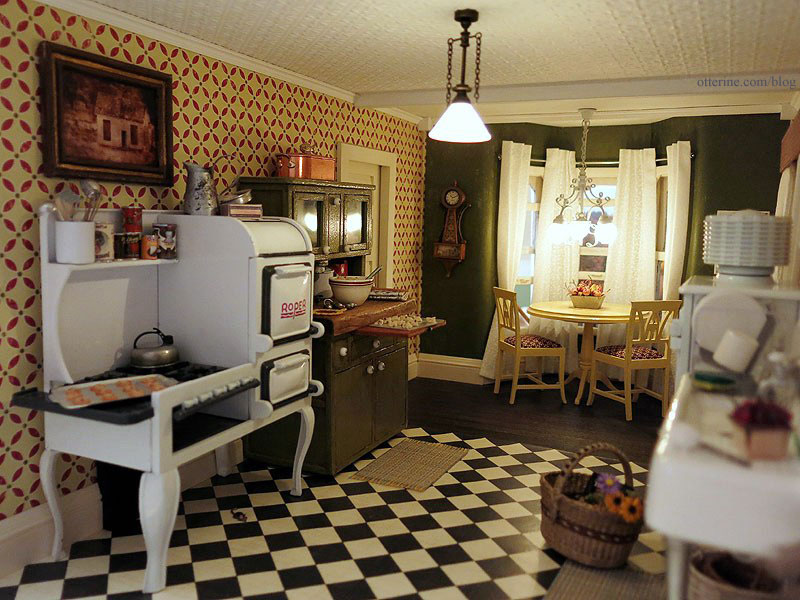
The 1920s inspired kitchen was the first room I completed in The Haunted Heritage. It’s a large room with a dining area and vintage kitchen appliances. I tried to avoid adding too much clutter, just a few added accessories really make a difference. Feels like home.
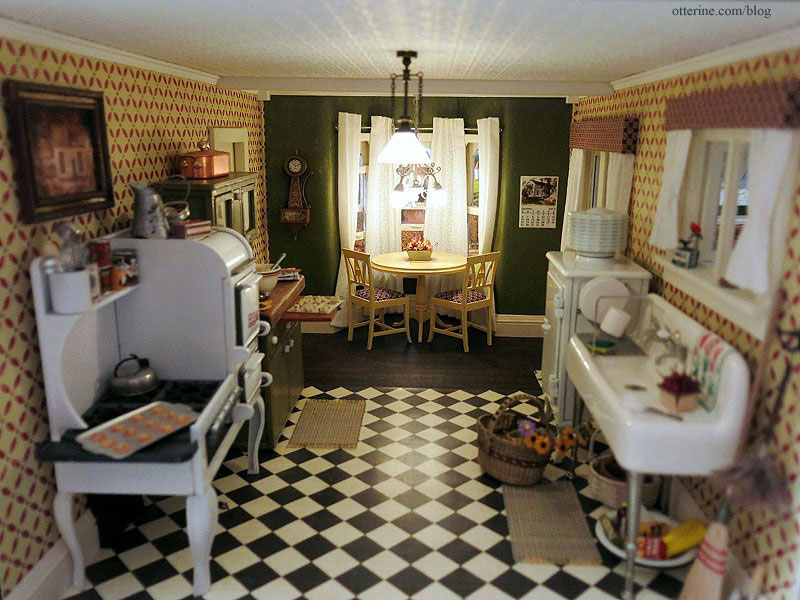
The furniture arrangement didn’t change much from the original dry fit layout trial.
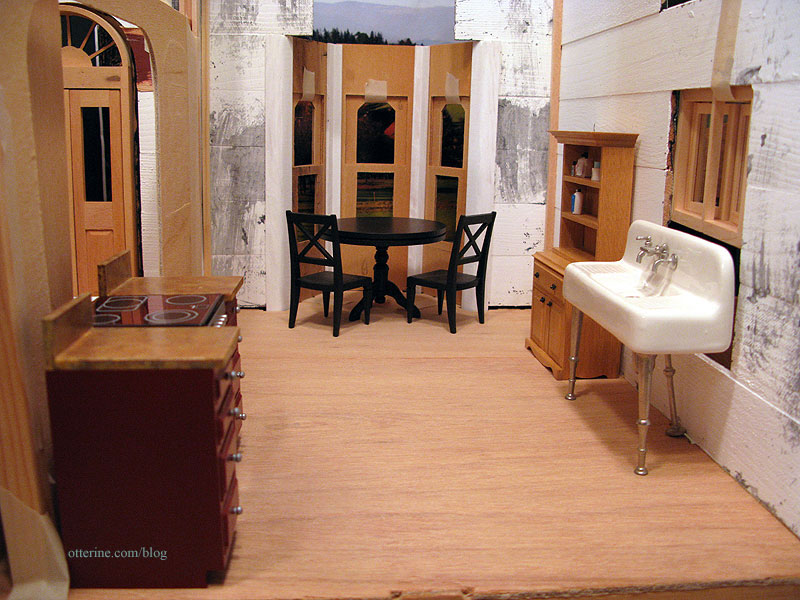
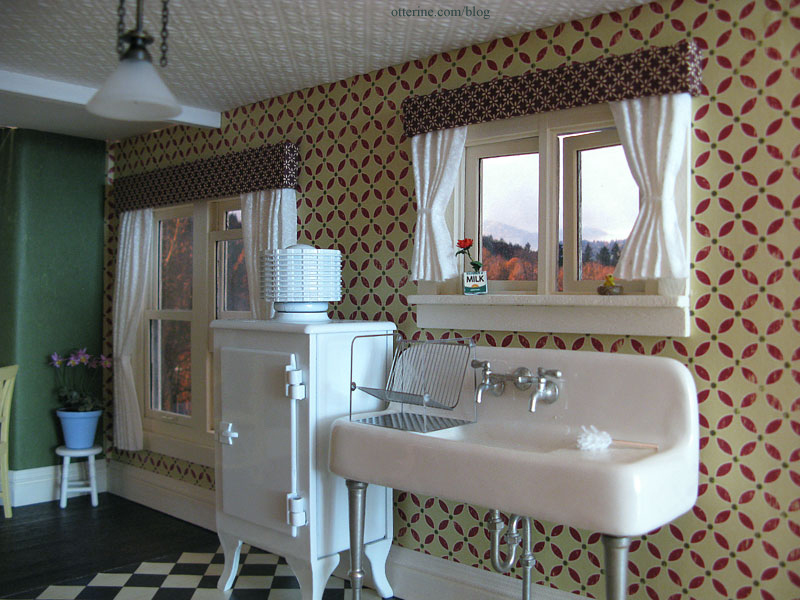
Structurally, I upgraded the side window with a Houseworks working window and added a casement window above the sink.
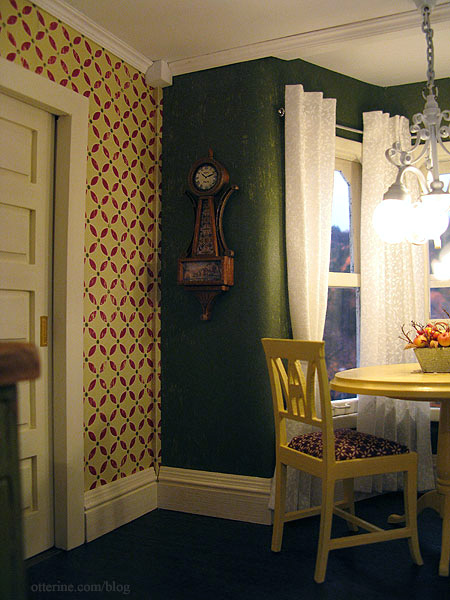
The tile flooring is Cream Diamonds by The Paper Studio, and the wallpaper in Geometric Fa La La by Making Memories. The back of the wallpaper is aged green, so I used that in the bay window section.
I went with subtle white patterned curtains and simple fabric pelmets for the window treatments. It softens the look of the room without being over the top. The potted flowering plant is from Michelle.
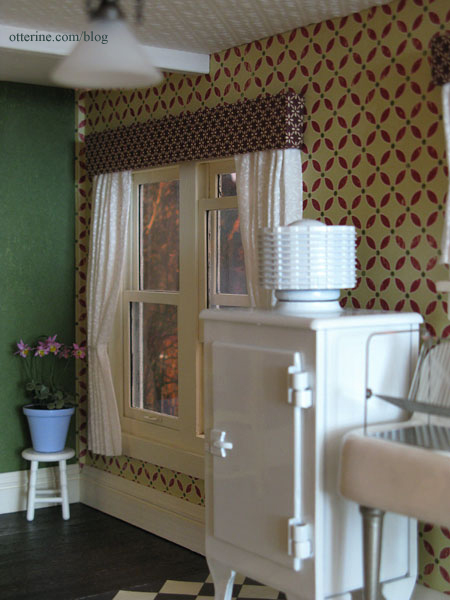
The casement window curtains ended up being a little too short, but I liked them well enough to leave them as is.
The front bay window is part of the original kit, and considering the age of the kit wood I was happy with the way it turned out.
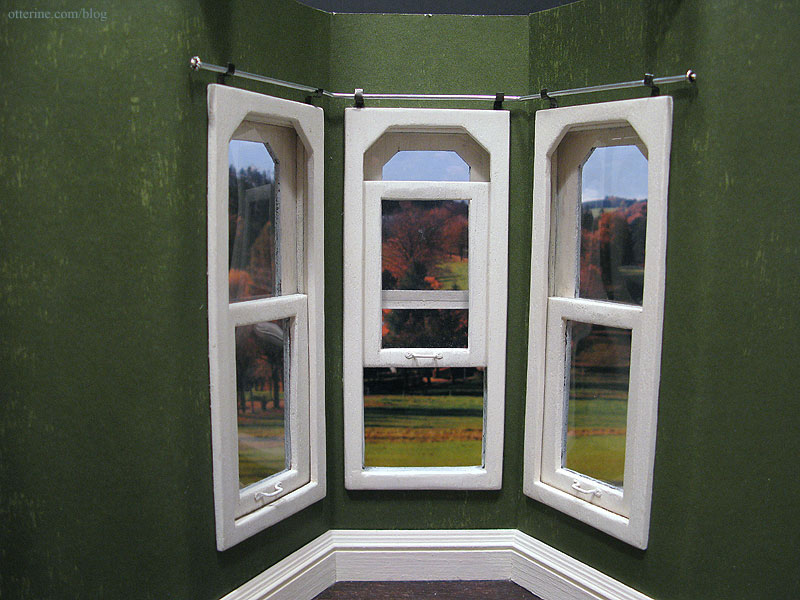
One window assembly is completely glued together and the window is shut since the wood for these pieces was beyond repair. The second window is set partially open, and though the window slider isn’t glued in place, the wood for this assembly is not in the best condition and doesn’t allow for very fluid raising and lowering of the window. The third window, however, works so well that I need a dowel to keep it propped open! How positively wonderful! It’s just like a real life old house – one window is painted shut, one window sticks and one window won’t stay open!!! :D
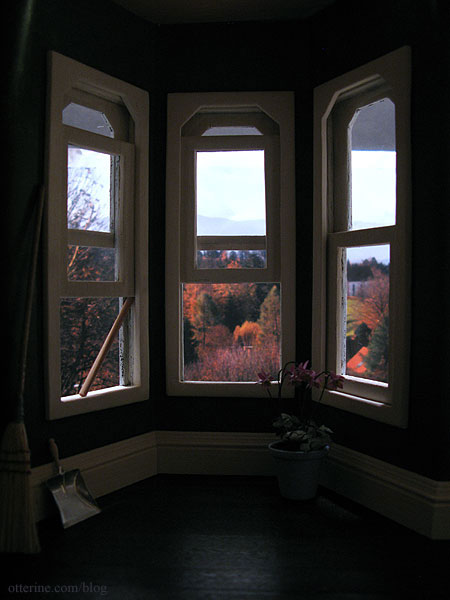
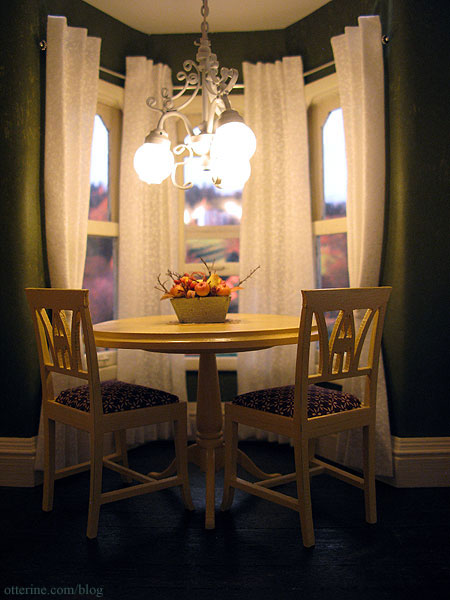
The curtains in the bay window have a custom made rod to hold them in place.
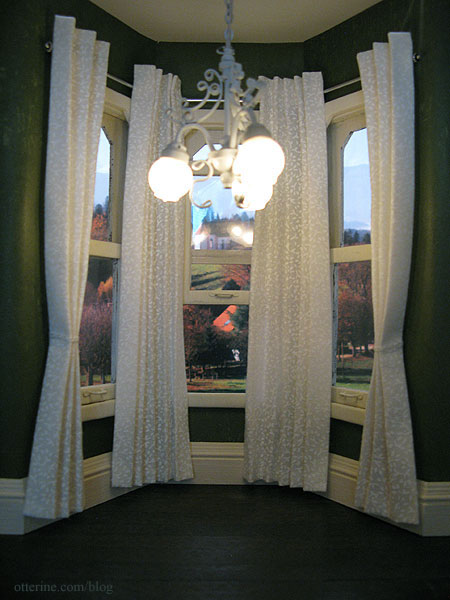
I used fairy lace tiebacks on the outer panels but I liked the look of the inner panels left straight. This way, grandma doesn’t have to reach over the table to untie them every time she wants a little privacy. ;D
With the table and chairs in place, it really sets the mood. First, with the curtains in focus.
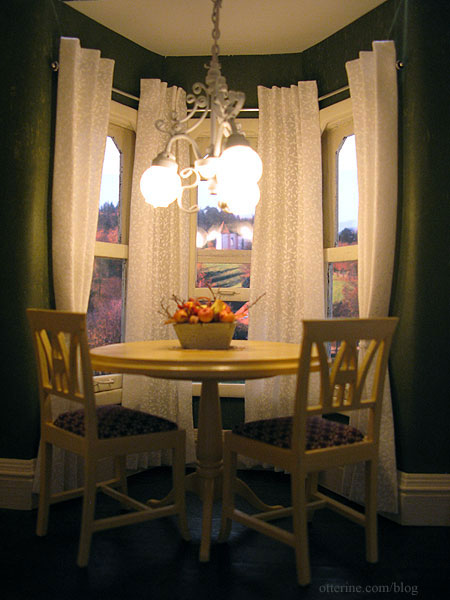
And, then with the furniture in focus.
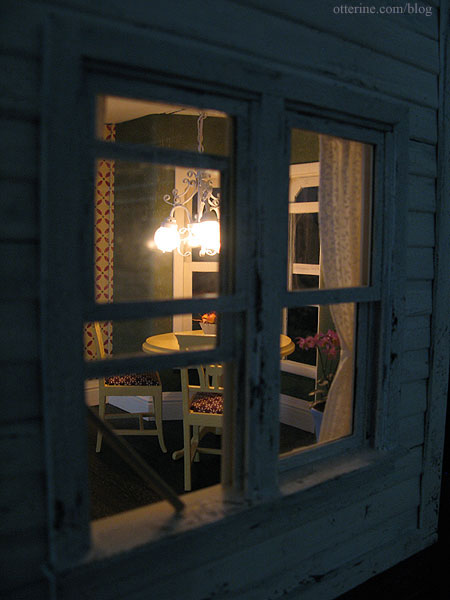
I love through-the-window photo views. :] The autumn fruit basket is from Hungarian Miniatures.
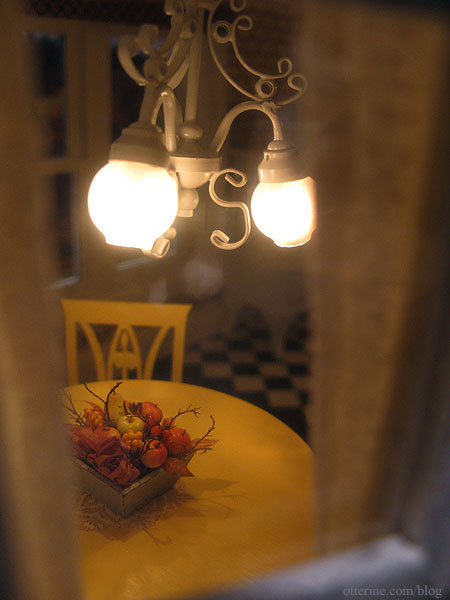
In this photo, I feel as though I can hear the crickets and see fireflies outside.
I replaced the interior wall, adding a working pocket door. There is a lever that operates the door from the open back so you don’t have to reach inside to open the door. It has a leather and Tyvek hinge to fold flat when the door is open.
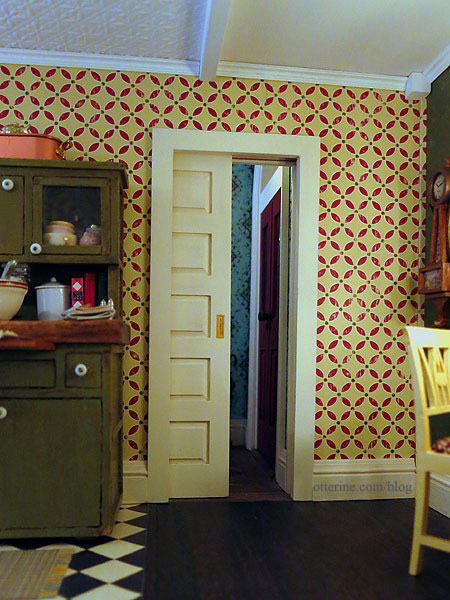
I really love the way the crown molding completes the room.
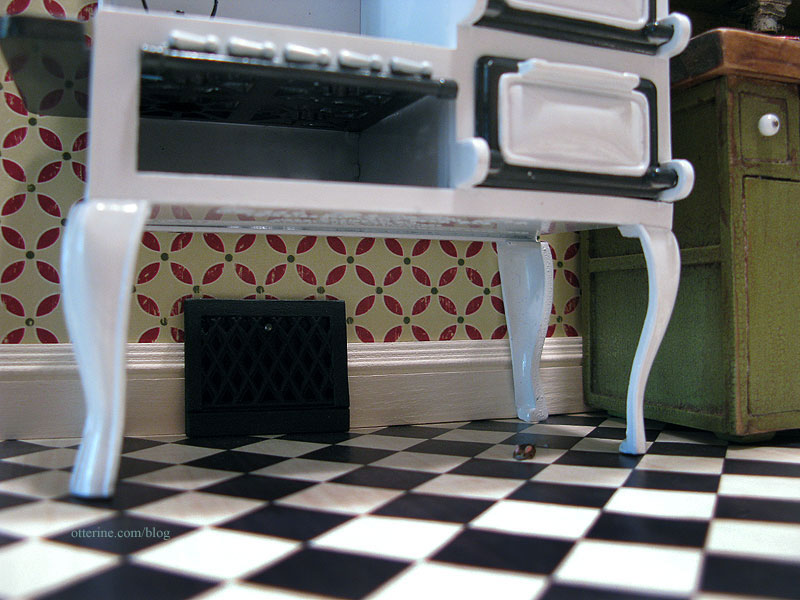
My original thought for heating the Heritage beyond the parlor fireplace was to place painted radiators in the rooms. Even though the rooms are somewhat spacious, radiators do take up a decent amount of space. Then I ran into a fantastic tutorial by Kris at 1 Inch Minis: gravity baseboard registers. Perfect!
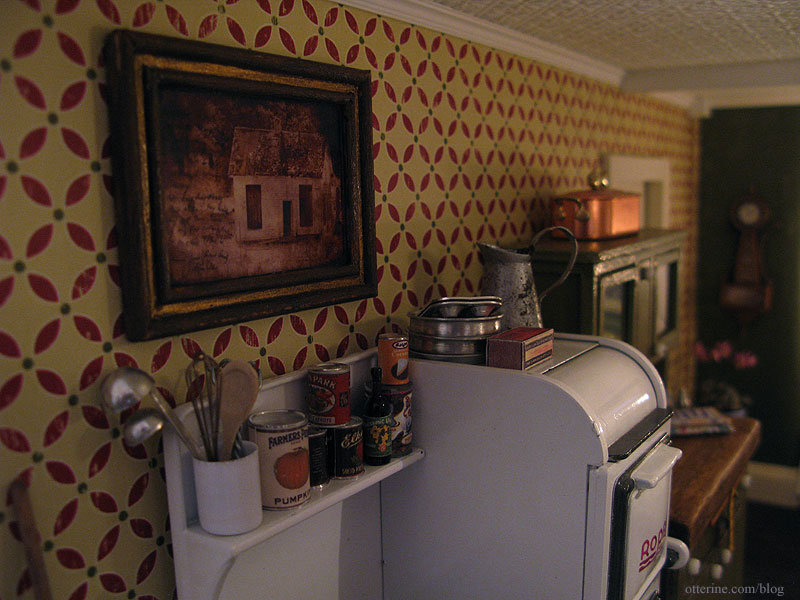
I used diamond canvas instead of square and added a metal headpin for the lever. I placed the heat register under the Roper range so it could be seen, though it’s one of those details that’s mainly for me. It’s not strikingly obvious, but I am glad it’s there.
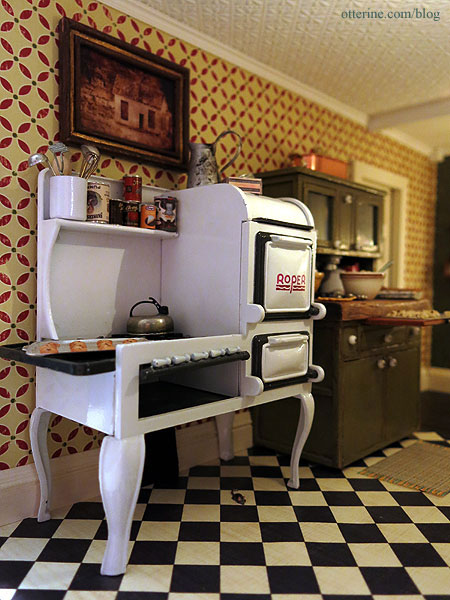
The cast metal Roper range is by Jacqueline Kerr Deiber. It’s a heavy piece with lots of character.
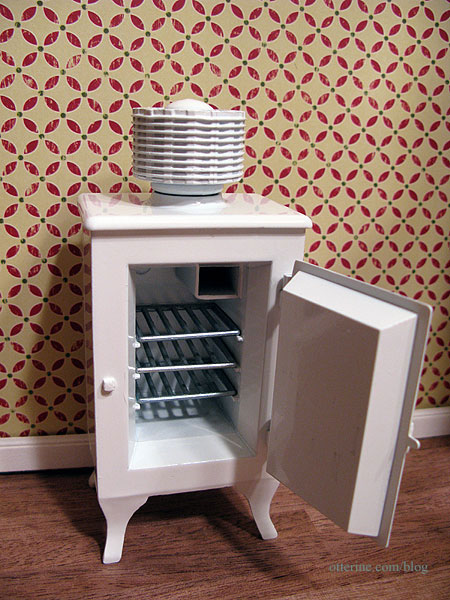
The metal Monitor Top Refrigerator was also designed by Jacqueline Kerr Deiber. It has wonderful lines and is also very heavy.
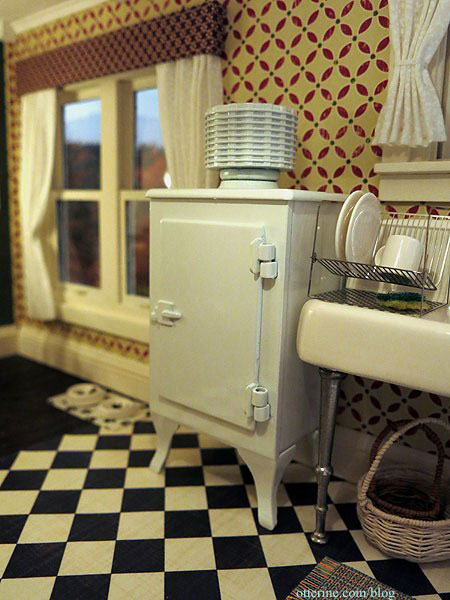
I love the shelves and the ice box. :D
The kitchen sink is one of my favorite minis! The dish drainer is from The Dolls House Mall and it came with a mop, too. The laser cut stainless steel has wonderful detail and looks great for scale.
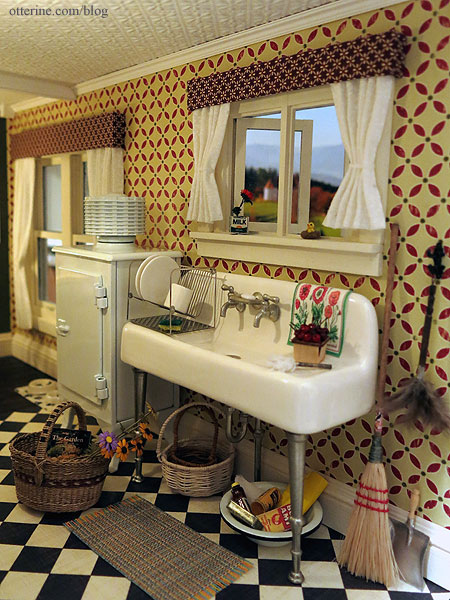
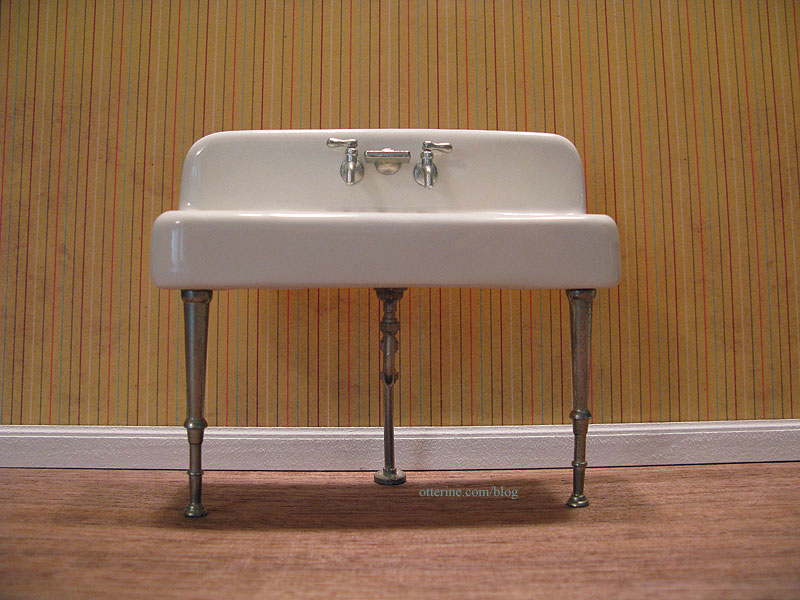
It’s a 1920s porcelain Kohler kitchen sink by Jacqueline Kerr Deiber. I’ve always liked the look of this sink but never thought I’d build a house to use one.
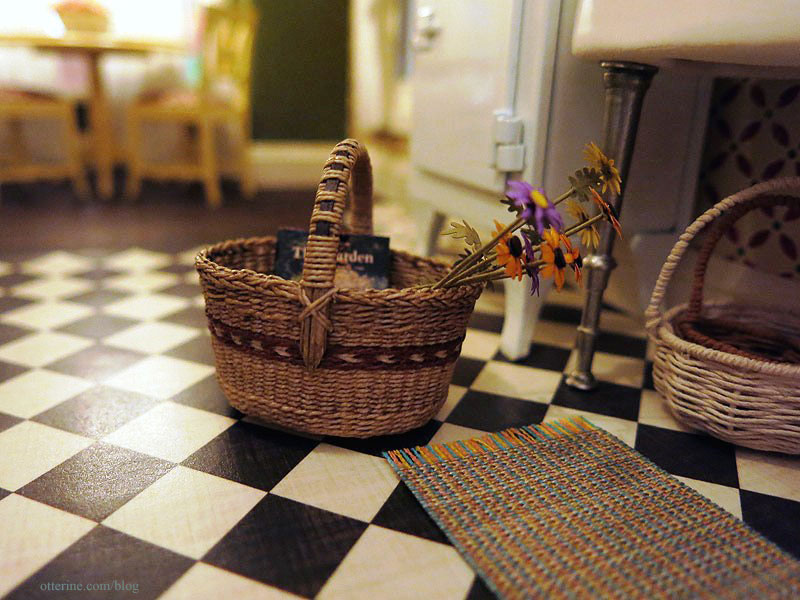
Grandma has her cleaning supplies and some extra baskets under the sink. Lyssa made the beautiful white and brown baskets
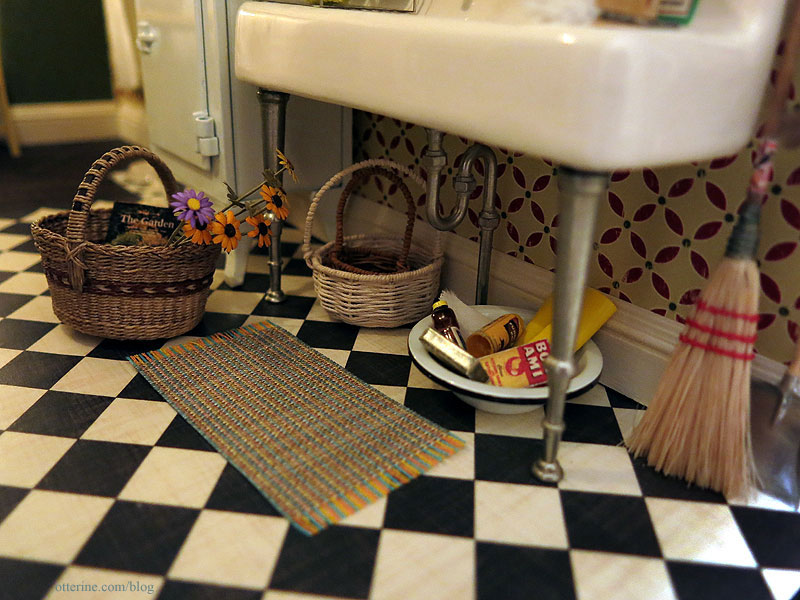
I made the duster from a Silly Sisters tutorial. I added a cord loop on the end for hanging.
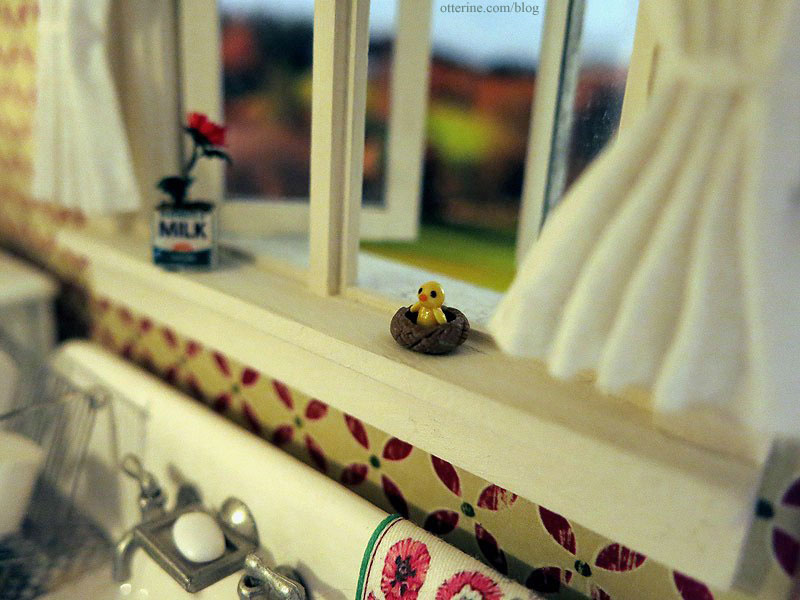
The chick in the nest was made by Cathy Rohal.
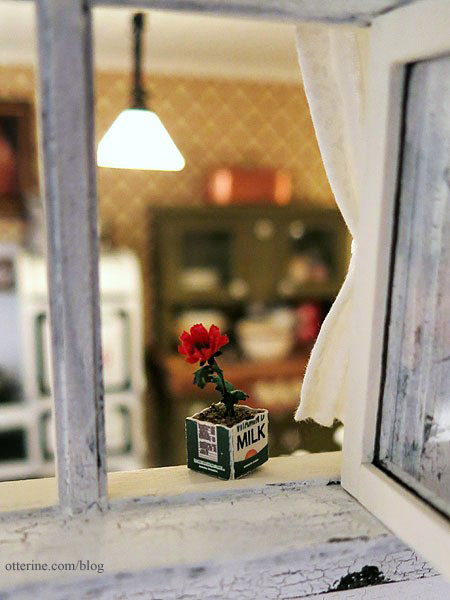
The flower in the milk carton was made from a true2scale kit.
The pint of perfect cherries is from The Garden Path, purchased at a local mini show.
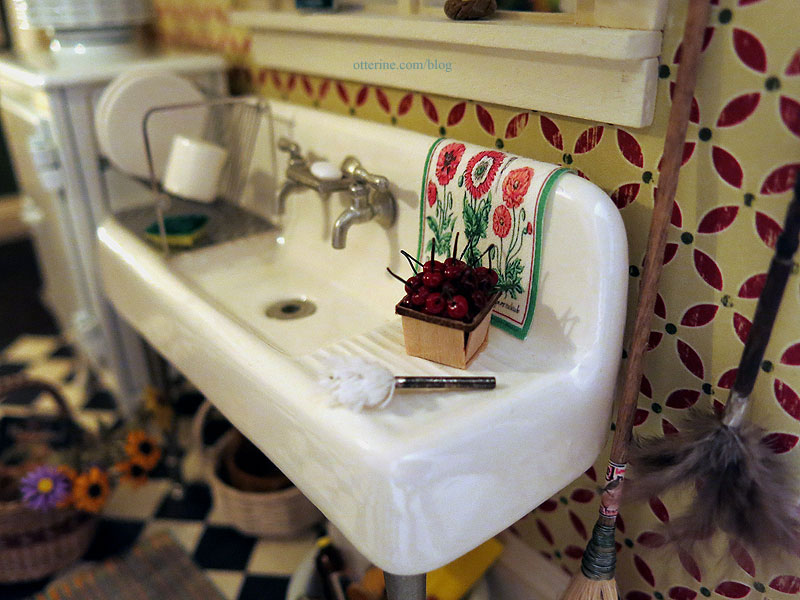
This wonderfully made basket is from Lidi, and I made the Bonnie Lavish flowers from kits.
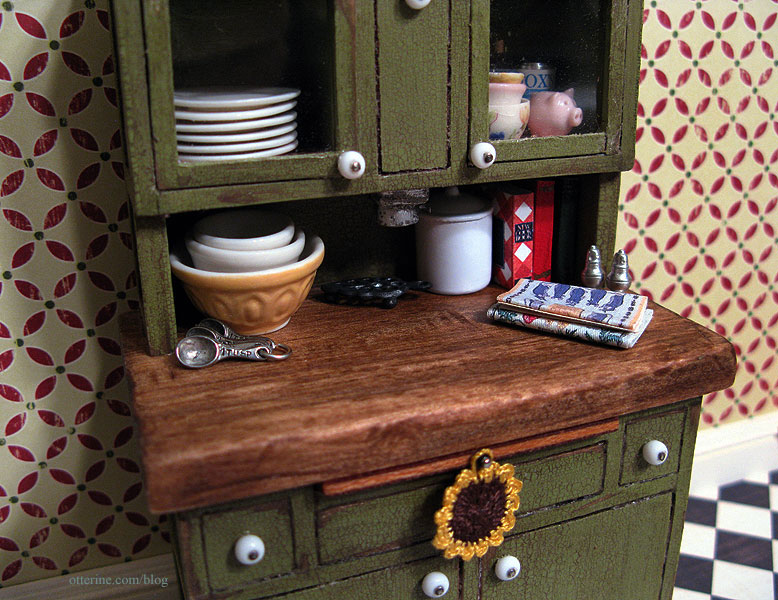
Keli made this amazing Hoosier cabinet for me – such a wonderful and generous gift.
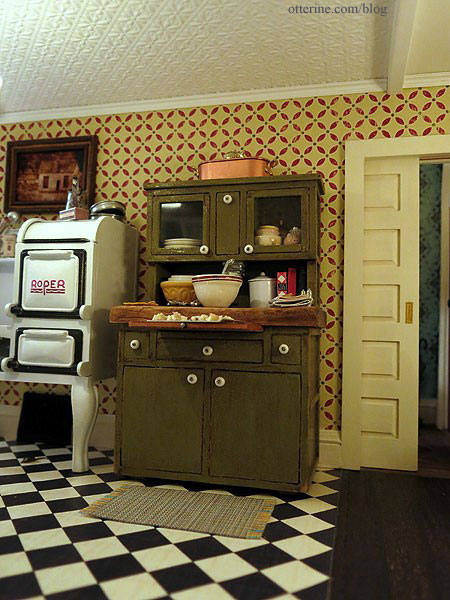
I had to set up the vignette outside of the kitchen to get a photograph of the details since the kitchen is a little tight to fit the camera. The tea towels throughout the kitchen are from Marlene.
I won a lovely cookie baking set from Creating Dollhouse Miniatures. The pieces are so well made and realistic.
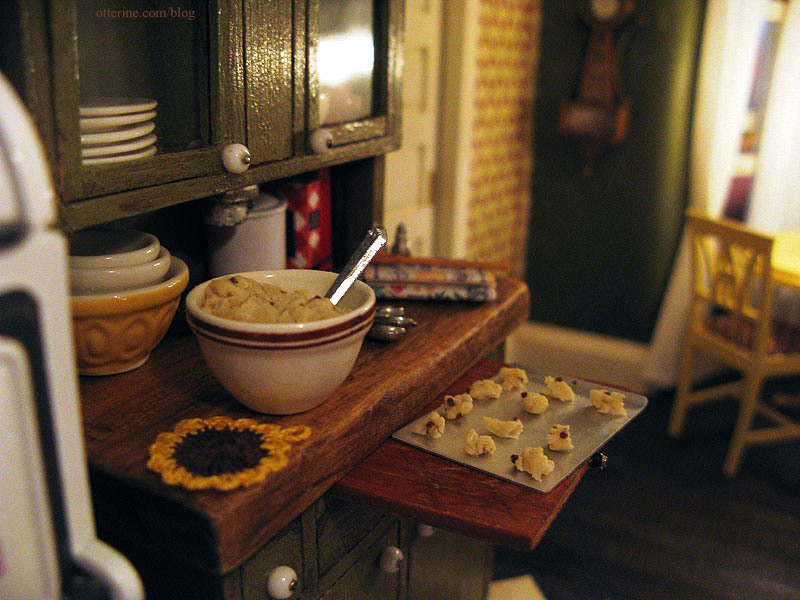
My mom makes the best chocolate chip cookies. No kidding. Every family gathering has people hoarding the cookies she brings, even though she brings dozens! I know chocolate chip cookies, and these minis are just like hers! :D
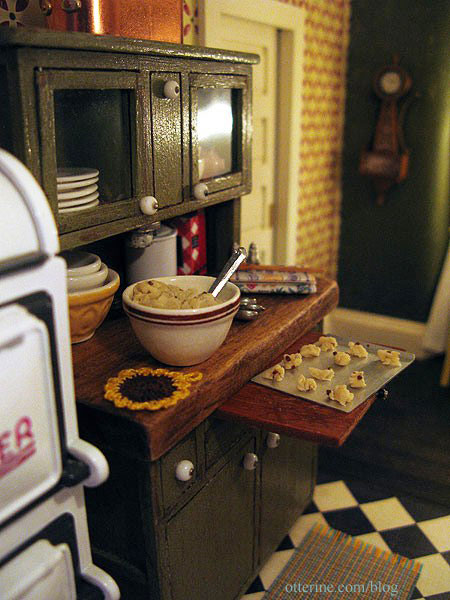
Cookies in progress certainly warm up a kitchen, don’t they?
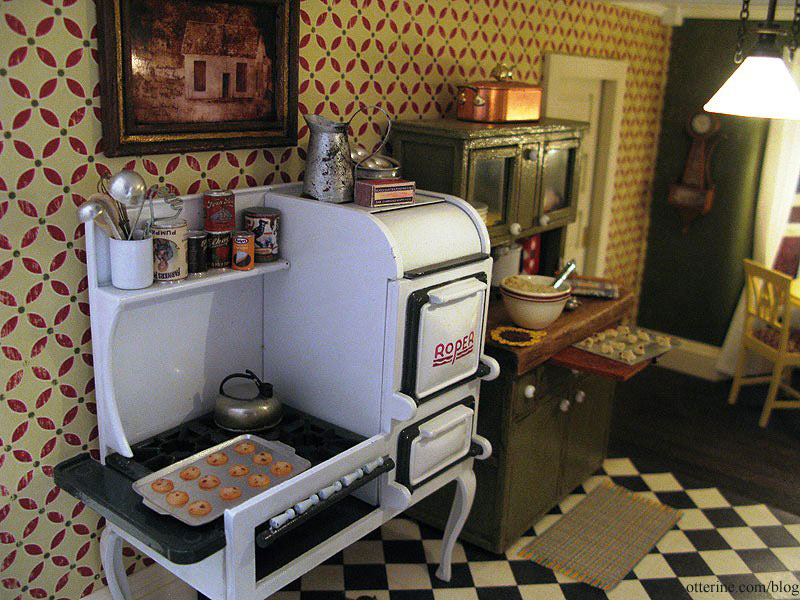
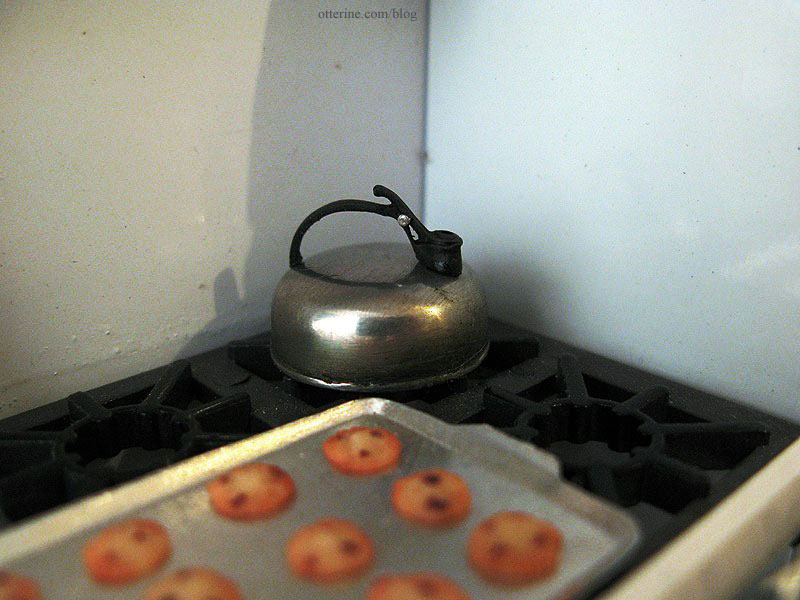
The whistling tea kettle is by Ulus Miniaturas – purchased from Mainly Minis. We had one of these in real life at my childhood farmhouse. Mom still has it and uses it, too!
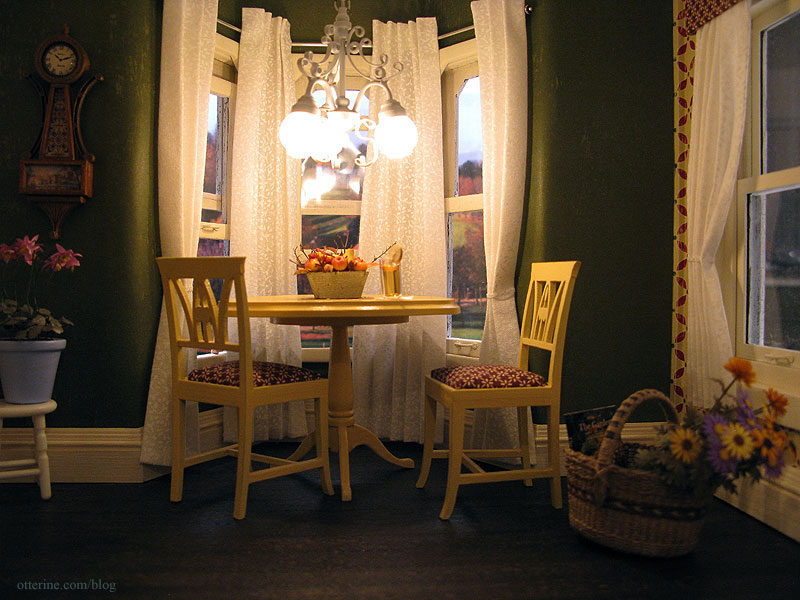
There is a white ceiling fixture above the dining table. Here’s a post on the kitchen lighting details.
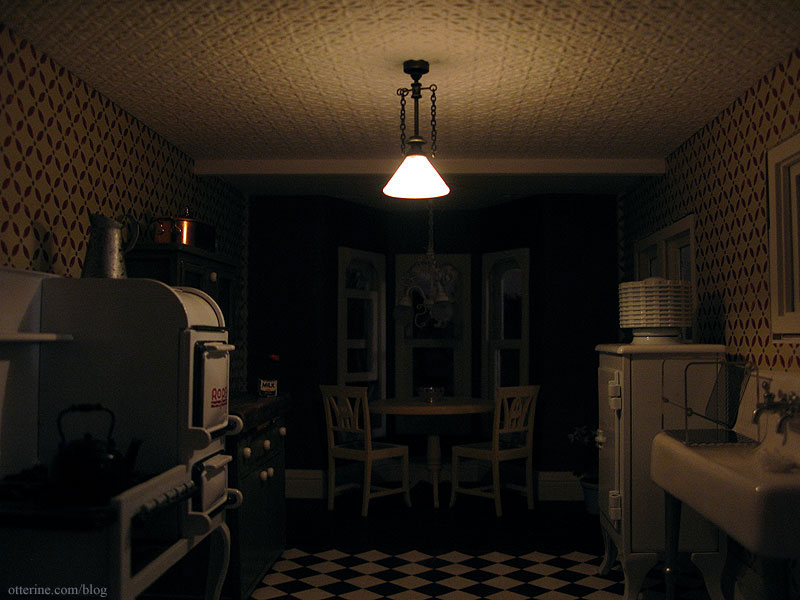
The kitchen area has a lovely Ray Storey pendant gas light. If I had had a larger budget, I would have bought the matching 3-arm down light for the dining table. But, the white ceiling fixture is still a beautiful piece. The gas light is very well made. I love the way it highlights the textured ceiling. It’s the perfect vintage touch to the textured ceiling.
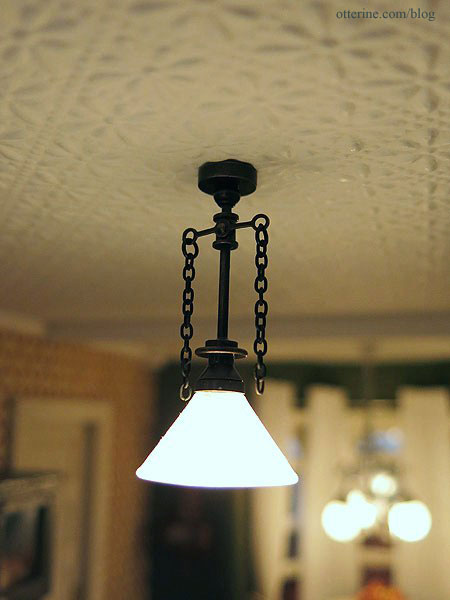
I don’t suppose in reality this dim fixture would do much good in the kitchen for nighttime cooking, but it casts such a wonderfully soft light over this part of the room.
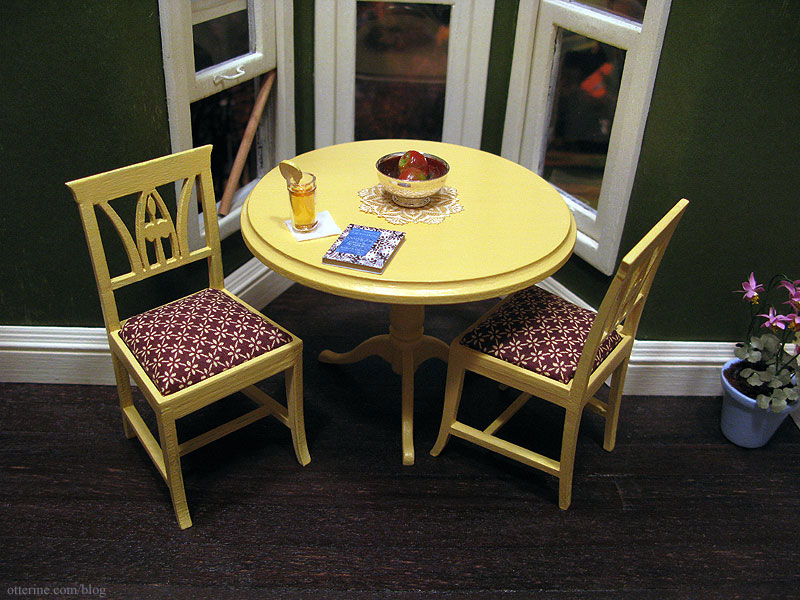
In the bay window nook, there’s just enough room for a small table and chairs. The dining table was made from a House of Miniatures kit, and the Lilje chairs kit came from Art of Mini. For the upholstery, I chose a brown and ivory print. I think it is close enough to the dark red to tie in well with the wallpaper.
The banjo clock was made from a Cynthia Howe Miniatures kit. Love it!!!! :D
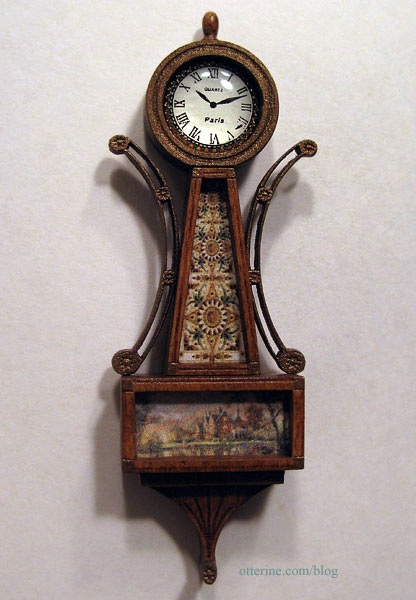
The artwork fits the kitchen décor perfectly, and the cabochon clock face is very realistic. My grandparents had lovely vintage clocks in their home, one of which now hangs in my real life kitchen.
Kelly made this wonderful artwork called Ghosts of the Past. I think it works wonderfully here in the kitchen. Maybe it’s an old faded photo of grandma’s childhood home. :] The lovely pitcher is from Caterina.
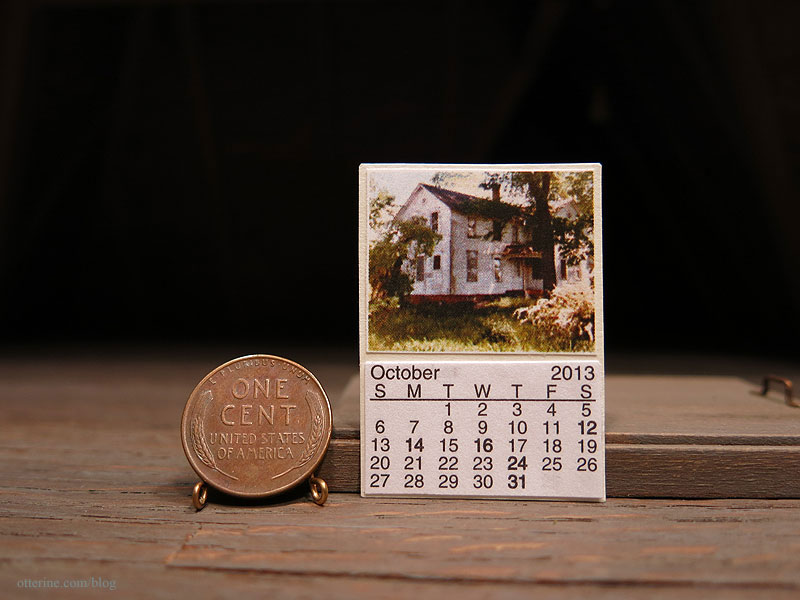
I made a wall calendar using the image of my childhood home, the lovely place from my dreams that inspired this build.
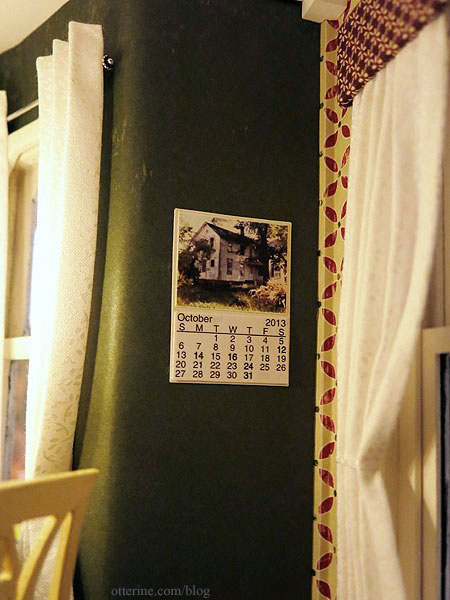
The tiny paper months of October, November and December were cut from a mini desk calendar and pasted to a piece of cardstock along with the printed photo.
The cat bowls are from D’s Miniatures and Collectibles, and I made a mat for them from paw print fabric.
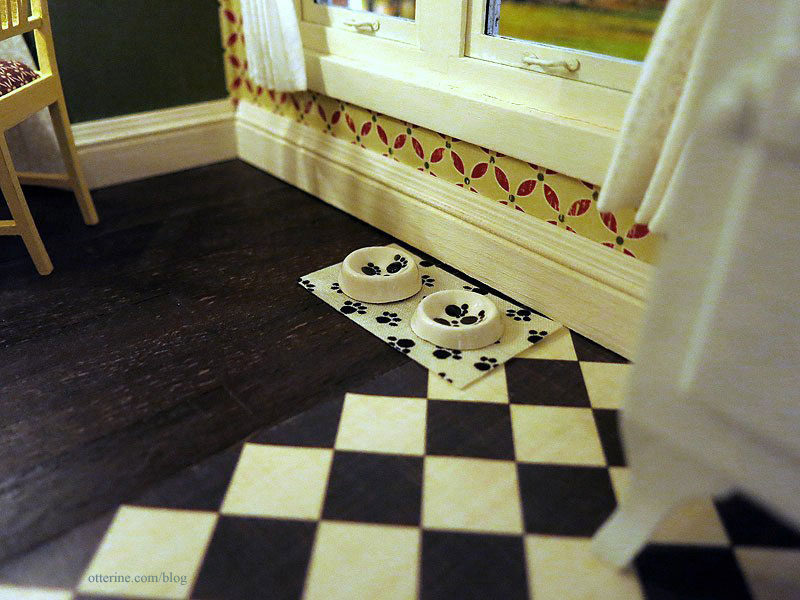
They are under the side window ready for Ophelia.
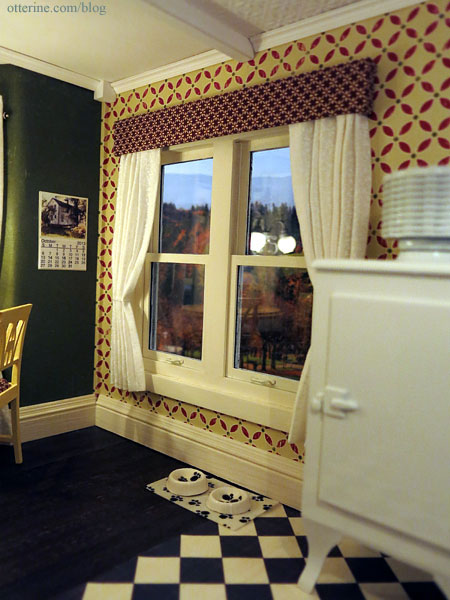
I love the way this room turned out…now let’s have some cookies!
——
For The Haunted Heritage pictorial recap post, please click here. Click here for a full list of Heritage posts, including how I made things and the materials used.Categories: The Haunted Heritage
August 9, 2013 | 0 comments
NOTE: All content on otterine.com is copyrighted and may not be reproduced in part or in whole. It takes a lot of time and effort to write and photograph for my blog. Please ask permission before reproducing any of my content. Please click for copyright notice and Pinterest use.


