
Chrysnbon parlor stove, part 1
This stove is fancier than I care for, so I have a few changes in mind to tone down the bling.
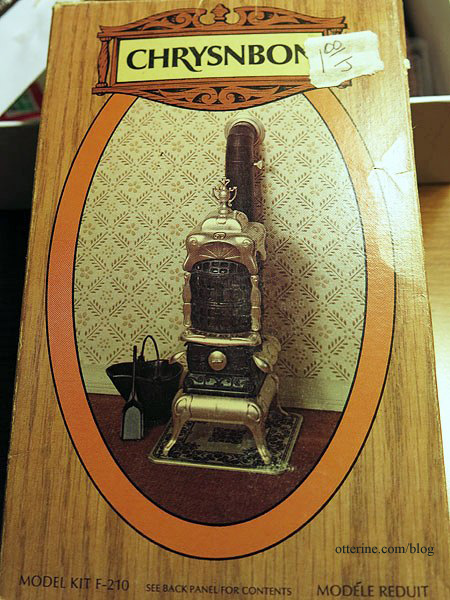
I left out the acetate window films included with the kit for now. Here’s a real life example of this stove showing these window inserts.
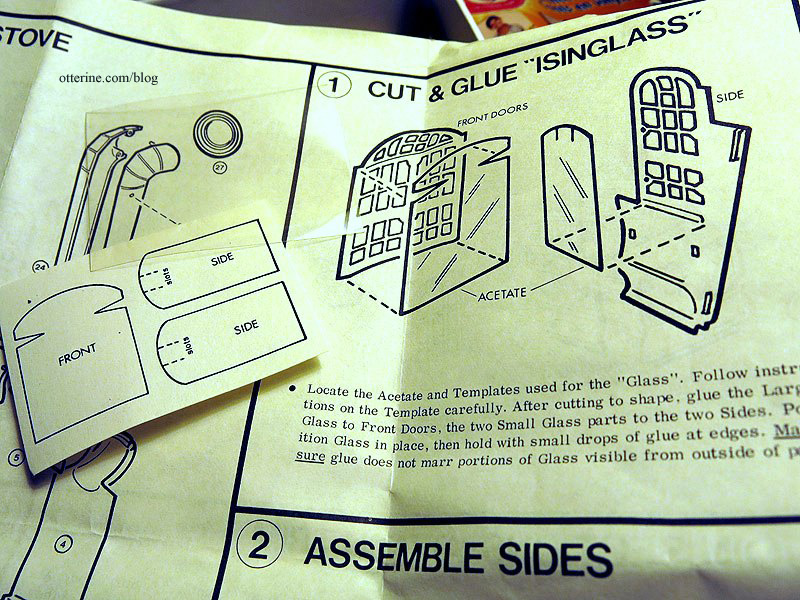
I plan to paint the stove to a uniform black, so adding the acetate would end up covered up with paint. A lot of the silver pieces had the finish worn away in places, so it was a good thing I didn’t plan to make this kit straight out of the box. It was still worth the $1 I paid for it.
One nice thing about this kit is that the injection marks are mostly located in places that are covered by other pieces. There was very little prep work needed to address those. To make it easier to apply glue into the tiny holes, I tapered a toothpick with my X-Acto blade.
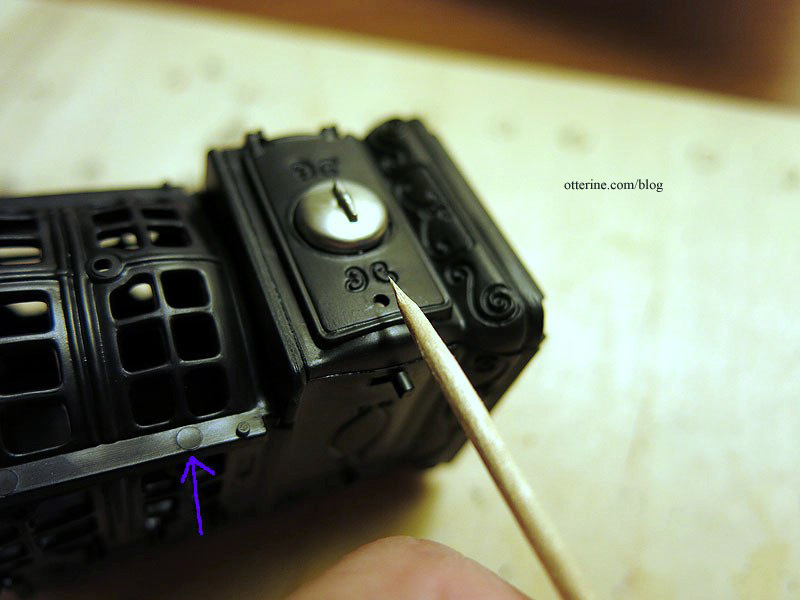
I assembled the main lower body and left the pipe, dome top, base and topper separate. This method will allow for easier painting and addressing the windows afterward.
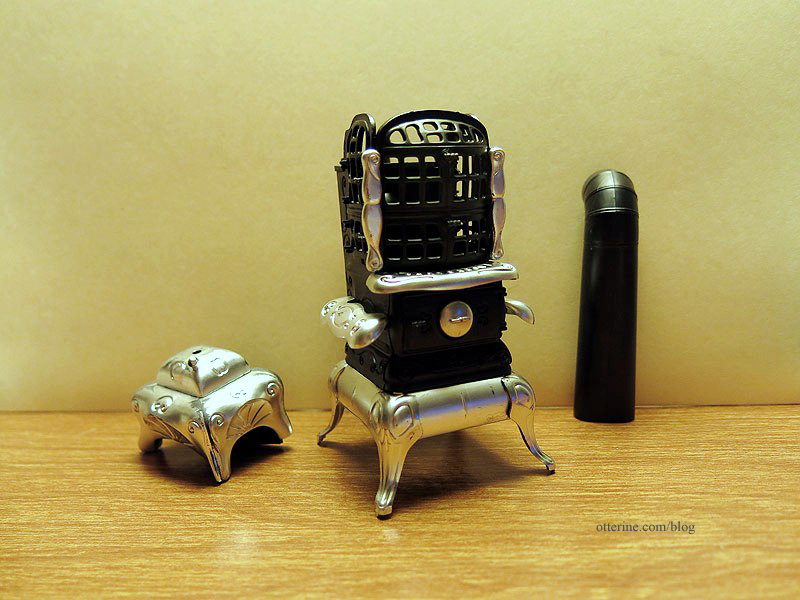
I spray painted the stove with Krylon Fusion flat black. I have the stovepipe also painted, but I didn’t photograph it because it was drying on another board.
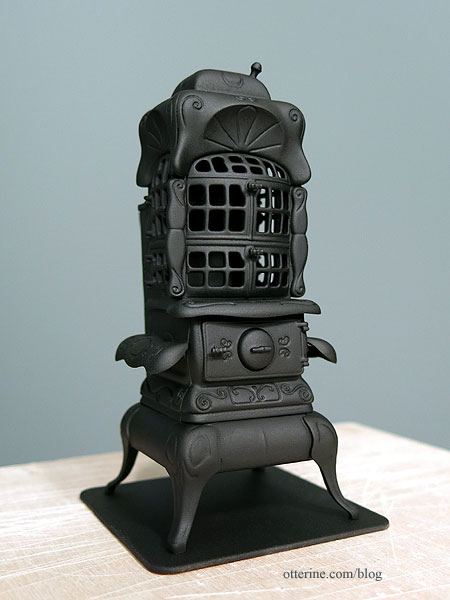
It toned down the super fancy look of the stove while still maintaining a lot of character. In fact, the silver accents it had distracted from all the intricate detailing.
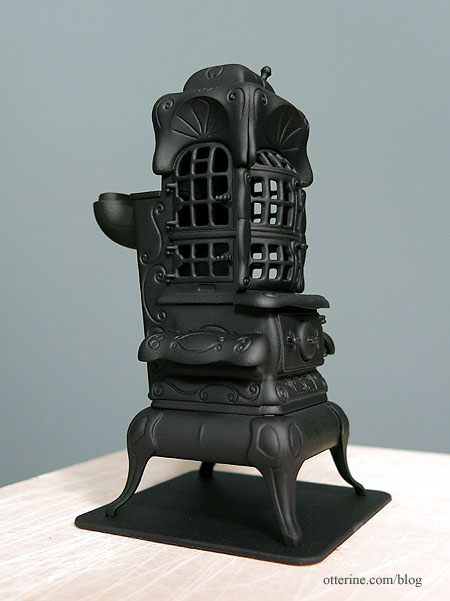
Finishing to come….
Categories: Furniture
November 22, 2013 | 0 commentsTrash to trash (can)
Inspired by My Small Obsession’s trash to treasure page and Lyssa’s recent mouthwash cap garbage can in her fabulous Loblolly Westcott House, I’ve taken two empty creamer containers and sprayed them with Valspar Metallic Silver. :D
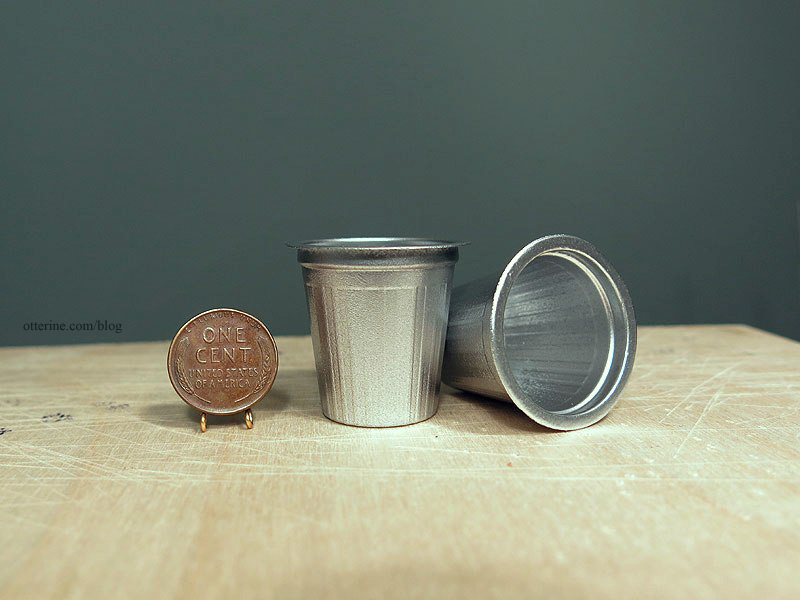
I like this paint, because it creates a nice visual texture in addition to the crisp silver color.
Categories: Miniatures, Walnut Bay Light
November 21, 2013 | 0 commentsWee “c” Miniatures Show 2013
I went to the last local miniature show of the year Friday night, the Wee “c” Miniatures Show. This show has a nice amount of dealers with good quality minis and a room with finished houses, room boxes and vignettes where you can vote for “Best in Show.” It’s always wonderful to see other miniaturists’ work in person. I found some unusual items this time around as well as some staples I needed to get for current and future projects.
A delightful Arts & Crafts stand from Jancrafted, along with its half scale counterpart. I like using half and quarter scale items in my full size builds as accent pieces.
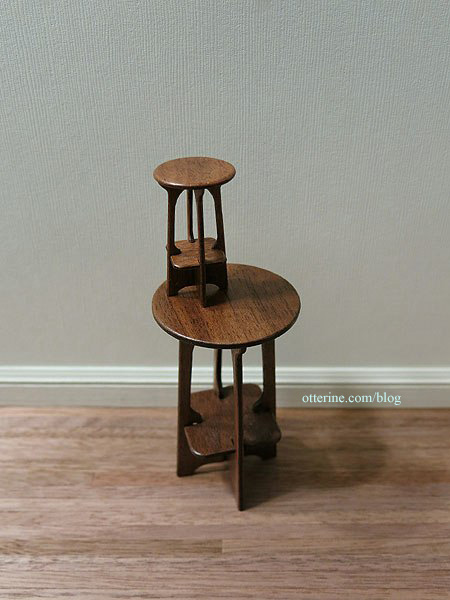
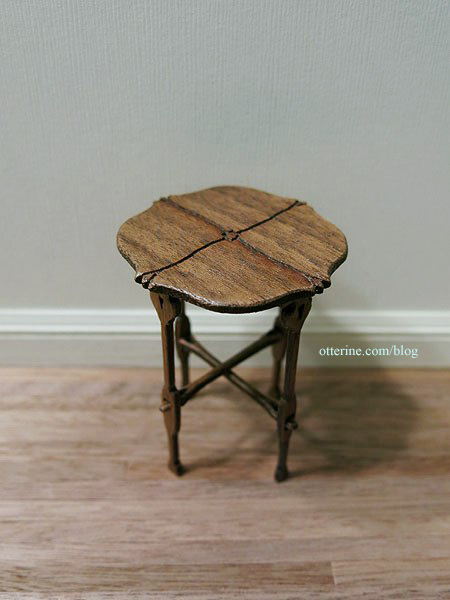
She had this lovely side table with interesting carvings and shapes.
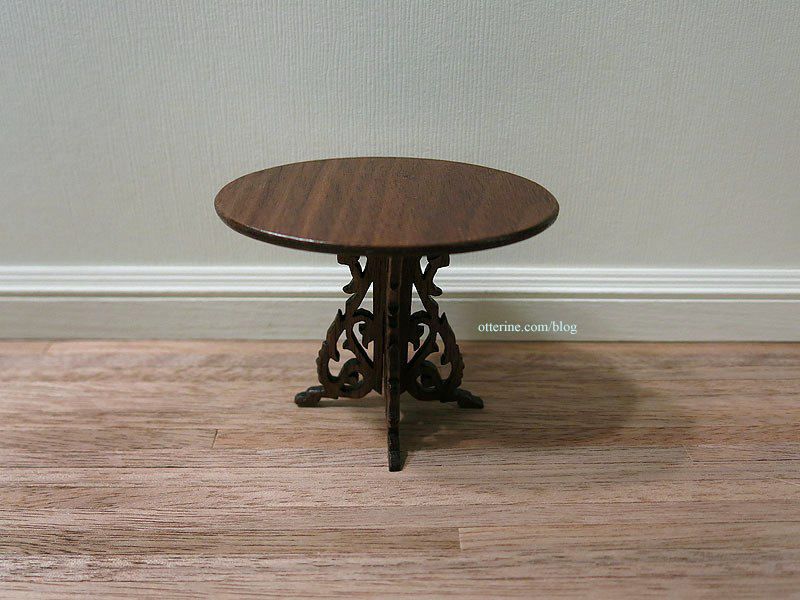
I also picked up a more traditional side table.
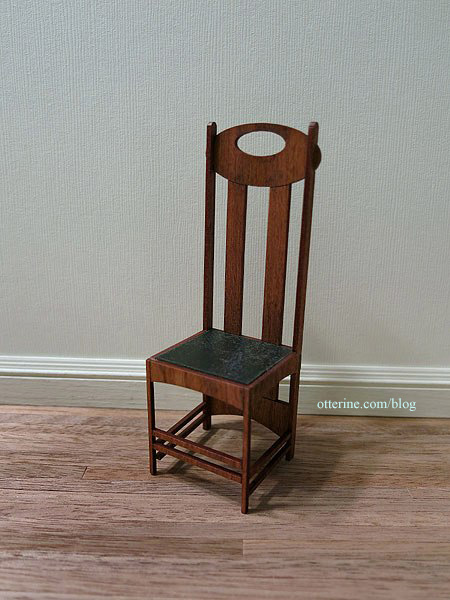
This gorgeous Mackintosh chair from William Cambron Designs. I considered buying two, but I wanted to stay on budget.
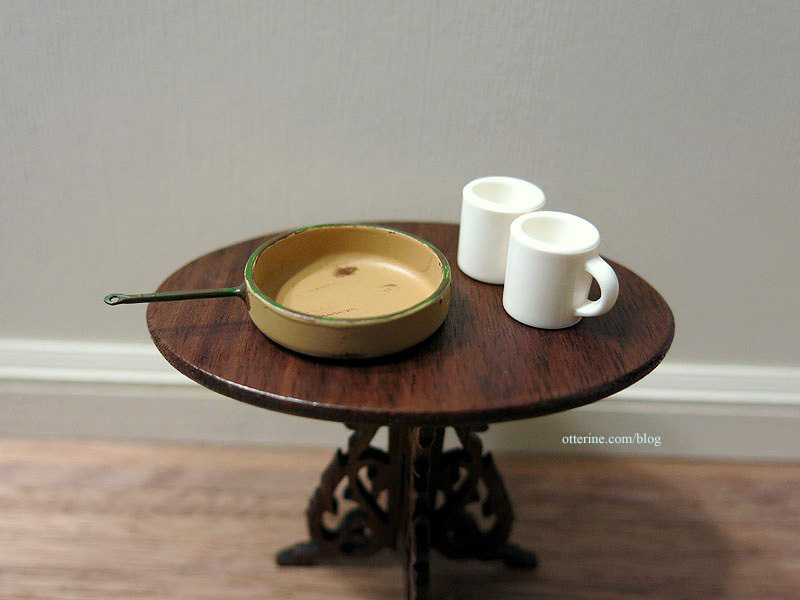
A worn plate from WCD as well. The mugs are from a vendor that didn’t have their name on the receipt, and there is no map of vendors on the Wee “c” website.
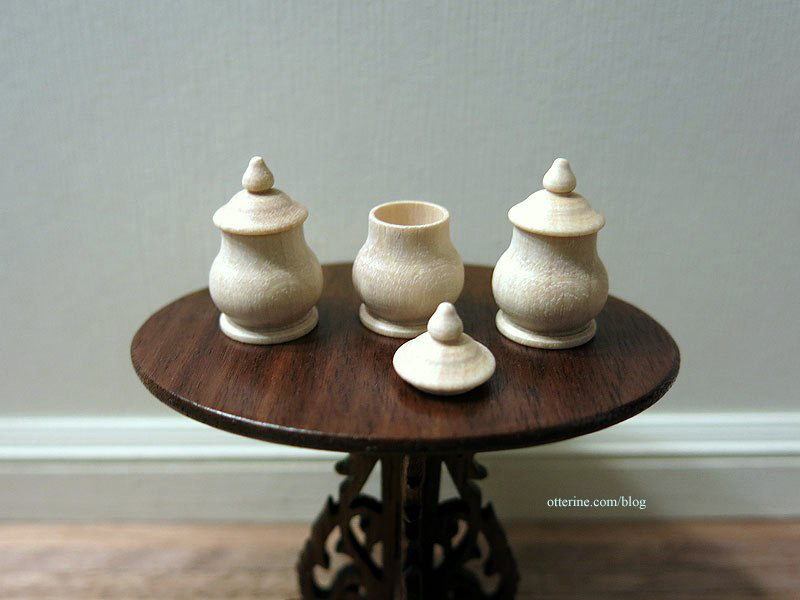
He also had a set of unfinished turned bowls with lids.
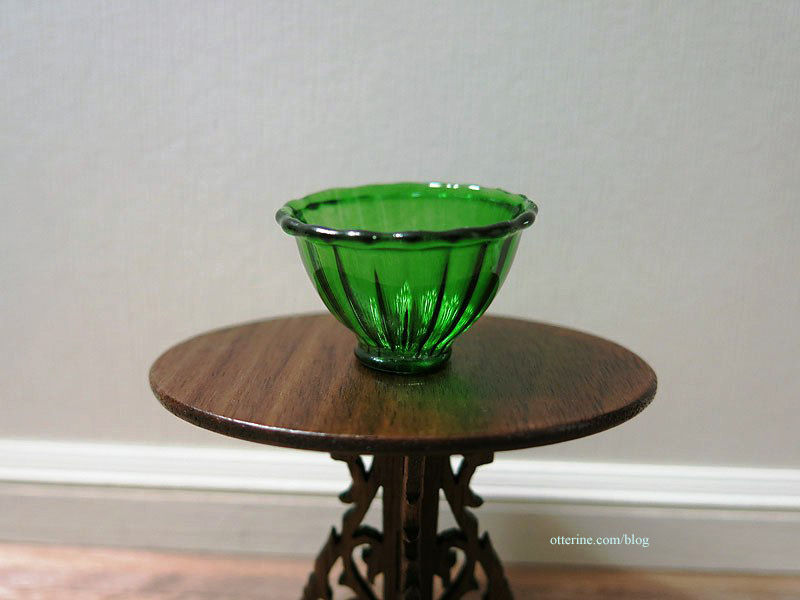
From the unknown vendor, I also picked up this beautiful large green bowl.
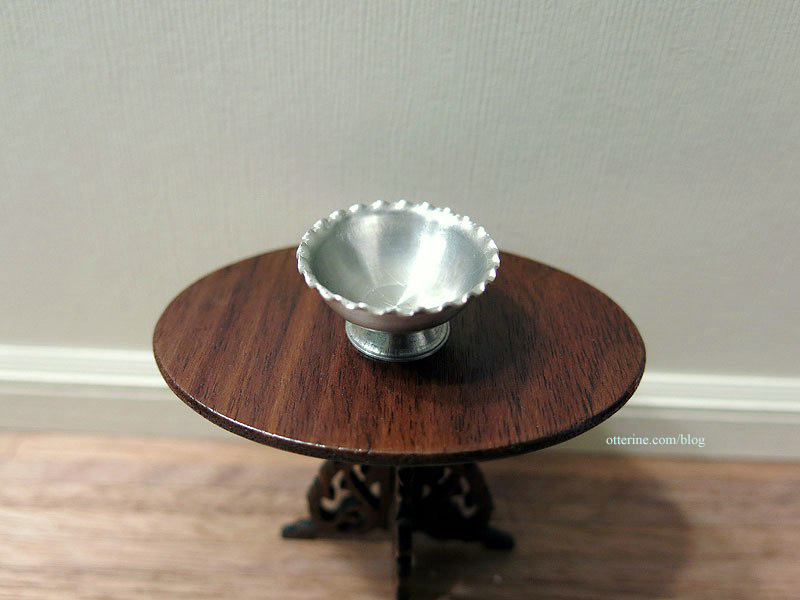
This lovely silver bowl was only a dollar!
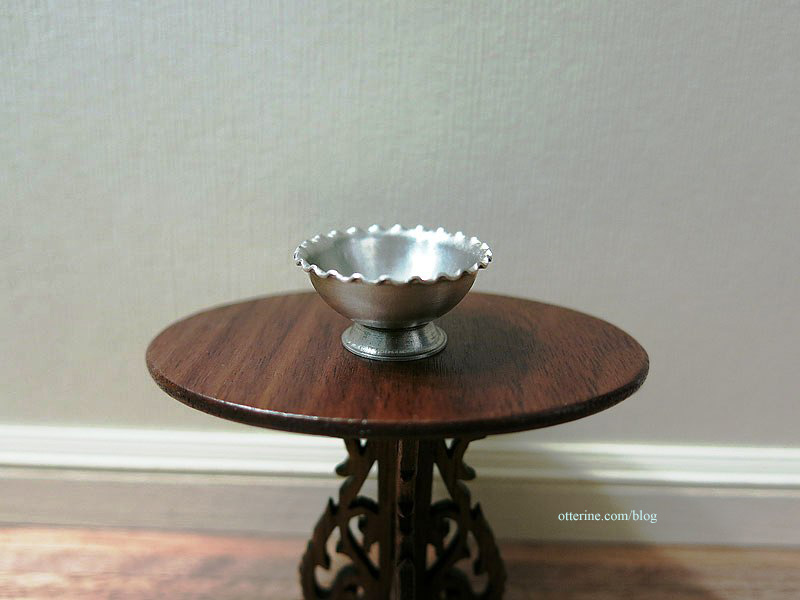
It is lightweight metal and wonderfully detailed.
Categories: Miniature Shows and Shops
November 9, 2013 | 0 commentsPainter’s Pyramids
I bought a set of Painter’s Pyramids to help me while I painted my real life kitchen cabinets, but they are now in my mini tool box. :D
They are plastic pyramids with holes on the sides so you can use your fingertips to reposition them easily. They are also hollow on one side, so you can stack them for storing. A package of 10 is roughly $5, though it would make more sense for a pack of 12 since you typically use them in fours for better stability.
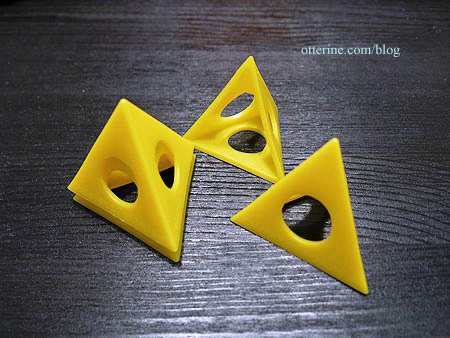
They now have a version with holes so you can attach them to your work surface with screws, and one of the packages I bought has this feature. For my cabinet doors, I did find the doors slid around on them a bit, but the pyramids stayed put even without the screws. I think it was the nature of the semi-gloss surface that made the doors slide around. When I used them to paint the kit walls with craft paint, there was no sliding. :]
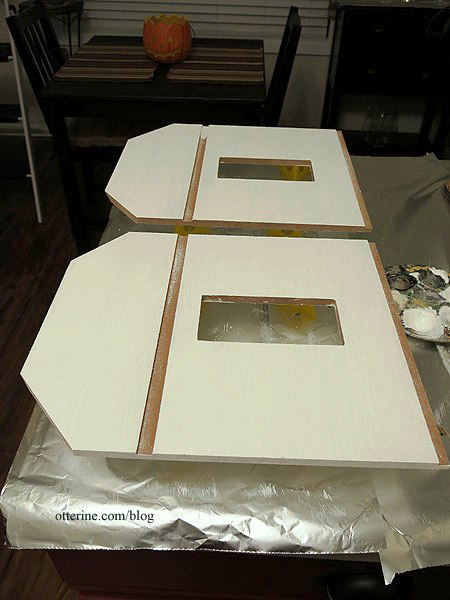
You paint one side of your board, wait until it’s relatively dry and then flip it over onto the tips of the pyramids. This means your painted surface won’t stick to the work surface. Even waxed paper and foil can stick to a tacky painted surface and pull paint away in spot. If the finish is marred at all while using the pyramids, it will be only at the points where the tips hold the board — a relatively easy touch-up.
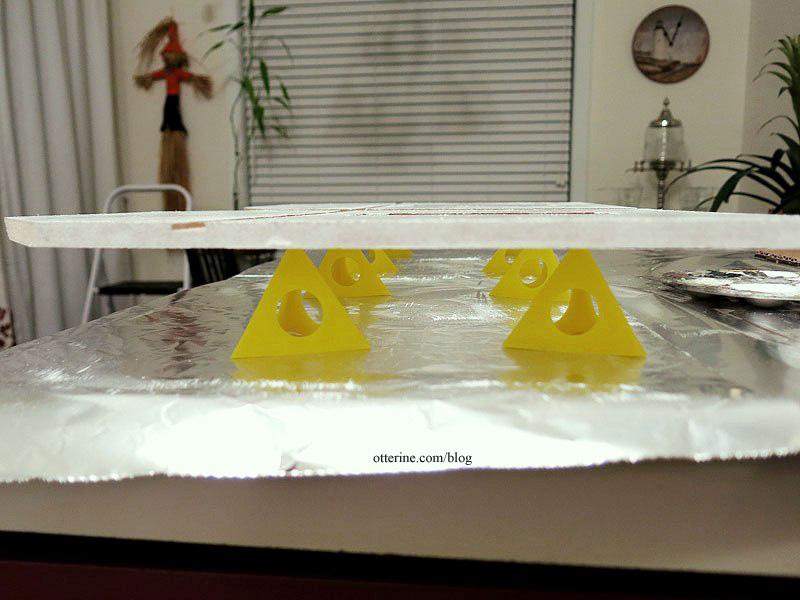
You can work so much more quickly than you would be able to without them. And, painting both sides of the boards at the same time keeps warping to a minimum. The pyramids allow both sides to dry evenly.
Categories: Tools
November 2, 2013 | 0 commentsThe Delightful Mr. Rat
The other day, etsy was a dangerous place to be. I fell in love! =swoon=
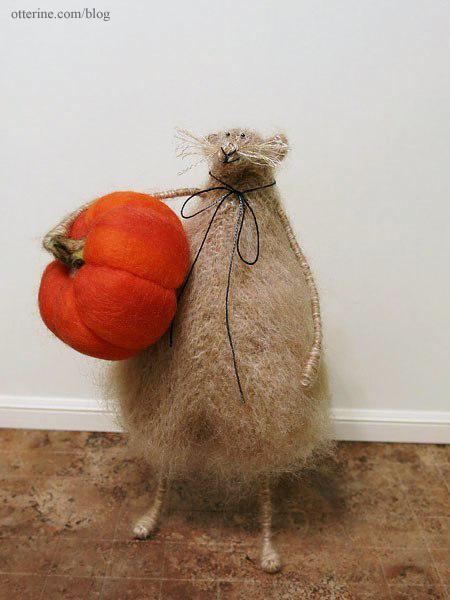
Mr. Rat is a beautifully handmade character from Candyfleece in the UK.
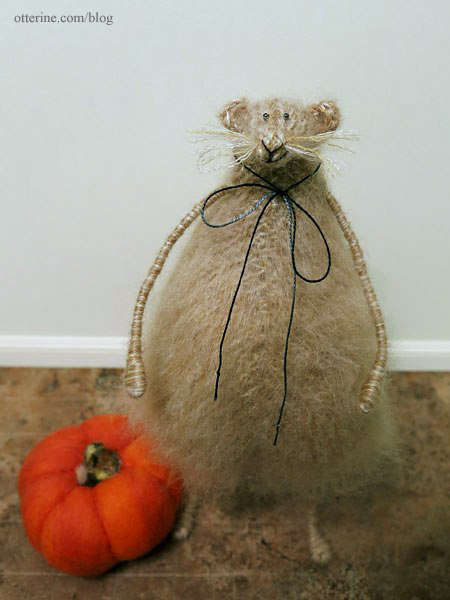
His arms, legs and tail are poseable so he can stand on his own and hold items in his arms.
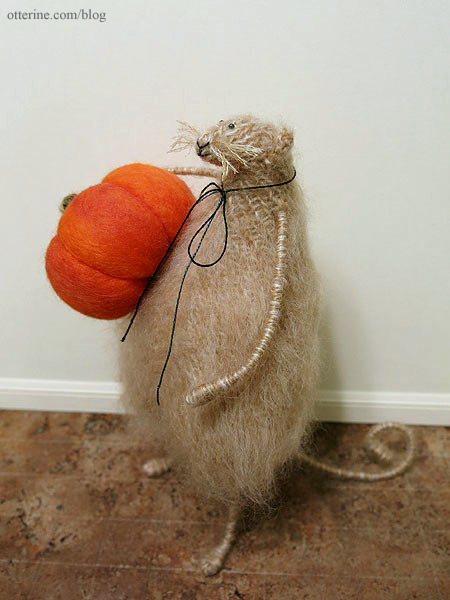
He comes with a needle-felted pumpkin, but he could easily hold other items for the changing seasons.
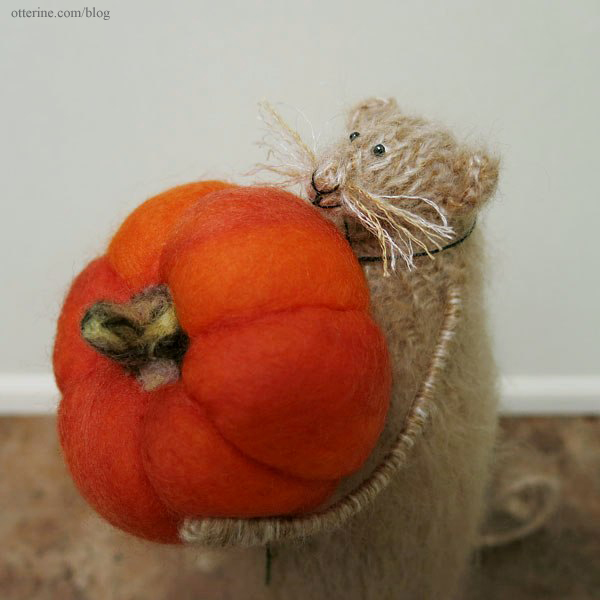
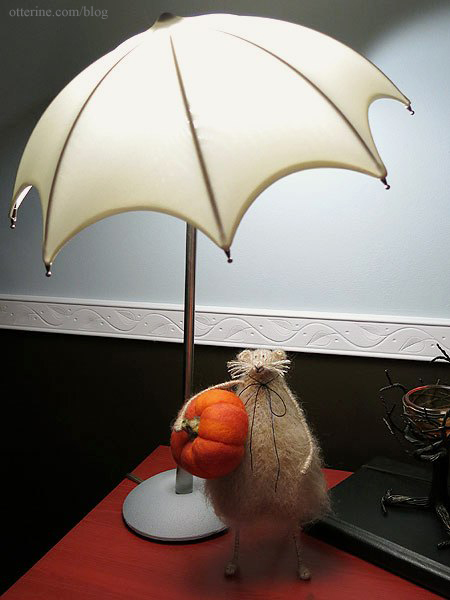
While not in 1:12 scale, I couldn’t resist adding him to my collection of interesting and fun items.
Categories: Animals and birds
October 28, 2013 | 0 comments
NOTE: All content on otterine.com is copyrighted and may not be reproduced in part or in whole. It takes a lot of time and effort to write and photograph for my blog. Please ask permission before reproducing any of my content. Please click for copyright notice and Pinterest use.


