
Fancy railing
I had a different idea for a railing assembly I needed for the build, but that idea was a fast disaster. It required too many extremely precise cuts, and I just didn’t have time for that. The materials were giving me fits, so I abandoned it after an hour. On to Plan B, which I love!!!
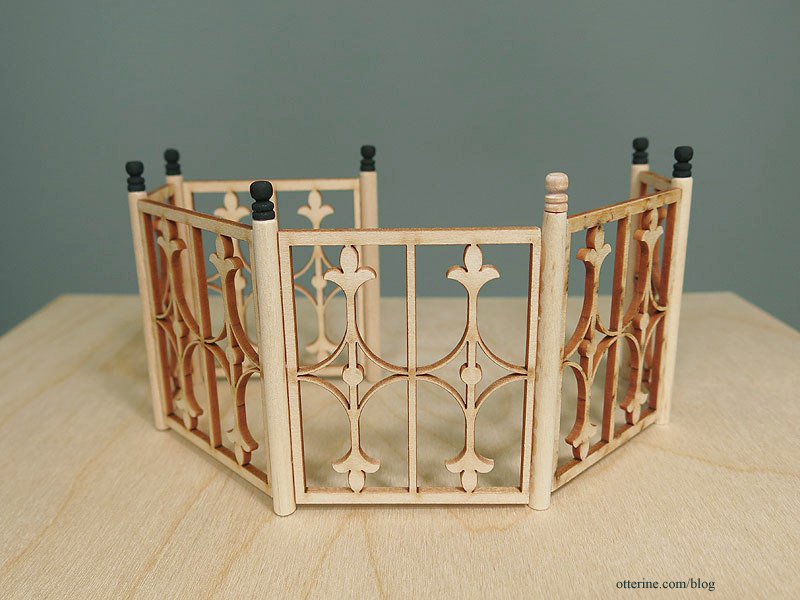
I had two laser cut railings from Laser Tech in my stash of materials. The repeat on these is roughly one inch, which was exactly what I needed. I had just enough materials to complete the railing. Happy accident.

I cut 2 5/8″ high posts from 3/16″ Woodsies dowels and topped each one with a detail trimmed from spindles by Tiny Turnings.

The reason six of them are black in because these six posts are replacements for the initial posts that were sprayed black. The entire railing will be black.

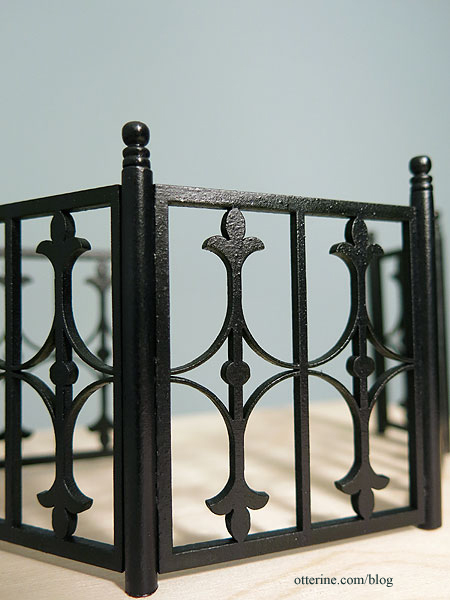
I sprayed the railing flat black followed by Minwax Polycrylic Semi-Gloss spray sealer.

It now has a wonderful wrought iron texture.
Categories: Walnut Bay Light
December 8, 2013 | 0 commentsColonial Four Post Double Bed
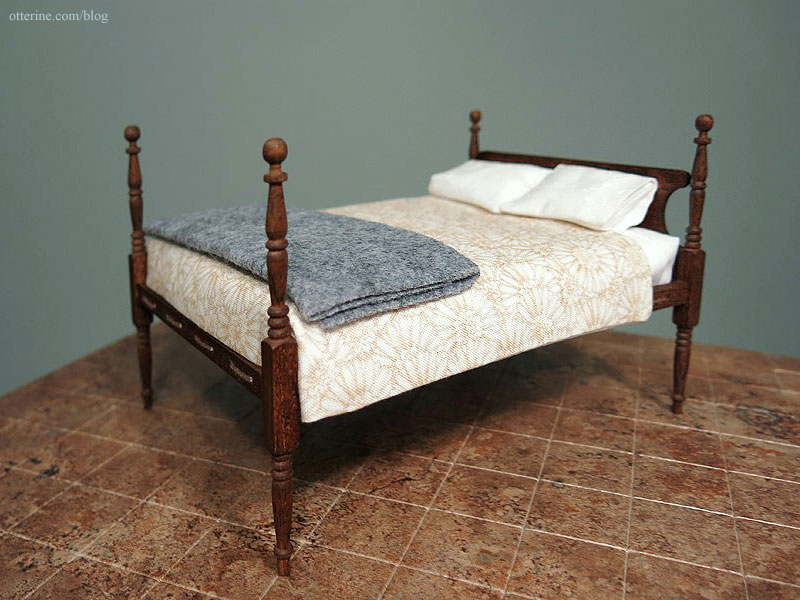
I had planned to make a different bed, but time constraints called for Plan B. This is a kit from HBS, and it went together quickly and easily. I used Minwax English Chestnut for the finish.

The kit included white twine to rope the bed. The instructions tell you to cut the twine in equal parts, but the rope wasn’t long enough. :\ So, I used DMC 841 Light Beige Brown. Saved me the trouble of having to tea stain the rope, and it worked just as well. That’s a House of Miniatures side table in progress, and the rug is from Manor House Minis.

I used the kit’s foam mattress, covered it with millinery batting, plain white sheets, a sunflower printed bedspread and a wool blanket made from heather grey felt.
Categories: Furniture, Walnut Bay Light
December 6, 2013 | 0 commentsWallpaper Mucilage, I love you!
Ok, maybe that’s a bit dramatic, but I definitely have a new stand-by! A couple of people here and on the Greenleaf forum recommended the wallpaper mucilage that miniatures.com carries. I ordered a jar to give it a try. Now, it is a small container for $7, but you don’t have to use very much. And, why get a huge jar if it will just dry out before you can use the whole thing?
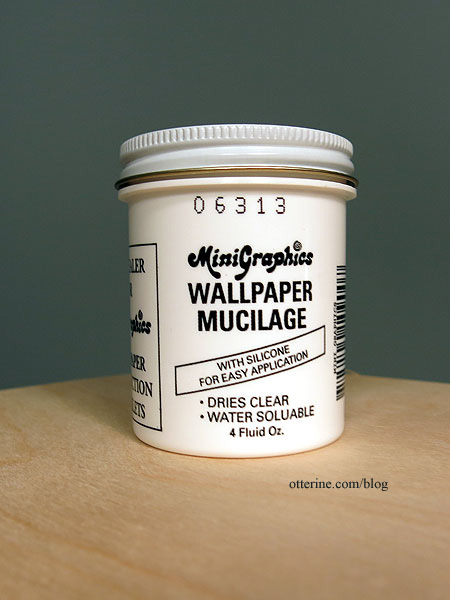
I tried it on a scrap of paper, applying it directly to the paper instead of the wall this time. It did curl the paper a little but it wasn’t unmanageable.
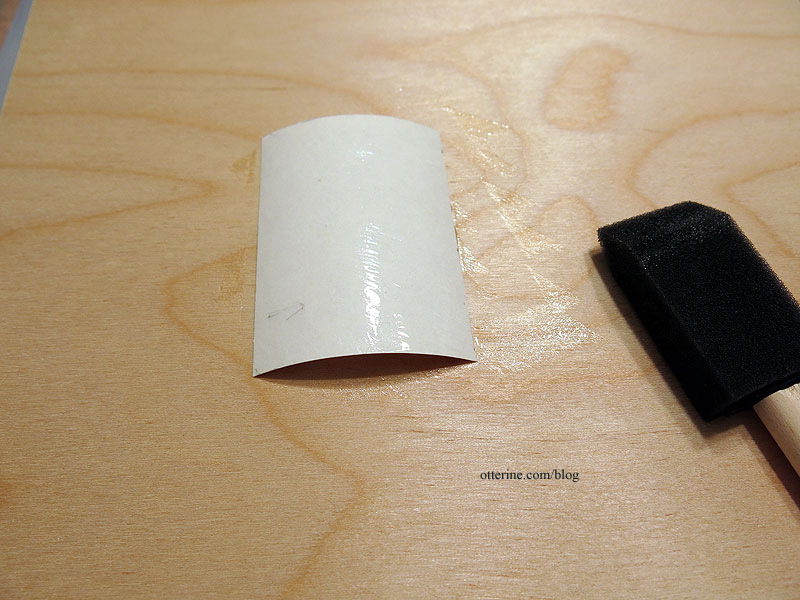
I stuck the paper to my primed scrap board and it stayed put right away. I could move it a little if needed, but I didn’t have to constantly press the edges to get it to work. There was no buckling of the paper, either. This is vintage Millie August dollhouse wallpaper called Bonnie Brae. :D

To be fair, I tried the same glue-to-paper technique using the True Value real life wallpaper adhesive that some had recommended.

It really curled the paper. This would be an issue all by itself since curling makes it hard to keep the paper from sticking to itself and getting paste on the good side, but also the paper didn’t want to stick to the primed wall. I am guessing you really have to slather this on, which would be fine for thick real life wallpaper but not for mini papers.

I tried the True Value real life wallpaper adhesive on some wood flooring sheet, too. While it gave a decent hold after it dried, getting it to stick in the first place was a pain. I tried the MiniGraphics wallpaper mucilage on the same flooring, and it worked like a charm. So, I nixed the real life paste for the MiniGraphics wallpaper mucilage.
The next test was to use the MiniGraphics mucilage on a cut piece of wallpaper. I applied it with a foam brush and the curling was minimal. It stuck to the wall, allowed me to reposition (quickly) and then stayed put. No, can’t show you that part. :D
Since only time will tell if the MiniGraphics mucilage will hold up to humidity, I can’t say for sure it is foolproof. But, I ran some water over both samples and the True Value pasted paper buckled whereas the MiniGraphics pasted paper did not. That’s a good sign.
I’m not really sure why I was so insistent on using Yes paste. I’ve seen it recommended before, but now it’s no more Yes for me.
Categories: Tools
November 30, 2013 | 0 commentsHomemade glue syringe
So, the other day, my glue syringe finally gave out. The rubber stopper kept getting caught in the tube. You’ve seen this delightful tool used many times.
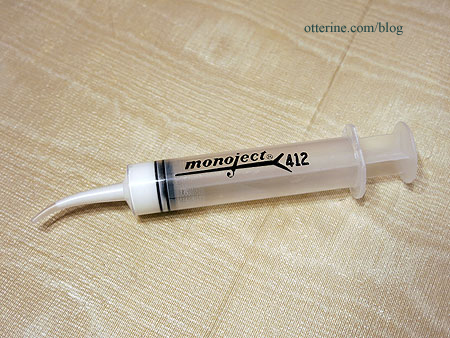
It’s Thanksgiving Day, and I need a glue syringe. Did I remember to pick one up last night when I was running pre-crazy-shopping-days errands? No.
Now, the local Michael’s does open at 4PM today. I’m not saying I won’t have to go to the store at some point this weekend, but I am trying to avoid it as much as possible. If Thanksgiving shopping is your thing, that’s great! I wish you good parking and fabulous deals. But, I’d rather not. :D
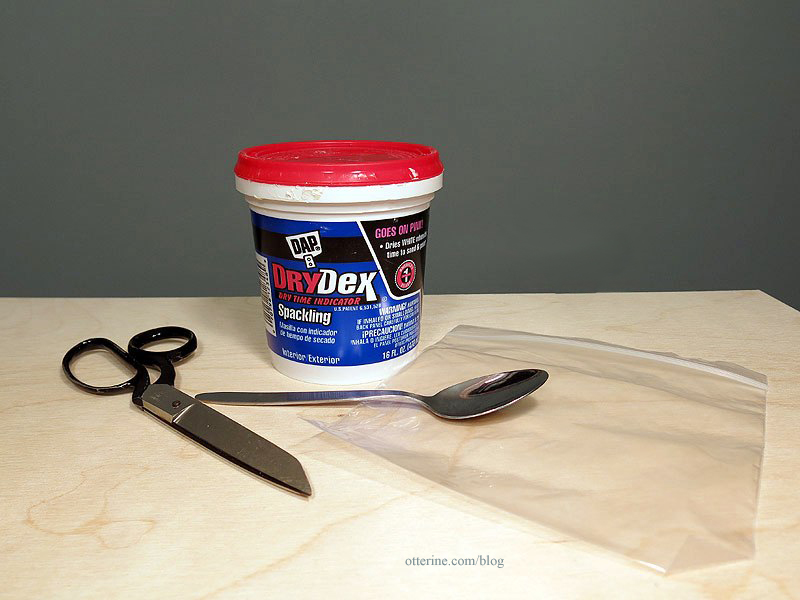
So, what to do? I gathered my scissors, a spoon, a plastic sandwich bag and the spackling tub. I don’t see any reason this wouldn’t work for glue, but I needed to apply spackling today.
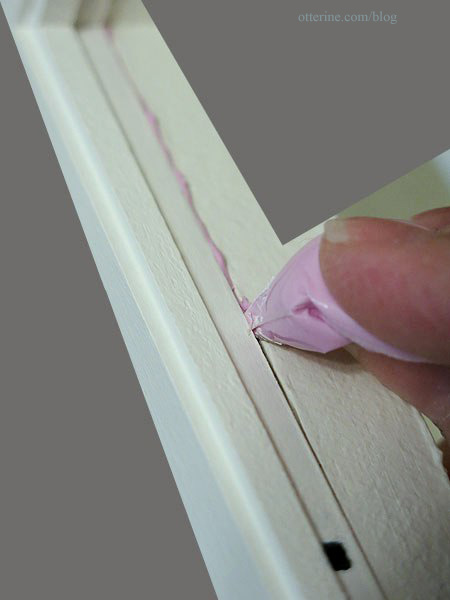
I spooned some spackling into the bag and pushed the material toward one corner leaving the zip-top unsecured. I gave it a slight twist and snipped the corner. Twist some more, and the spackling came out of the tip.
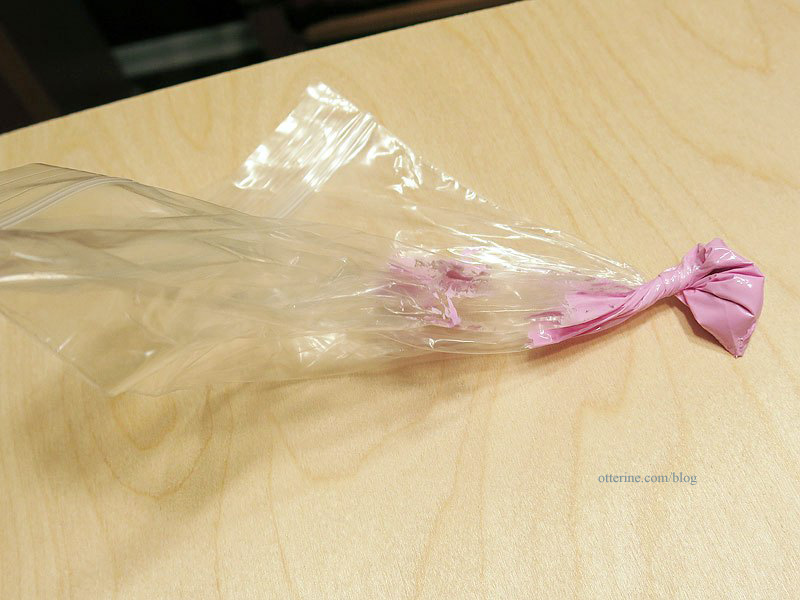
It’s basically a small pastry bag. :]
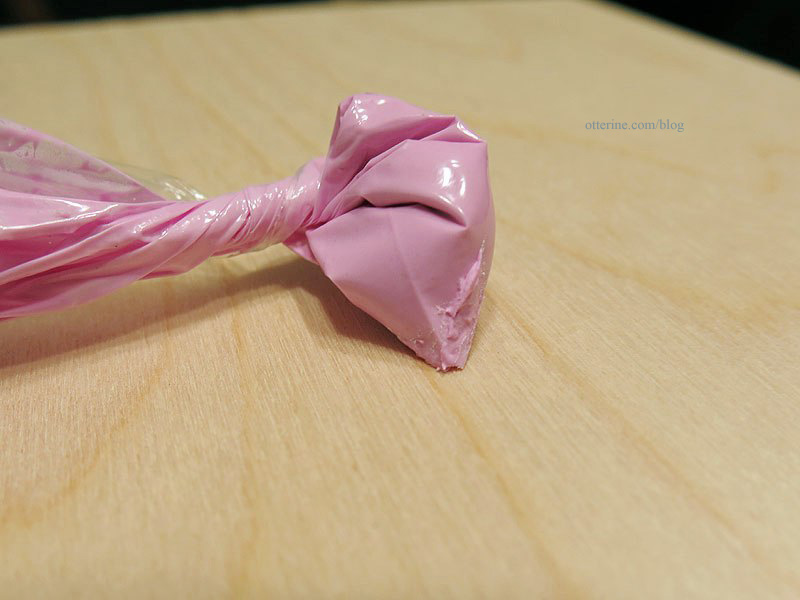
It took some getting used to and the syringe is easier to fit into tight spaces, but there was enough room for me to work with the bag on this particular area. It worked rather well, and I can keep my sanity avoiding the stores…at least for today.
What I’m not avoiding is a yummy Thanksgiving dinner! Almost time to eat! :D
Categories: Tools
November 28, 2013 | 0 commentsHouse of Miniatures Chippendale Desk
I have my final layout for furnishings figured out, and I need a desk! I’m working with a House of Miniatures Chippendale Desk kit.
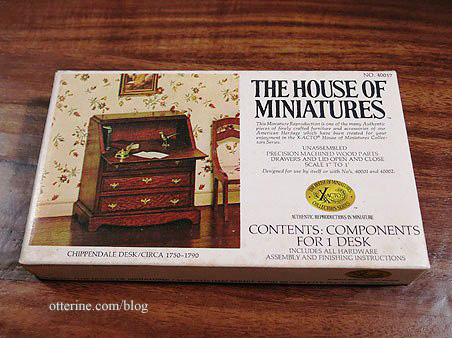
I built the desk without modification and painted it black to start. I sanded the finish smooth and then planned to add two coats of a lighter color, sanding to pull the black through in areas. But, now I’m torn. I love the distressed finish!
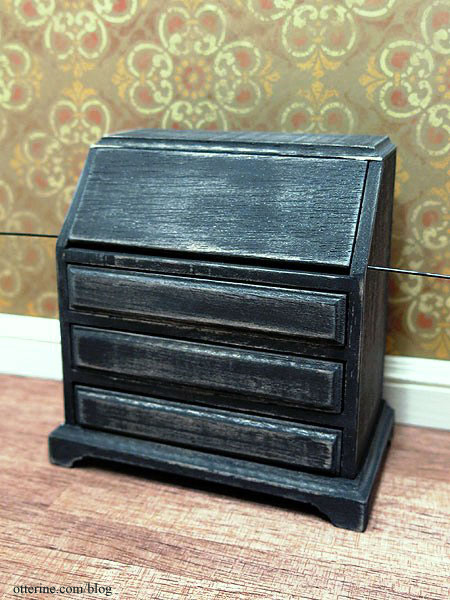
I could seal it as is to deepen the black and preserve the rustic look.
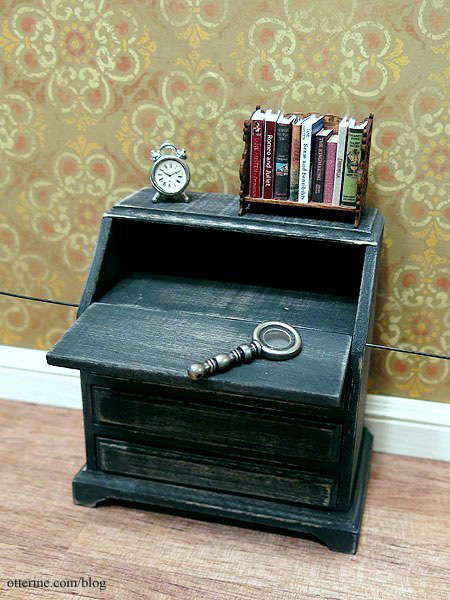
I left it for awhile and decided to keep it. A miniaturist on the Greenleaf forum suggested a stain to deepen the look, so I added a brown-black wash to tone down the lightness of the exposed wood. I then sealed the piece with Delta Ceramcoat Satin Varnish.
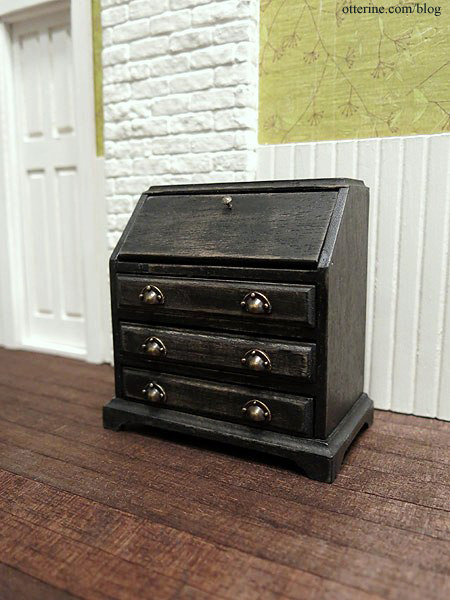
The drawer pulls are by Dijon Limited, and the knob is brass painted with Liquitex Iridescent Bronze.
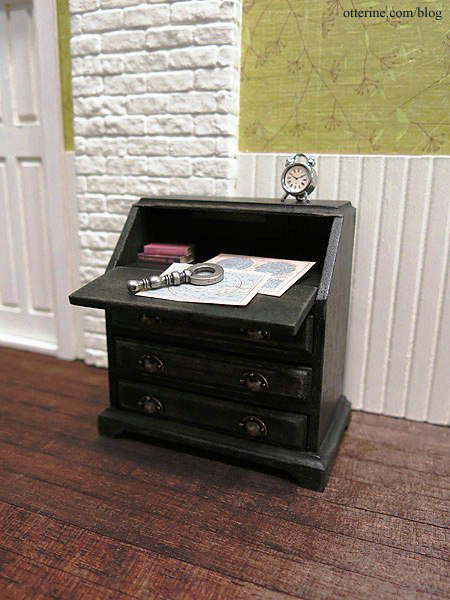
The clock is from Manor House Minis, the star charts are from L Delaney, and the magnifying glass is a jewelry finding. I made the books.
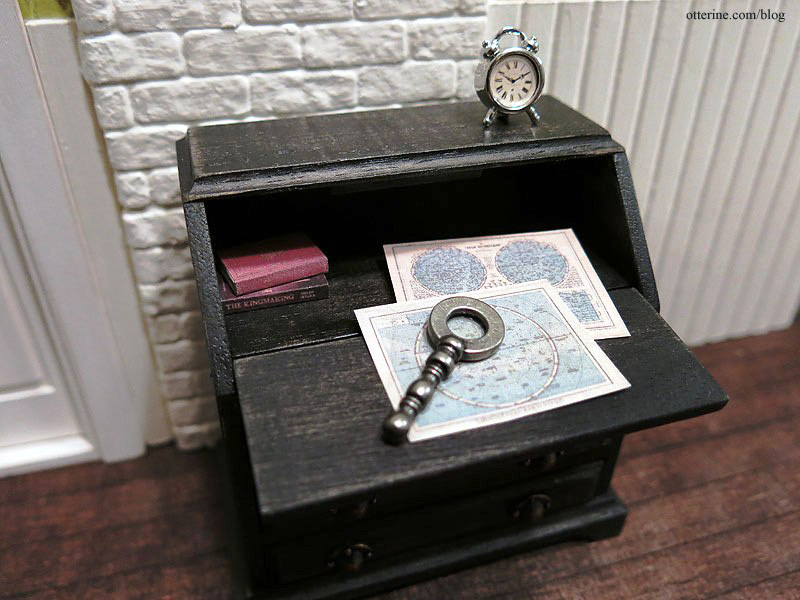
Yep, I love it! :D
Categories: Furniture, Walnut Bay Light
November 23, 2013 | 0 comments
NOTE: All content on otterine.com is copyrighted and may not be reproduced in part or in whole. It takes a lot of time and effort to write and photograph for my blog. Please ask permission before reproducing any of my content. Please click for copyright notice and Pinterest use.


