Though the Newport was sold eventually, I’ve compiled some of the posts I made when I first started building it.
—-
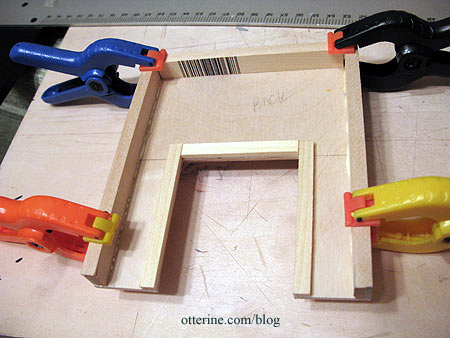
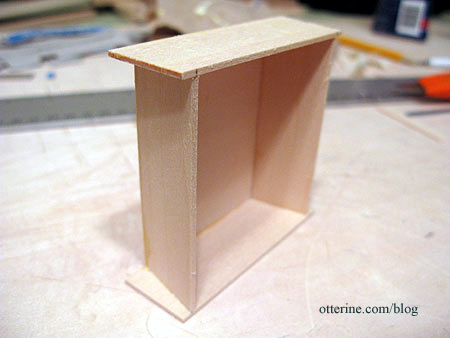
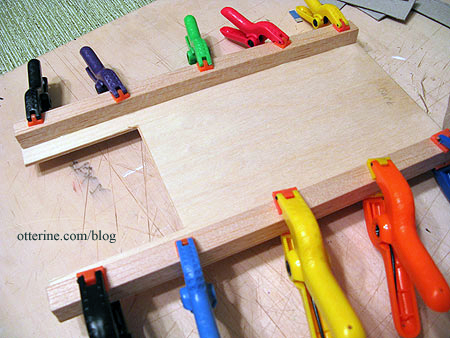
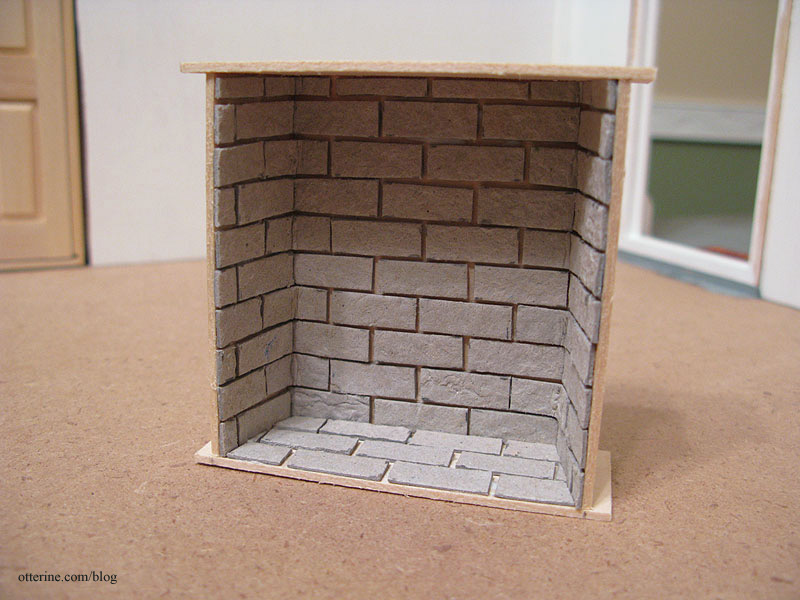
Continuing work on the study with fireplace. I cut the opening in the fireplace front and lined it with thin strips of wood. I’ll cut new egg carton bricks that are long enough to wrap around the edge made by these strips to give the illusion of solid bricks lining the opening. The sides and top of the fireplace structure were then glued in place.
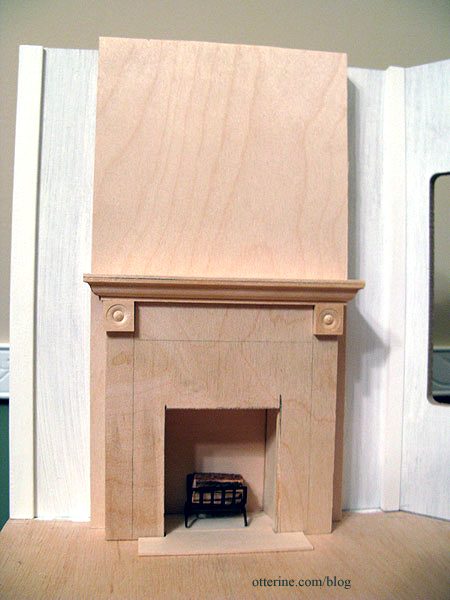
I then built the firebox to fit behind the opening.
I will likely line this with egg carton bricks as well but in a different color than the outer brick.
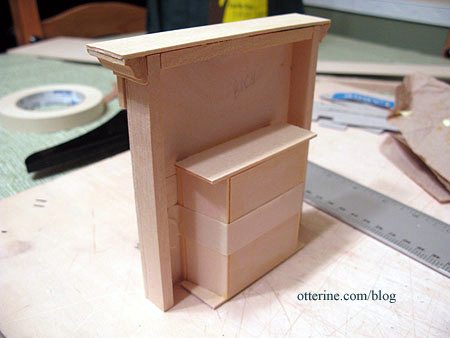
I then measured the opening needed in the chimney breast to fit the firebox. After cutting that opening, I attached the sides.
The chimney breast will be permanently affixed to the wall and wallpapered, but the fireplace, firebox and lighting unit used to simulate flames will be removable.
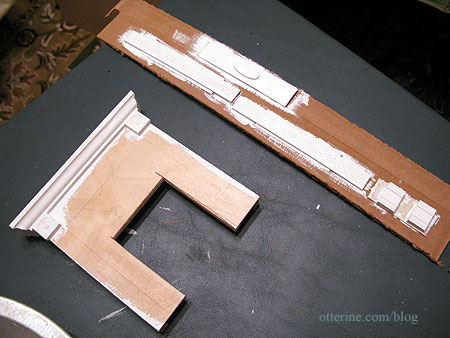
Since I’ll need to paint and grout the bricks on the front surface a different color from the trim, I taped the trim pieces to cardboard and painted them separately. Touch-ups are easier than trying to mask off entire areas.
Here the egg carton bricks have been glued in place and are ready to be painted.

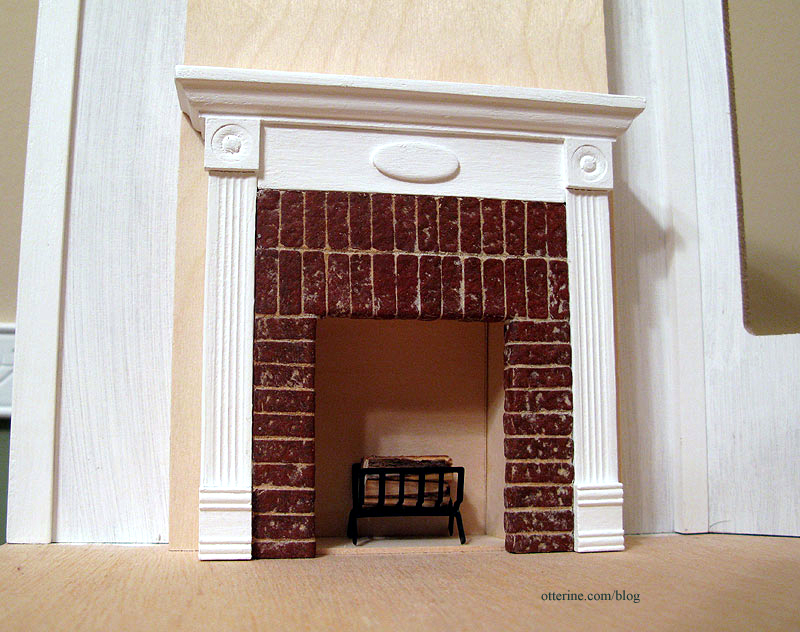
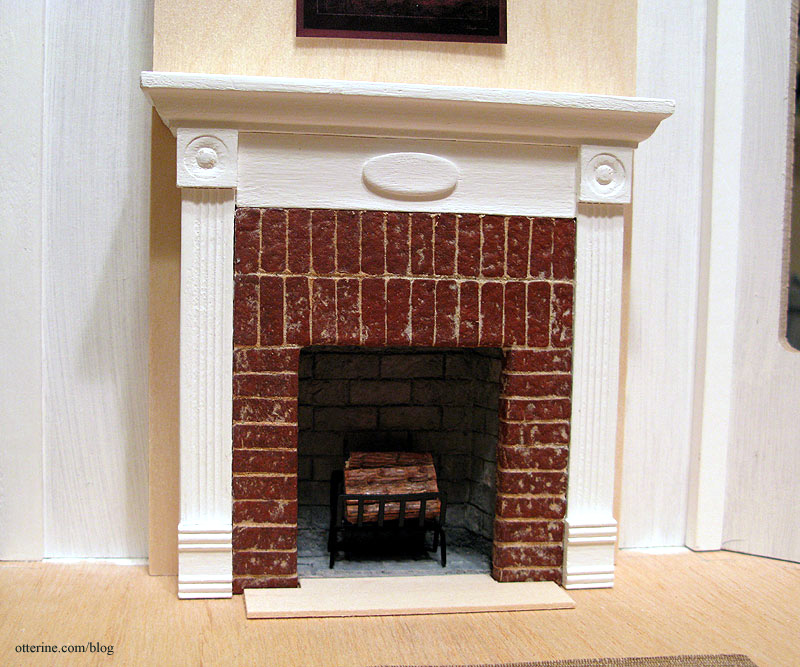
And, after painting, grouting and attaching the final trim, I have a finished fireplace mantel in the exact fashion I wanted.
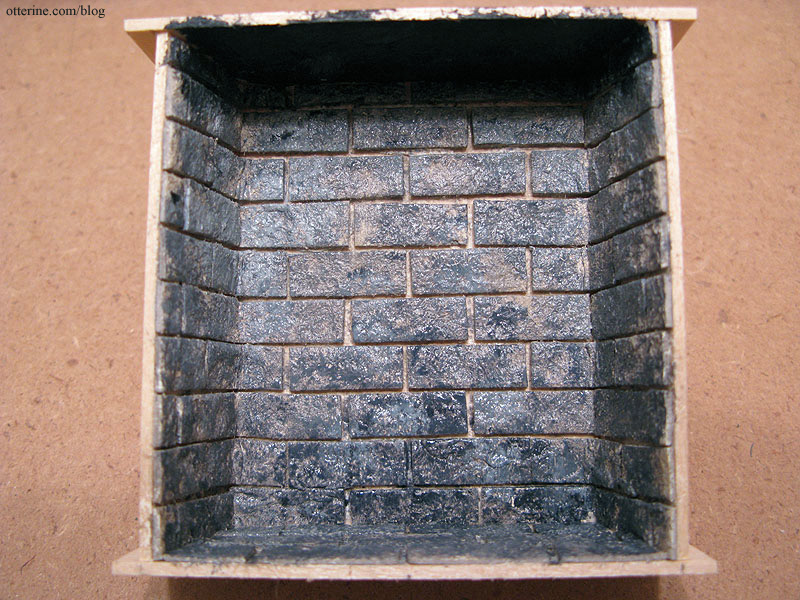
The next step in the fireplace construction was the firebox. I used the same egg carton brick technique as I did for the mantel brick but in a slightly larger size and without rounding the edges. I wanted it to look like a different type of material. I didn’t line the upper inside edge with bricks. I had cut the firebox to be taller than the front opening to give the illusion of the firebox opening up into the flue above.
I’ve found the best way to get a realistic look to the bricks is to do multiple layers of color. It looks dark and mottled, but the grout will even out the color overall.
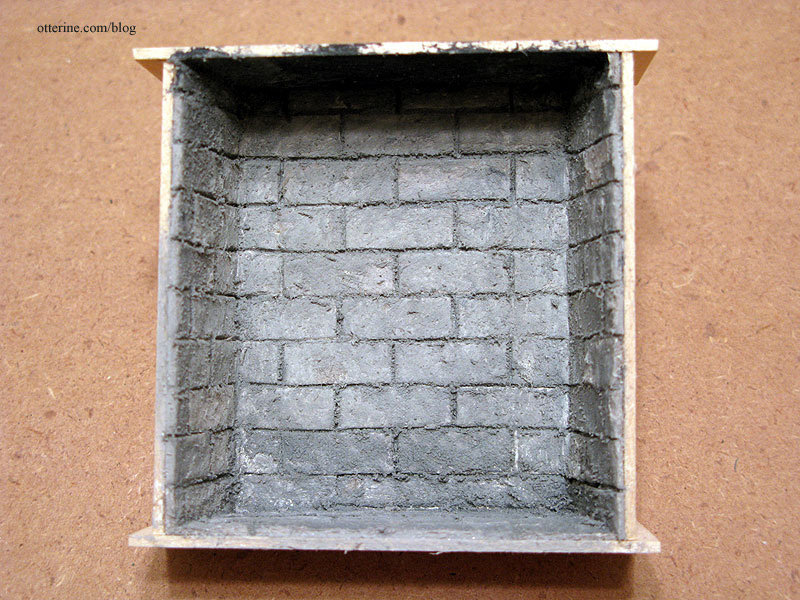
I used Andi Mini Brick and Stone Mortar Mix to finish off the look. I scored the lines between the bricks with an awl to add more definition.
I will blacken the logs and add other touches to lend to the realism when I install the fire lighting. I will also be adding a hearth, though I haven’t decided on a finish for that just yet.
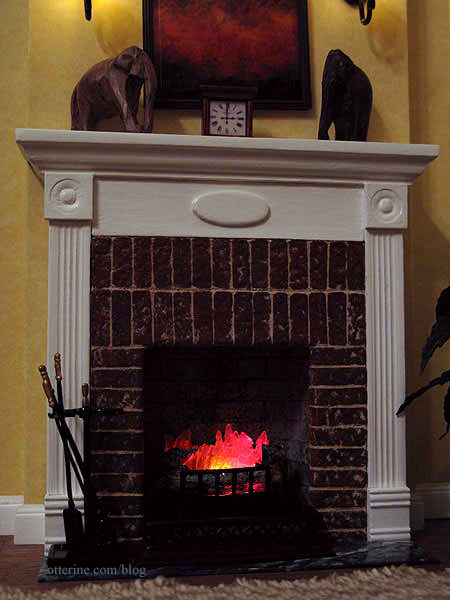
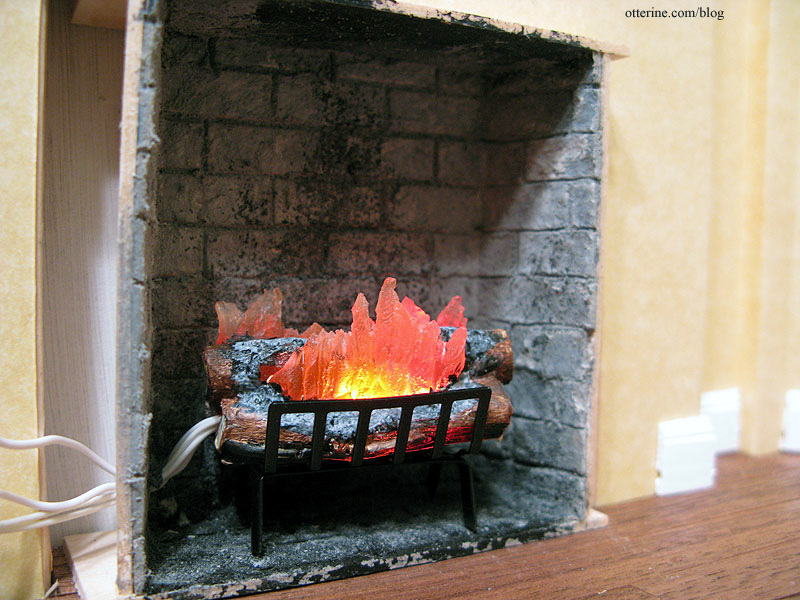
After getting the firebox finished, all that was left was to use light to simulate fire. I bought a resin piece online that has clear portions to allow light to shine through. It came with an orange bulb, but I added a red bulb to give more depth of color to the fire. After darkening the bottom and back of the firebox with diluted black paint, I drilled a hole in the side of the firebox and fed the lights through.
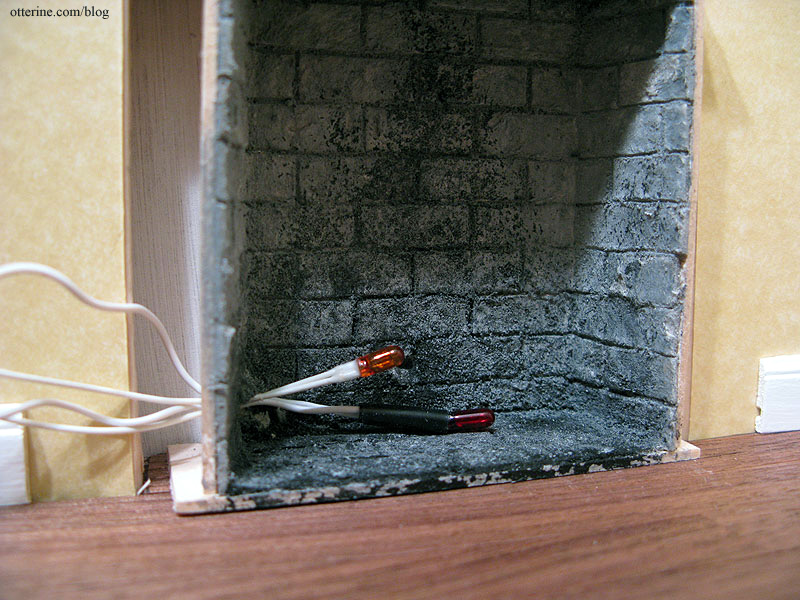
The lights sit inside an opening in the resin log piece, and the wires run up the chimney breast and through the ceiling.
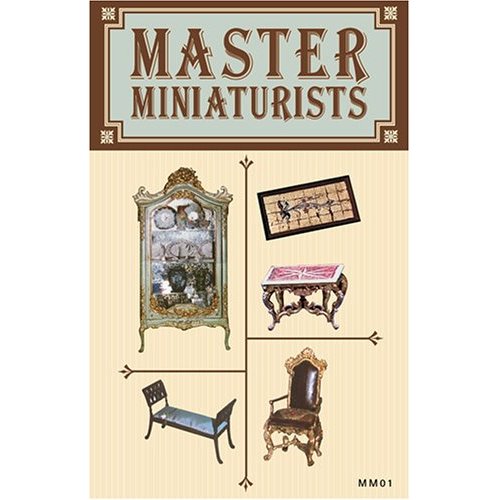
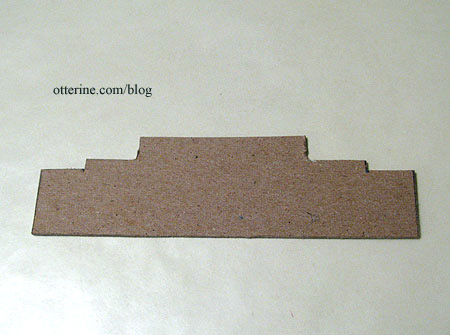
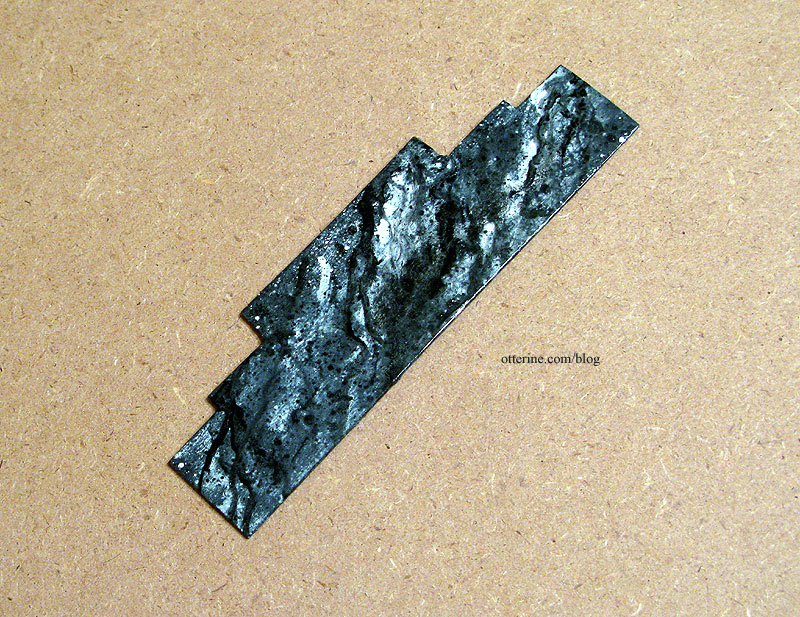
To finish off the fireplace, I made a marble-look hearth out of a piece of cardboard. I used the technique shown in the DVD by Master Miniaturists called Faux Finishes.
The cut cardboard before….
And, after….
We now have a warm, cozy fireplace.