Though the Newport was sold eventually, I’ve compiled some of the posts I made when I first started building it.
—-
The first floor room of the two story addition will be a study. The Newport kit didn’t come with fireplaces or chimneys, but I would like to have at least one fireplace. Most of the manufactured designs I’ve found don’t fit what I want (other than one very expensive one, of course), so I plan to make my own. There are several how to books out there, some more complicated than others, so I should be able to come up with something more along the lines of what I want.
I drew a rough sketch of a fireplace on paper without considering the accuracy of the scale for the front opening or mantle. I just wanted to get an idea of the look to see if I wanted to pursue the construction of the fireplace or not.
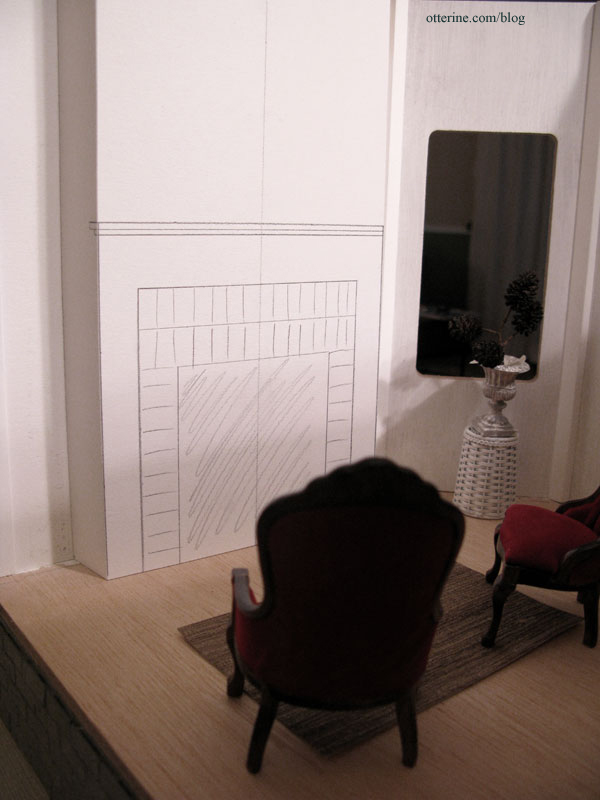
The exterior wall isn’t really conducive to having a chimney run from the ground up past the roof. I am using a one inch depth on the mockup, which would translate into one foot in real life. This will allow for a mantle large enough to decorate without taking up too much floor space. In the drawing, I have the chimney breast above the fireplace extending forward since it was easier to fold the paper to fit doing it that way. The end result, however, will be a separate fireplace unit that sits in front of the chimney breast wall.
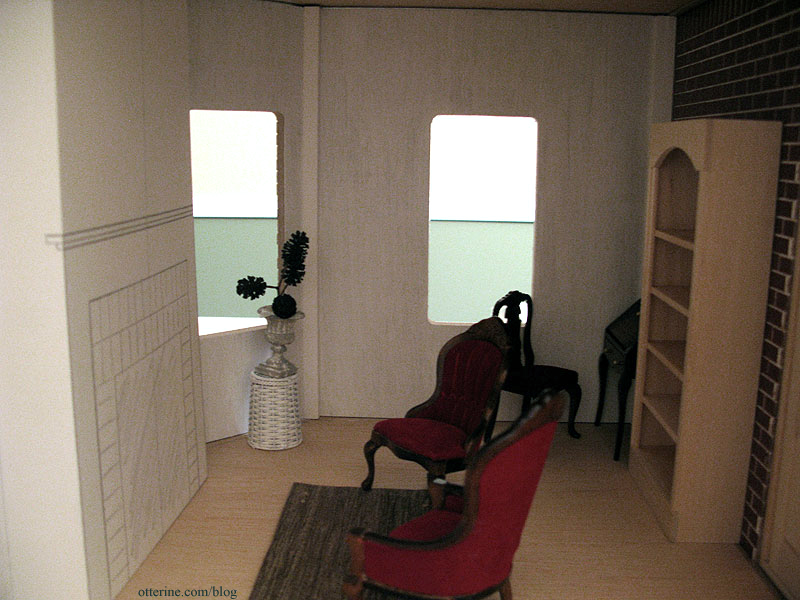
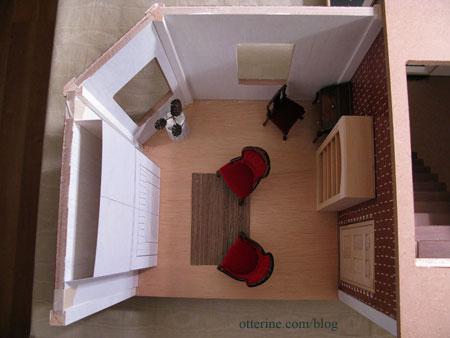
The three chairs and desk in the room were given to me by the friend who helped me cut my garage wall panels. I have some other ideas for this room, so I will likely use these pieces elsewhere, but they helped with the basic layout of the room.
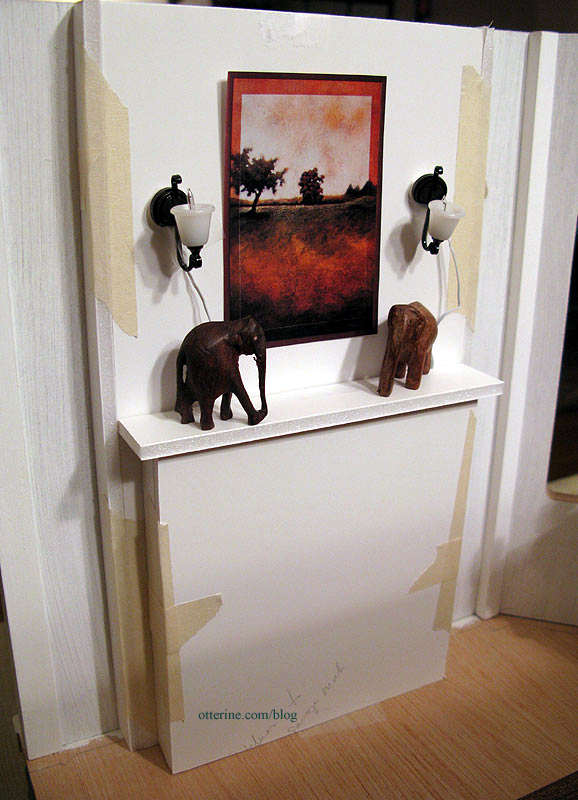
After my initial paper mockup, I decided I liked the look of the chimney breast. Still wanting a small depth overall, I made a foam core board mockup only 1/2″ deep. The mantelpiece has a depth of 9/16″ with the top having a slight overhang. I like the scale of it overall, so I will likely build my final pieces based on this model. I taped the lights in place and cut a sample painting from a catalog. The miniature elephants are wood pieces I’ve had for over twenty years.
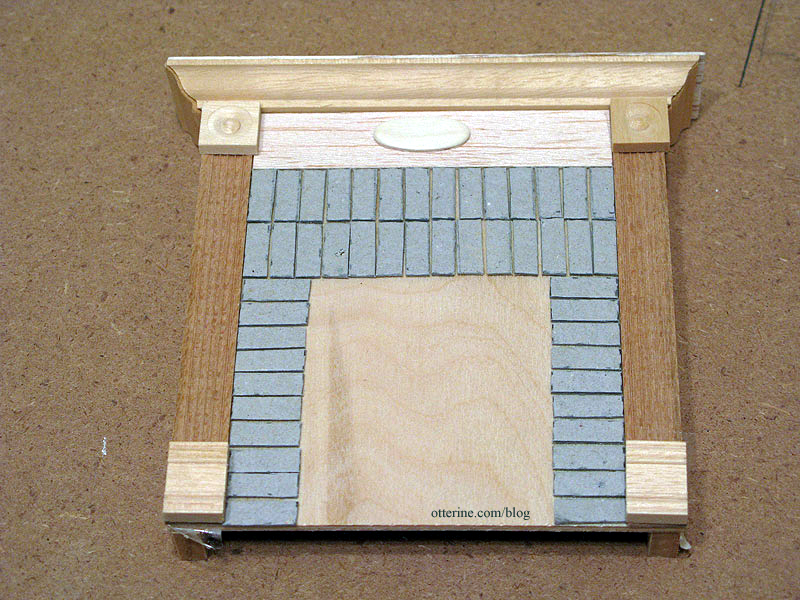
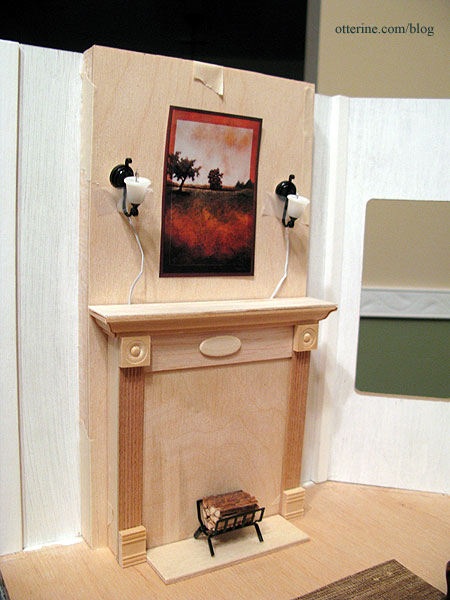
After creating the egg carton stone foundation, I knew I would be able to simulate brick for the fire box and front of the fireplace. So, I took some wood pieces and created my own design for the mantel. I bought a strip of window casing trim specifically for the mantel, but the rest of the miscellaneous pieces were either extras or scrap wood from the build.
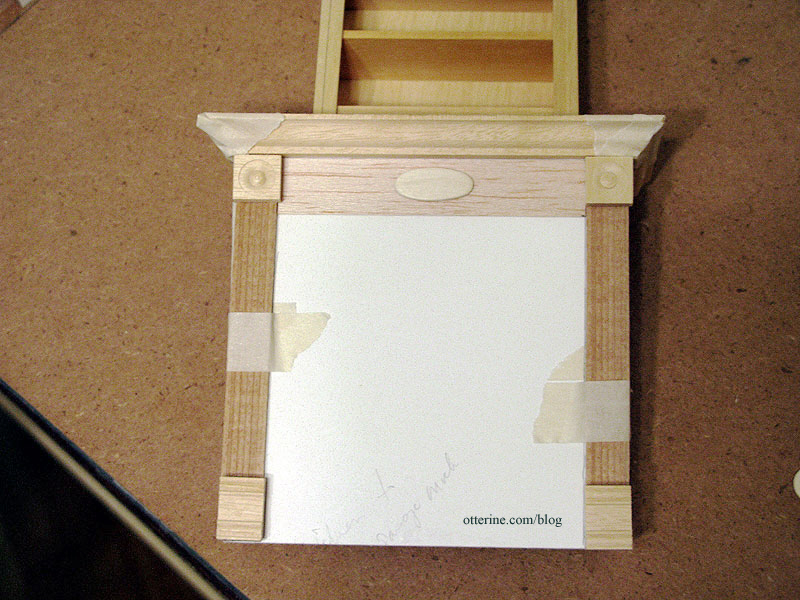
I like the result for looks and the fact that it was much more economical than a purchased fireplace.
I followed the same egg carton brick technique I used for the stonework on the foundation. Here is the layout of the unpainted bricks. The unfinished wood in the center will be cut out to create the fire box.