Though the Newport was sold eventually, I’ve compiled some of the posts I made when I first started building it.
—-
The second floor rooms will be from left to right: the guest room (in the two story addition), the stairway hallway, the master bath (which is technically shared with the guest room), the master bedroom and then the conservatory (over the garage).
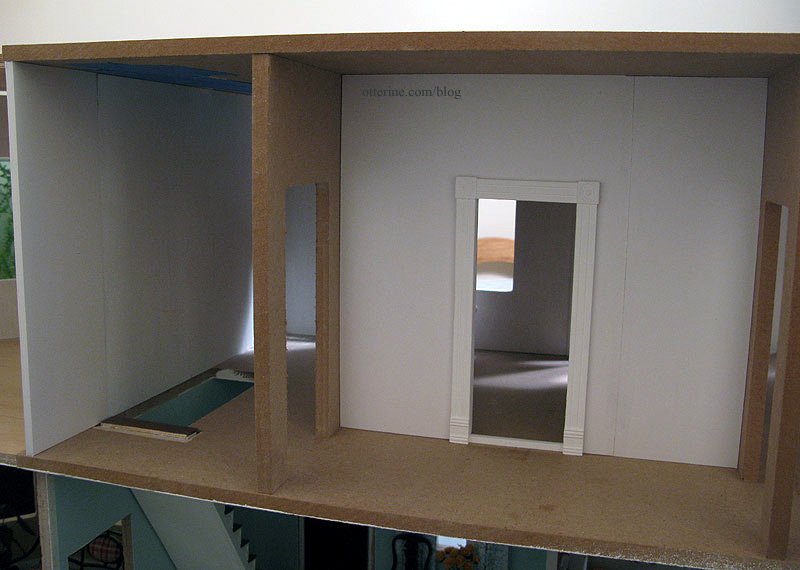
In order to fit the second floor stairs in that position, I had to move the far wall forward over the porch. This gave me more room inside the second floor and eliminated having a huge flat roof over the front porch extension. Adding this extra space made planning the master bath difficult. Can you actually have too large of a bathroom? :D Apparently so.
This gave me the idea of putting in a removable wall, as I had done for the powder room, creating a hallway between the stairs and the master bedroom.
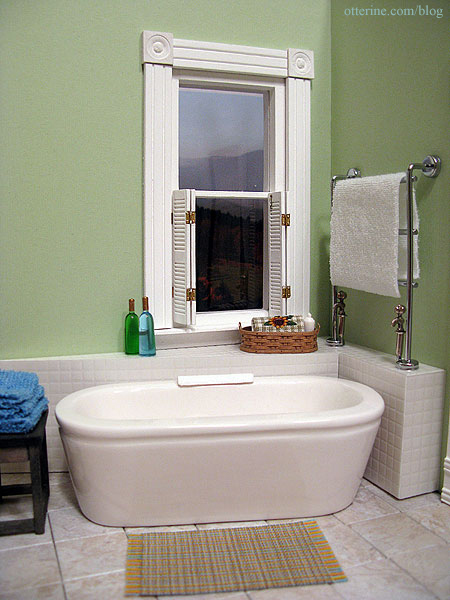
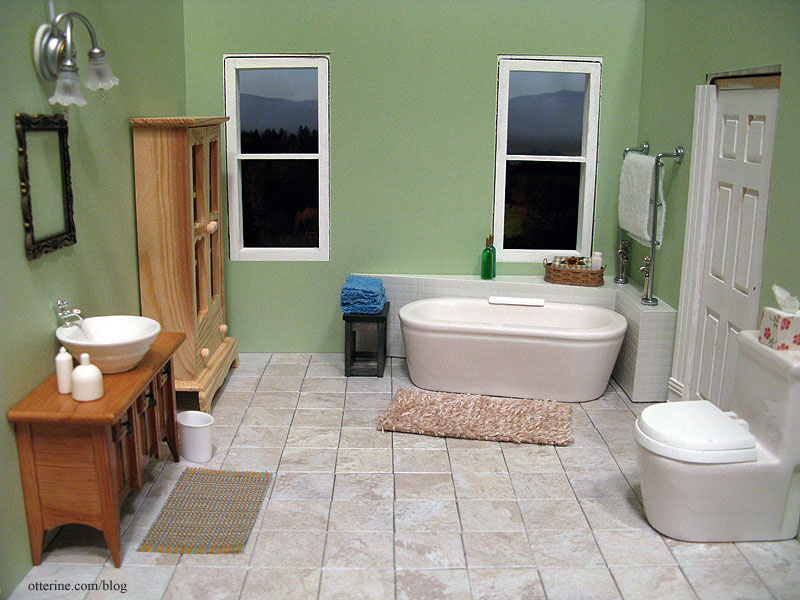
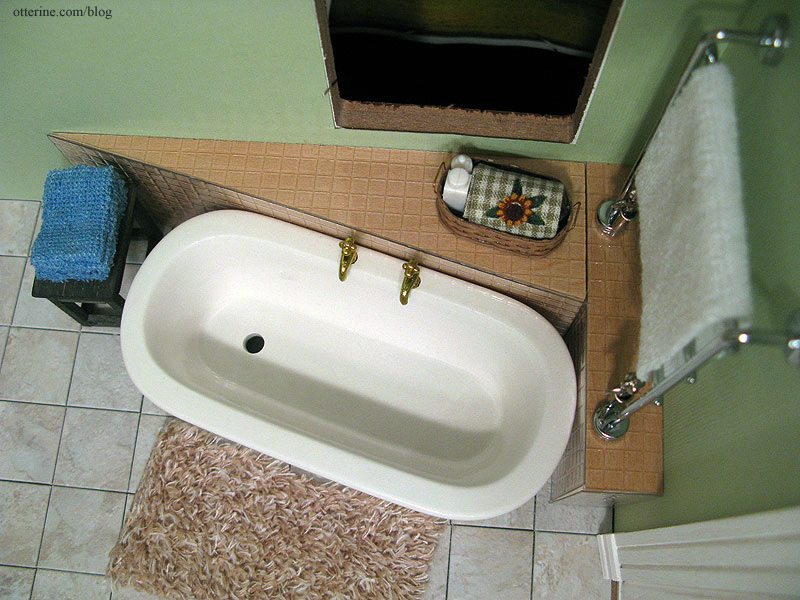
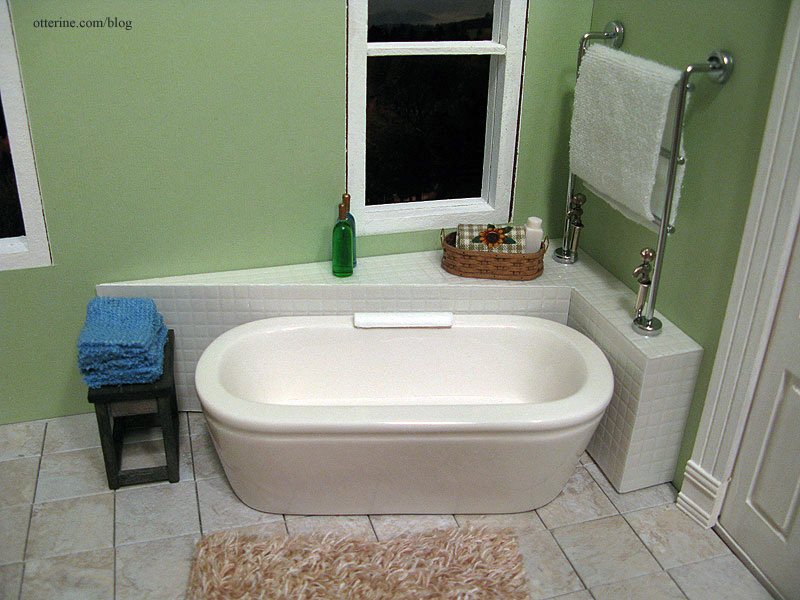
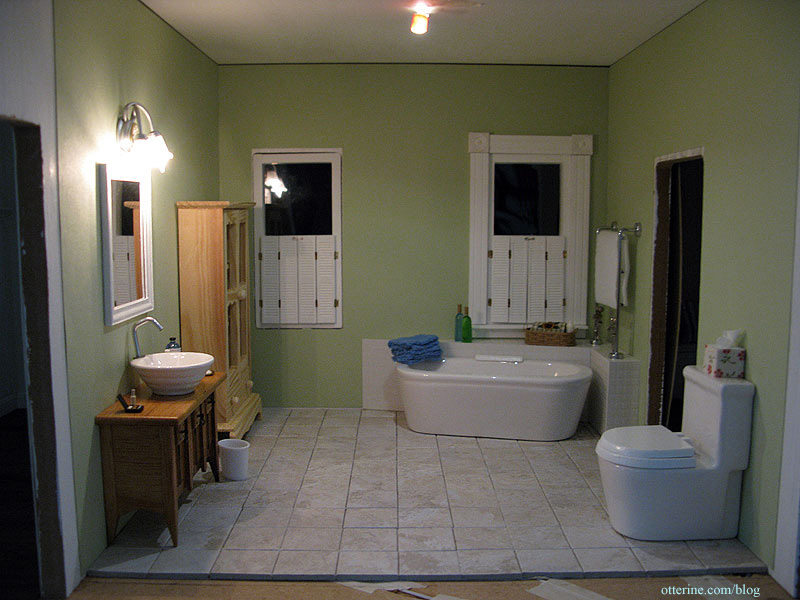
After trying different layouts, this is the final arrangement for the room. The soft green wallpaper is scrapbook paper, and the flooring was made from Greenleaf vinyl tiles (see kitchen post). I am using a modern bathtub and commode from a supplier in the UK. The rya rug was made by Glenda at Peppercorn Minis in New Zealand.
The vessel sink came from Silly Sisters in The Netherlands. The Mackintosh sideboard was supposed to be a stand-in for a kit I still need to make as the vanity, but I really like it as is! Hmm…I might need to think about this a bit more.
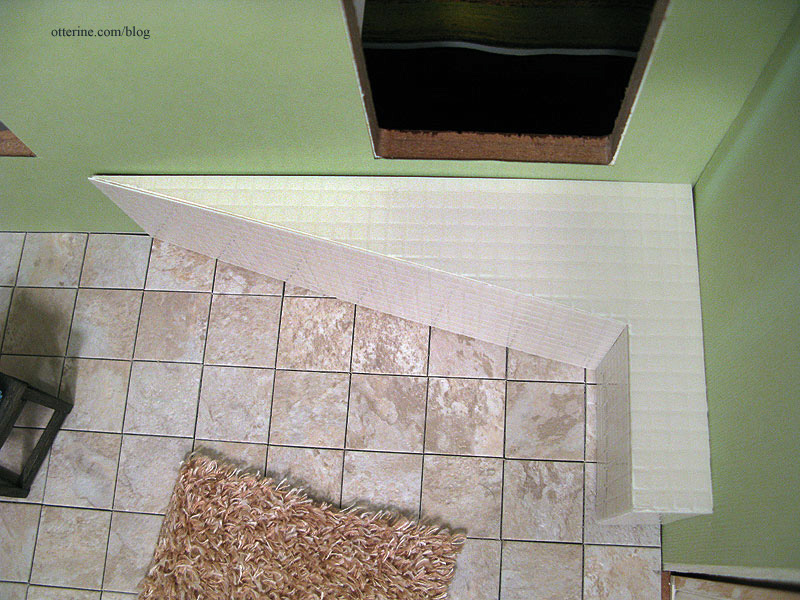
To finish the low wall around the bath, I used a clear plastic sheet embossed with 1/4-inch square tiles from miniatures.com. You paint the underside, and the top side shows as shiny tiles. I like that the surface has a little bit of texture the way real tiles would.
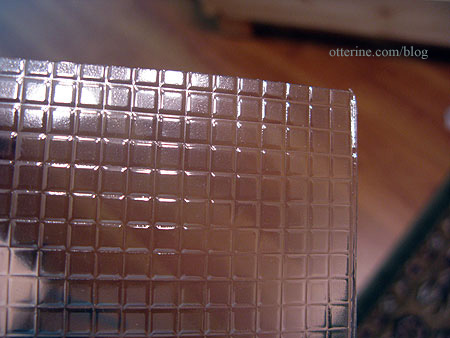
I cut the clear sheet to fit around the scratch-built wood base, trying to line up the tiles on the top with those on the sides. I’ve never done tile work, but it seems neater to align the tiles.
I tried a few different painting treatments on some small scraps to determine which color tiles I wanted. In the end, I decide all white was the way to go. It’s a clean, classic design. I painted the wood base all white with acrylics but used Krylon gloss white spray paint on the back of the tile sheets; it was faster, cleaner and left no brush marks on the tiles. I used regular tacky glue to adhere the tiles to the wood base.
I’ve removed the gold twin faucets from the tub and put a painted cap on the holes for now. I am still working on faucet options. If anyone ever decides to make better miniature faucets, I will be first in line!
The whole assembly is removable at the moment, just sits flush against the corner walls. Once the wallpaper is in permanently, I will glue it in place and finish the bottom edges where it meets the floor.
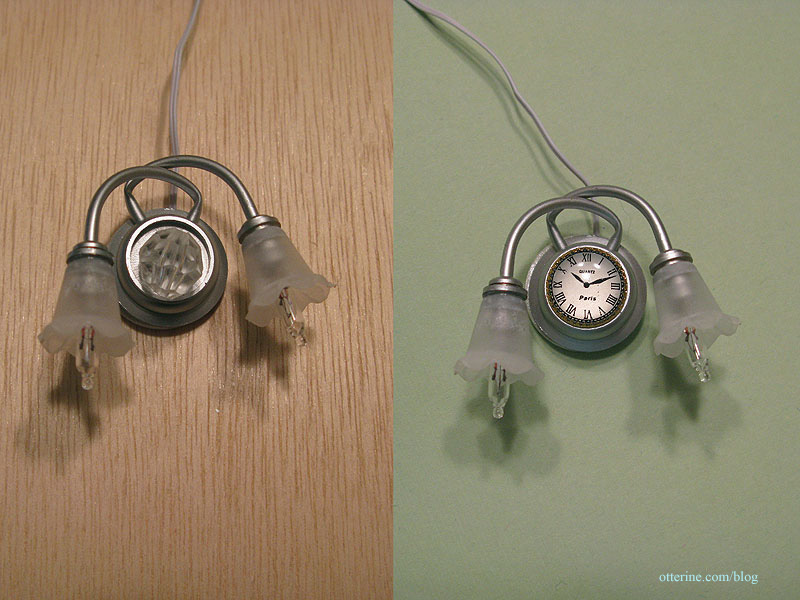
I modified this light from The Dolls House Emporium. It originally had a faceted bead, and I replaced it with a clock face I bought at the Bishop Show in April. I had no purpose for the clock face when I bought it; I just liked it. :D
In the original setup I used a metal scrapbook frame as a stand-in mirror. I liked it, but it was a bit small for the space. I made my own vanity mirror from strip wood framing and plastic mirror sheet by Darice. I also added a modern faucet from ELF Miniatures in the UK (I painted the tip of the faucet black for added realism).

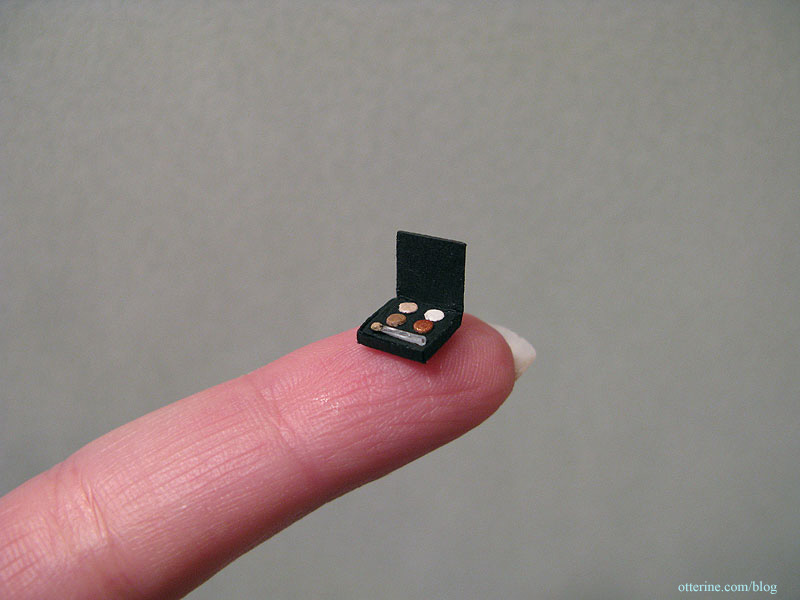
I made the eyeshadow makeup compact.
Since the light above the vanity is pretty bright for a standard dollhouse fixture, I plan to add two NovaLyte LED can lights to spread the light evenly in the room. Here is the room with one taped in place. Not quite enough light over the tub.
The working café shutters are made from half scale shutters and super tiny hinges. My tutorial ran in the September 2010 Greenleaf Gazette.