
Though the Newport was sold eventually, I’ve compiled some of the posts I made when I first started building it.
—-
Continuing recap of the kitchen posts. I liked the look of the dark wood flooring by Handley House I used during the planning phase and it is super easy to install, but I wanted to give something else a try before going ahead with the wood floor. I think travertine tile floors look beautiful in real life, so I attempted to recreate the look with Greenleaf vinyl tiles in tan.
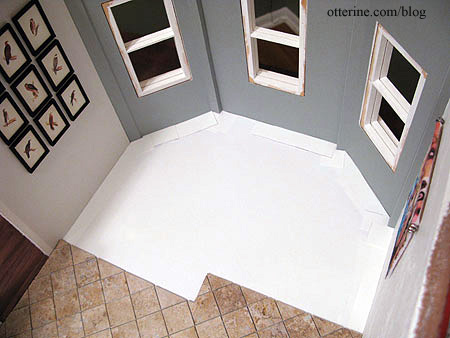
For the layout, I printed out grids with 1″ squares. The floor will be removable since the tiles will be glued to this paper template and not the base floor itself.
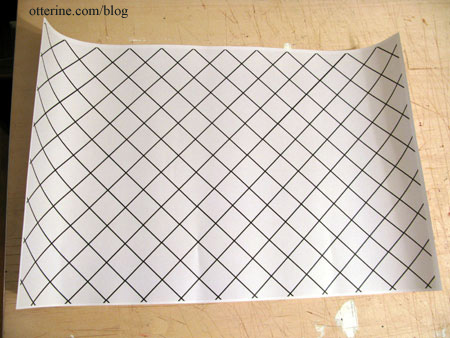
Even with the grid set on the diagonal, I quickly realized my floor and wall pieces were not completely straight – or my grid was slightly off. Either way, I tried to get it as close as possible, piecing my paper and cutting a template along the border.
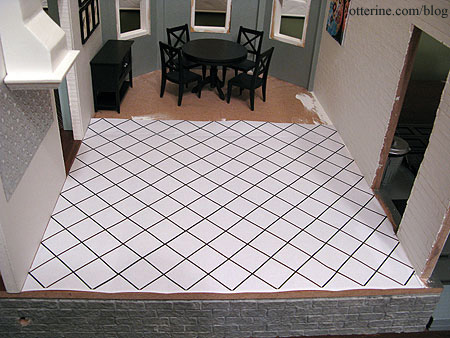
Since not all of the tiles were the same color and pattern, I traced where my kitchen cabinetry would be onto the grid. I glued the pieces that were either darker or more patterned than what I wanted in these areas since they wouldn’t be seen.
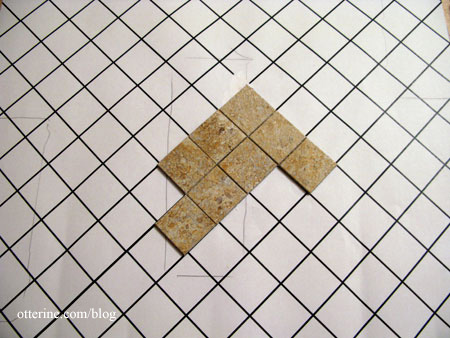
A lot of the real life floors I’ve seen have very little space between the tiles, so I tried to keep my tiles close together. I kept checking the fit along each edge, but baseboards would cover any minor gaps. As you can see, I got off the grid pretty quickly, but the tiles themselves are mostly in line and the grid won’t be seen in the end.
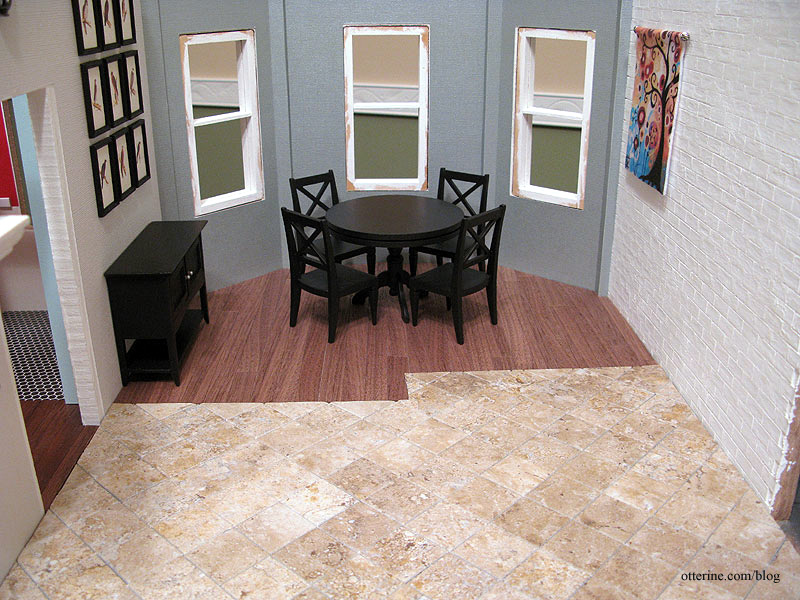
The tiles continue under the sink and corner cabinet, but I cut it closer to the door on the living room side. I plan to have the wood floor under the dining area, and I didn’t want the black cabinet to be half on the tile and half on the wood floor.
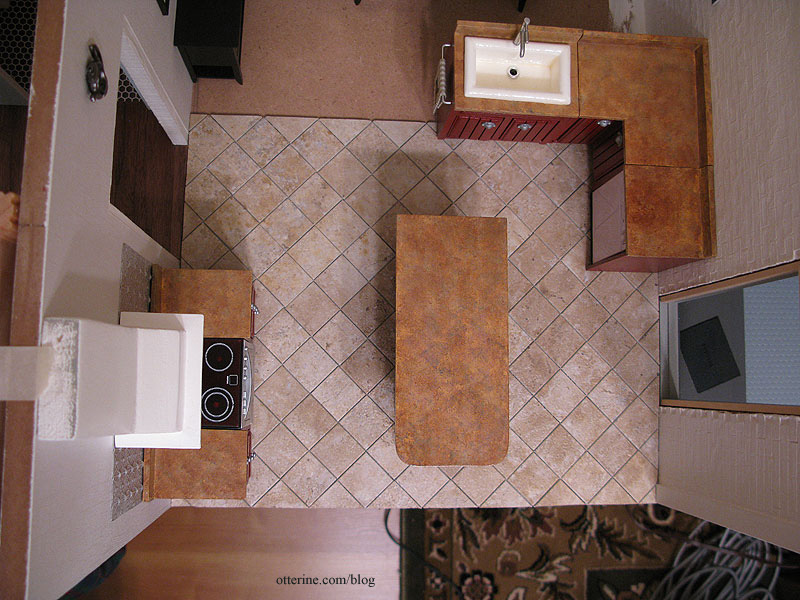
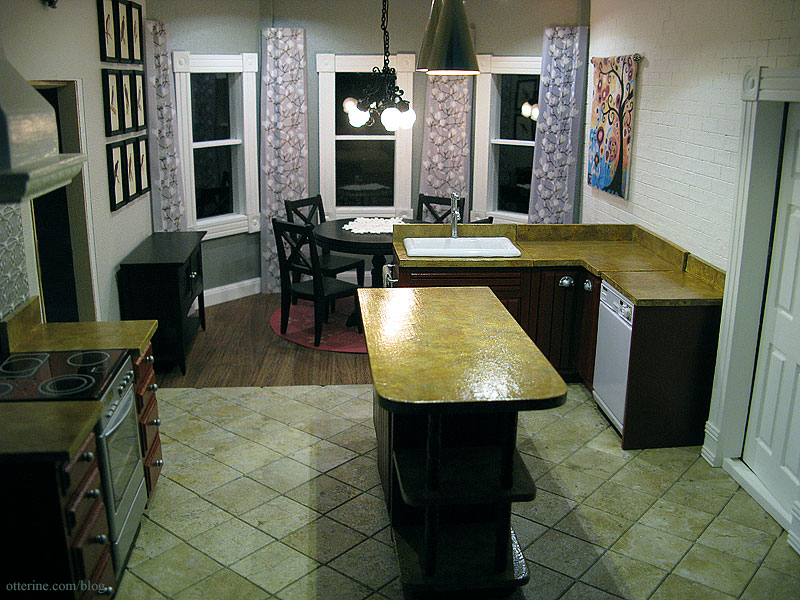
The tiles were very easy to use, and I am very happy with the way it turned out.

Since the Greenleaf tiles I used in the kitchen area were thicker than the Handley House wood flooring I planned to use for the dining room, I had to start with a cardboard template to even out the difference. To get the proper outline, I used paper to create an exact template of the room.
I then cut cardboard pieces to fit the area under the wood.
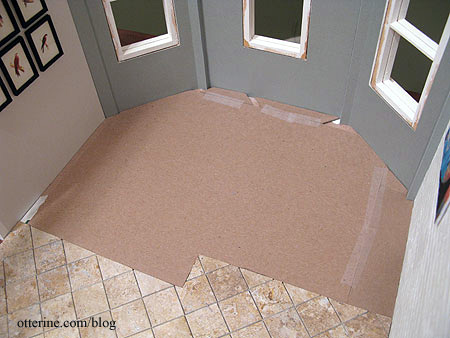
The wood is not yet glued in place since I need to seal it first.
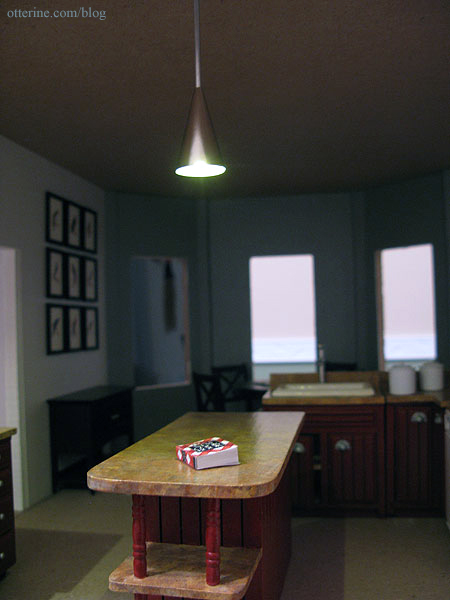
I had previously installed range hood lighting…
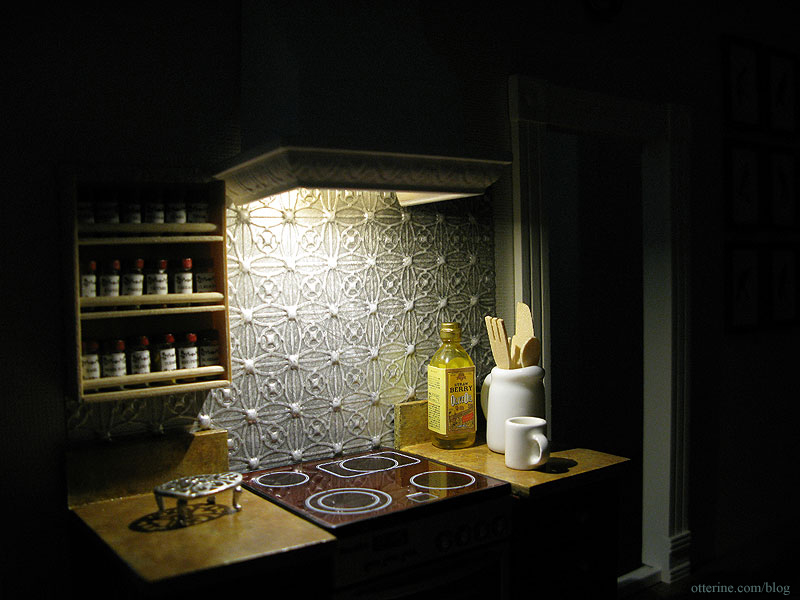
…and made pendant lamps for the kitchen.
I bought a black chandelier for the dining area, but since the room is so deep it remained dark even with all the lamps lit. Here I’ve taped Novalyte can LEDs to the ceiling to supplement the existing lights.
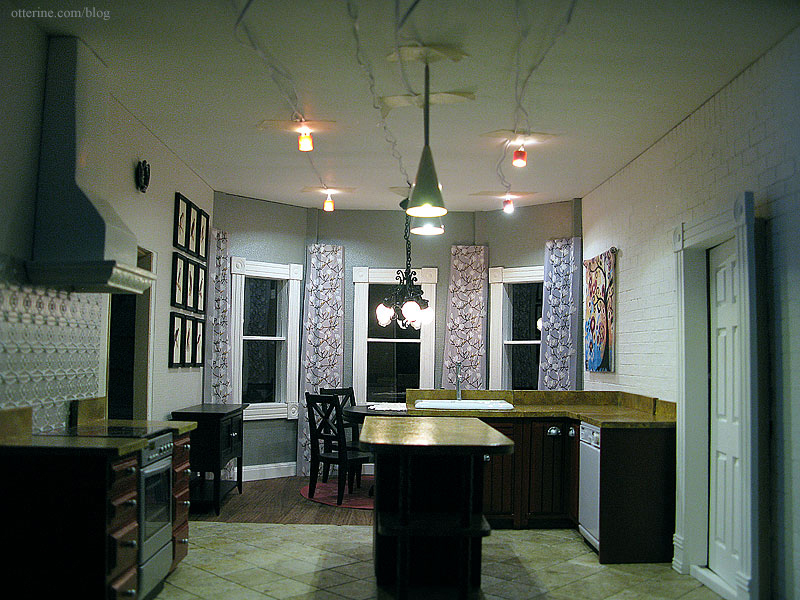
It really brightens the room and will make for a very modern look once installed flush with the ceiling.
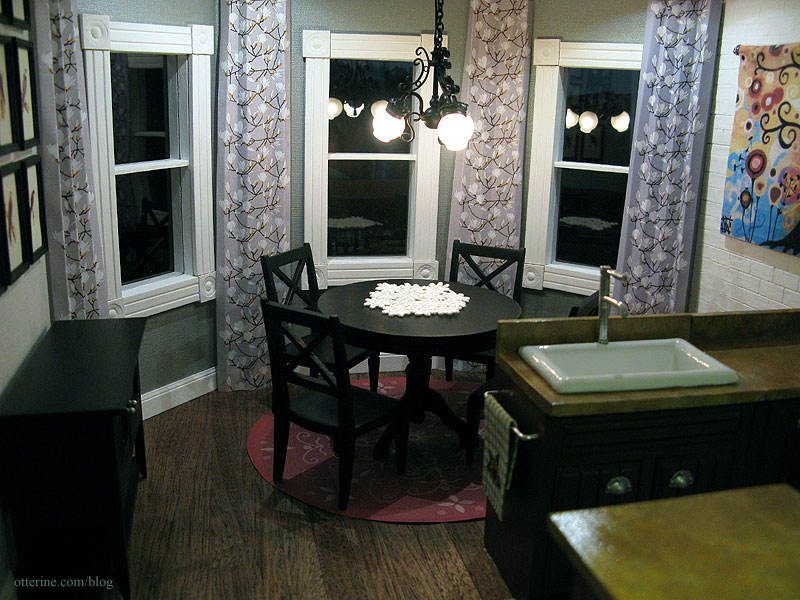
The rug under the dining table is a paper printout of the red Piazza rug by Dynamic Rugs. The draperies are paper mockups; the pattern is Keisarinna by Marimekko. I made the tapestry from June Tree by Natasha Westcoat.
For the post on installing the can lights, click here. Kitchen sink post is here. Bird prints post is here.


