Though the Newport was sold eventually, I’ve compiled some of the posts I made when I first started building it.
—-
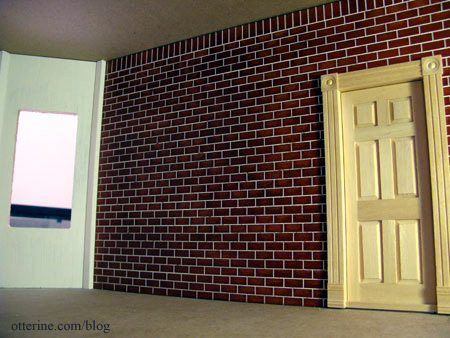
I have always liked the way exposed brick walls look in interior design. When I started planning the garage addition, I realized that very little of the outer brick wall would be seen from the front. It seemed a shame to cover it with a liner for the interior wall of the garage. So, when I assembled the first floor, I flipped the outer wall so the kitchen and dining room would have an exposed brick wall.
I knew I wanted painted cabinets, but I had a hard time deciding on a color scheme. I searched through countless online sites for ideas and stumbled upon something I would never have thought of: red cabinets. I like the cream upper cabinets shown in this photo I found online, so I am not sure if I will go with red for both the upper and lower cabinets for my kitchen or follow this example.

With red cabinets, the red brick wall I had originally planned for the kitchen would need to be modified. Otherwise, it would be too much red. I painted the brick white, which brightened up the entire room. For the wallpaper, I chose Bazzill Basics scrapbook paper in a light grey/white called Glass Slipper; it has an iridescent sheen to it. I needed something pale to offset the pop of red.
The island, sink cabinet and corner cabinets are Euro Mini’s. I filled the hardware holes, because I wanted to put them higher on the doors. It didn’t make sense for them to be so low on the doors of floor cabinets. For the sink cabinet, I wanted a different look than knobs, like the example above.

In order to have the ability to put items closer to the back edge, I cut the main single-door room divider on the opposite side into two pieces and then glued them back together to have the door opening in the middle. I used spackling to smooth out the seam so it wouldn’t show under the wallpaper.
I masked the tops and baseboards of the three cabinets and then applied one coat of Apple Barrel paint in Barn Red. I liked that the wood grain showed through, so I opted not to paint a second coat. I am still mulling over color ideas for the countertops and baseboards. Once fully painted, I will add a coat of satin sealer to give them a shine.

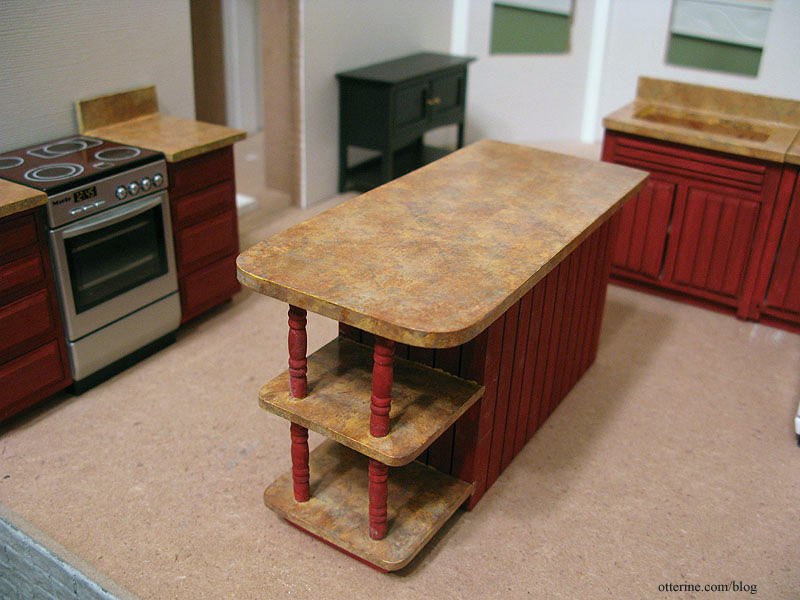
There will also be two or three floor cabinets with drawers, but I haven’t completed them yet. The wood floor is one possibility, but I am also considering other options. So far, I really like it.
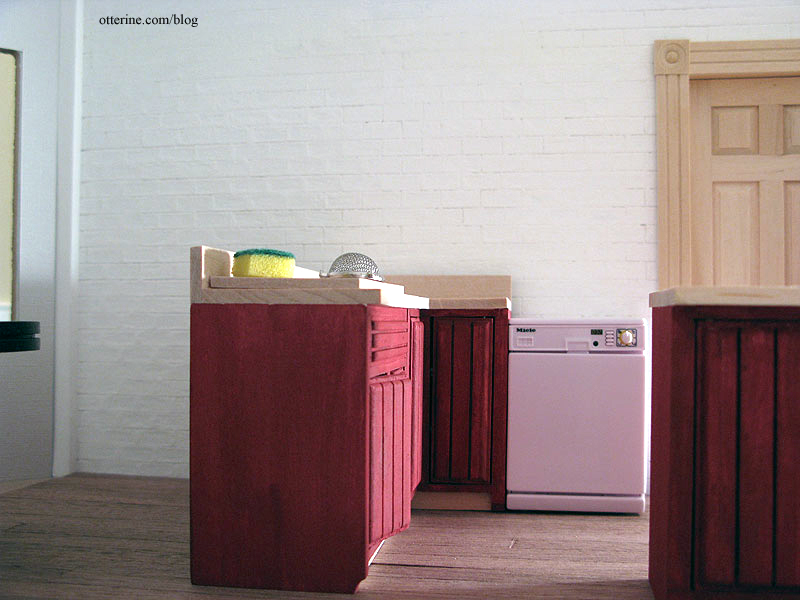
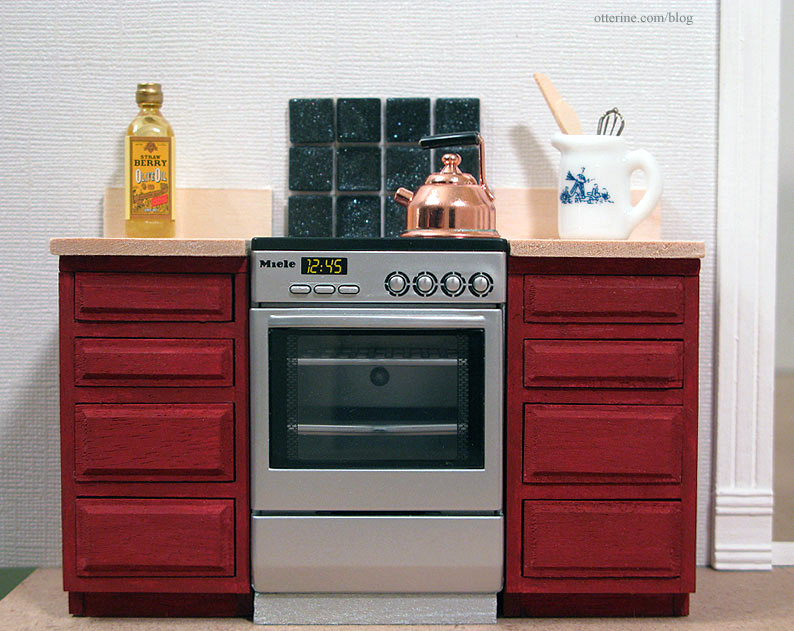
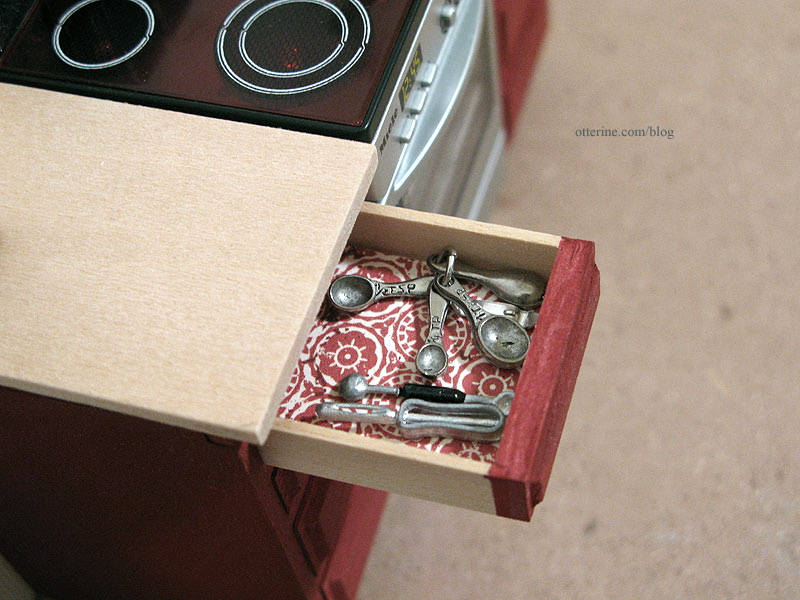
I used two base cabinets by Houseworks with four drawers on either side of the oven.Since the drawer cabinets come from a different manufacturer, I had to make a few adjustments to make them blend with the Euro Mini’s. I added a front baseboard, a thin strip of wood above the top drawer to make the front flush and cut a countertop with a backsplash.

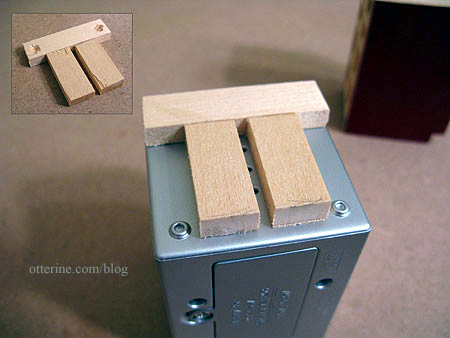
The Miele oven is shorter than the surrounding cabinets. To fix this, I built a base out of scrap wood and gouged out holes to accommodate the feet on the bottom of the oven. I then painted the front of the base silver.
The countertops still need finishing and there will be hardware added, and now that I see this photo I might end up painting the oven base black to make it less obvious. The backsplash shown is a sheet of scrapbook stickers; they are plastic and iridescent. I don’t know if I will use these exact pieces, but I plan to add some sort of backsplash behind the oven.
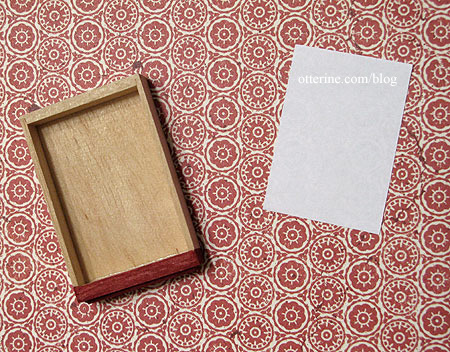
One thing I like most about this miniaturist hobby is putting in hidden elements. They aren’t necessary to make the overall room look realistic, but they are fun to add. I used scrapbook paper from BasicGrey called Vintage Tee to mimic contact paper in the drawers.
The miniatures came from eBay. I just love the look of this! :D
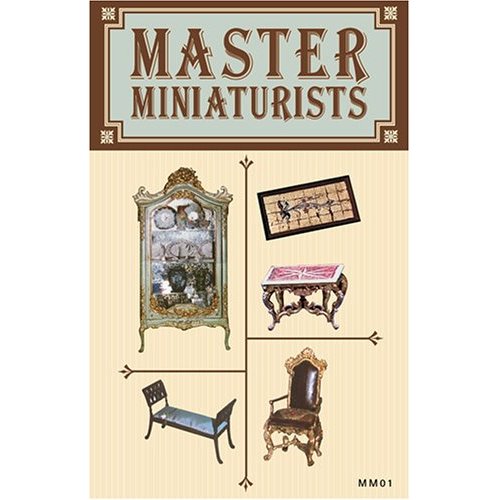
I wanted to do a faux granite finish for the countertops, so I used the technique shown in the DVD by Master Miniaturists called Faux Finishes.
I first taped off the lower portions of the cabinets with wax paper and painter’s tape.

I then gave all the countertop pieces a base coat of Moon Yellow by Americana. I then began layering different paints to get the look I wanted using a small stencil brush and a paper towel to blot the excess color. I used Nutmeg, Vintage White, Mushroom and Coffee Bean by Folk Art as well as Pure Bronze by Apple Barrel. I like this process since you can easily just go over any parts you don’t like. In fact, adding layer after layer adds to the depth of the granite finish.
After a few coats of gloss finish with steel wool application in between, I ended up with a decent countertop. I still need to clean up the places where the paint seeped under the tape and onto the red portions.
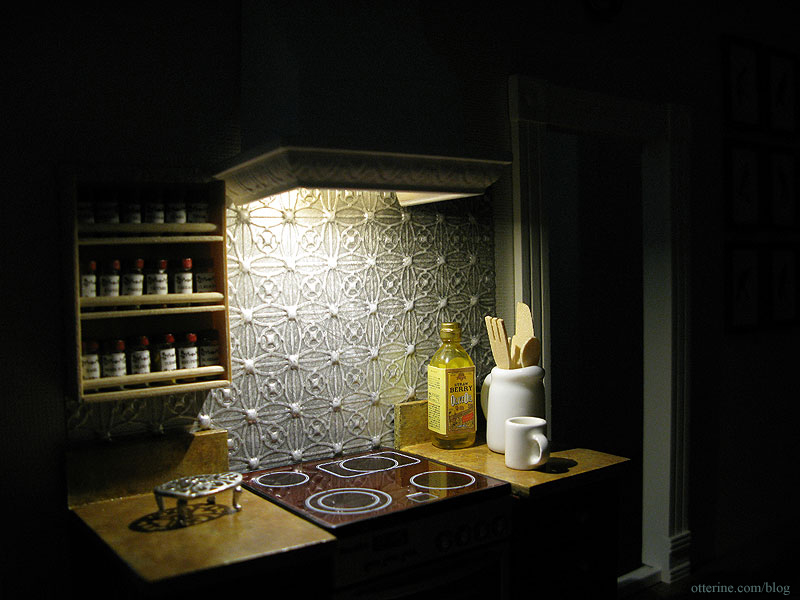
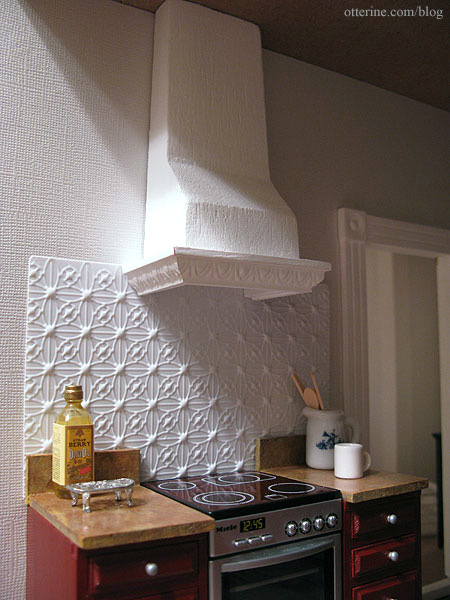
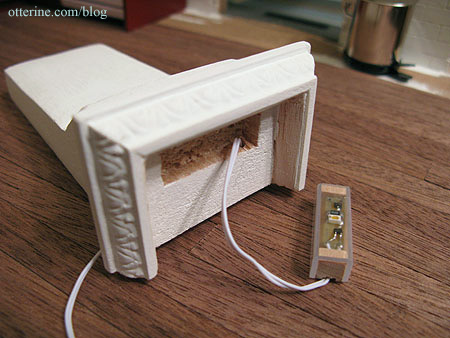
Originally I was going to make upper kitchen cabinets and a range hood for this side of the kitchen. But, after making a mockup of the range hood, I decided I liked it on its own. The range hood is made from a block of balsa and decorative wood trim. I built a lip on the bottom of the balsa base so it would look like there was a vent. I searched for more ideas online and found some nice images of tin ceiling tiles used as a backsplash. It seemed like something fairly easy to replicate since Houseworks makes a sheet of vinyl molded to mimic tin ceilings.
After mounting the range hood with tape and placing the ceiling board on, I marked where I wanted the tin tiles to end. I plan to paint the vinyl sheet and the range hood.
I had built a lip on the bottom of my range hood to give a more realistic look and to have room to add a light. I chose an LED strip in warm white by Novalyte, cutting a rough hole in the balsa to hold the light in place. These lights are compatible with 12V dollhouse lighting. I drilled a hole through to the back; the wires will run through the wall and plug into the power strip.
Here is the light in the mockup phase to check the fit.
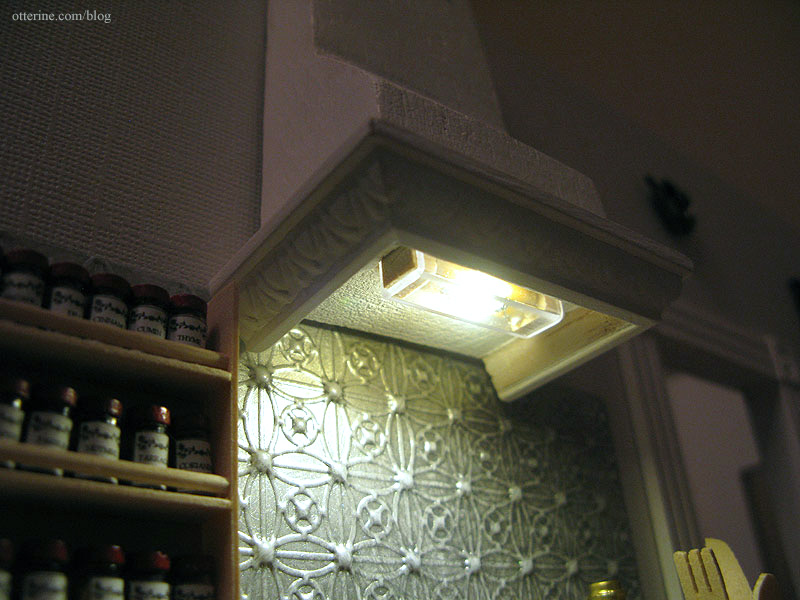
Lights out! This is exactly the look I wanted.