Though the Newport was sold eventually, I’ve compiled some of the posts I made when I first started building it.
—-
The garage is made from the Foxhall Conservatory kit by Real Good Toys. I bought some 3/8″ Baltic birch plywood to replace the two pre-cut walls that came with the kit. I also lowered the whole structure by using the spacers included in the kit as the foundation. A friend with a jig saw helped me cut the walls down from their original height of 12″ to a new height of 10 15/16″. This height allowed for most of the original trim from the conservatory kit to still be used on the outside without the garage having too high of a ceiling on the inside. It also accommodated the height of the doorway into the kitchen. The stairs originally meant for the front porch of the conservatory will serve as the entry stairs to the kitchen from the garage.
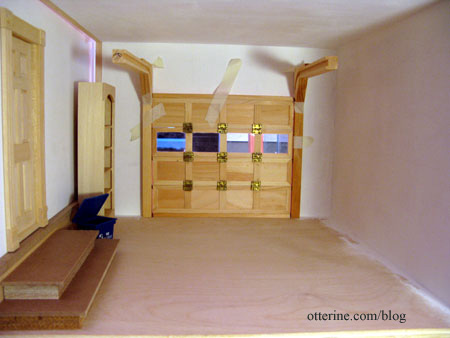
Finding a Timberbrook garage door kit was an adventure. The few places that had them online were sold out. I called several local dollhouse shops and happened to find a store with one left in stock. I heard from one shop owner that Timberbrook is either out of business or selling their business. It’s a shame, too, since it is a good quality kit.
I’ve tried three cars for this space during the building phase. The first goes back to my original hobby of building model cars. Instead of making them showroom new, I would beat them up and make them the type of cars that make you wonder how they are still running. :D One of the first ones I built was a Datsun 240Z. So, when I happened upon a diecast metal 1970 Datsun 240Z in bright orange, I decided to go for it.
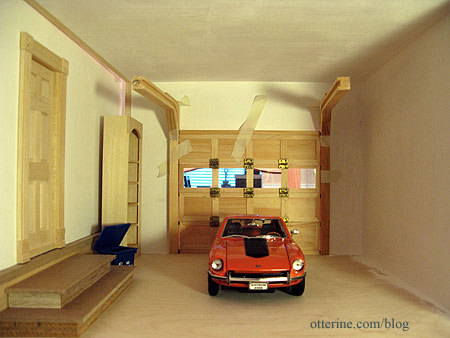
It is a beautiful model, but it is too small for the garage space. Usually 1:18 scale cars can hold their own with a 1:12 scale house, but the Datsun is a small sports car in real life making this particular car smaller than most 1:18 scale models. Now the Datsun sits on a display shelf instead.
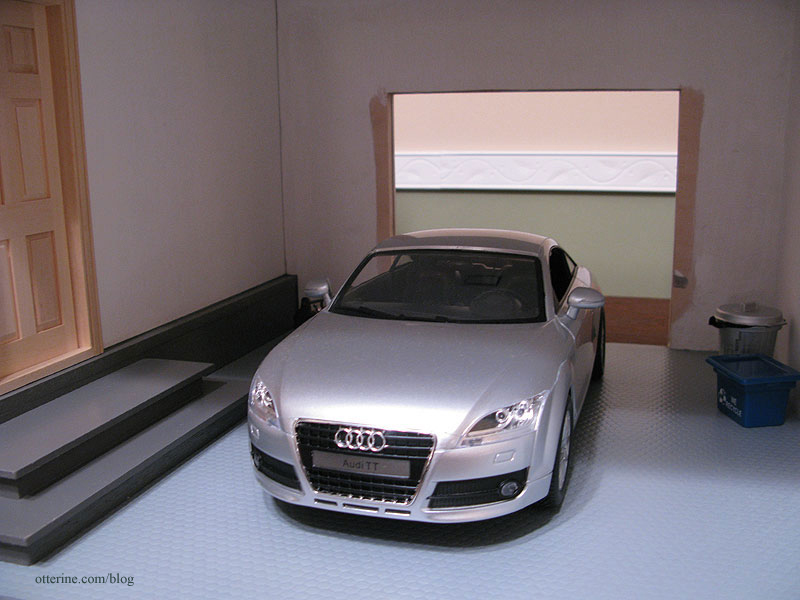
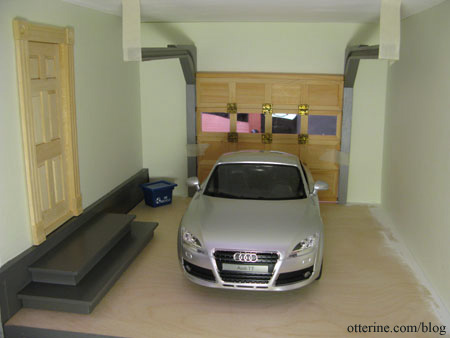
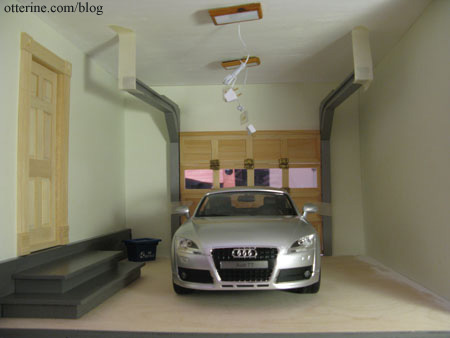
The second one I tried was a 1:14 scale remote control Audi TT. I like this one better for size but mostly for the fact that it has working lights (though annoyingly only when in motion). However, it’s a cheap, plastic car lacking in detail when compared to the Datsun. It is, after all, made to be driven fast and bumped into walls. :]

The Timberbrook garage kit is made of wood, so I painted the track pieces a mix of medium grey and iridescent silver. For the walls, I am planning to use scrapbook paper for finishing. I could paint, but it is difficult to get a smooth finish without brush strokes and other imperfections that ruin the illusion in a miniature setting. The paper here is by Martha Stewart in a color called swan, a very pale green (currently unattached until I finish the floor and add other elements). I decided not to have the egg carton stone finish on the exposed foundation of the house, figuring it would most likely be covered when putting on an addition. I did, however, paint it medium grey to blend with the stairs.
When I first started planning the Newport, I was a bit overwhelmed by the concept of electrification. After reviewing the types available, I opted for the round wire — or hard wire — technique. The main reason was I wanted the ability to have some lights on and others off, not all or nothing.
The lights I chose for the garage interior have twin bulbs and a wood cover that stays in place by magnets, connecting to a metal plate that is fixed to the ceiling.

Testing out the position of the lights. This layout will light the entire garage and the garage door will obscure only one light when open.
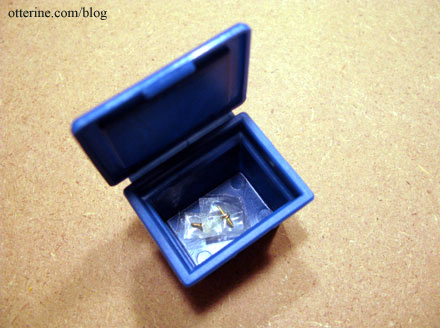
I used the miniature recycle bin to hold the tiny parts as I worked. It snaps closed, so no worrying about losing pieces.
I wasn’t crazy about the wood look of the lights, but choices for garage lighting were limited. On top of that, one of the wood covers had a large imperfection in the finish. After a bit of sanding to remove the varnish and some black paint, I had two modern garage fixtures.

I am so excited that my first attempt at electrification was a success!

After perusing countless finished garage photos online, I decided to attempt the look of a vinyl floor liner. There are different types, colors and patterns, with one popular choice being black and white checkerboard. It does make a statement, but I wanted to go with something more subtle, like the look of grey coin-patterned vinyl floors.
If I thought dollhouse garage lights were limited, flooring options beyond paint were even tougher to find. To my knowledge, there wasn’t any material out there that I could use as is to mimic the look of vinyl flooring, so I decided to use black and white hexagon tile sheets by Handley House. They are made of heavy embossed paper that I thought would translate well after some grey paint and matte sealer spray.
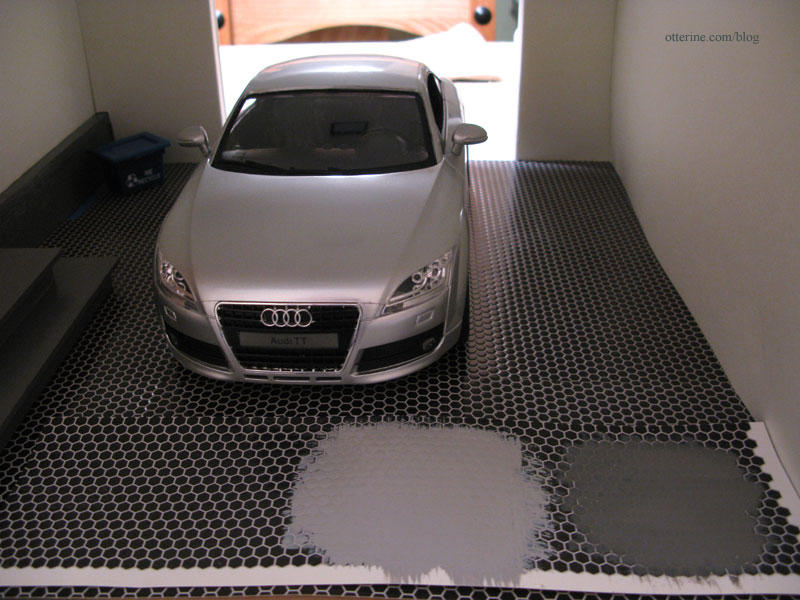
Here’s the paper layout along with two test swatches of paint. The one on the right is the same medium grey I used to paint other portions of the garage. The one on the left is medium grey toned down with an equal amount of white paint. Overall, the scale of the hexagonal pattern works well.
Since there isn’t a piece of hexagon tile flooring on the market that would allow me to cover the entire floor surface without seaming, I decided any seams should look more planned than accidental and sloppy. I covered as wide a space as I could down the middle, front edge to back edge. I used Yes! paste to affix the paper to the plywood floor. (Note: I no longer recommend Yes paste – I use Wallpaper Mucilage instead. Yes paste has problems with longevity.)
I then added a piece on either side to cover the remaining floor. The seams are still visible, but they will be mostly covered by garage items.

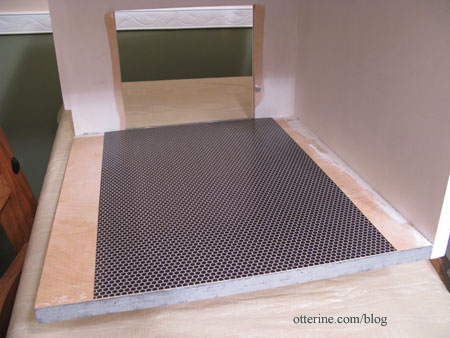
I didn’t like either of the color swatches I had done so I mixed mostly medium grey with some white and a dash of Payne’s grey. How’s that for an precise recipe? ;] The paint disguised the seams fairly well but caused some minor buckling in the paper where I hadn’t put enough paste, so I lifted the paper while it was still flexible and put more paste down. Problem solved.
After the paint dried, I sprayed on a light coat of matte sealer. Contrary to the name, the spray creates a fine satin sheen and becomes glossier the more you spray. The effect turned out exactly the way I had hoped.

The seams are far less noticeable since they don’t break the long line from the garage opening to the back.