
This particular Dura-Craft kit has walls built using strips of pre-milled siding. They are imperfect and therefore the interior surfaces are imperfect. I padded the walls on the first floor for a number of reasons: to allow for the addition of working Houseworks components, to provide a ledge to support the ceiling boards, to eliminate (for the most part) the obvious appearance of the wall connectors, and to smooth out the interior wall surfaces.
Here’s the kitchen in the beginning of the build where you can see how rough the interior walls are. It’s rather fun to look back and see what it looked like during the planning phase. :D
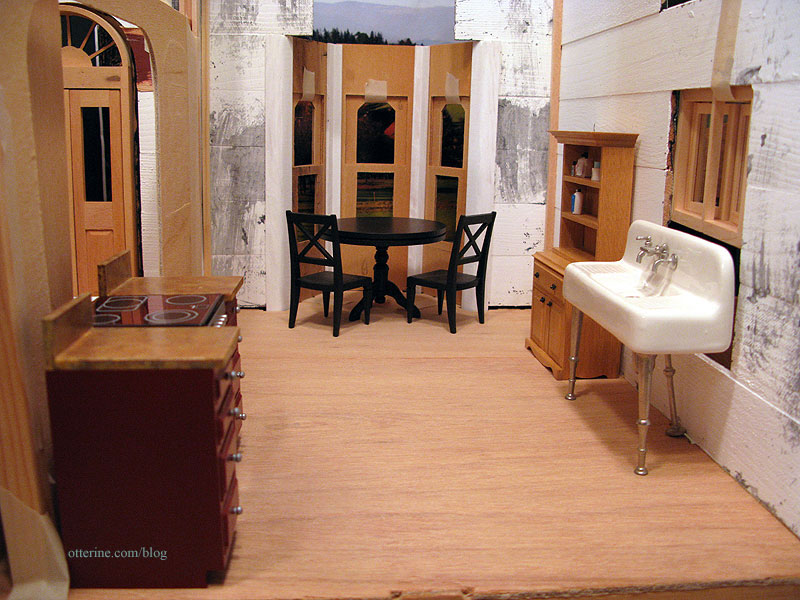
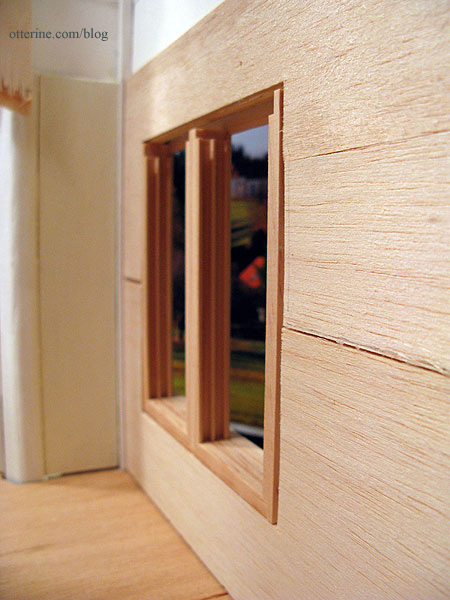
And, after the padding (and enlarging the window opening). Much smoother surface.
Padding won’t work on most the second floor because adding any additional thickness beyond the wallpaper will interfere with the assembly of the swinging windows. Even in the bathroom, where I added a thicker window, there isn’t any give since the added gable shingles make the interior portion of the round window flush with the interior wall.
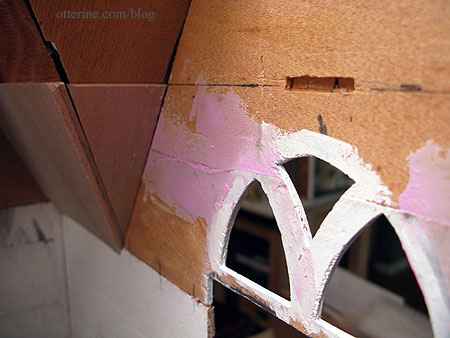
So, out comes the spackling! I did smooth these walls out somewhat beforehand, but this is more for fine-tuning since the two papers I have for the bathroom and bedroom are thin and likely to show the more obvious flaws underneath.
I use the spackling compound that goes on pink and dries white.

It’s easier to see where you’ve put it and you can tell when it’s ready to sand and paint.
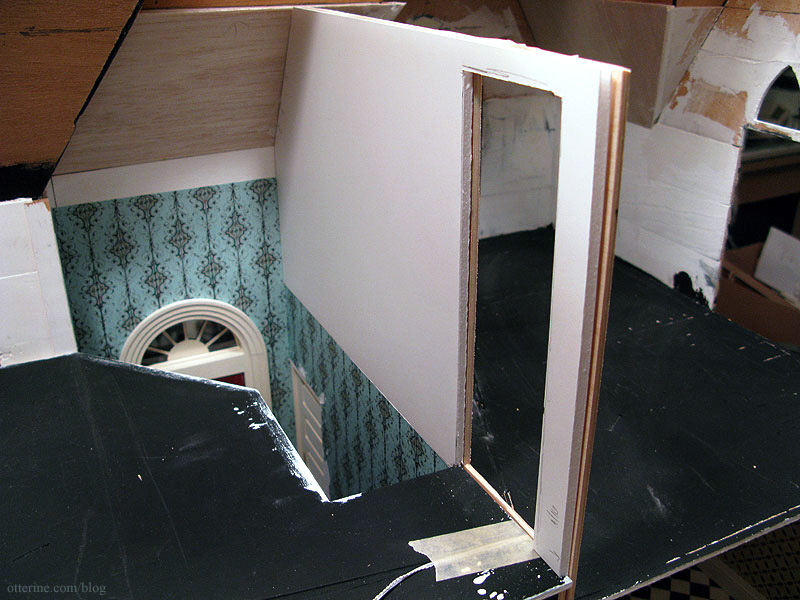
I cut the new dividing wall for the bedroom, too. This is a two-part wall: a 1/8″ thick plywood wall that sits atop the kitchen ceiling board and the roughly 1/4″ thick foam core board mockup wall that completes the parlor side of the pocket door wall. (As a reminder, I first fixed the gaps from the roof assembly here.)
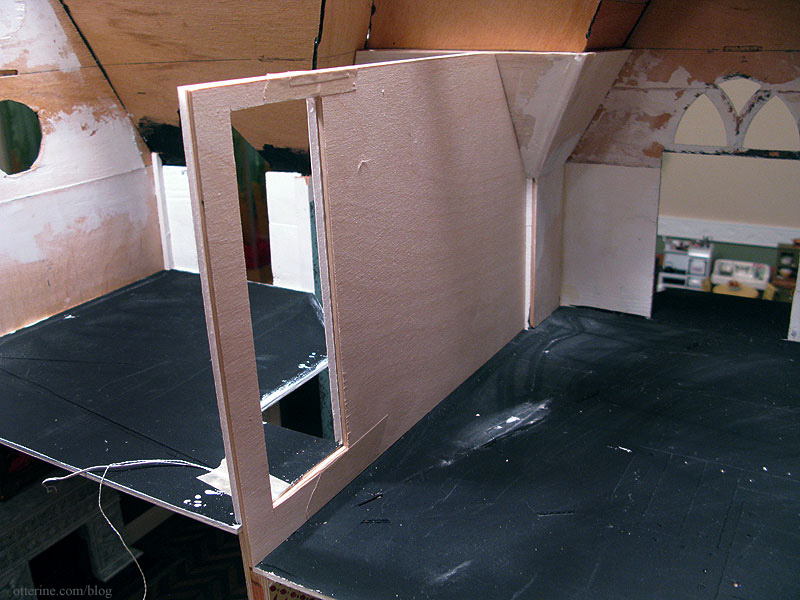
I kept the mockup board and used it as the other half of this wall since the plywood would hold the minimal weight of the attic floor board. In addition, the pocket door wall was slightly warped and I needed the extra thickness to make up the difference.
As expected, the line between the cut wallpaper bothered me.
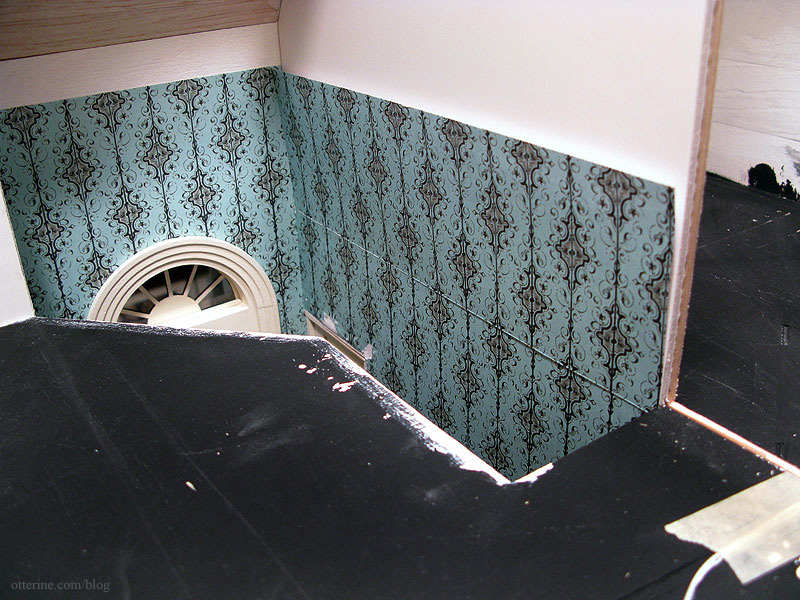
I took off the pocket door trim and plan to wallpaper over the existing foyer paper on this wall, continuing up to the same level as the top of the foyer. I’ll apply this once I glue in the bedroom wall, but I already like it better.
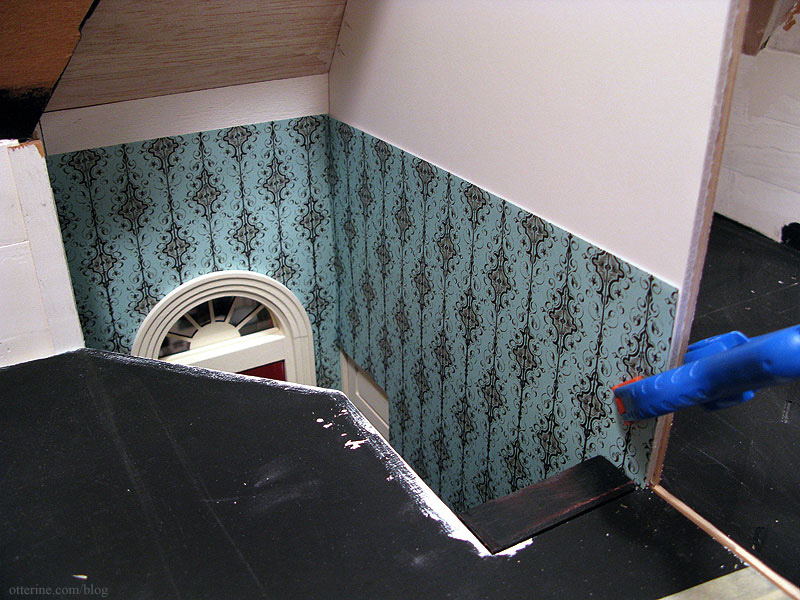
I like the plain wall above, too, so I’m thinking a chair rail height border with a plain off-white wall above the Turquoise Gothic Stripe scrapbook paper.
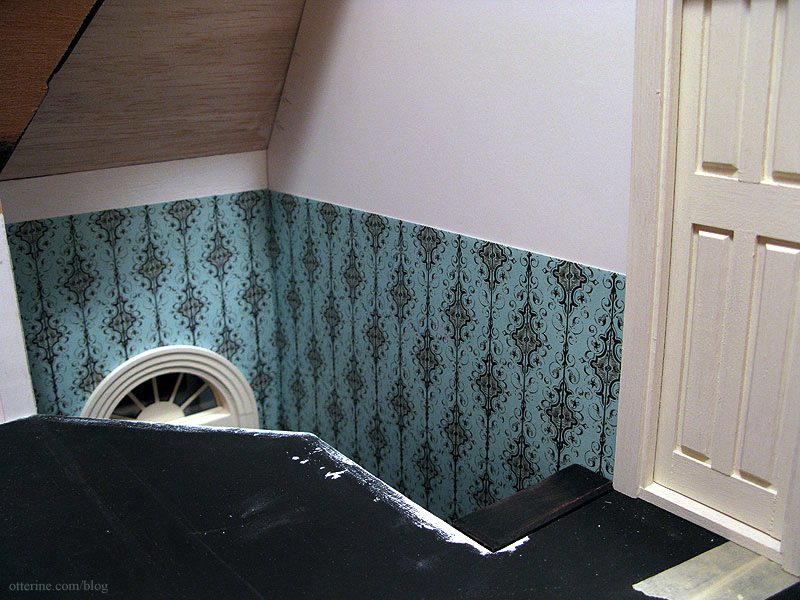
Wallpaper finishing here.


