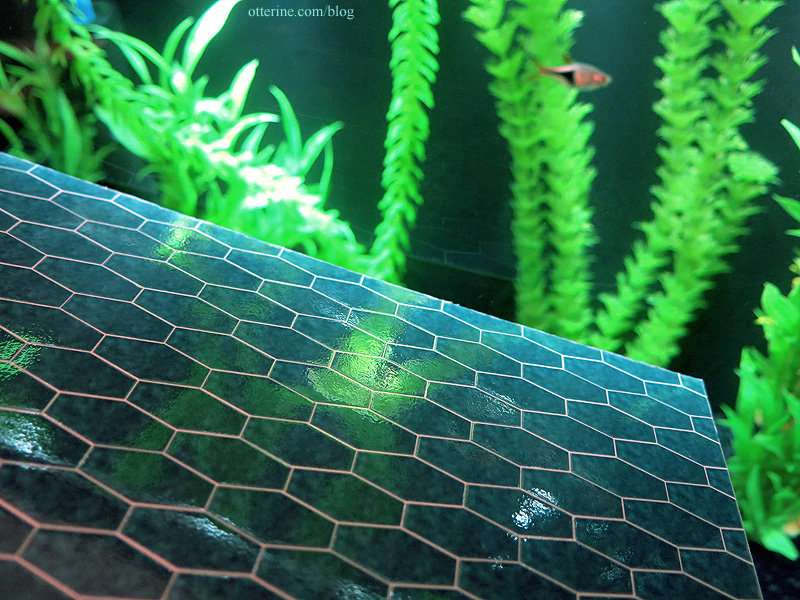
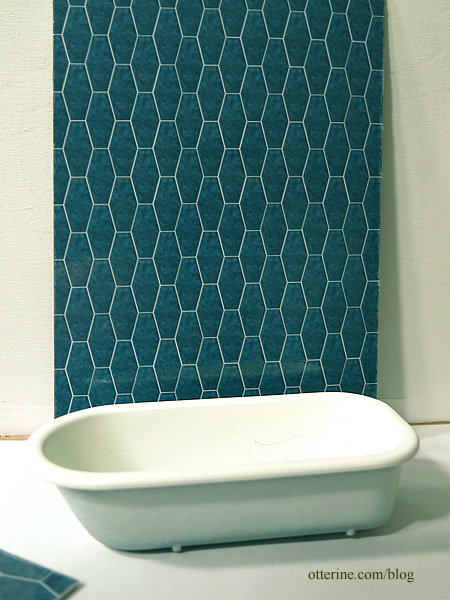
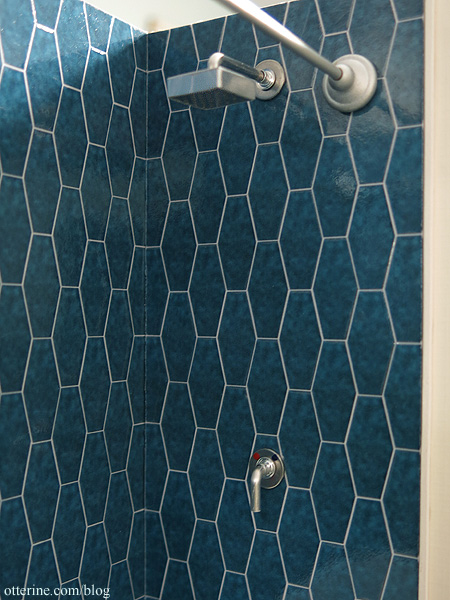
I made the shower tile using Word. (Yes, Microsoft Word.) I started by making a page of long hexagons filled with a tile texture sampled from real life tile and edged with a thin white border. I printed this on computer paper and used 3M Super77 spray glue to adhere the paper to mat board. I applied a generous coat of Triple Thick Gloss Glaze. Once dry, I cut the tile sheets to fit my space and used a stylus to score the grout lines.
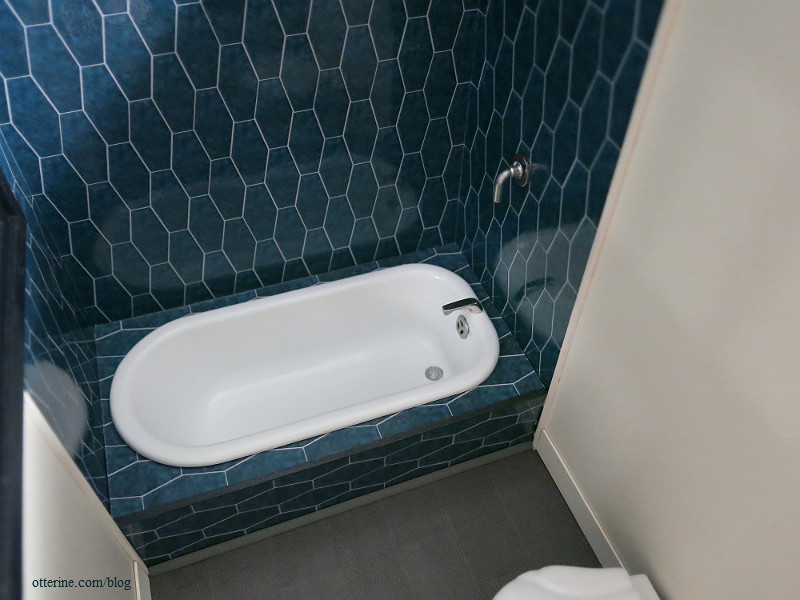
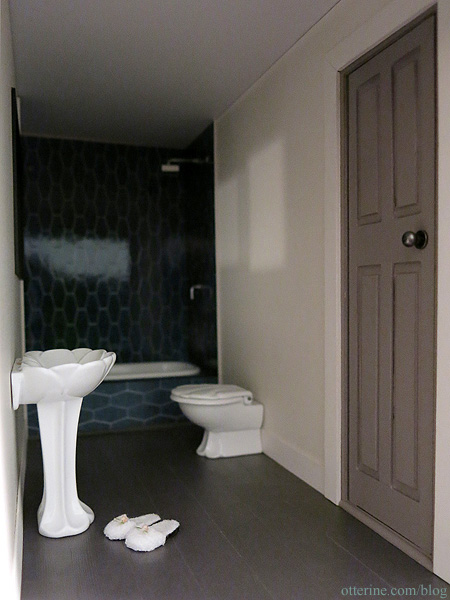
The tub is a spare Chrysnbon piece purchased from Sir Thomas Thumb at the local mini shows; these came without hardware but are perfect when you want the tub to make a built-in.
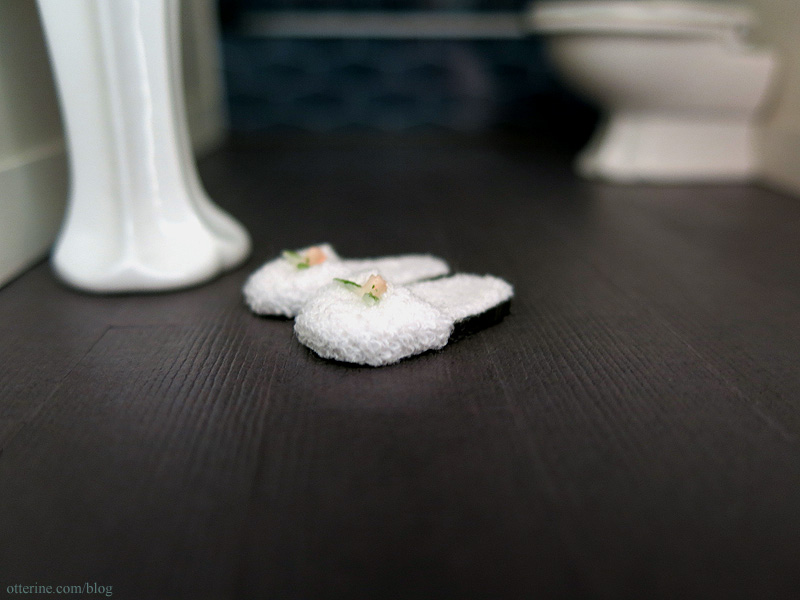
The floor tile is Bazzill Basics paper in Dusk; it has a subtle texture. I used 3M Super 77 spray glue to mount the paper to a layer of bristol board. I sealed it with Delta Ceramcoat Satin Varnish and cut the tiles in 3/4″ x 1 1/2″ pieces. I was going for the modern porcelain tile look.
I’ve been adding trims and bath hardware.
The shower head is from ELF Miniatures. I added washers around both the water lever and the shower head then painted color detail for hot and cold.
The overflow is the tip of a pen cap. I had a drain cover, but I had to snag that for the kitchen sink so I ended up painting the molded drain in the tub. The faucet is vintage hardware.