Starting work on the Miss Lydia Pickett Cottage Clock in 1:12 scale by Robin Betterley’s Miniatures.
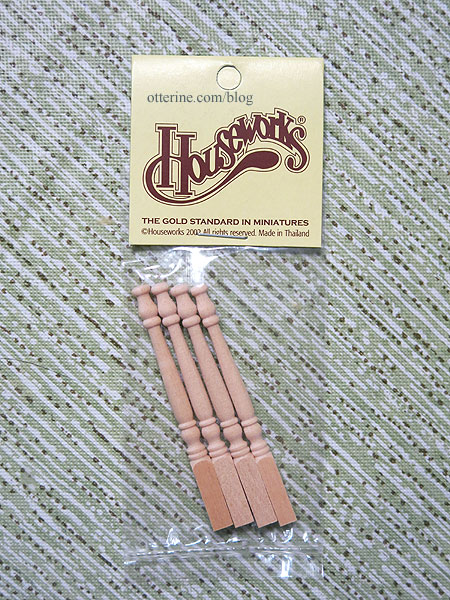
The instructions are very clear and have photos to help with assembly. I will make a few changes, though, first in omitting the scrollwork at the base. Instead, I made bun feet from Houseworks 2 1/2″ legs (Item No. 12009).

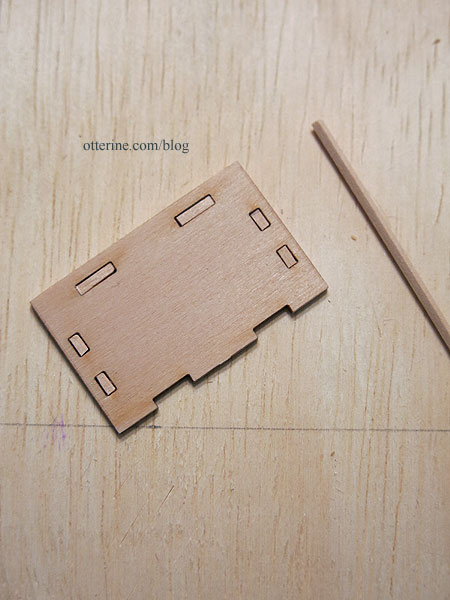
I added some bits of wood to the base to fill in the mortises to increase the gluing surface. They won’t show later, but it should keep glue from oozing later on. I’ll fill in the back mortises later since those will show.
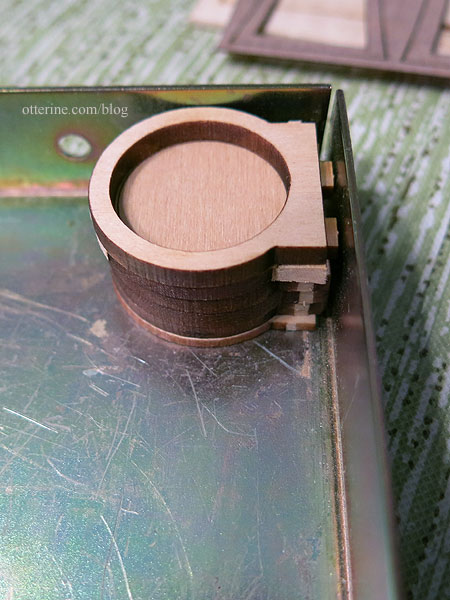
While I like the scrollwork on the top of the original kit, a fully round head appeals to me more. So, I used the back as a template, and altered the front piece to match. It didn’t have to be a perfect cut since you sand this assembly as a whole once it’s glued together.
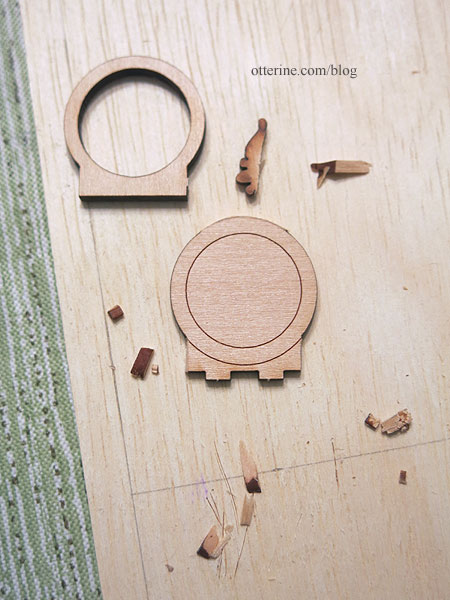
Thinking ahead (always read the instructions through and stare at the kit cover photo before starting), I wondered about giving the clock face more realism. The front piece is solid in order to have a gluing surface for the clock face artwork. An acrylic circle sits over the art to give the illusion of glass. While the included art is convincing, I wanted to go a step further and add actual hands. This would require more clearance behind the acrylic. Since I altered the front to match the other pieces, I could glue the front piece second in line. If I need to bump the clock face forward, I can just cut circles from paper until I reach the appropriate depth.
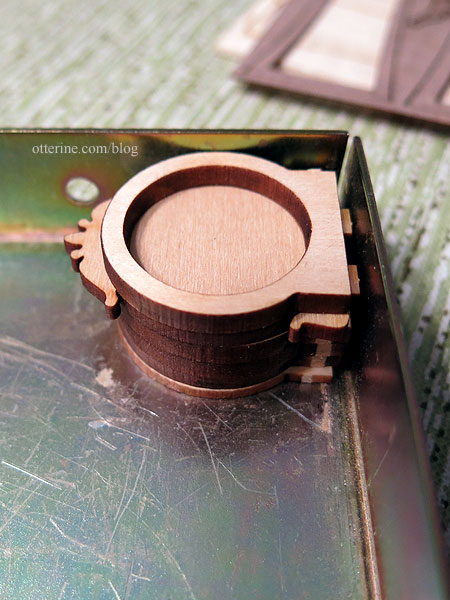
I’ll have to cut the tabs off the front piece now that it is in second position because the base has mortises already cut.