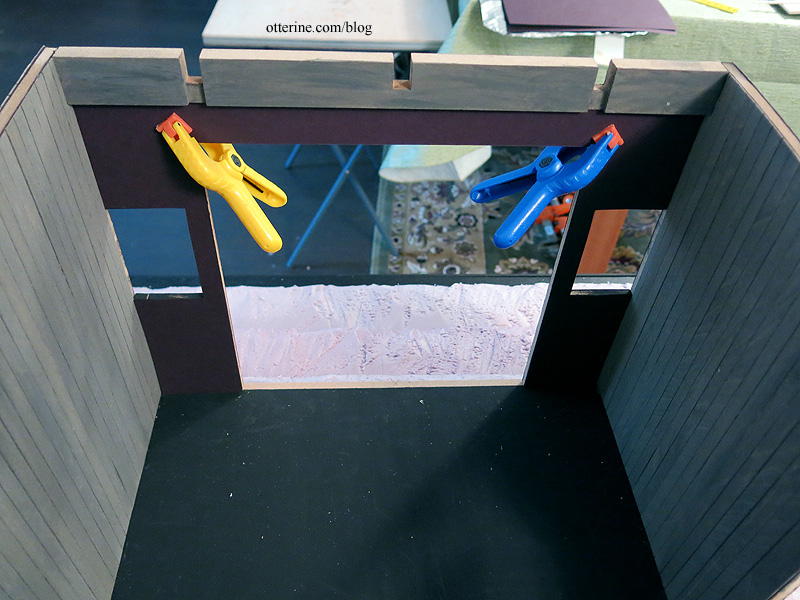
Continuing work on the siding. I glued the front insert walls to the middle upper insert while in dry fit, making sure not to glue any of the pieces to the main front cross beam. I used Tyvek pieces to reinforce the joins. The siding will cover the front cross beam on the exterior as well, so I made a single template to cover the entire front.
I made a similar template for the interior, leaving the main cross beam out.
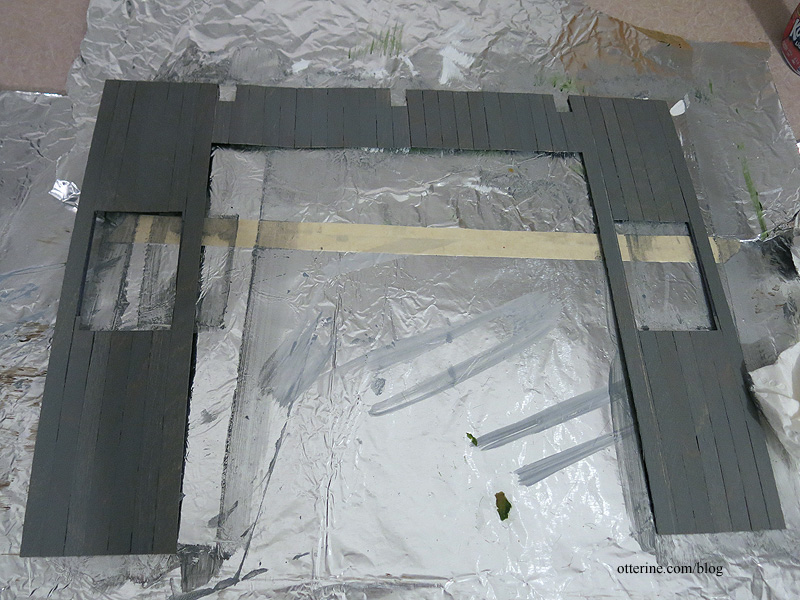
I applied the siding to the templates and used the same paint glaze process as I had for for the side walls, while the walls were still able to be pressed flat for each step. The front piece, however, was left unattached until later. I will detail the back wall in a separate post.
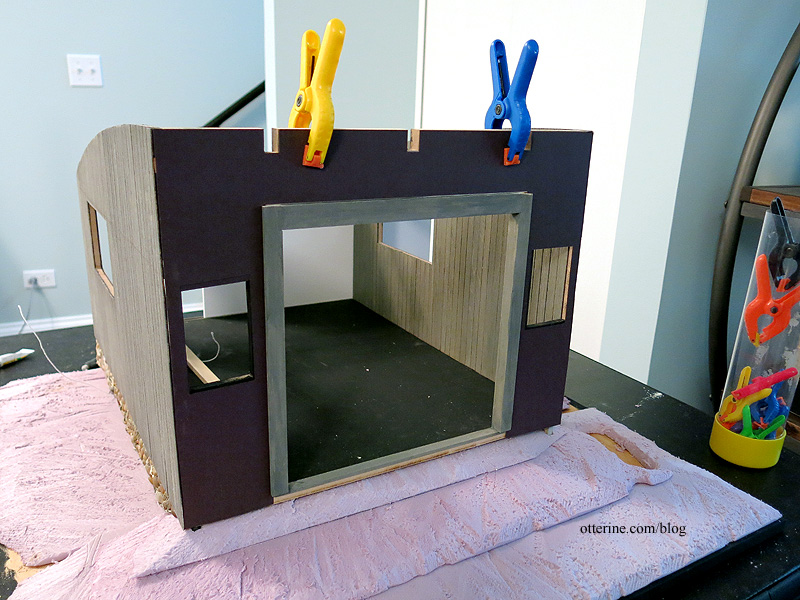
After gluing the interior siding template to the front wall, which stabilized the structure, I glued the wall in place. Here you can see the Tyvek reinforcements. There are also two of these on the other side under the siding.

I used 3M Super 77 spray adhesive to attach the front piece since it’s not water based and therefore would not warp or expand the paper backing or the wood. I haven’t added the nail detail to the front since I’m not sure how much of it will show once the trims and windows are in place. I plan to add it later.
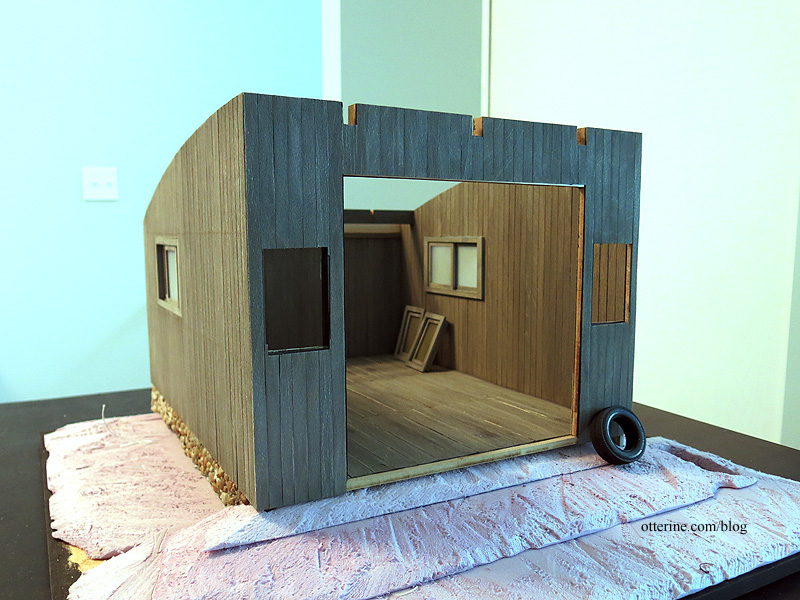
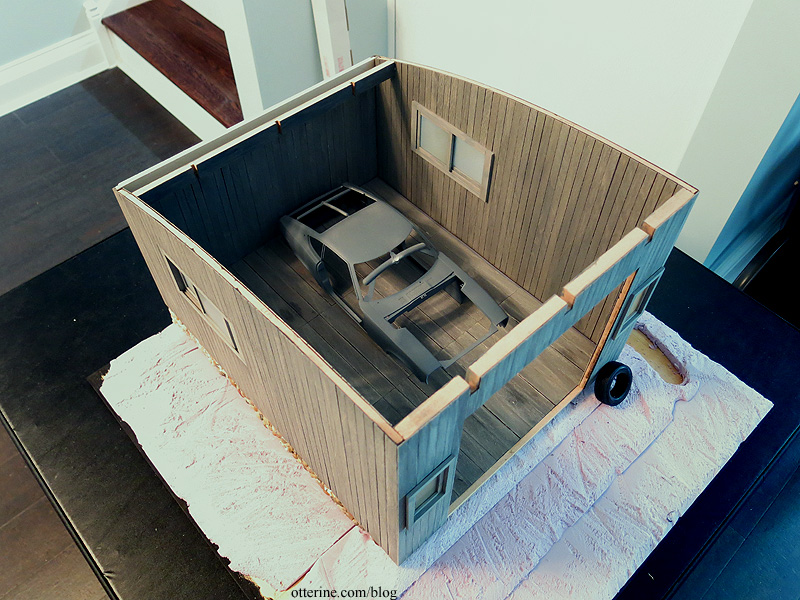
It’s starting to look like an old shed. :D