Continuing work on the 12V lighting for the barn. I’ve shown you the new old stock E-Z-Lectric light fixtures from Itsy Bitsy Old Stuff. I also mapped out my lighting plan.
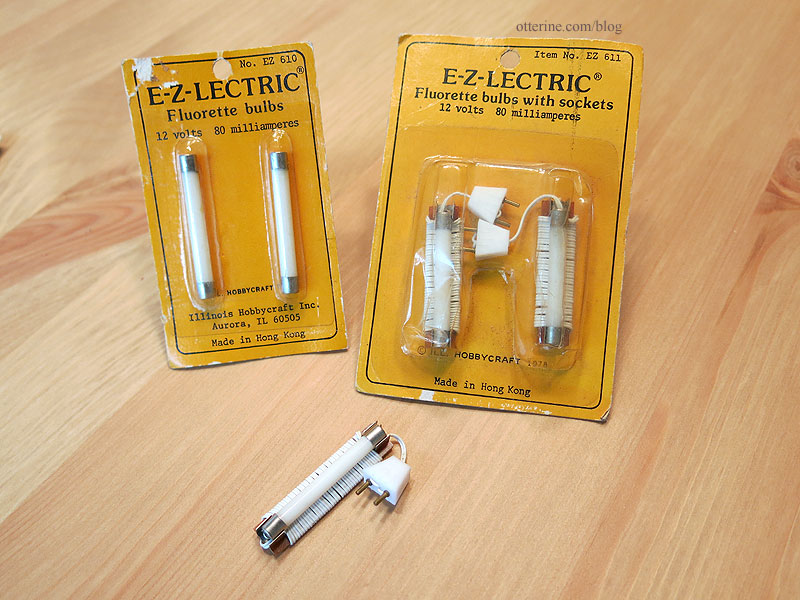
Before I could install the actual 12V lights and the mock knob and tube system, I needed to address the fixtures. They seem to have rather delicate connections for the backside wiring. Those wires would prevent them from sitting flush on the cross beams besides.
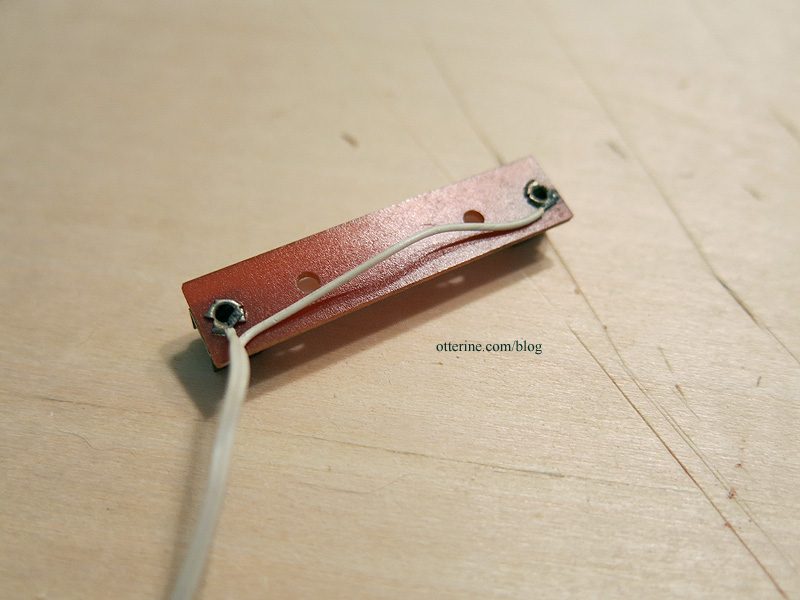
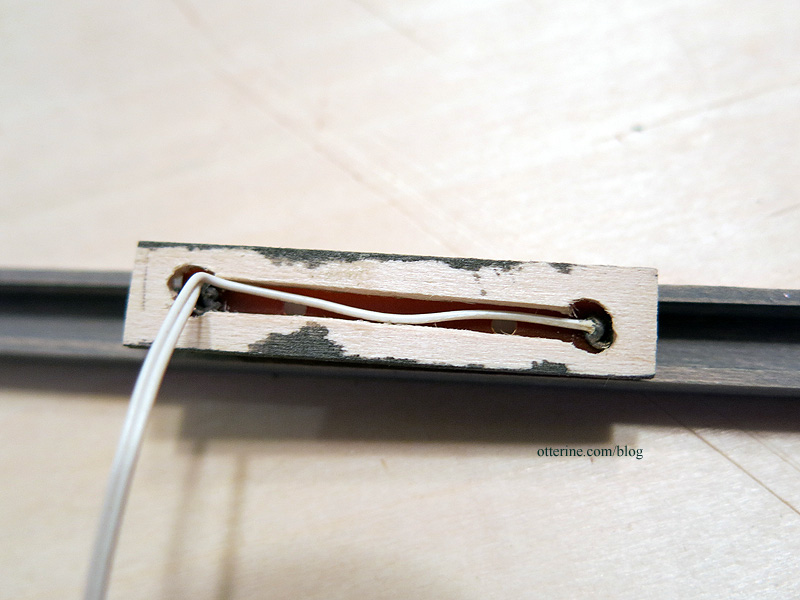
So, I cut thin plaques from 3/8″ x 1/16″ strip wood to mount them.
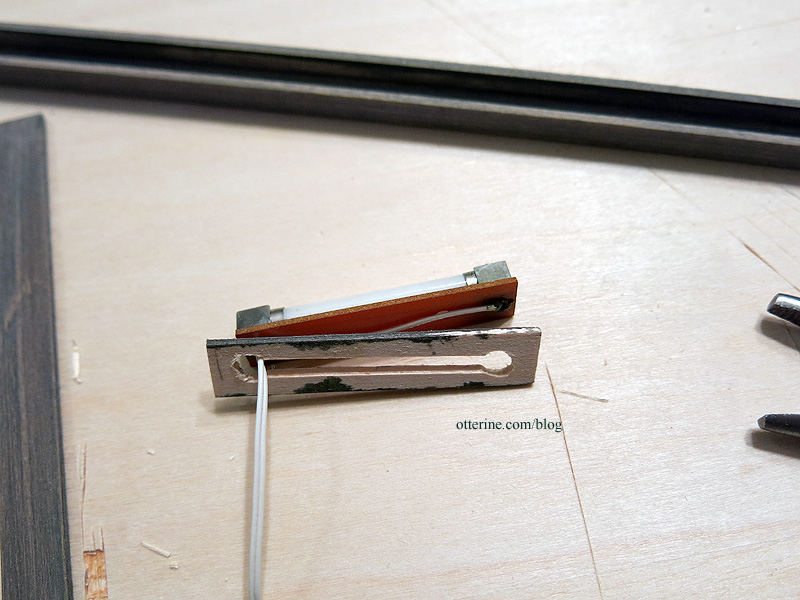
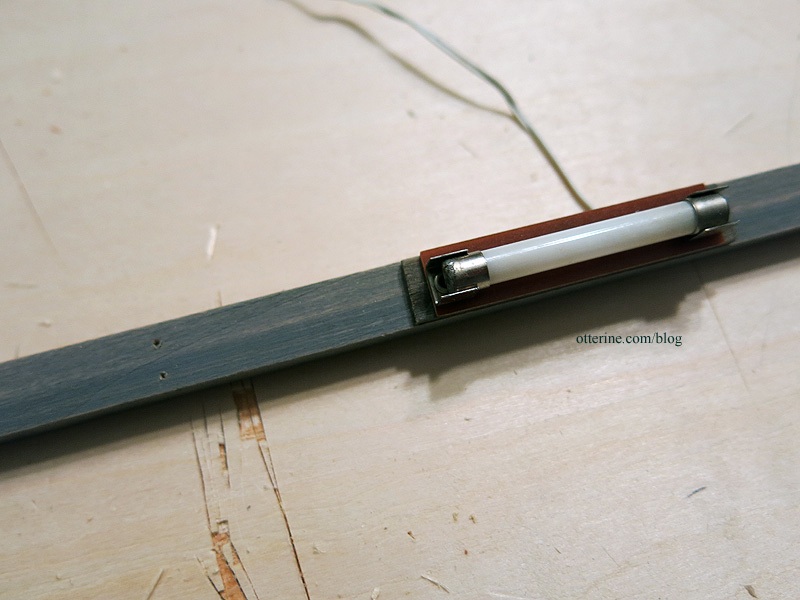
The fixtures are glued to the plaques, leaving room for the wiring to exit the back while protecting the delicate connections.
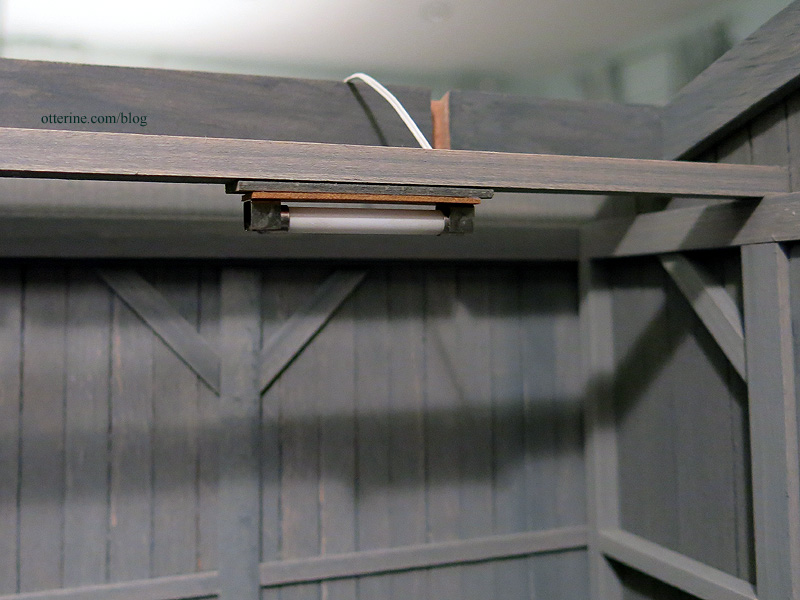
I touched up the weathered stain finish on the sides and ends. I marked the wire location on the cross beams and drilled holes for the 12V wires to pass through. I also drilled holes for the knob and tube system to be covered in a later post.
The lights are mounted to the cross beams, but now I need to work on the knob and tube system. :]