
I’m starting with a 15/32″ thick plywood base board measuring roughly 24″ square purchased at Home Depot. In general, I use bases that will fit through a standard doorway so I can move the finished builds around my house without issue. Once I get through the first few rounds of dry fitting, I can determine if I will cut the base board down from this original size.
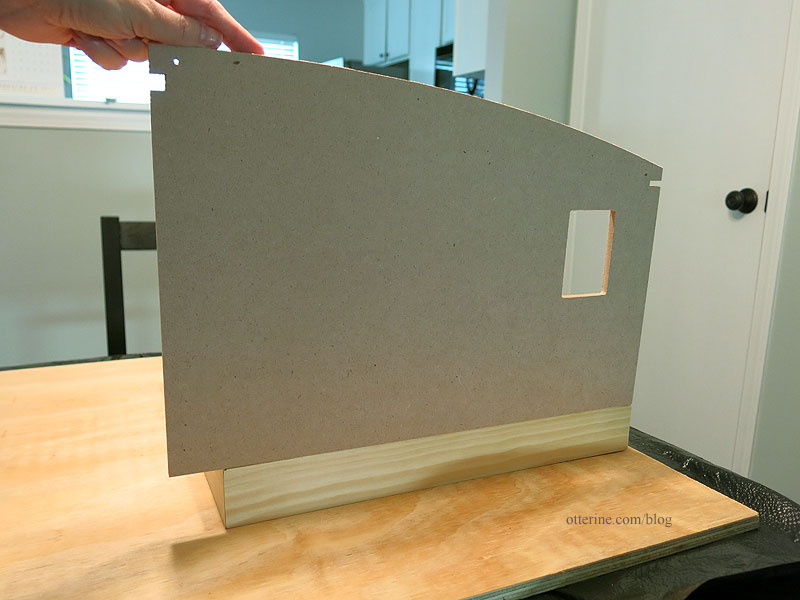
Even though I will be working with a 1:12 scale model car, I’m still going to cut the kit down a little to better fit my idea. Since this kit doesn’t have a solid front wall, making changes to the width has a few more steps but is still pretty easy.
I’d like to have an elevated foundation, so I won’t be using the existing foundation pieces from the kit. I tend to keep unused and/or extra pieces from previous kits, so I dug out the foundation pieces from the Foxhall Conservatory — the kit I used to make the Newport garage. These are 1 3/4″ tall and form a rectangle that measures 13 5/8″ x 14 3/8″.
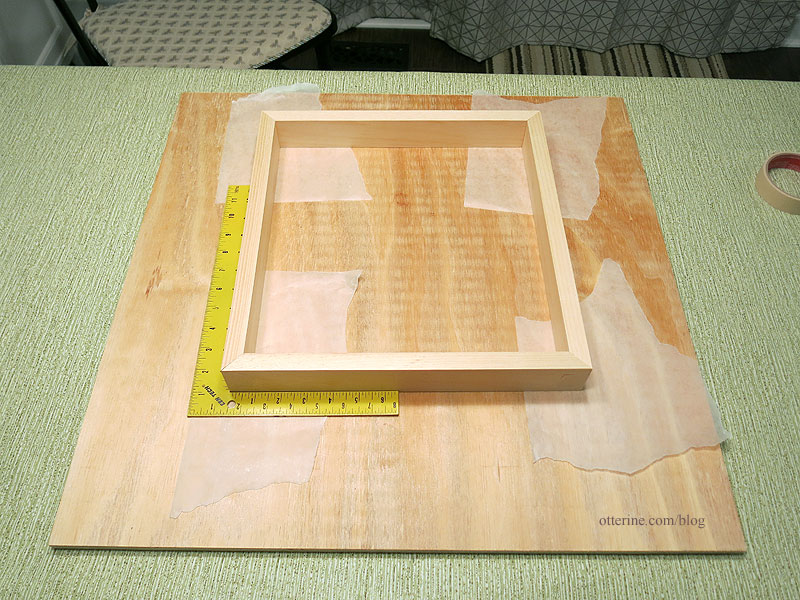
This foundation is just a bit too short depth wise, but that’s easy to remedy.
I will be using 1/2″ thick builders foam (from Home Depot) to form the main landscaping base. The foam is closer to 9/16″ in actuality so that leaves 1 3/16″ of foundation showing.
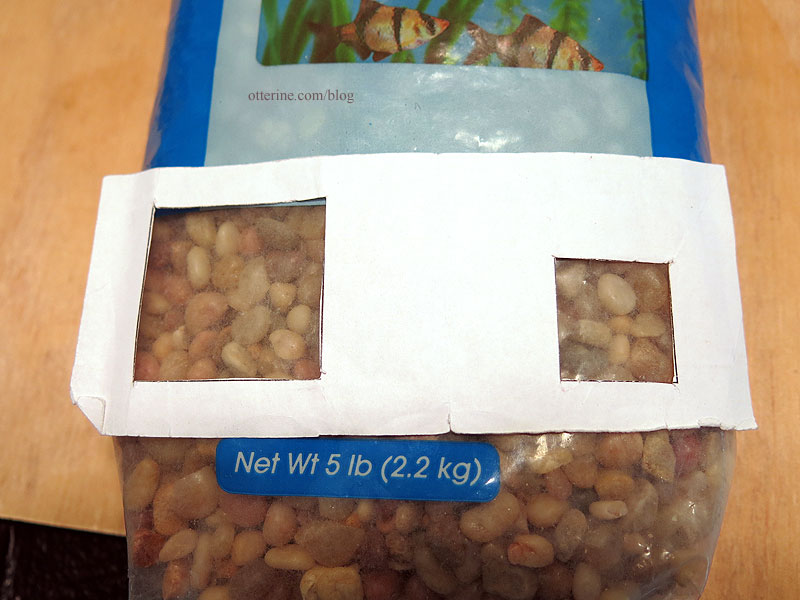
I usually use egg carton brick for foundations and stonework can easily be done with the same material, but I wanted to give a real stone foundation a try since I wanted a different sort of look that only 3D pebbles will give. :] So, I bought some aquarium gravel.
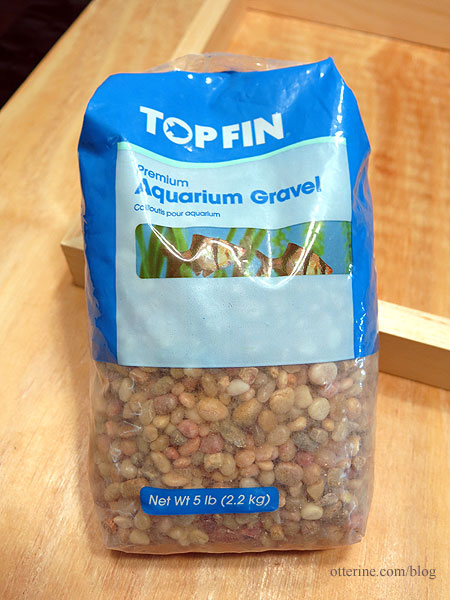
They do sell smaller bags but the pebbles were also smaller. I used my handy cutout template to determine that these were a better fit for scale. The template has 2″ and 1″ squares.
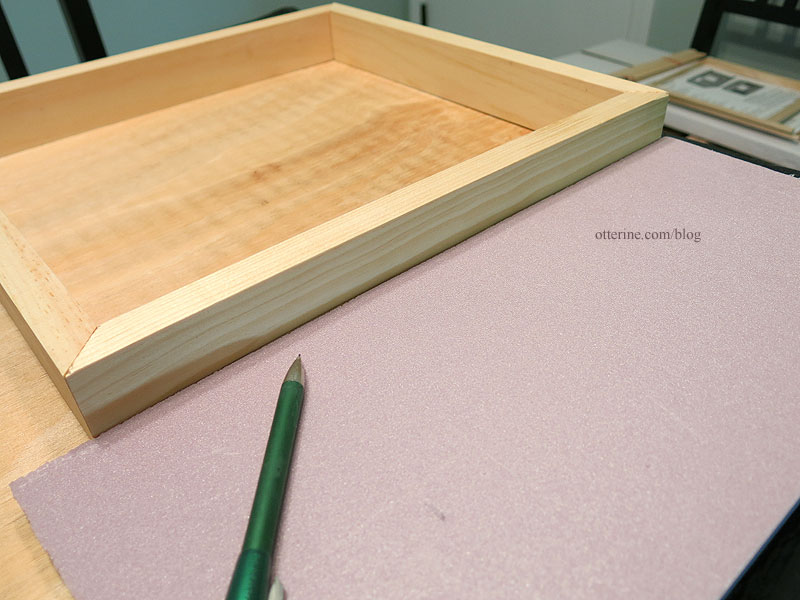
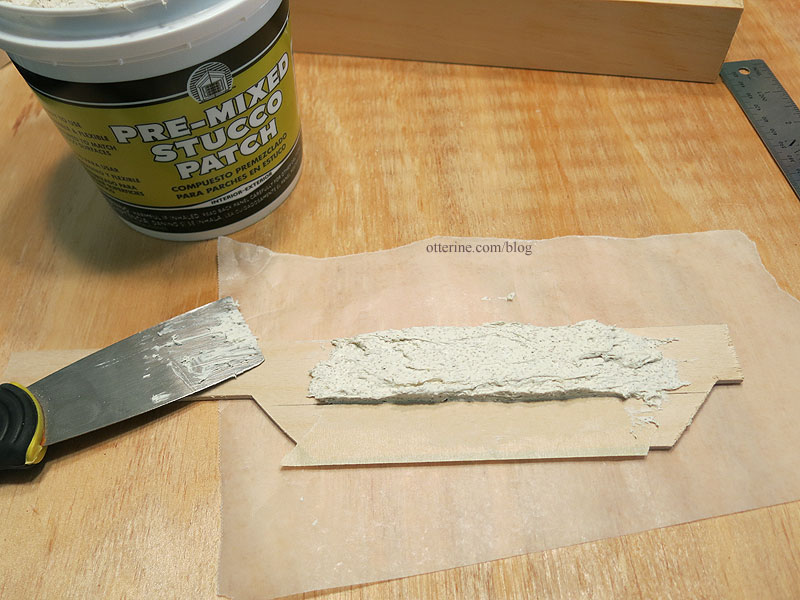
I’m a big fan of test samples just in case it’s not the look I wanted or has unforeseen disastrous results. I can also test out further finishes on my sample as I go instead of risking the work already put into a build.
I took a piece of scrap wood and spread some leftover stucco patch (from Home Depot) that was used for Walnut Bay Light in a 3/16″ thick layer.
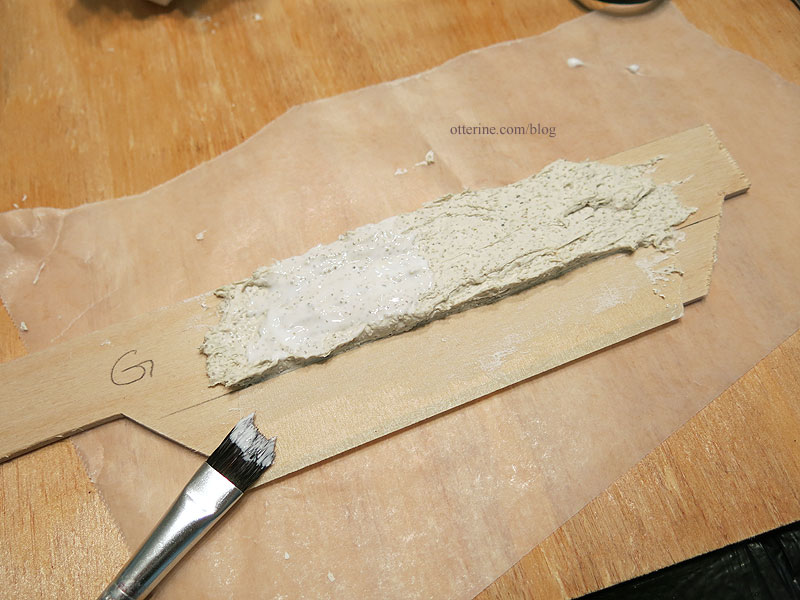
I did two tests: one with an added brushed-on thin coat of Weldbond and one without. I wanted to see if the glue was needed for secure adhesion.
I pressed the pebbles in place. I used my putty knife to tidy up the edges. I’m already thinking the glue won’t be needed and, if anything, it will make it more difficult to age the grout. I can probably get away with a thinner coat of stucco as well.

The glued portion dried shiny, so I’ll use the stucco patch alone. It’s a solid mass, but a Greenleaf forum member suggested I prime the wood first for longevity, so I will do that on the final go around.
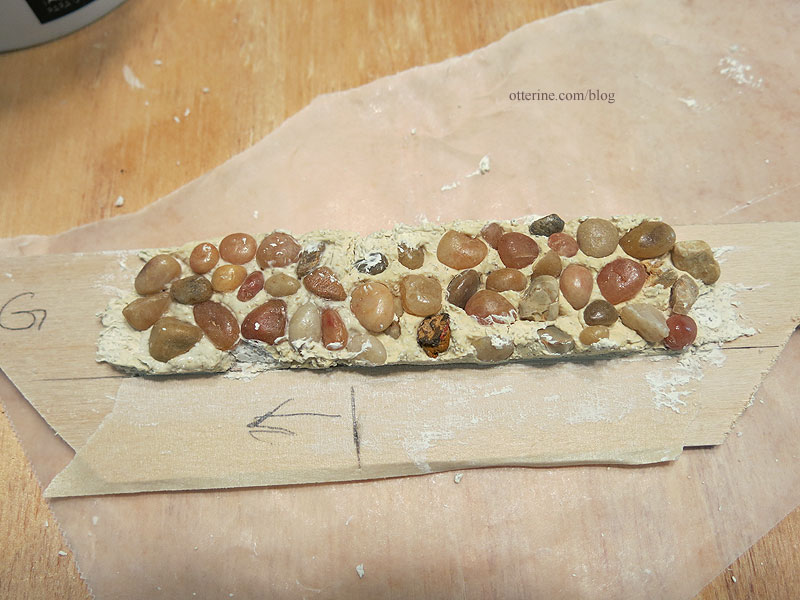
The pebbles are a good size for scale.


