This post has the “best of” photos along the way to completion. This post will change as the build progresses.
——
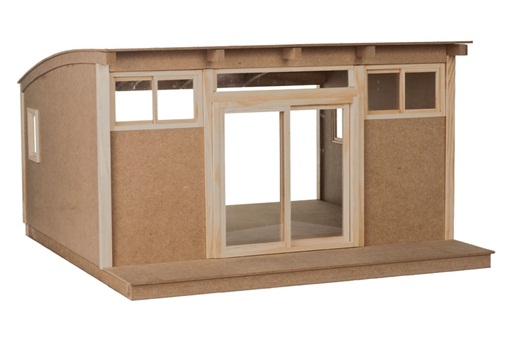
Milo Valley Farm is built from Denise’s City Cottage, which was the miniatures.com Creatin’ Contest kit for 2015, but I didn’t enter this build since the kit was a free gift from them as part of their blogger outreach campaign. Here’s Denise’s City Cottage as it looks built to spec.
The idea behind the build is making a barn find diorama. Here are two great examples of the look I’m going for: a 1961 Jaguar E-type and a 1952 Barn Find Cunningham C-3 Coupe #5209. Barn finds can be quite sad looking at first sight but turn into cash cows and museum gems. I love this Charger, too, though so I am sure I will fluctuate between a before and after barn find car. :]
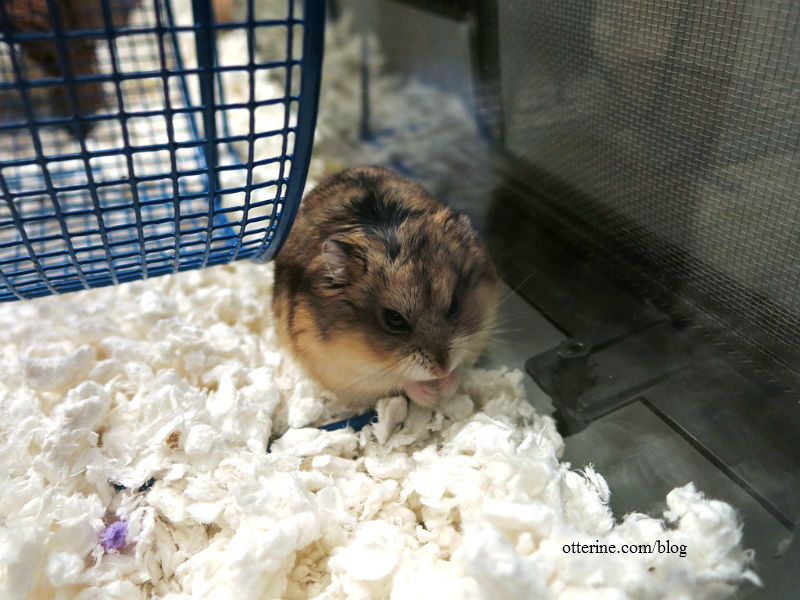
I named this build Milo Valley Farm after a dear hamster friend, Milo.
I’ve made the structure narrower but added to the depth.
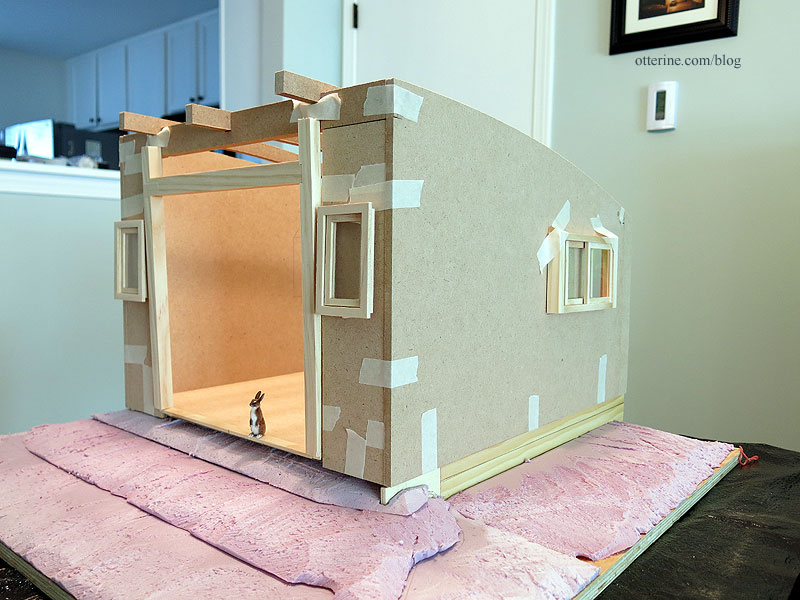
I made these changes to accommodate the 1:12 scale Tamiya Datsun 240ZG.
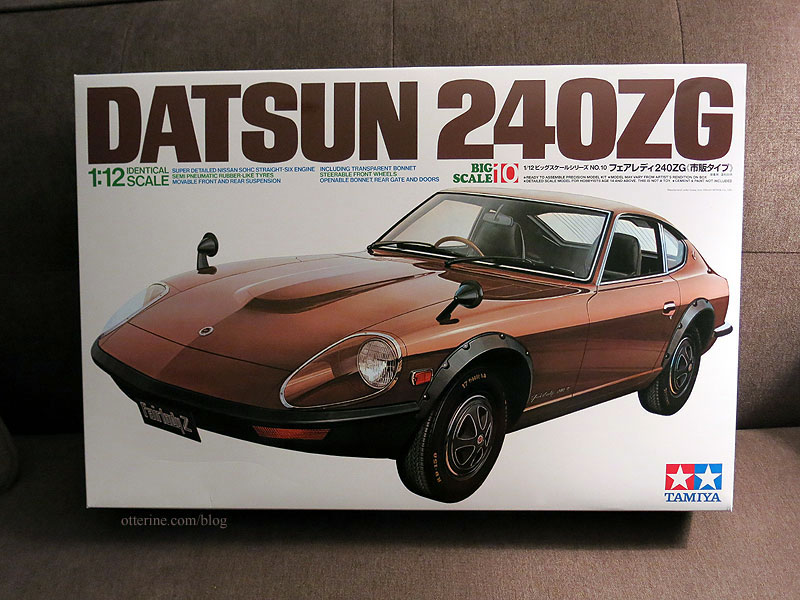
The car is a work in progress beyond the end goal of making it a barn find.
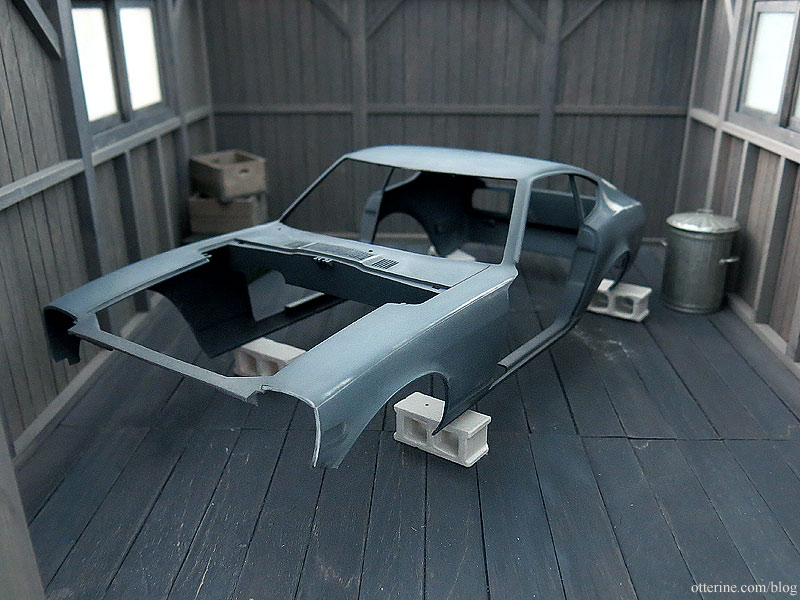
It’s an incredibly detailed model.
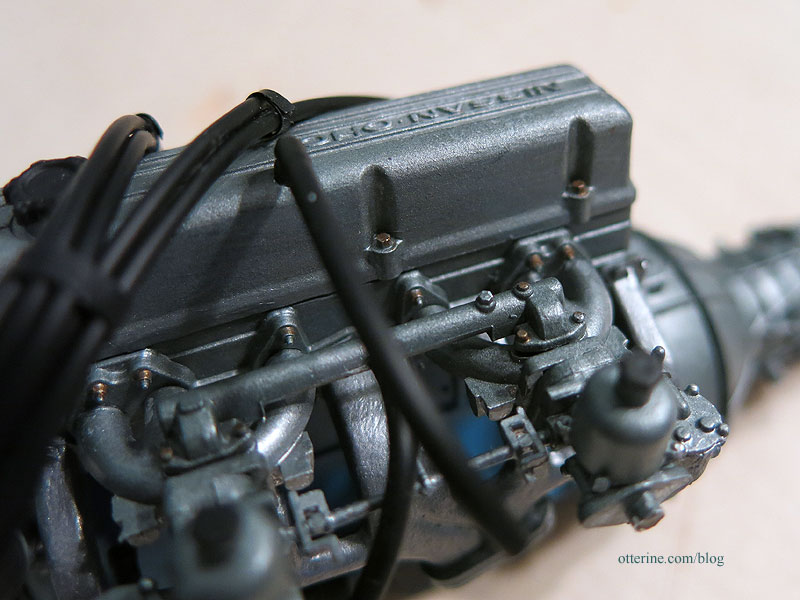
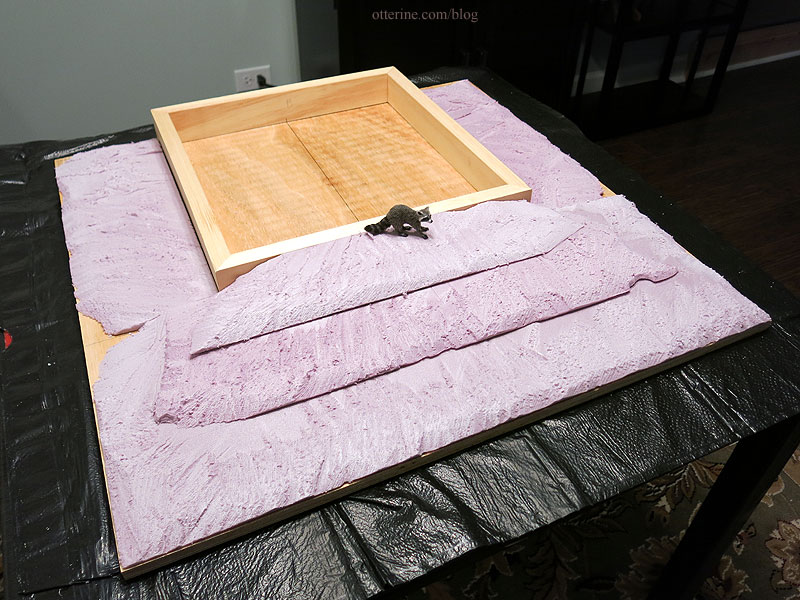
I added a taller foundation and used builders foam for the main landscaping base.
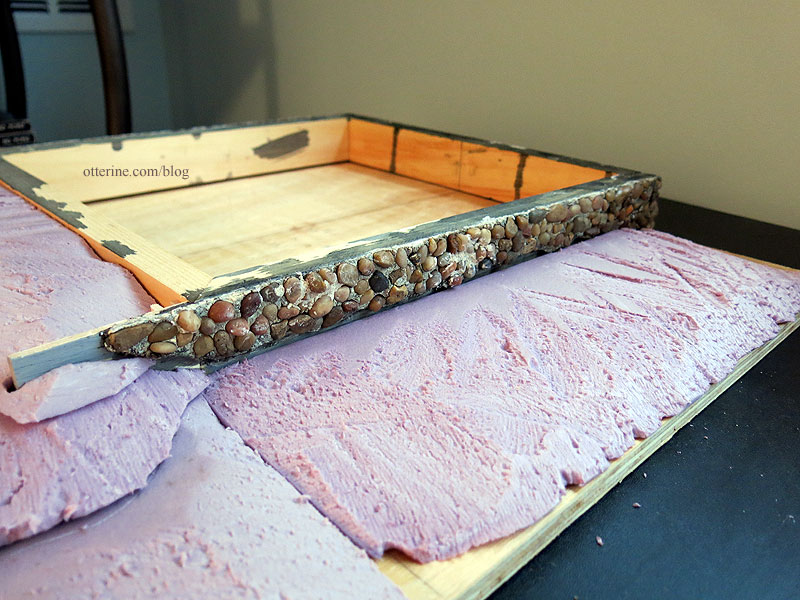
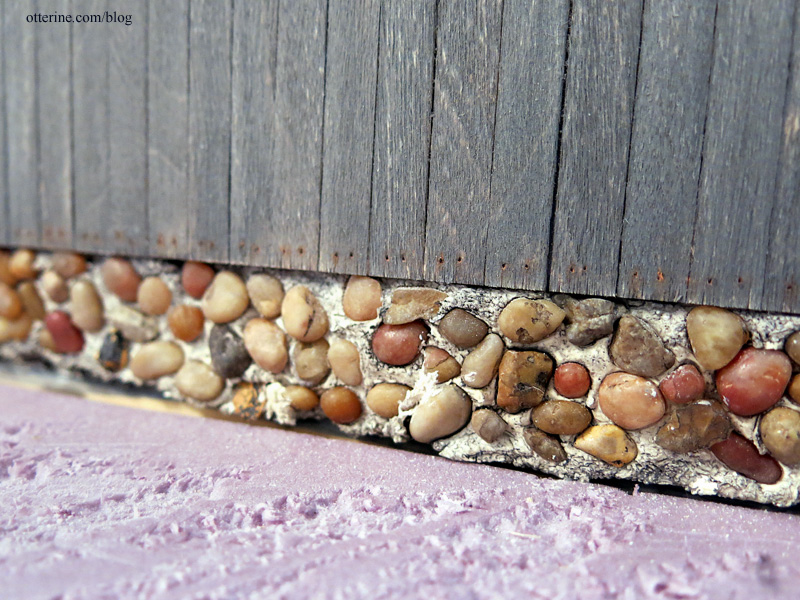
The foundation is covered with aquarium pebbles and stucco patch.
The siding was applied using templates. I added nail hole detailing and aged the wood.
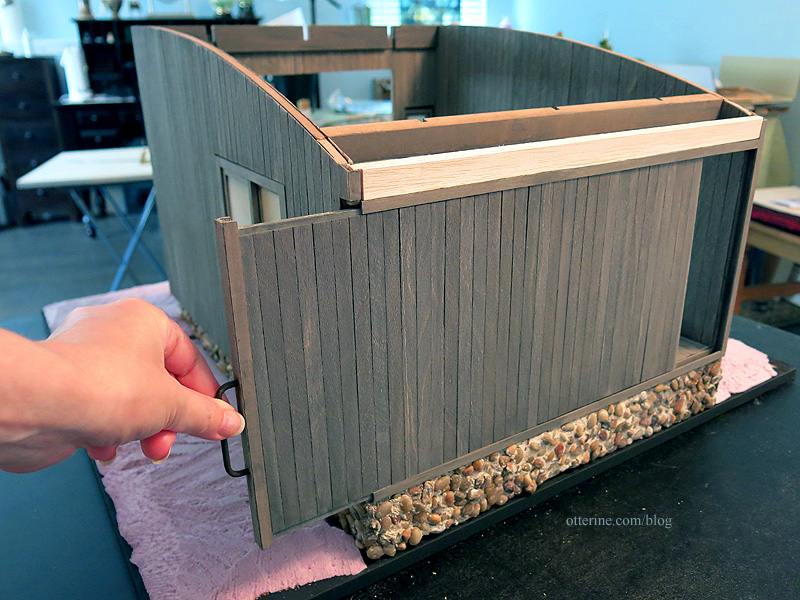
There’s a removable wall to enclose the back. The handle is disguised as an old bar used to tie up horses.
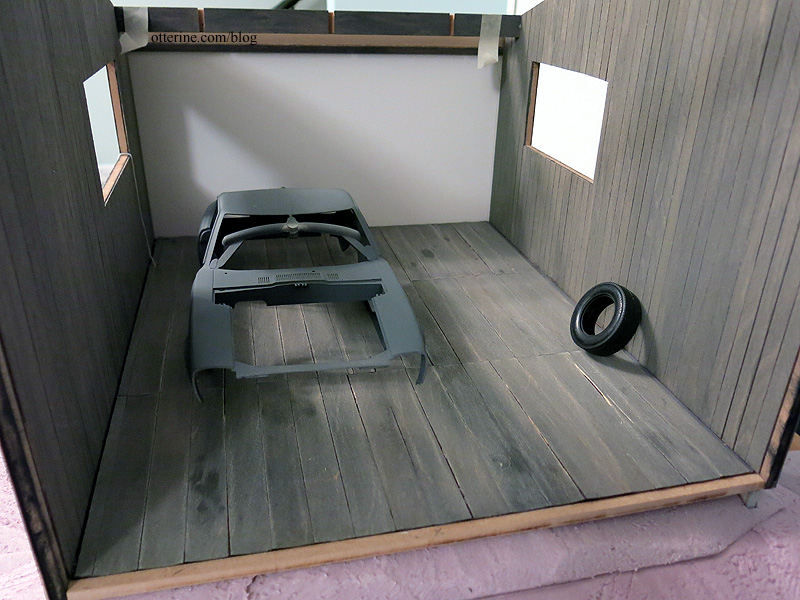
I made a black paper template of the floor. This is the same material used for the siding but left full width. I used the same painting technique as I had for the siding for the base color. I applied a few dark washes to age the planks, even dropping some puddles in places to make stains. These were lifted and reapplied a few times over. I added wheel marks and residue rings from cans that have leaked. I will add more later on during final finishing.
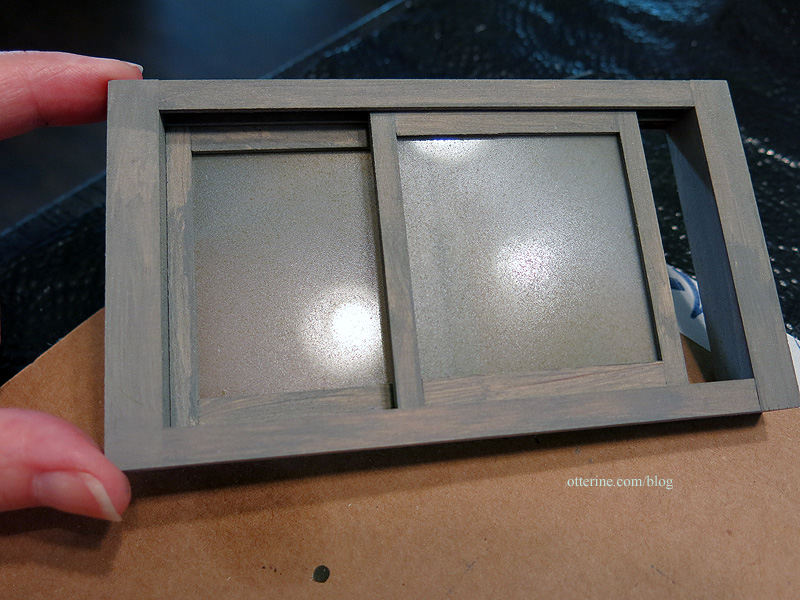
The windows come already assembled, so they required some disassembly for finishing. I used the same painting technique as I had for the siding to finish the frames. I then aged the clean acrylic inserts to cloud the glass, reduce the shine and add some color depth to the dust. You can always add more, but too much paint will look like…well…painted glass. :D These windows will be seen from the inside and outside, so I went with a lighter color to simulate dust.
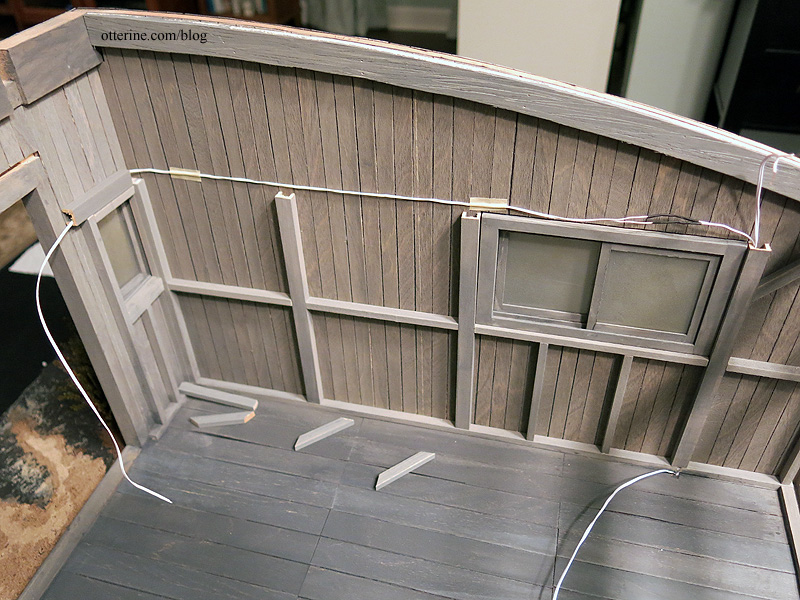
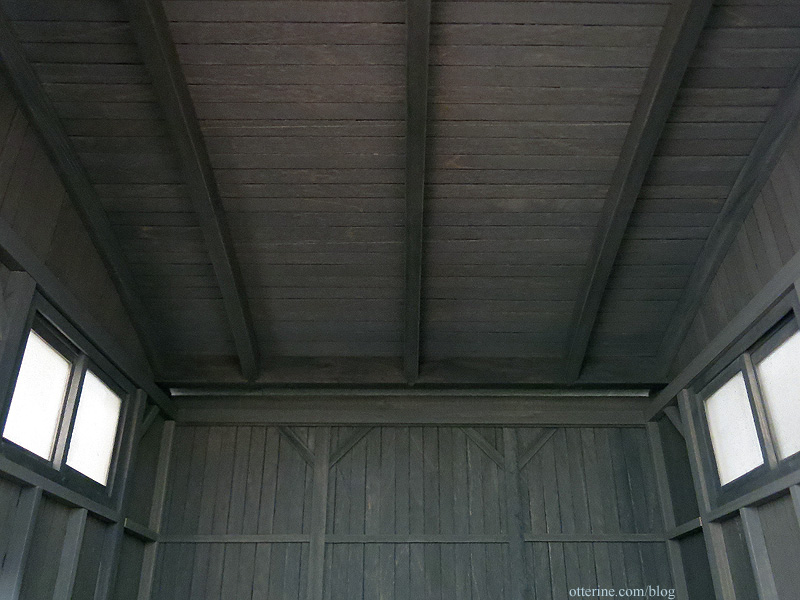
With the windows and flooring installed, I could address the interior structure. This is by no means meant to be a precise carpentry replica. It’s meant to disguise seams and give the illusion of a structured barn as well as provide a way to hide the 12V wiring system.
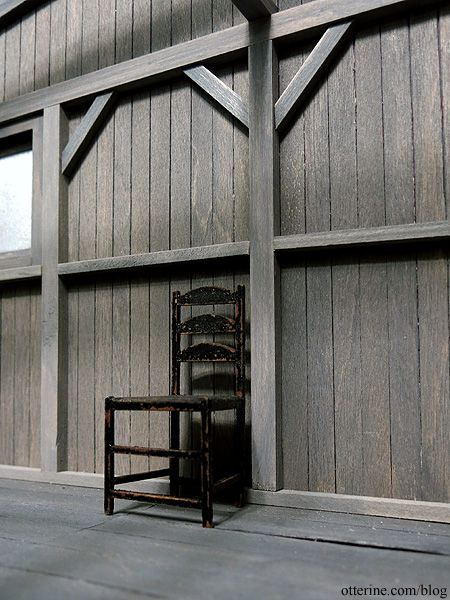
The barn has a faux knob and tube system made from plastic tubing, plastic rod, crochet thread and copper headpins. I mapped out the course of the knob and tube with sewing thread to work out any issues before installing the real deal. Below is the real deal.
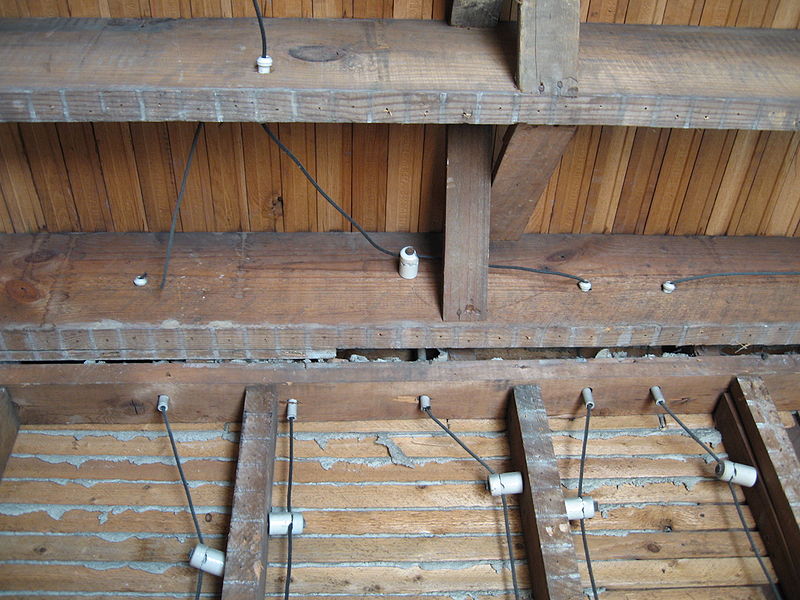
Much of this exposed work would have been done with cleats instead of knobs, but I like the look of the knobs and perhaps the builder just used whatever he had the most of in the old barn.
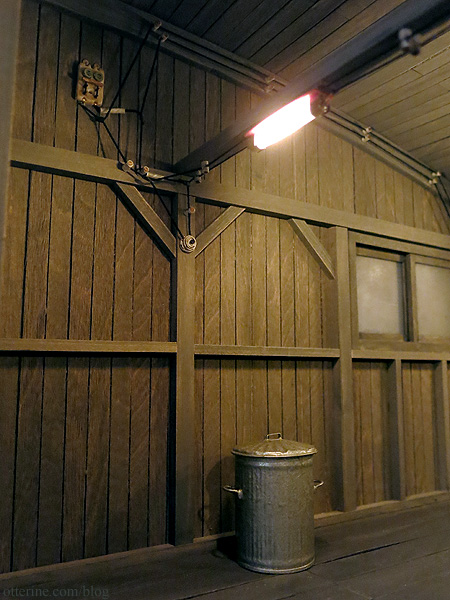
I led the wires down the wall to a key switch (made from a bell push from Sussex Crafts and a wood disc). A lot of this was guesswork since much of the knob and tube wiring examples I found are modern inspection photos of improper splicing with modern wiring. But, I think I managed to capture the essence of it, no?
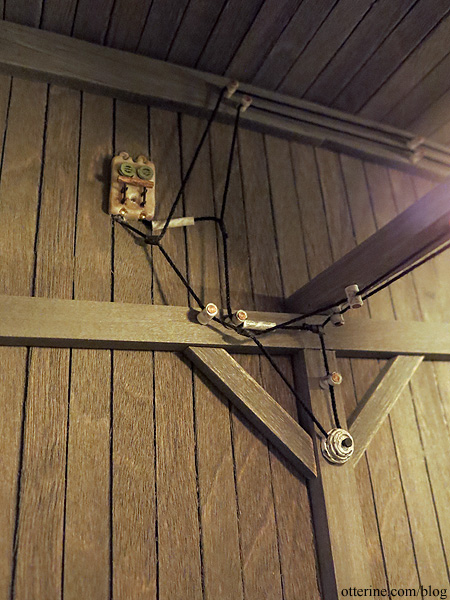
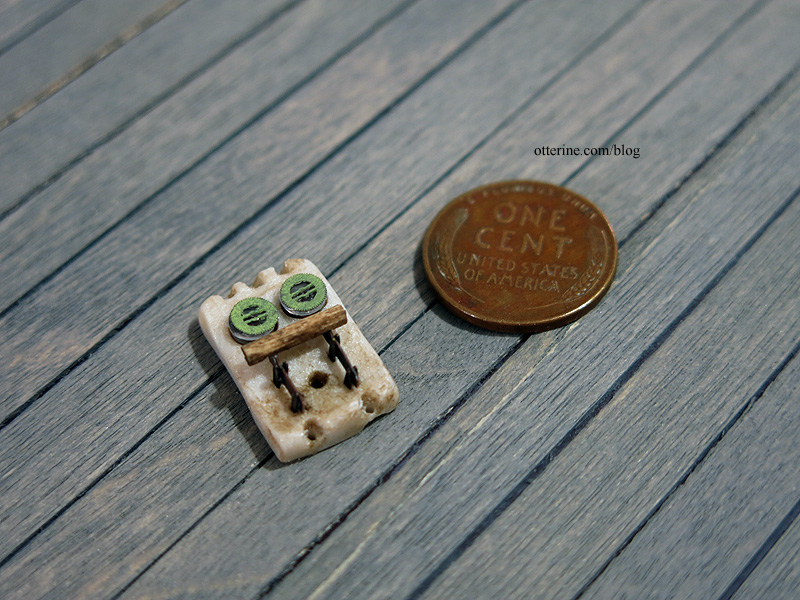
I made the porcelain fuse block for the service entrance from polymer clay (Sculpey in Pearl) since it was easiest to mold and shape and would look enough like porcelain to pass. I used jewelry findings for the connectors. The fuses are made from brass and silver watch parts (painted) and two clear plastic discs. The switch doesn’t pivot; it’s glued in place.
The actual 12V electrical system is hidden in the channel molding that forms the beams and posts.
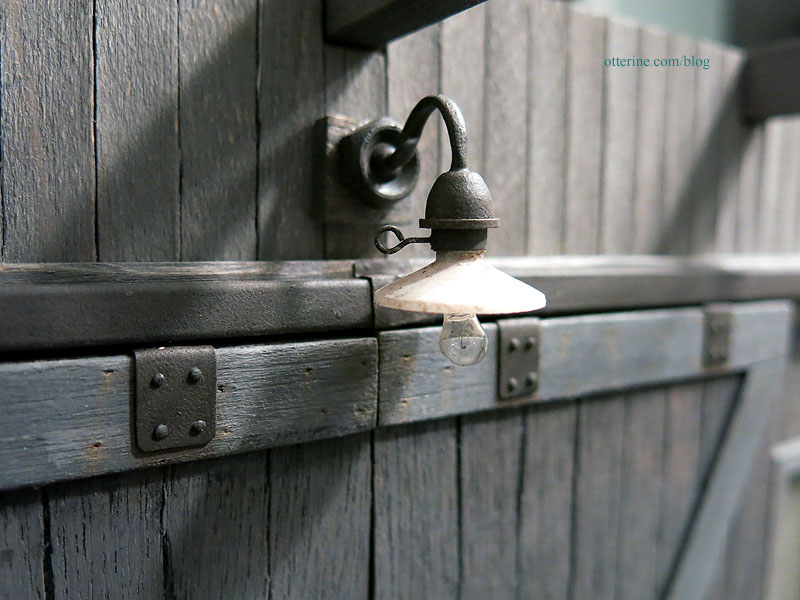
The old barn light was made from a Meyers Wall Light. I brushed on flat black paint to remove the gloss shine. Once that was dry, I dry brushed on dark brown to make the finish appear corroded and dirty. Since the door frame sticks out, I added a square of scrap wood to serve as a base for the light. Just a few modifications, and it looks like an old barn light that’s been there a long time.
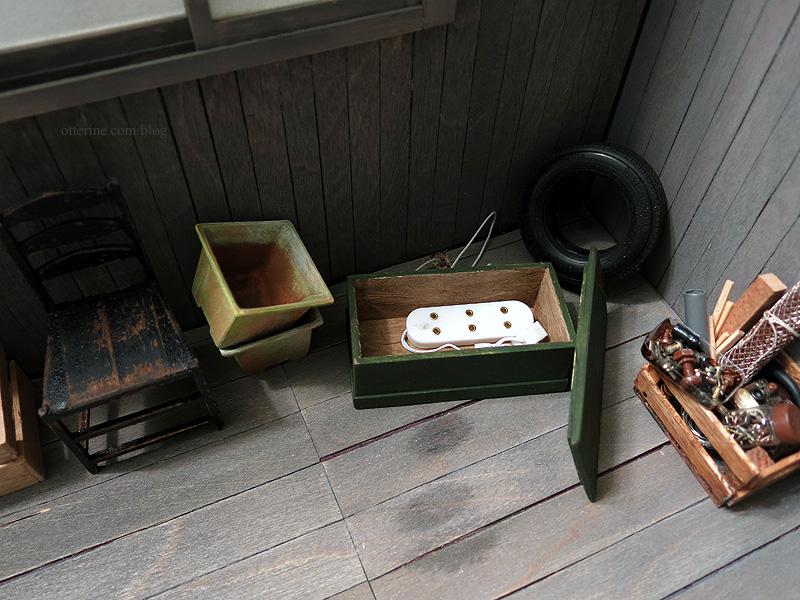
There’s a receptacle inside an old sea chest. The wiring leads out through the foundation and is covered by the landscaping foam (that process here).
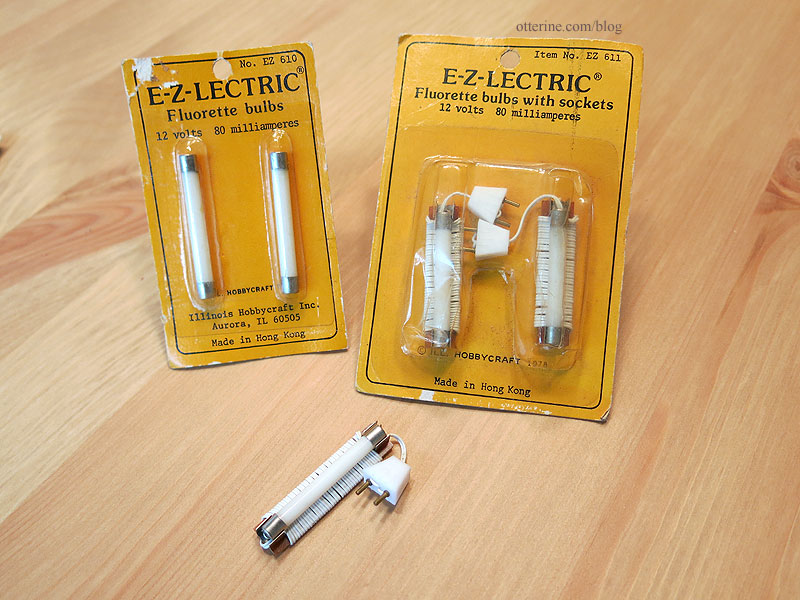
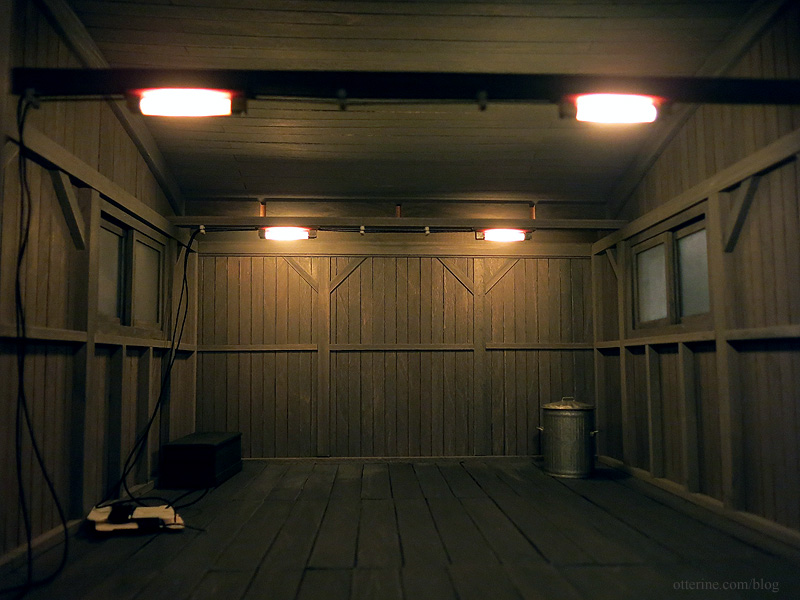
The 12V lighting features some new old stock E-Z-Lectric light fixtures from ItsyBitsy Old Stuff. These are great since they already look a bit aged; a few of the bulbs show crackling in the frosted glass finish.
They provide the perfect amount of old, yellow light for the barn.
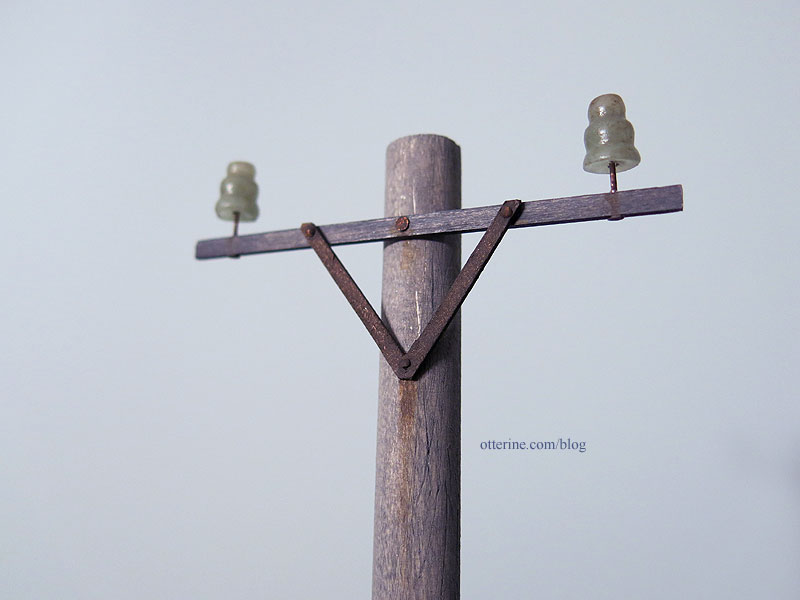
The old electrical pole was made from a 1/2″ wooden dowel cut to a proportional size of 16″ tall, not exact scale. I took into consideration the fact that the wires need to clear the barn door to reach the tubes on the side of the barn.
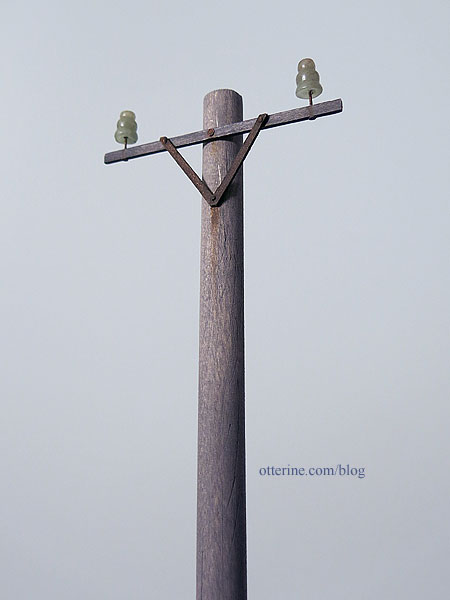
I cut the cross bar from basswood, painted and aged before assembly. The v-shaped stabilizer was cut from cardboard and painted to look like weathered metal. I used metal headpins and tiny brads for stability and nail detailing. I glued green adventurine cone beads onto the side wires and added aging washes. These are as close to mini glass insulators as I could find.
I cut the roof board down since I had narrowed the building. I had to cut an additional piece for the back since I had made the building deeper. Interestingly enough, I ended up with an extra roof board since the one that came with the kit originally was damaged so I had enough to cut the extra piece for the back from the same material.
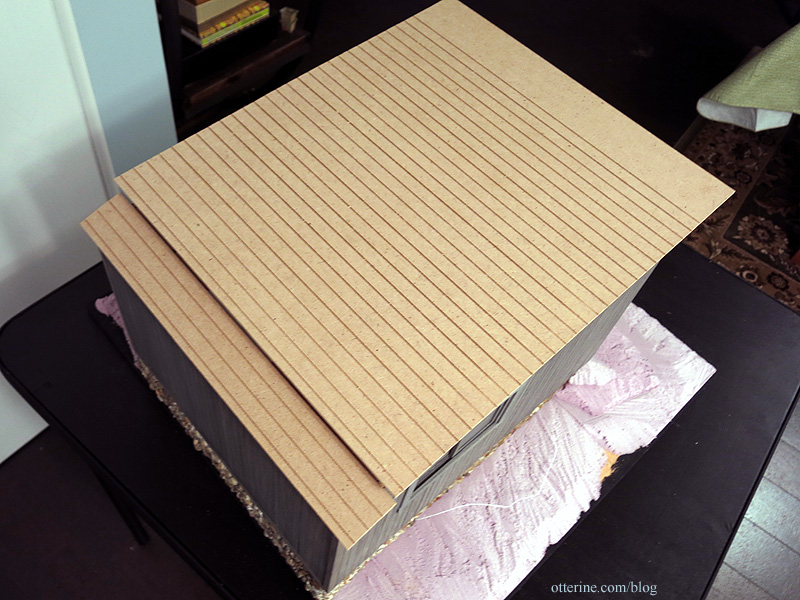
I made a template for the ceiling from black paper and used the same thin wood strips as I did for the siding to mimic a plank ceiling. I made sure seams hit where a beam would cover the gap, and I alternated the placement so it wouldn’t tend to bend along that break. I left a tiny bit of room between the boards to allow for the curve. I painted it to match the rest of the interior siding. Here it is propped in place to test the fit.
The barn doors were scratch built. I made a rail for sliding doors that extends past the end of the building on either side. I saw this setup in real life at a wedding locale.
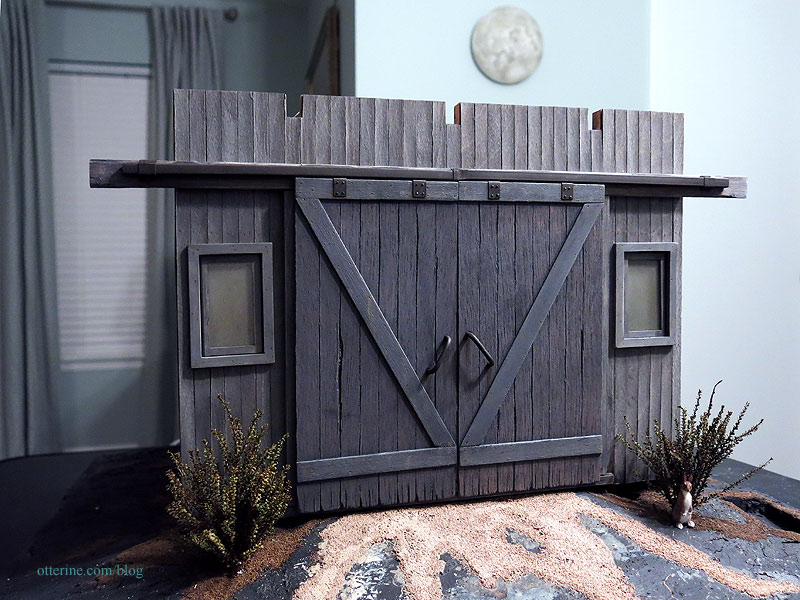
The doors can’t be moved using only the handles. I have to grip them by the sides to slide, but that’s just fine with me. I love how they turned out considering I made it up as I went along.
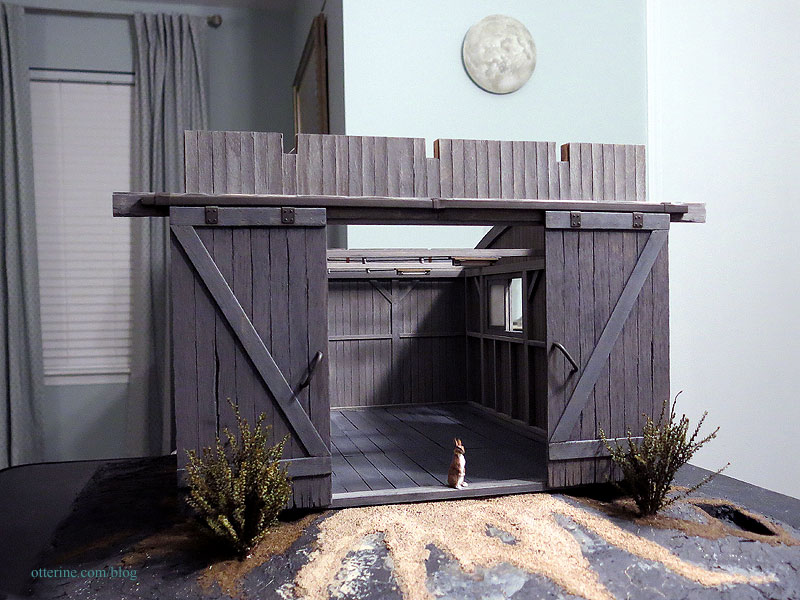
Perhaps there should be a handle inside, but…I kinda love it as is. We’ll just say there’s enough of a gap to get a hand in there to pry them open.
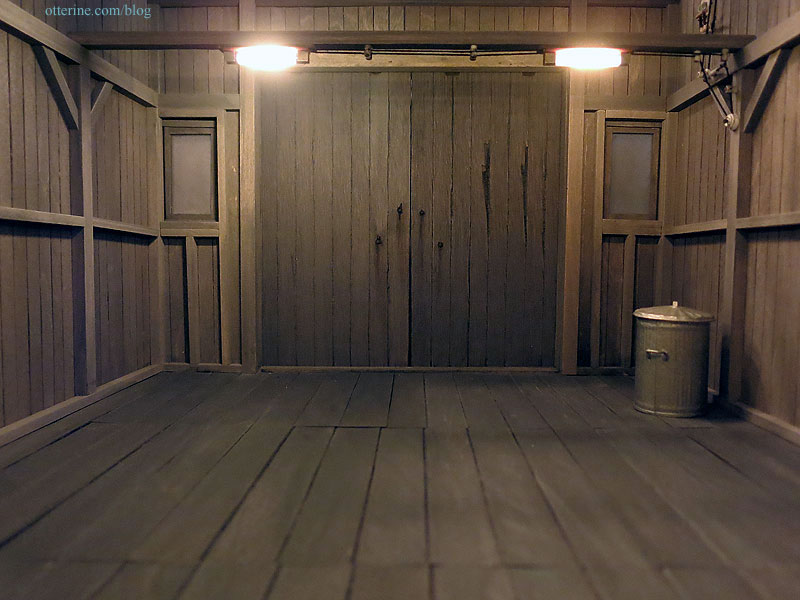
Interior Accessories
While building, I’ve taken some time to make some minis for the old barn like these 1:12 scale license plates. :D
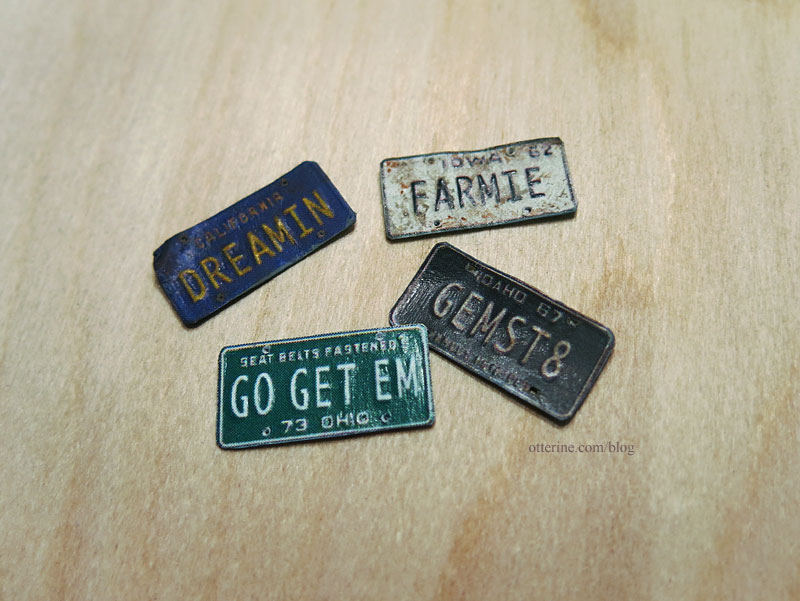
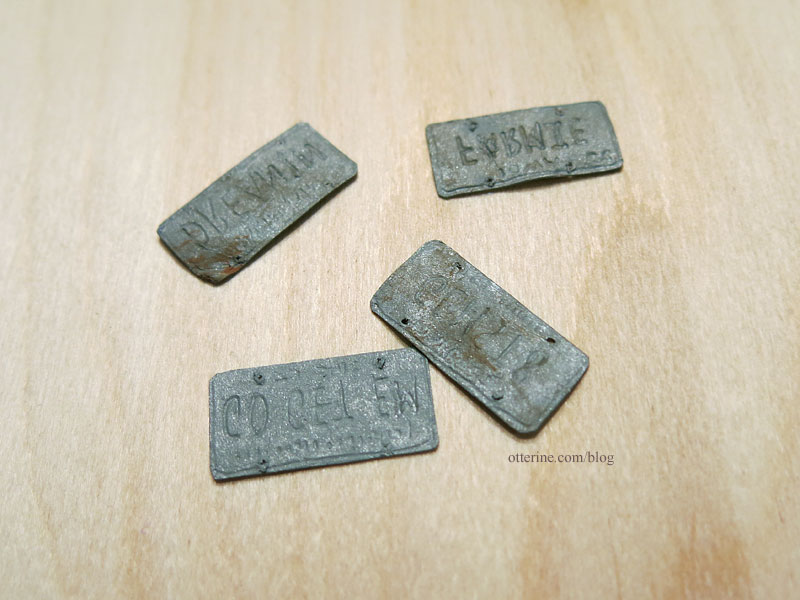
These are made from paper but look like old worn metal and even have the embossed detailing of the real deal.
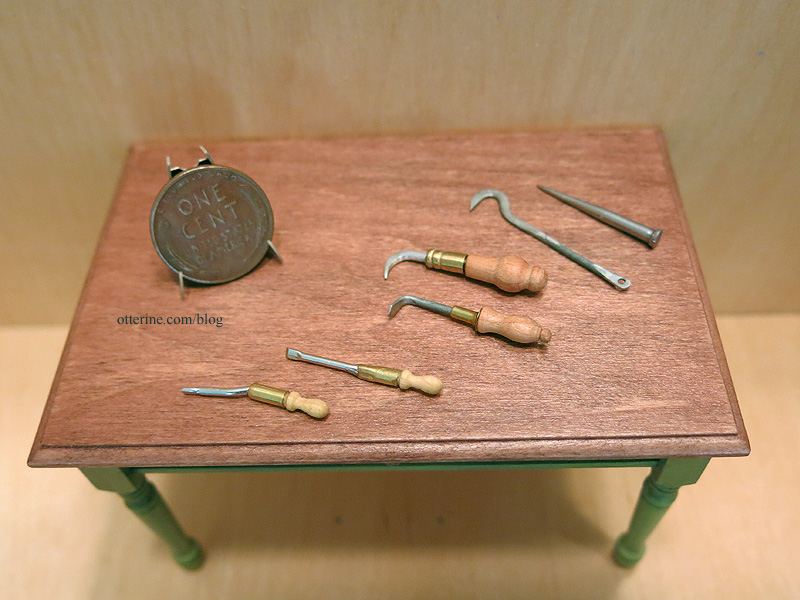
Bill sent me a whole bunch of marvelous mini tools that he made.
I’ve made a few items from a 1/12 scale Tamiya tool set. The vintage Texaco jugs I found online were all red, but I liked the white on the kit box, so I stuck with that.
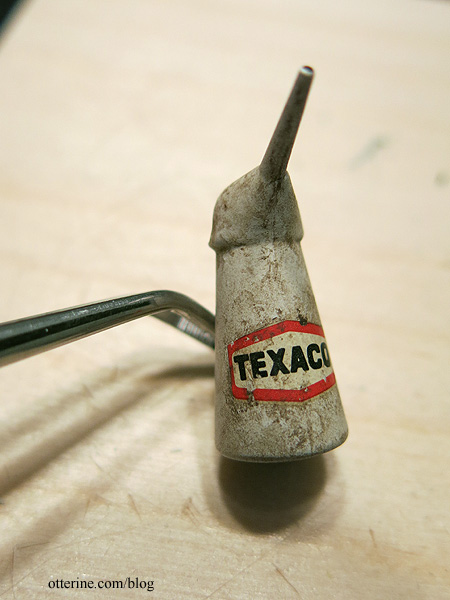
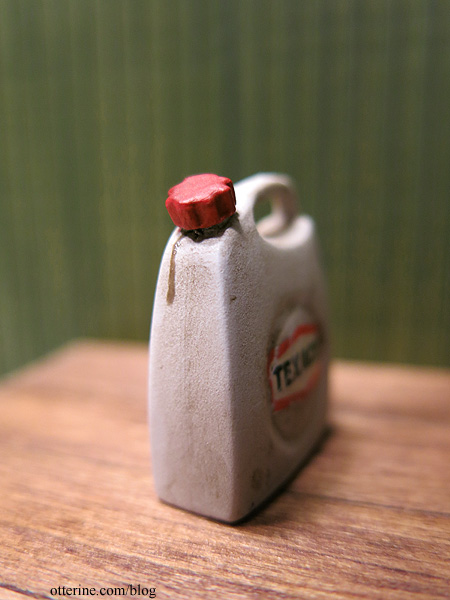
For the polyethylene tank, I added the same grime and painted the cap red. One of my favorite details is the dribble of dried liquid down the side.
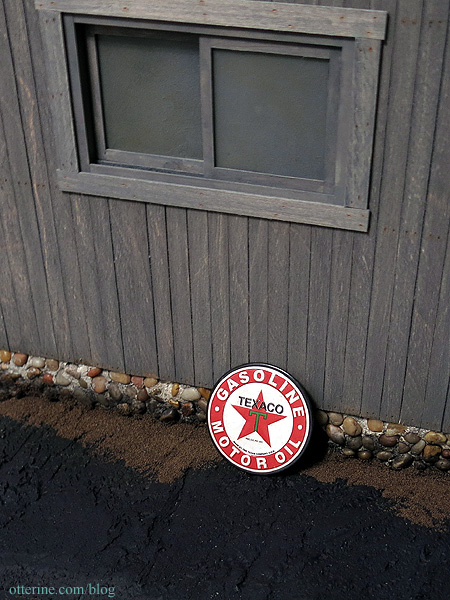
I can’t take credit for the sign other than the discovery at Hobby Lobby. It’s a magnet and the surface has embossed detailing. They had several kinds of old time logos and signs, but I stuck with the Texaco brand from my other accessories. No reason for the preference. It’s been an unplanned theme.
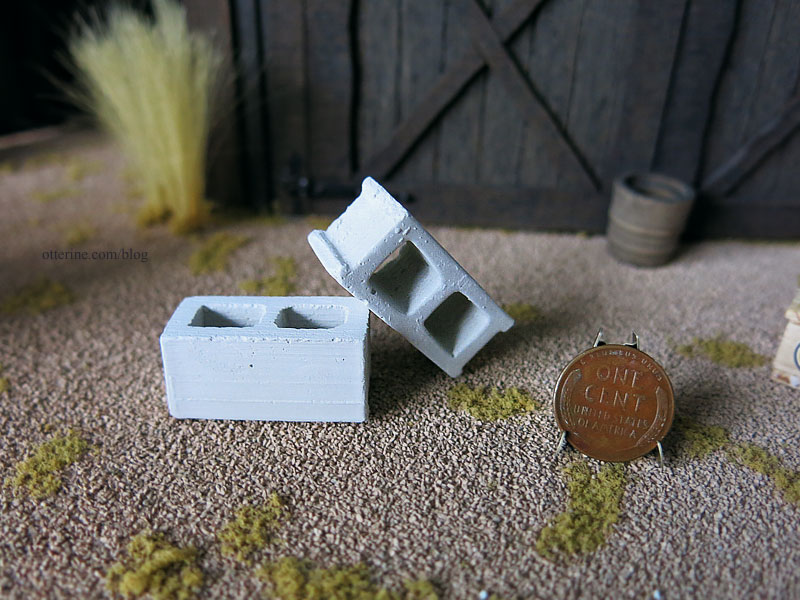
These fabulous miniature cinder blocks were sent to me as a free sample from Mini Materials.
Landscaping Details
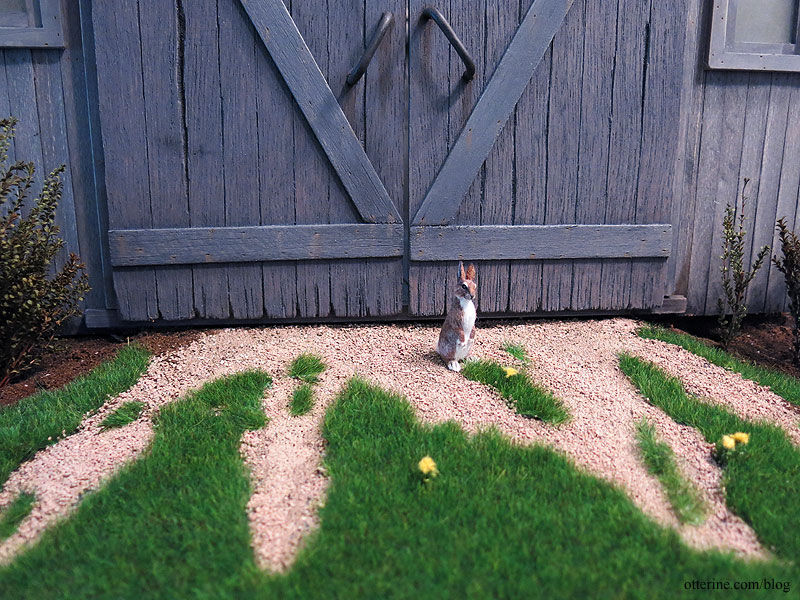
The landscaping is meant to be rural but not unkempt. I planted two greenery bushes purchased from A Little More in Miniatures at the mini shows earlier this year. They smell awesome. There is, of course, a rabbit hole. The rabbit is Friedrich, and he will live on Milo Valley Farm. He is incredibly realistic and full of personality.
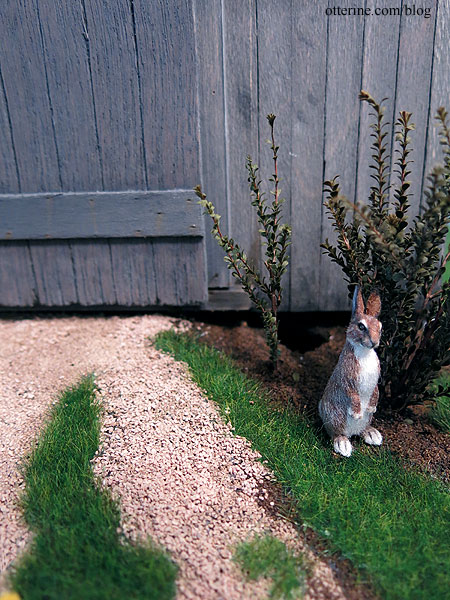
For the non-grass detailing, I added Fine Ballast Dark Brown by Woodland Scenics around the edges of the barn and used a lighter colored Woodland Scenics Ballast left over from Baslow Ranch for the disappearing ramp. The grass mat is Wild Grass in Dark Green by Heki from Scenic Express (they call it Summer Green TurfGrass on their website). It has high dark green grasses with some variegated coloration to simulate a wild but well-kept lawn. Just because there’s a barn find car inside doesn’t mean the whole property has to be an eyesore. :D
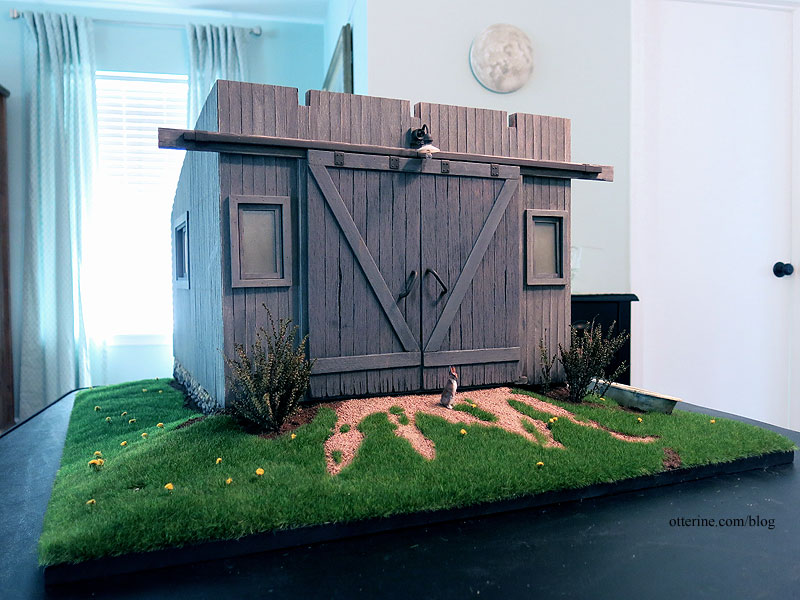
I added Goldenrod Weeds “Silflorettes” by MiniNatur. The landscaping here is spring/summer grass with a weed or two cropping up between mowing with the big riding mower.
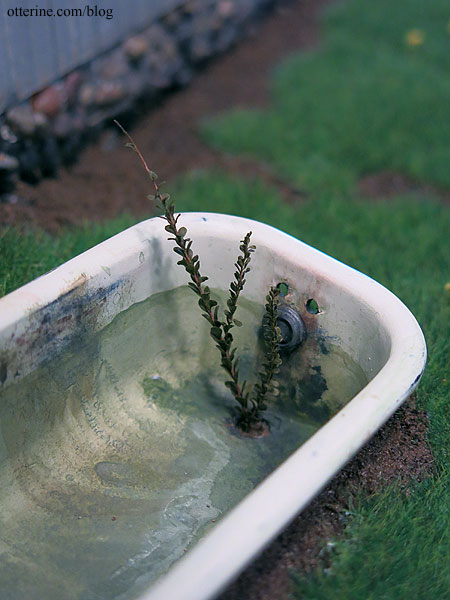
I made a delightfully disgusting abandoned bathtub to plant in the landscaping. This is a Chrysnbon plastic tub painted and aged. Herbert the frog is by Amanda Skinner.
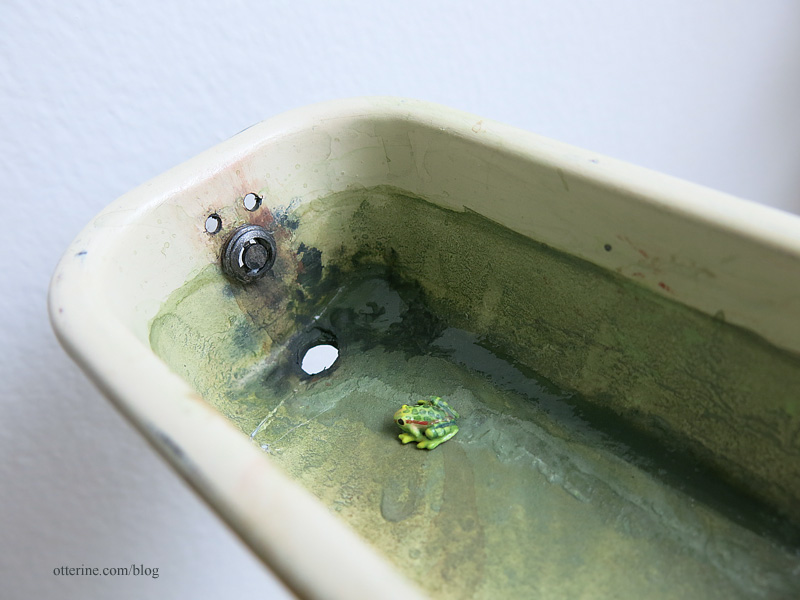
I love that the tub looks like heavy cast iron that’s seen better days. :D
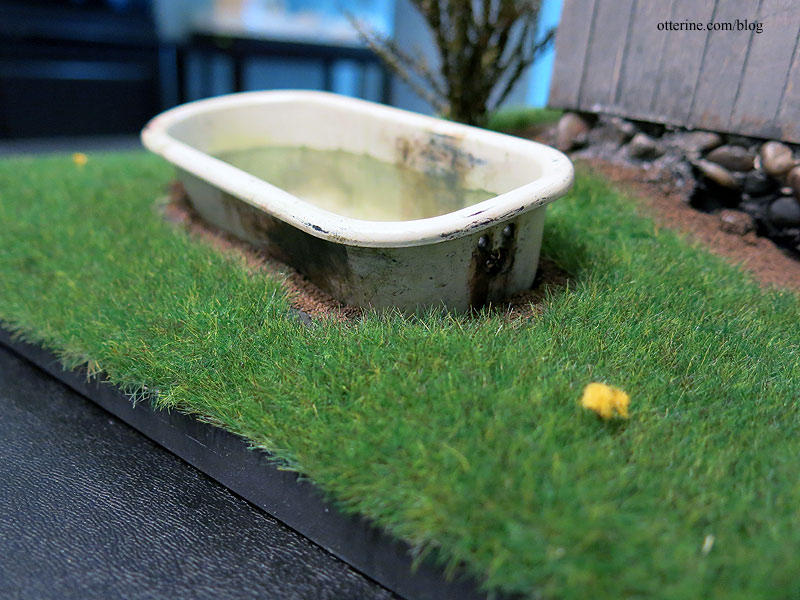
Looks like our weedy bush is proliferating. :D
more to come…


