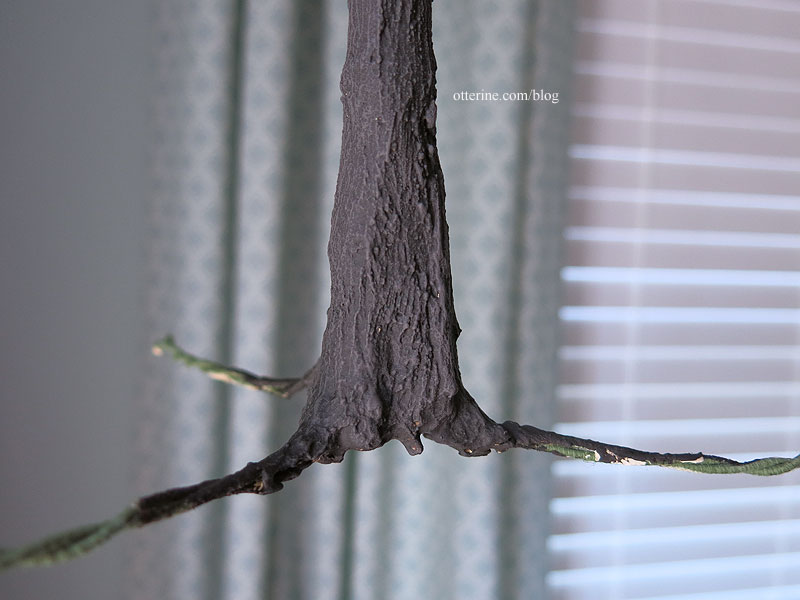
Continuing work on the tree. I filled the bottom of the trunk with water putty to make a solid base. I wasn’t worried about it toppling over, but I didn’t want the outer shell to crack if it were bumped or squeezed in the wrong way.

To achieve a good base color for the bark, I mixed Zinc and Bittersweet Chocolate by Americana. I stippled the paint onto the tree to avoid leaving obvious brush marks. After letting the paint dry, it was easier to see which areas were missed in the first go around.

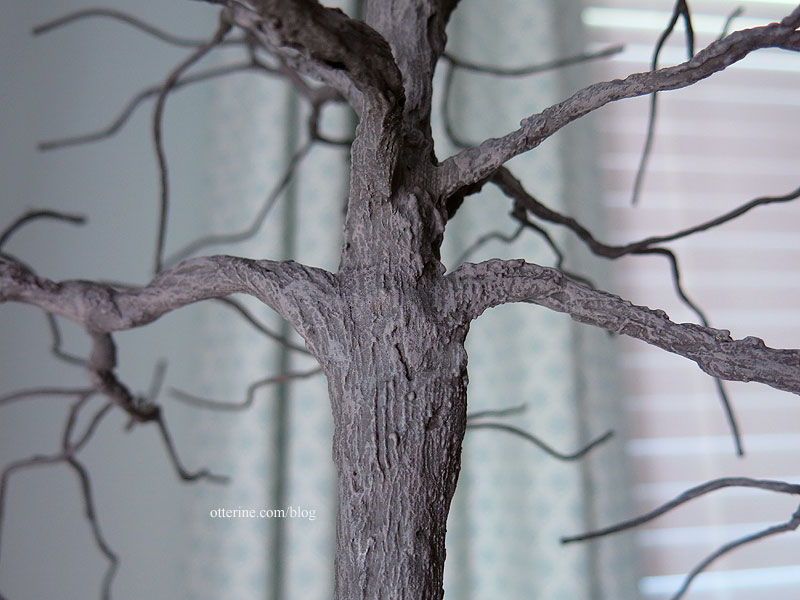
I dry brushed some Zinc mixed with Mississippi Mud to highlight.

The lighter paint brought out the bark detail. It looks solid and treelike, no? :D

I like the slight bend in the trunk…seems much more natural.

A real tree has a great deal more branches than the base I’ve created, and those branches taper into batches of leaves. My purpose is to get the general feel of a tree and to accent the landscaping.
I have 95 base branches, which may seem like a lot, but there will be bare spots if I leave it as is. Adding branches after the putty has dried is not impossible, but there are some drawbacks and limitations. Yes, you can start out with more wires to have more base branches, but then you end up with more of the bulky base branches and not thin branches at the ends where they are needed the most. Carrying thin wires with the larger wires still adds bulk to the base branches.
I took short lengths of 30 gauge brown wire and curled them around the base branches where needed, adding 120 small branches. Now I have 215 branches for a much fuller tree.

I mixed Durham’s Water Putty again and covered the joins. This does create bulk and you can somewhat see the twists since I didn’t go overboard with the application, but this shouldn’t be a focal point once the putty is painted to match the bark and the foliage is added. I didn’t add these before finishing the base tree and branches because it is hard to paint the interior with all these fiddly branches on the outer surface. Much easier to just touch up the paint where needed.


