
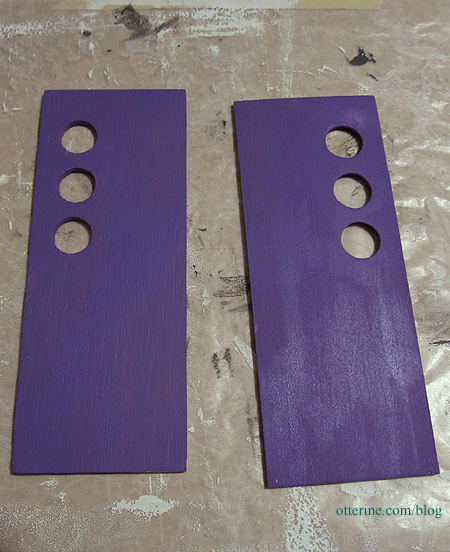
Continuing work on the custom door. I opted for Lilac Love by Folk Art for the final color. It’s a beautiful color that will stand out nicely from the final finishes without being overbearing. I painted the front and back sections while the door was unassembled because I didn’t want to risk getting paint on the window inserts.
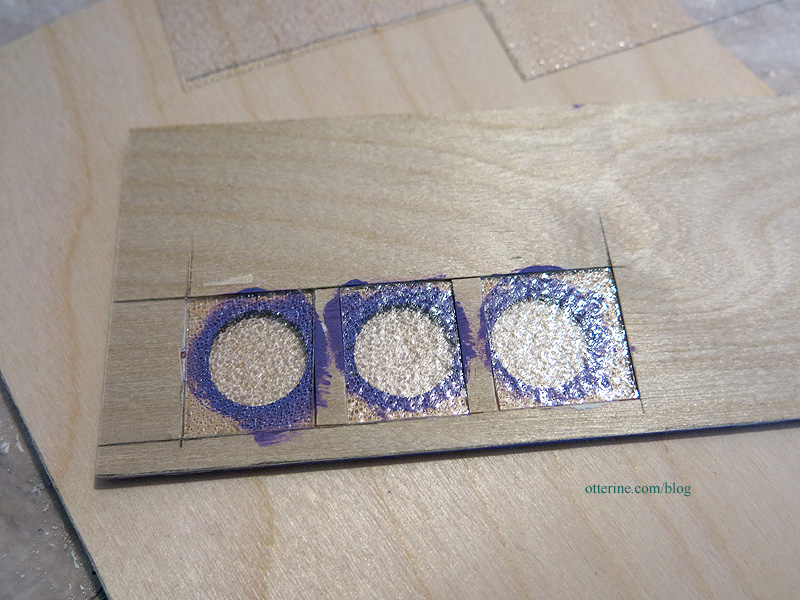
I then applied Delta Ceramcoat Satin Varnish around the window openings to finish those edges. I cut three pieces of rippled plastic sheet from HBS to serve as the window inserts.
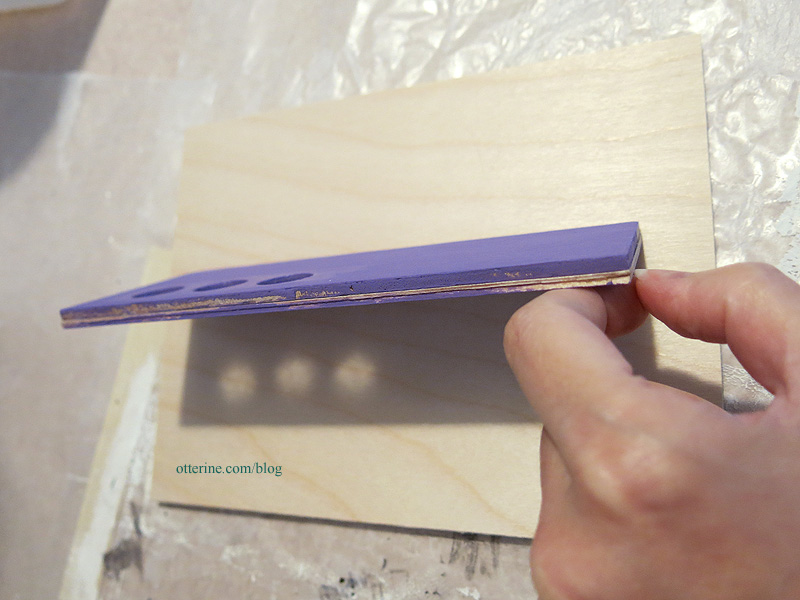
I glued the front to the back and pressed flat for a few days to make sure it was a solid bond. Here you can see all three layers that make up the door.
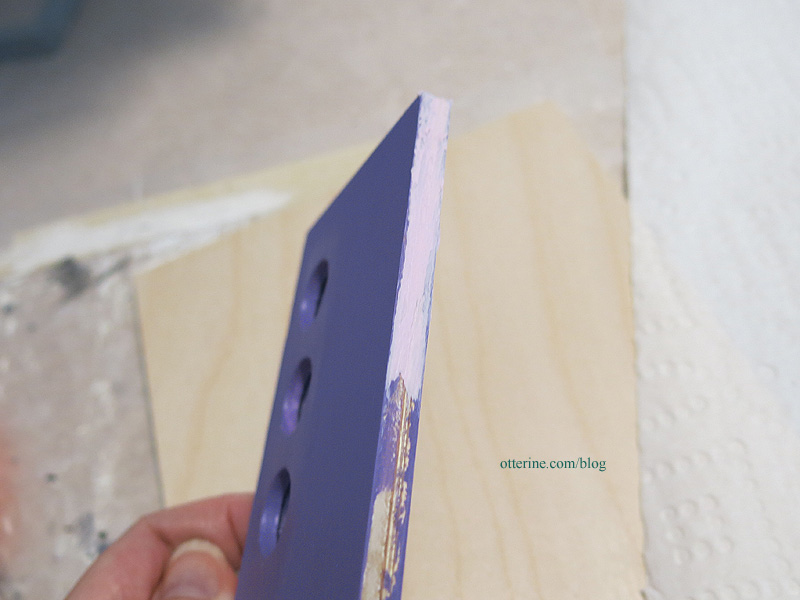
I filled in the edges with spackling to even out the surfaces. I sanded these smooth by laying sandpaper on my table surface and gliding the door over the flat paper. This keeps from rounding the edges inadvertently.
On the hinge side, however, I did round the edges. With a pin hinged door, you need that edge to be rounded otherwise it will bind.

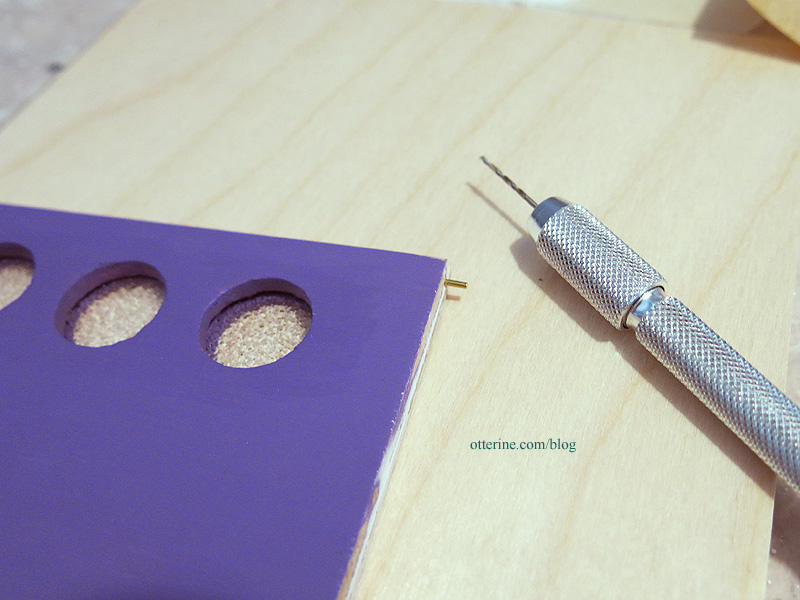
I flipped the opening direction of the door by transferring the holes to the opposite side. I have a full post on that process here. I then added the pin hinge to the new door.
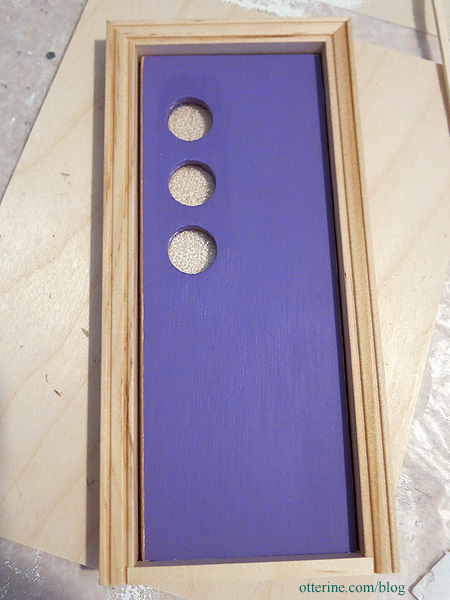
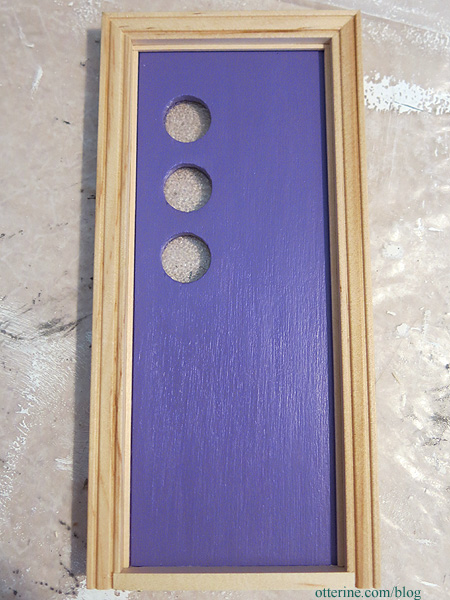
Checking the fit.
To remove the drafty edges, I applied thin strip wood. I have a full post on that process here. I finished painting the edges and sealed the door.
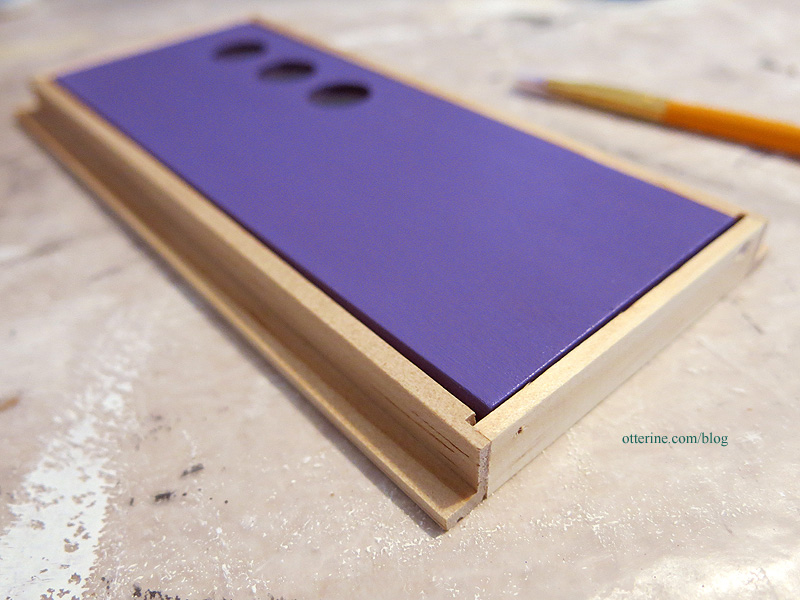
The door is thicker than the usual Houseworks door that sits in this frame, but the overhang is so slight that I opted not to pad the frame. It won’t be noticeable with the final interior trim in place.
Next up…painting the frame and adding hardware.


