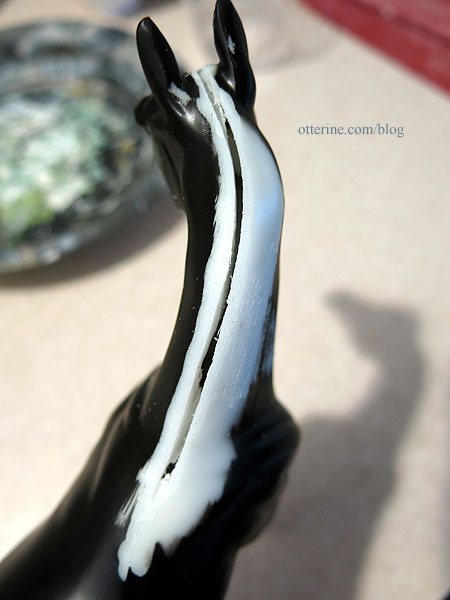
Continuing work on the 1/12 scale model horse. Once I removed the mane last time and saw the slit in the neck, I thought it might be easier to leave the slit to add the mane. I could glue the hair deeper into the body for a more secure bond. The slit does go to the top of the head, so I’ve cleaned it out and widened it to the withers.
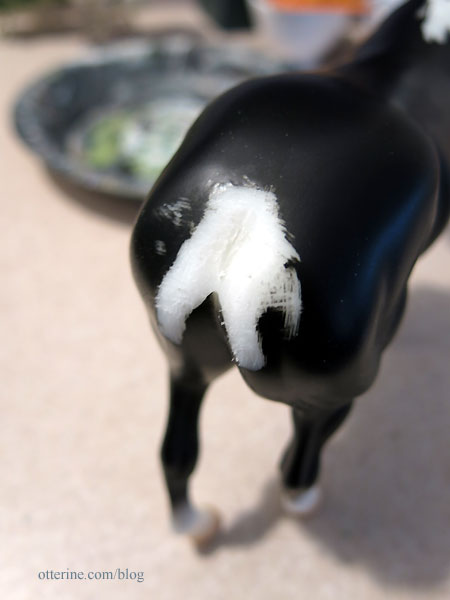
I used the Dremel to remove the tail nub left behind from breaking it off.
I then sanded the tail area. I’ll be repairing the area when I attach the tail support so I didn’t worry about the exact shape.
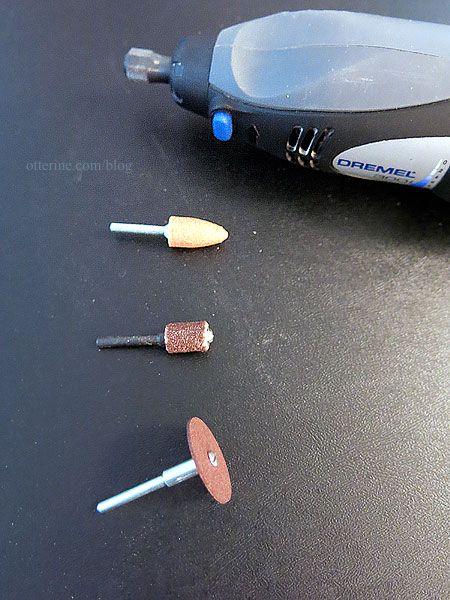
Here are the three bits I used in the process. The Dremel did melt the plastic as I worked, so I was sure to use protective glasses and a mask. I also made quick cuts and pulled the melted plastic as I worked.
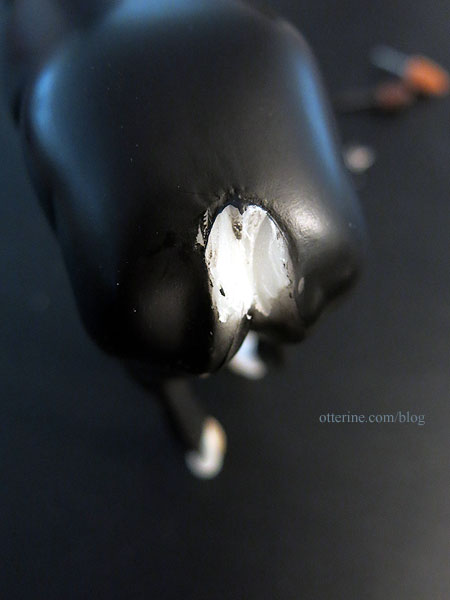
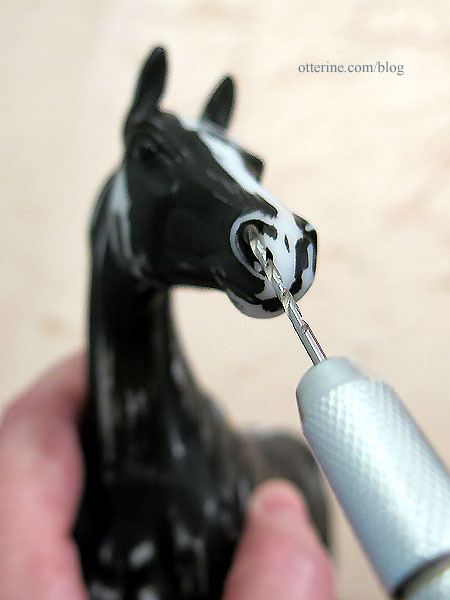
I drilled holes in the nostrils with a pin vise.
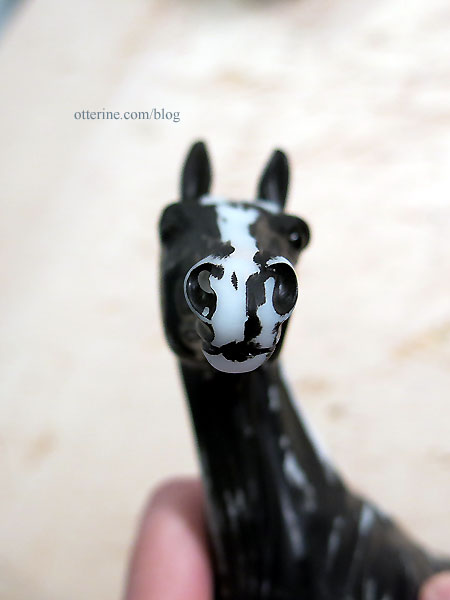
The one on the left has been drilled and the one on the right is original. You can already see a difference in the realism.
I fine-tuned the mouth with an X-Acto blade.

I sanded the few bad places from the deconstruction and then wet sanded the whole horse by hand with 320 grit. The finish on the plastic was very smooth and I wanted to make sure I had a good grip for the primer. I also removed the molded copyright from the inner thigh, random mold lines, and any other imperfections in the manufacturing process.