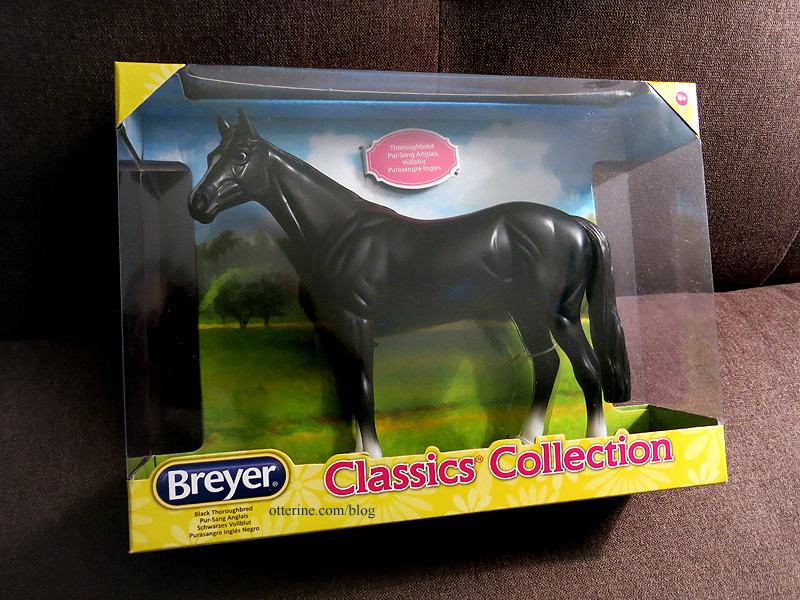
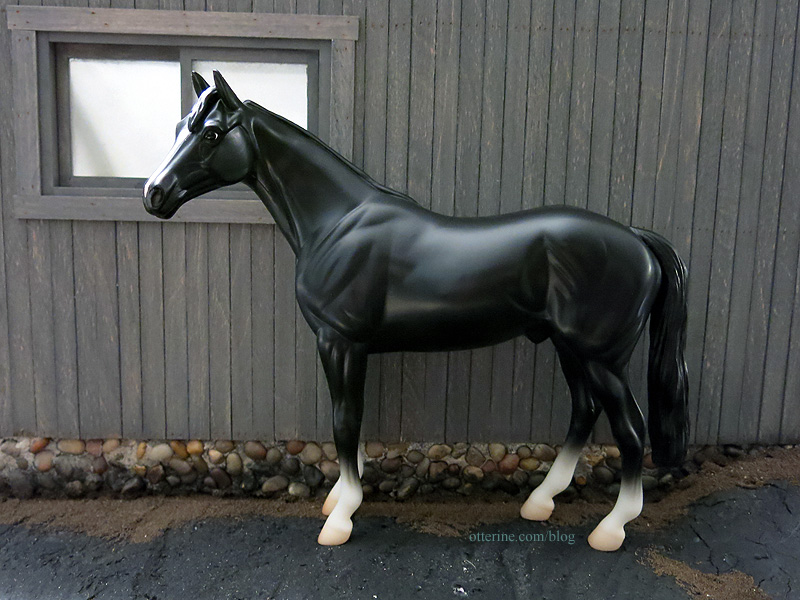
I’ll be starting with a 1:12 scale Breyer Thoroughbred. Adding flocking or fur adds bulk, so I thought I would start with the leanest horse model available. Of course, you can scrape down a model before flocking as well but I’d rather keep it as simple as possible.
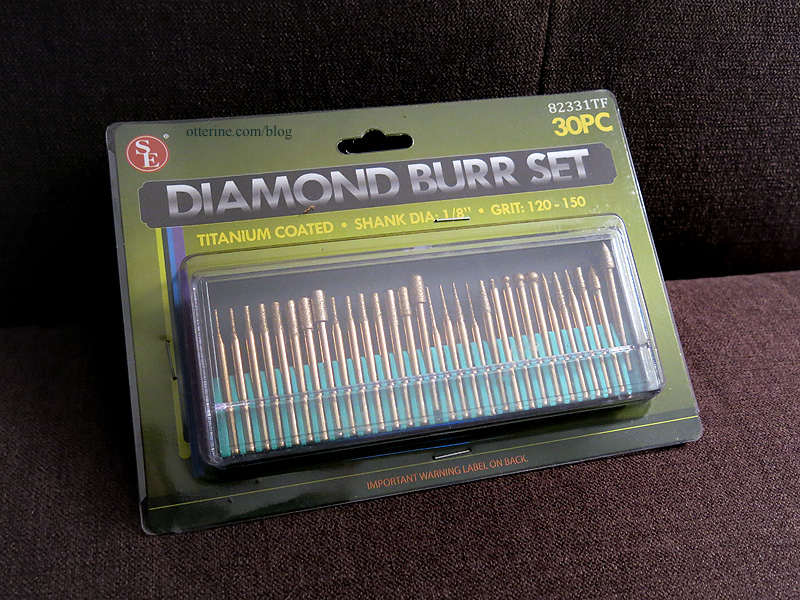
I picked up a set of diamond burrs for my Dremel to help with the deconstruction.
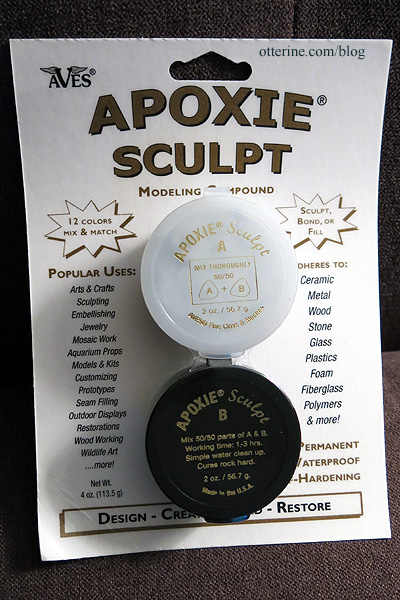
I found a great tutorial about removing the tail and building up with Apoxie Sculpt, so I picked that up as well even though I plan on having a mohair mane and tail.
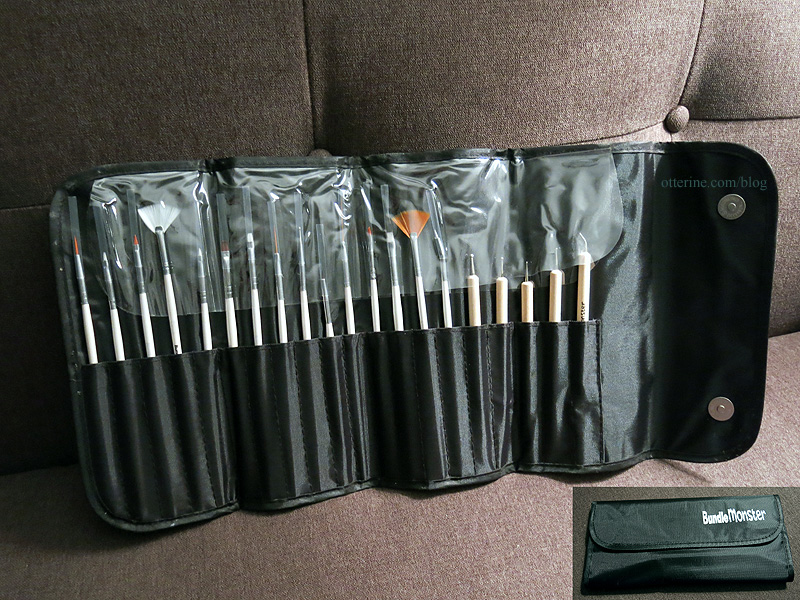
After the deconstruction and any necessary remodeling, I will begin with painting. I’ve always had a fondness for roan horses, so I might give that a go. A friend sent me a fabulous set of brushes and clay tools called a Bundle Monster that will be invaluable here.
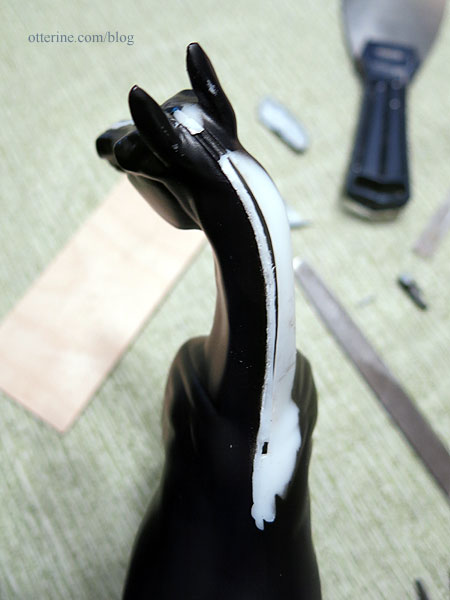
In the time since I bought the horse, the plastic mane had lifted from the neck. It made it easier to wedge in some pliers to pry off the mane.
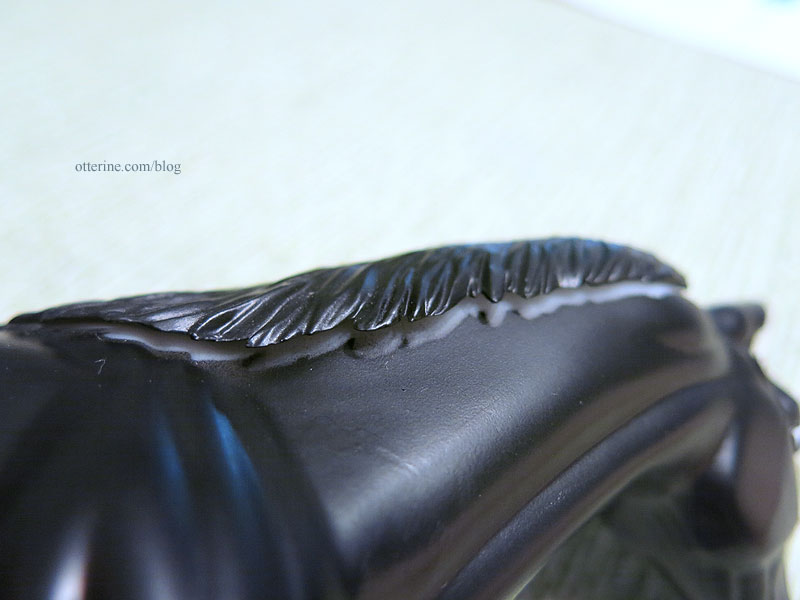
One thing I didn’t like about the plastic mane from the beginning was that it was formed on the side away from the direction of the horse’s gaze. Removing it for a mohair mane means I can style the hair toward the side I prefer.
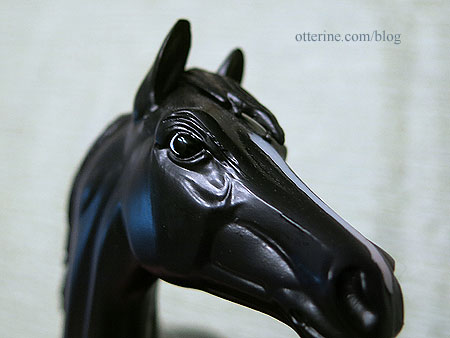
The nostrils might benefit from drilling in a deeper hole and the mouth could use some fine-tuning. I’ll need to sand the mold line on the tip of the snout.
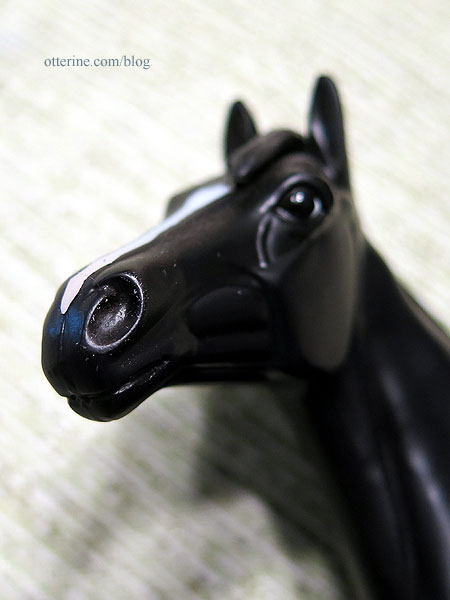
The eyes are great, so I will take care not to paint over those. The front mane has come detached from the small contact points as well.
I cleaned up the spine with a utility blade and will fine tune by sanding. The gap will need to be filled, though it might be a good way to add the mane more securely. I’ll think on that a bit. I need to replace the putty I bought three years ago since I don’t want to take the chance that it has gone bad.
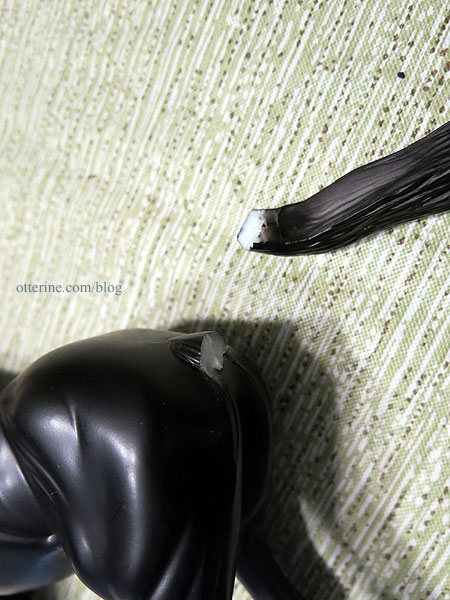
The tail was easy enough to lift and break off since it had no contact points with the legs. I’ll need the Dremel to cut away the remaining excess, but that’s for another day.