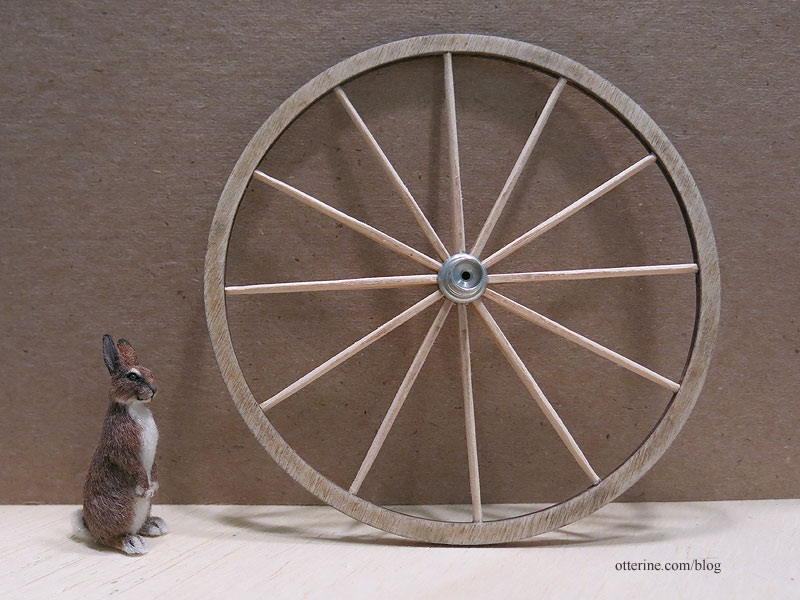
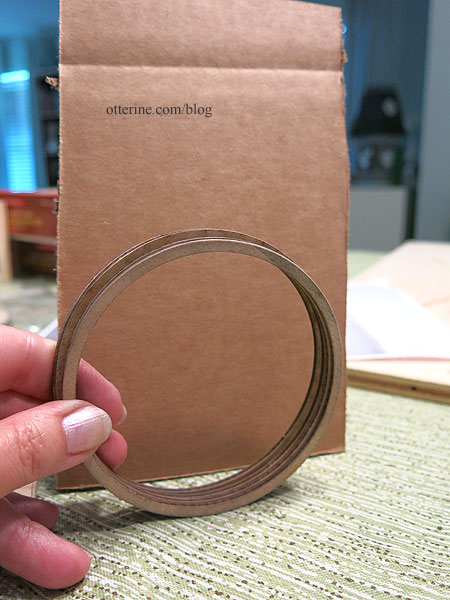
Continuing work on the Mail Wagon. With the replacement wheel parts received, I was able to assemble all four wheels. I decided to use the “scrap” wheels that were cut between the thin true parts. The scrap wheels are more substantial for a mail wagon versus a doctor’s buggy, and I will be handling the wagon and therefore the wheels a lot during the cabin construction. As expected, the replacement scrap wheels are slightly smaller than the original wheels, but this works without issue. I’ve seen mail wagons with all the same size wheel and those with smaller wheels in the front.
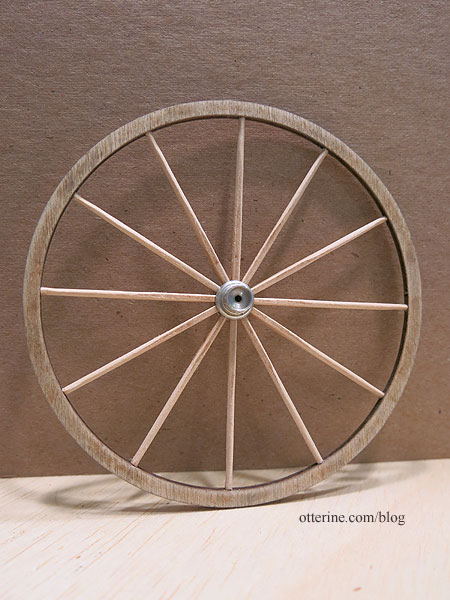
I left the previous large wheel on the jig and fit its corresponding scrap wheel inside since the paper pattern isn’t meant as a guide for the scrap wheels. I’m using only the long spokes, measuring and cutting them to fit one at a time. While there are two extras in each set of spokes in case of disaster, I am assembling the larger wheels first. If I get a spoke too short for these, those shortened pieces will likely work for the smaller wheels.
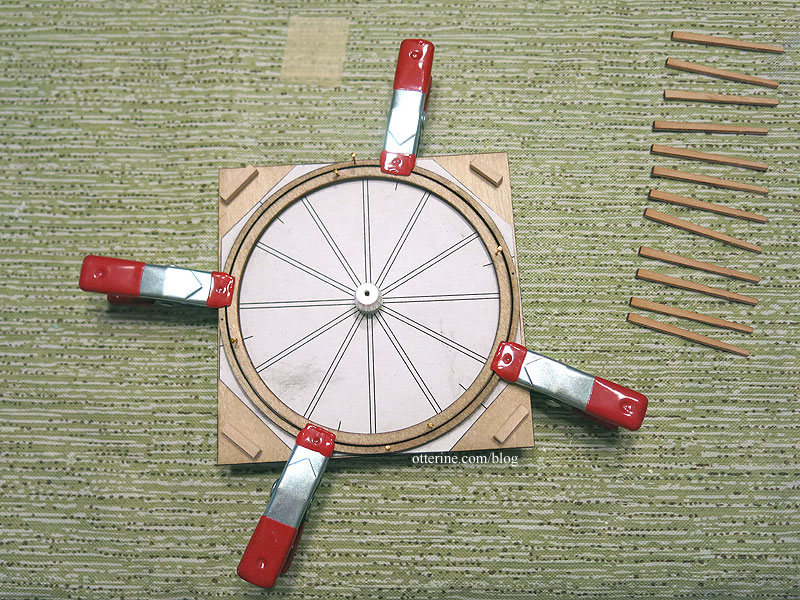
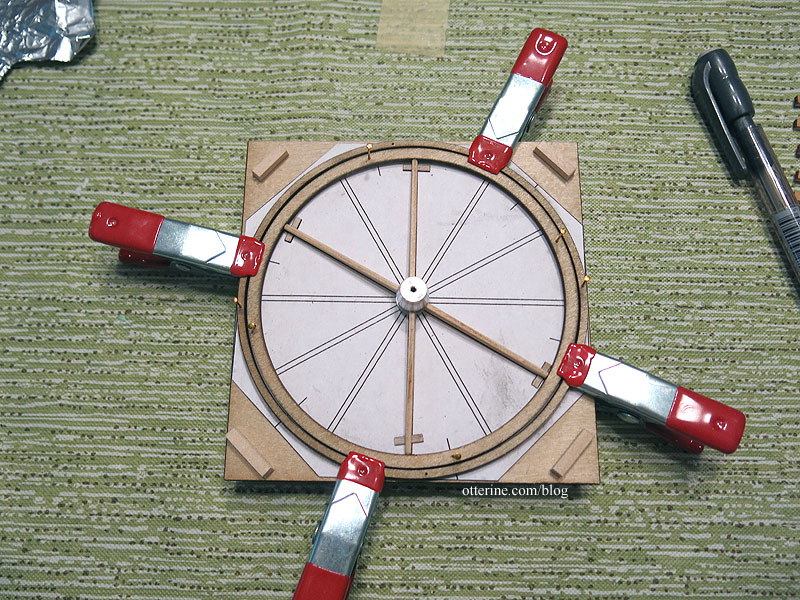
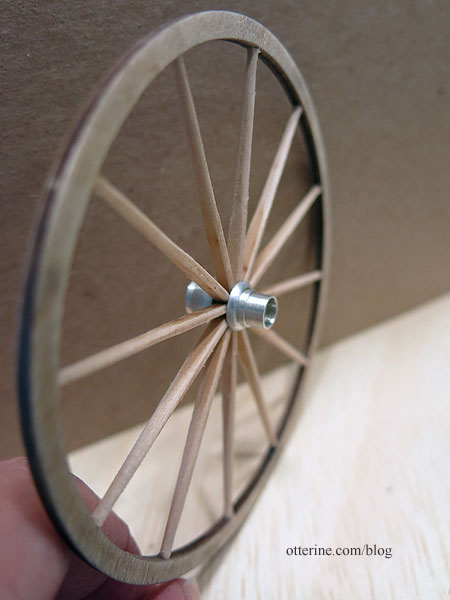
You are to complete the spokes in opposing pairs so the wheel stays uniform and flat. I built in a little tension to help the minimal amount of super glue gel used, but too much tension can make the wheel buckle.
The assembly was actually very sturdy once removed from the jig.
While I did round the edges a touch before assembly, the instructions indicate to fine-tune the small ends into rods. This worked only so well in that each one will always turn out differently. Once painted and with added grime, they should be fine. I filled the nail holes with wood putty.
Three more to go….