
Continuing work on the Mail Wagon. I’m starting with the Doctor’s Buggy by Model Trailways. What I like about the kit are the well made parts, the detailed instructions and good pictures. I’m not much of a fan of the huge blueprint sized diagrams, though. I suppose it is easier from a manufacturing standpoint, but there isn’t always a lot of room to spread these things out while working. I have to keep them in another room and walk over to view them since I don’t want to keep clearing my workspace as I move back and forth between steps. As nice as it is to have large diagrams, the huge sheets are cumbersome. As usual, though, I made a photocopy of the regular sized instructions and diagrams so I can mark them up as needed.
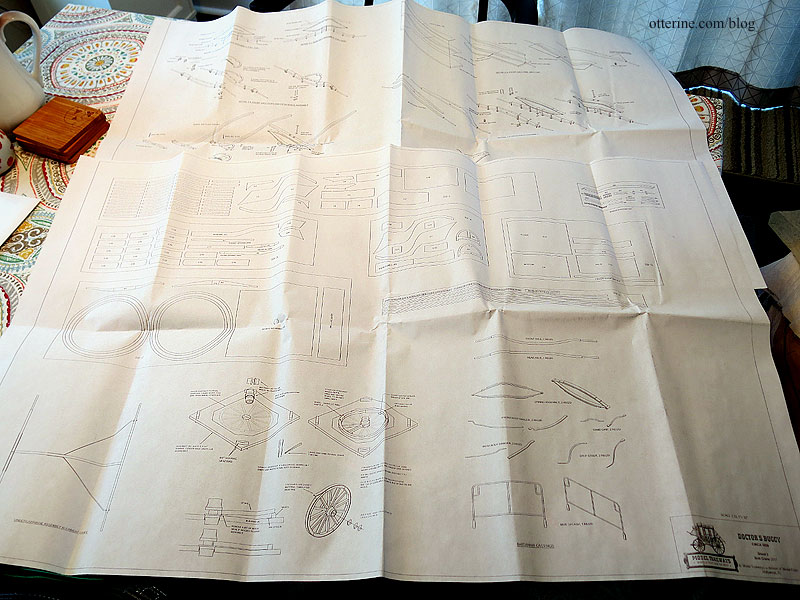
Another issue is the lack of numbering on the individual parts on the wood sheets as well as the detailed diagrams. The detailed diagrams call the parts by their functional name but don’t indicate a number, so you have to look for a part that resembles the drawing among the wood sheets. It’s doable but inefficient. If I didn’t have the model building experience I do, this might be a bigger issue.
As noted before, I plan to make the front and rear axle assemblies, including the wheels, and then build my wagon cabin to suit. The instructions start with the axle assemblies, so that’s where I begin. You make a jig to help with drilling an accurate bolt hole. It’s a great feature of the kit.
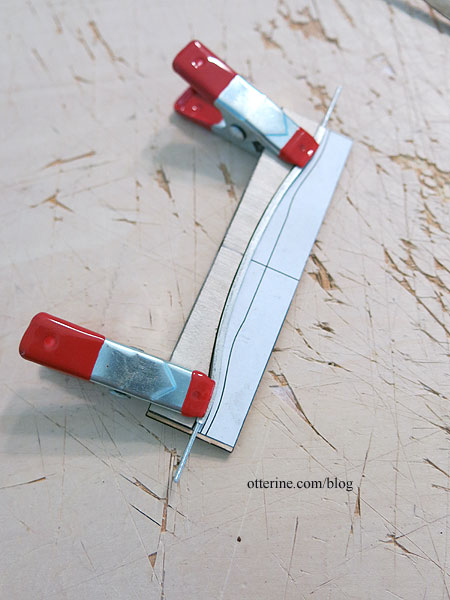
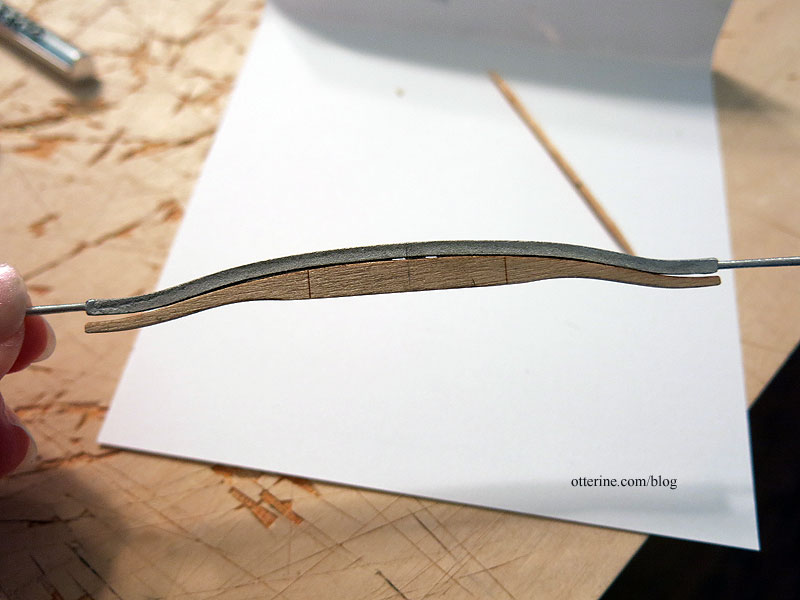
The laser cut front axle cap is longer than the metal front axle, so I had to trim it to match the photo. The instructions mention nothing about this trimming, so luckily I had studied the photo.

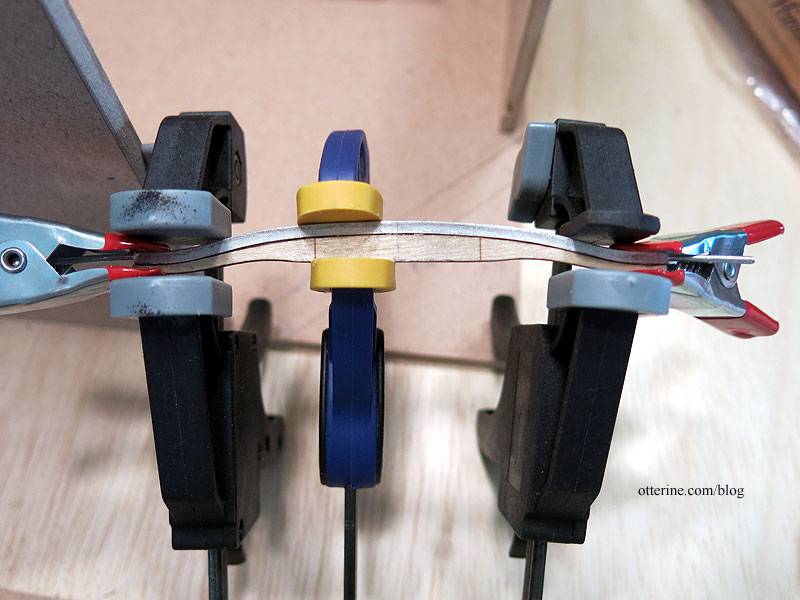
In addition, the laser cut front axle cap and the metal front axle have slightly different bends. While the metal is somewhat pliable, it wasn’t possible to get a bond without gaps. After painting, this should be no issue. Since clamping was not possible without a lot of shifting (I used my fingers to hold the parts until the epoxy set), I glued the middle portion first.
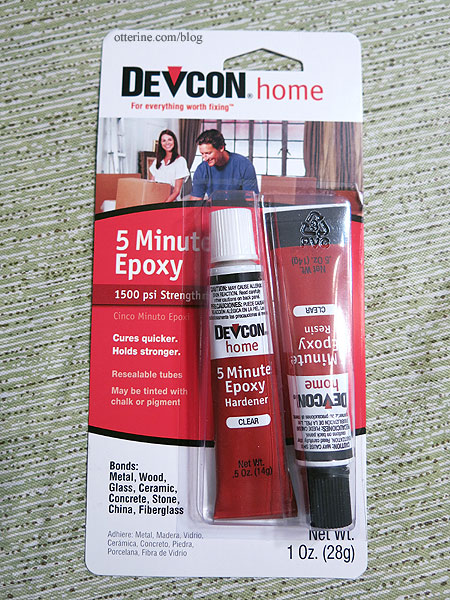
I used Devcon 5 Minute Epoxy from amazon. This stuff stinks to high heaven with the hardener smelling like rancid, rotten eggs, but it is as advertised.
Once the epoxy set on the middle portion, I was able to go back and glue the ends. I held the pieces until the epoxy set, then for the final curing time, I clamped the hell out of it. :D
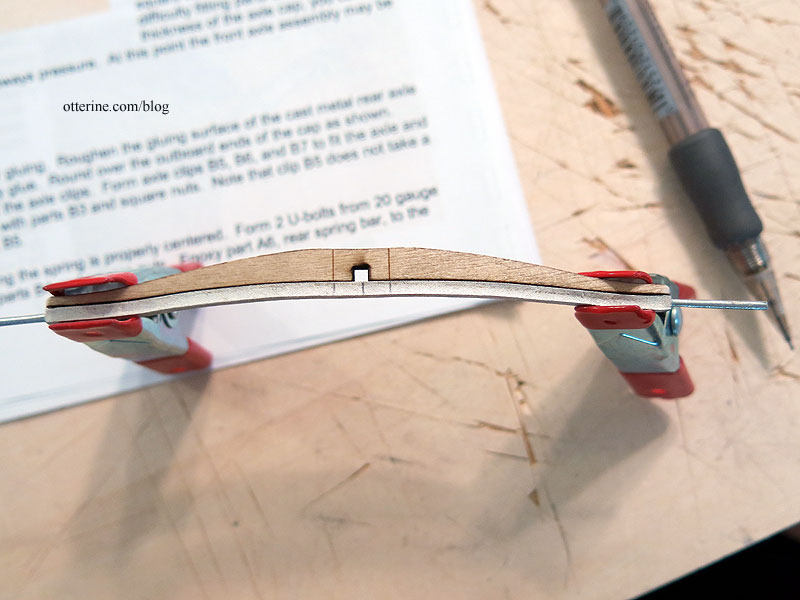
The rear axle cap and rear axle fit much better, but I had to trim the ends of the wood part here as well.
I need to swear at the instructions some more to figure out the next steps. Back soon…


