Continuing work on the mail wagon. Many of the pictures in this post show the parts after painting since I was on a deadline and had little time to take progress photos.
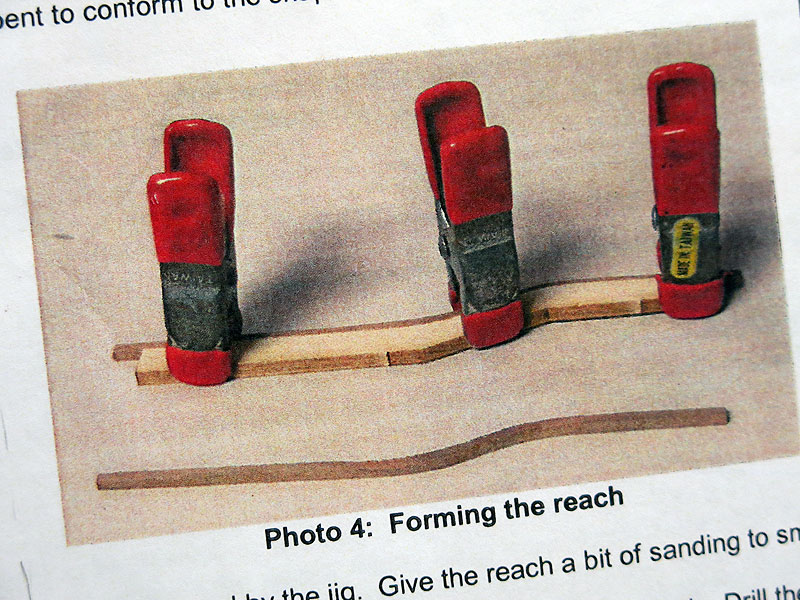
The chassis from the doctor’s buggy kit had wonderful detail, but it was not made for a straight bottom cabin like my mail wagon. The original chassis planned for a curved reach. That’s the long bar that connects the front axle assembly to the rear axle assembly.
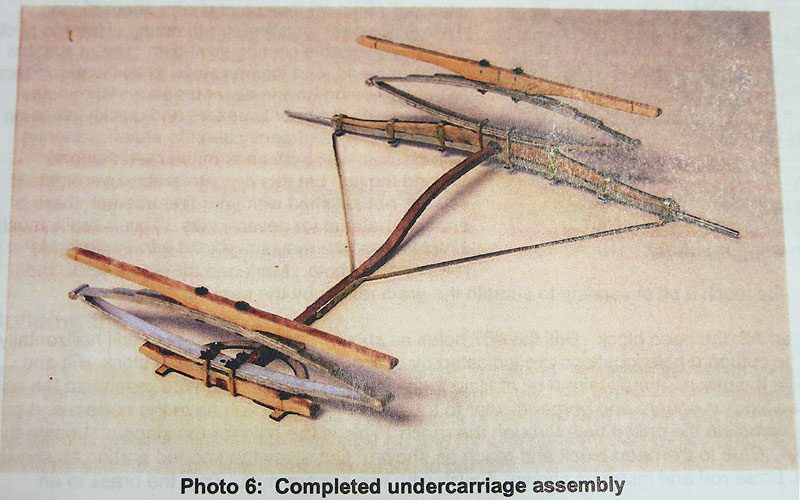
Mine had to be relatively straight but also account for the slight difference in height between the front and back wheel hubs. Since it was such a slight incline, I used a long piece of 3/32″ basswood as my new reach without any curve built in. The kit was supposed to come with a piece of cherry for the reach, but I couldn’t find it. It’s entirely possible it was in the box originally, but I misplaced it.
In case you ever need to know, the small McCormick spice bottles are just under 2 1/4″ tall. :D The spice jars helped me mark where the front and rear spring bars would hit the cabin.
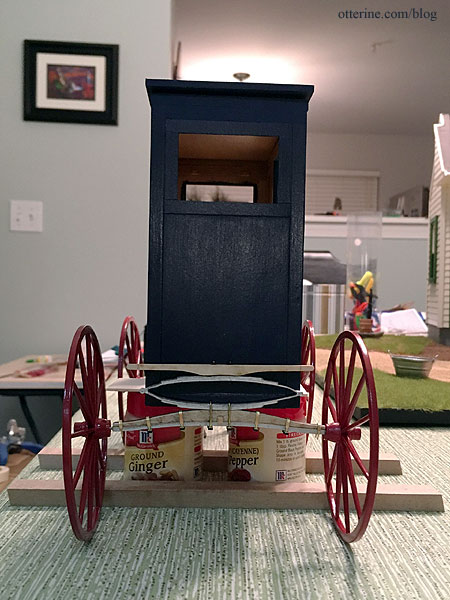
I trimmed the spring bars to fit since my cabin was skinnier than the original doctor’s buggy passenger compartment.
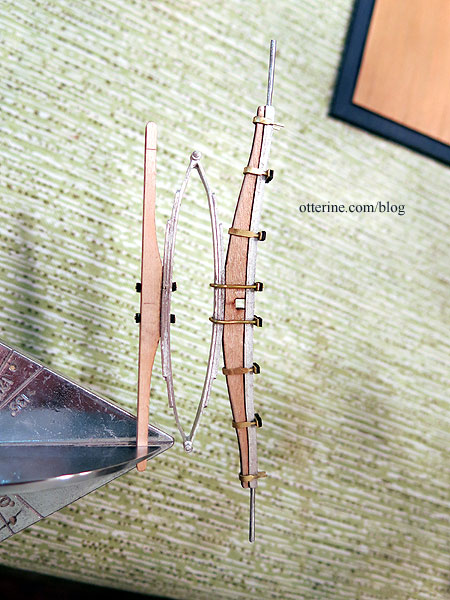
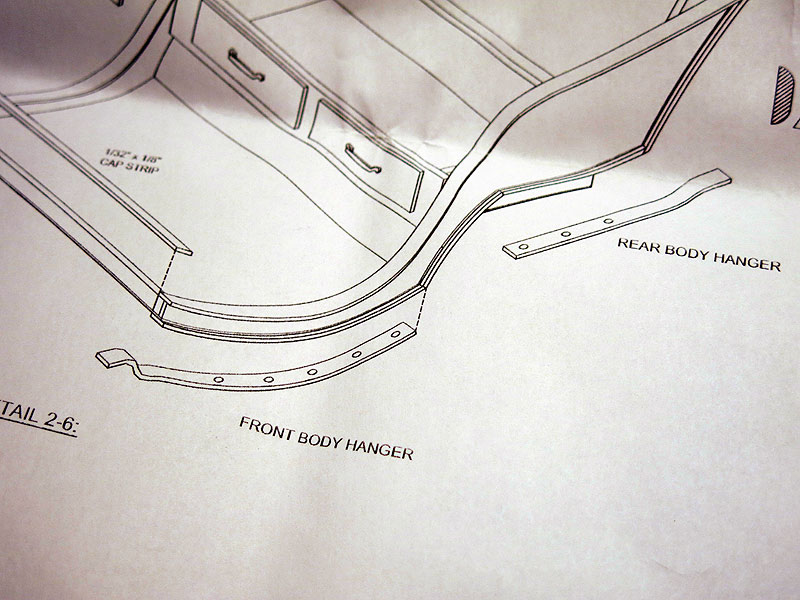
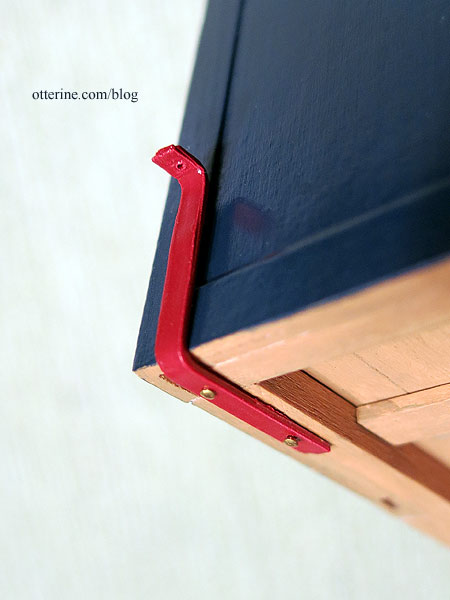
The front and rear body hangers from the original kit are soft metal, so I was able to straighten them out and bend to the new shape needed.
I drilled holes for nails to be added. These are also epoxied in place for stability and durability.
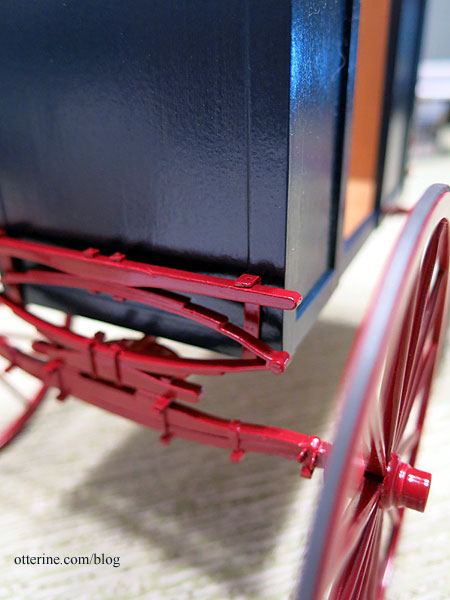
The body hangers sit on top of the spring bars, suspending the cabin above the reach. I left them unattached at this point.
After I had the placement, I could slide the excess reach out the back and trim it to fit.
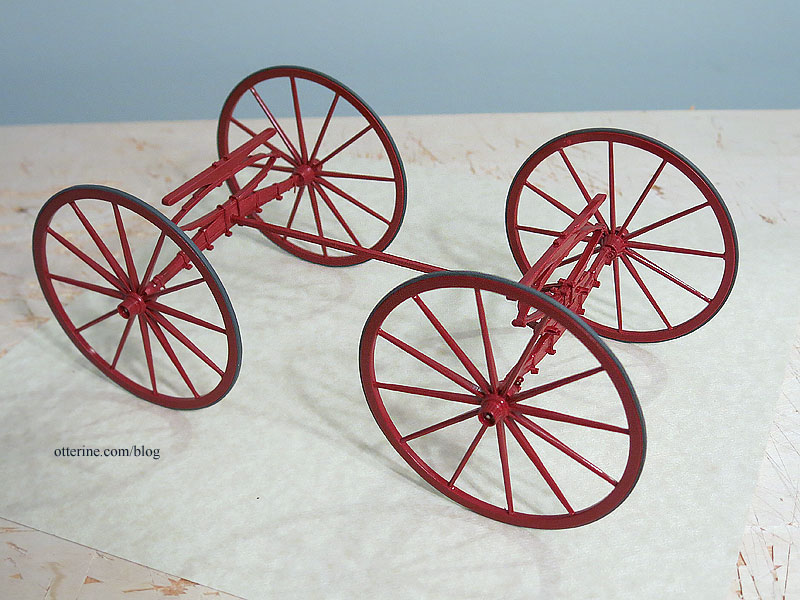
Chassis completion to be continued….


