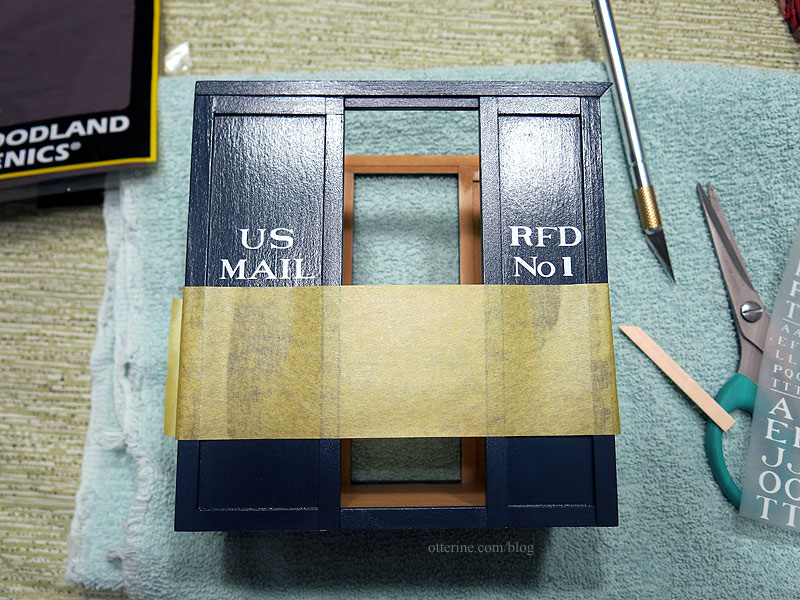
Continuing work on the mail wagon. Once the painting and sealer were done, I could move on to the lettering. I neglected to put on the cross detailing before the last coat of sealer but plan to add it later, so I took that into consideration when I did the layout. I used frog tape to create a line to follow and used a towel to cushion the cabin as I worked.
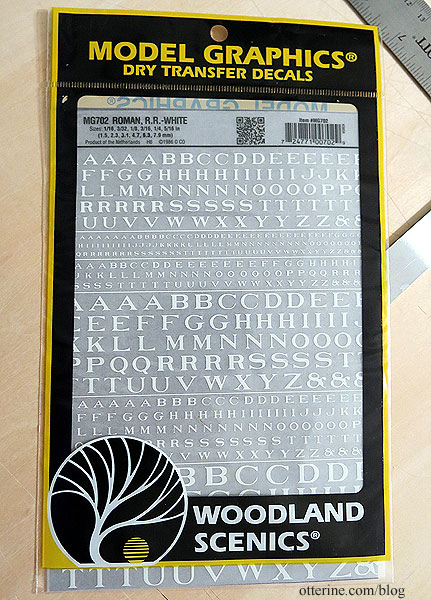
The letters are rub-on transfers by Woodland Scenics – Roman White in six sizes from 1/16″ to 5/16″ on one sheet. I used 1/4″ for the main letters except size 3/16″ for the “o” in No.
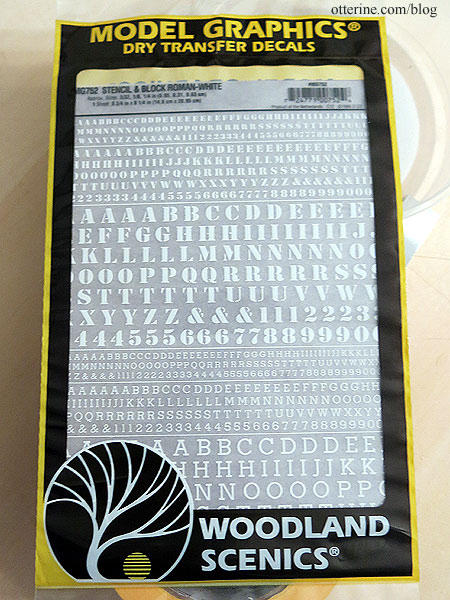
Since these didn’t come with numbers, I bought Roman Stencil/Block Letters White in three sizes from 3/32″ to 1/4″ on one sheet. I used the Stencil font size 1/4″ for the rural route “1” designation.
Since you can transfer all or part of a letter, I cut down the long portions of the “F” and “L” for a cleaner look.
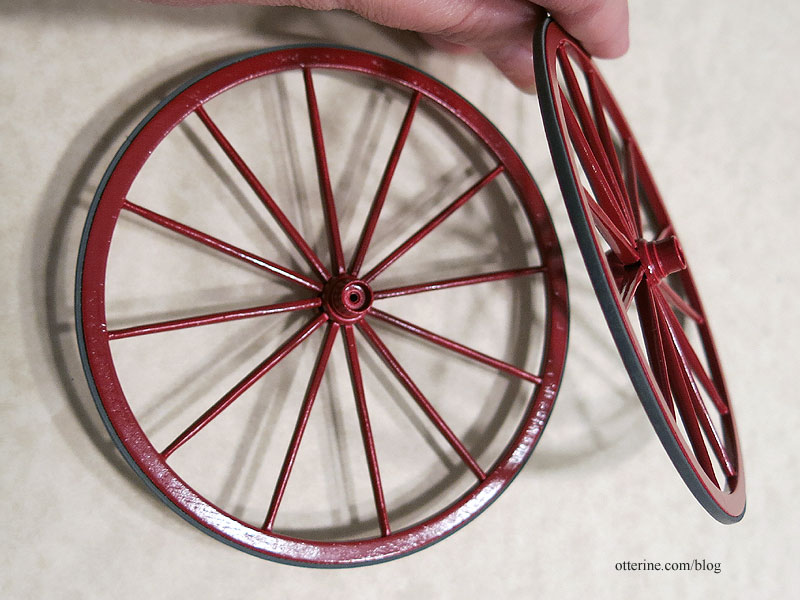
Originally, wheels would have had metal around them to protect the wood. The kit supplied laser cut rubber material for the tires, but there were two issues with this. First, if you recall, the original kit wheels and spokes were not cut correctly and needed to be replaced. Once I received the replacements, I opted to use the “waste” circles between the true wheels for sturdier construction. This meant one set of the rubber tires was too short. Besides that, it would have been very messy to glue these fiddly bands.
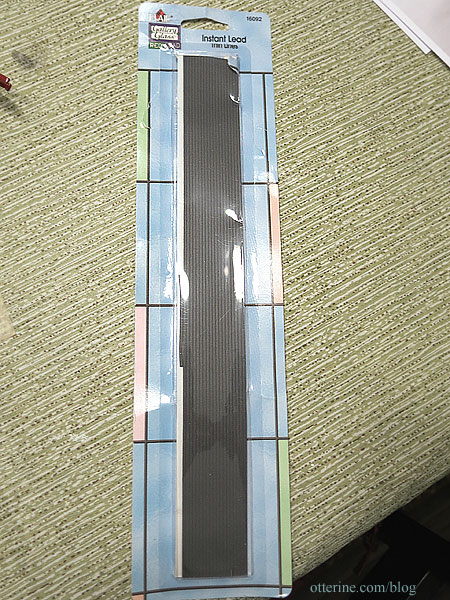
Instead, I turned to a material I had used before for another wagon project – Instant Lead Lines (thin version). These are a rubber like material with adhesive already applied. There is a wider version of this material, but it was too wide for my wheels.
The thin tires add just enough extra detailing to the wheels and were easy to apply and cut to size. They look close enough to metal without further fiddling.