
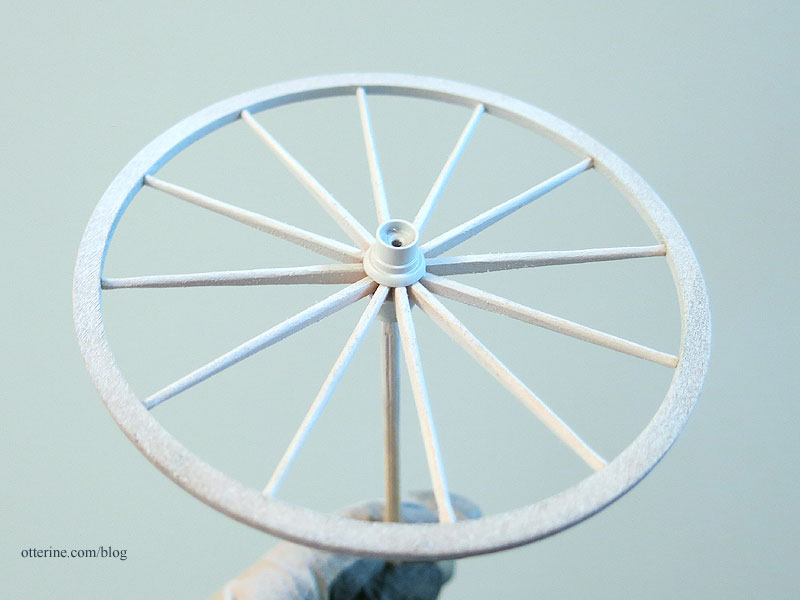
Continuing work on the mail wagon. As you saw last time, I had primed the wagon wheels. On the hubs, I used Rust-Oleum Aluminum Primer, which is light grey. It bonds specifically to aluminum, and an aluminum primer was recommended in the instructions for the doctor’s buggy.
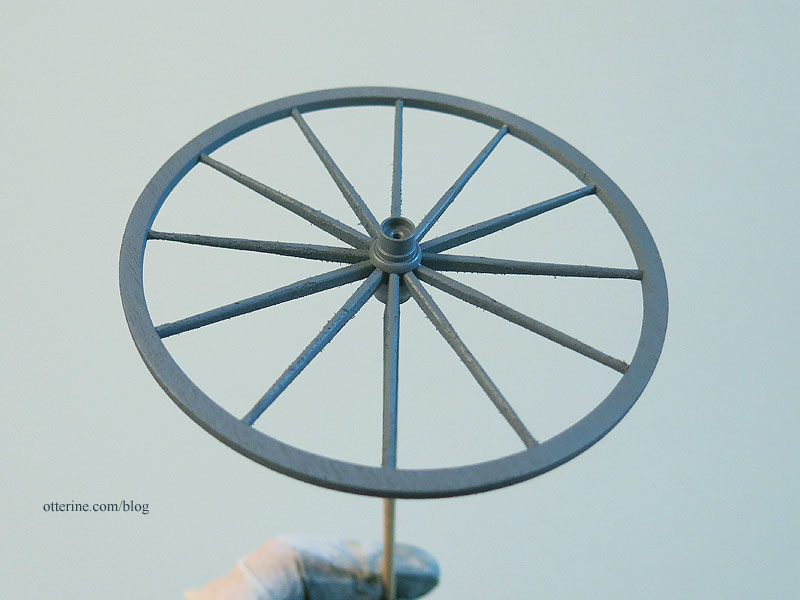
I then used plain flat grey Rust-Oleum primer. As you can see, the wheels are rather fuzzy.
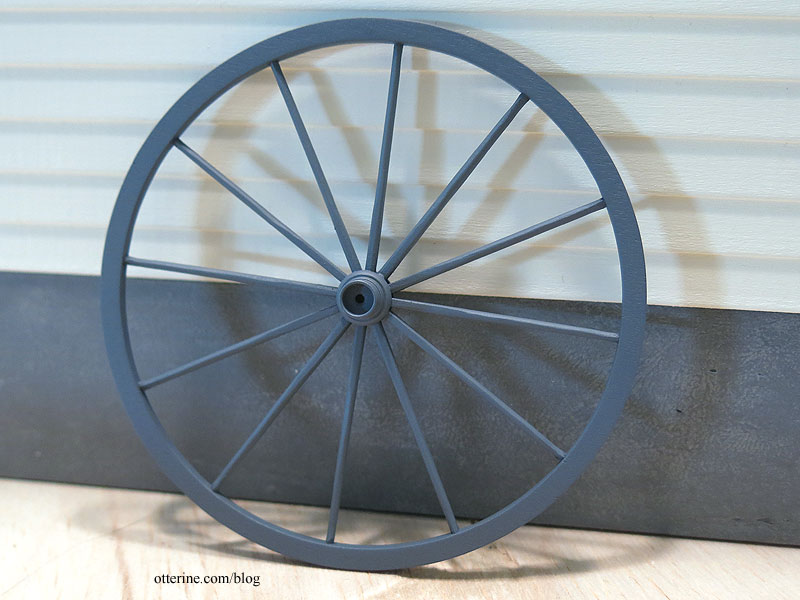
Sanding after priming a first coat always helps smooth the fibers away. Then a second quick spray of the same grey primer and they are now ready for final color when I get there….
Back to the cabin. I made a drawing for the front based on my built walls, not the previously drawing of the sides. My final measurements for the sides ended up being different from how I had drawn them.
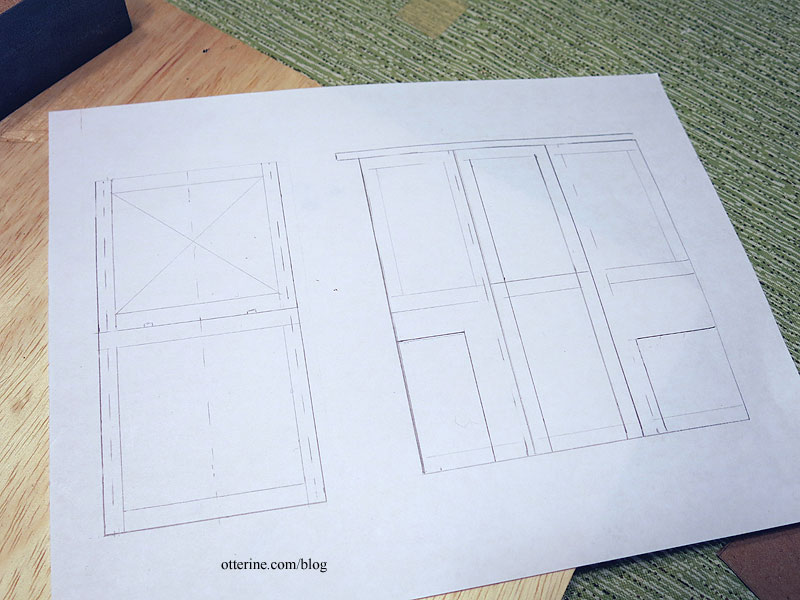
Before continuing, I cut the front and back from cardboard to get a feel for the final size. Easier to adjust here than after I started building the front hinged window.
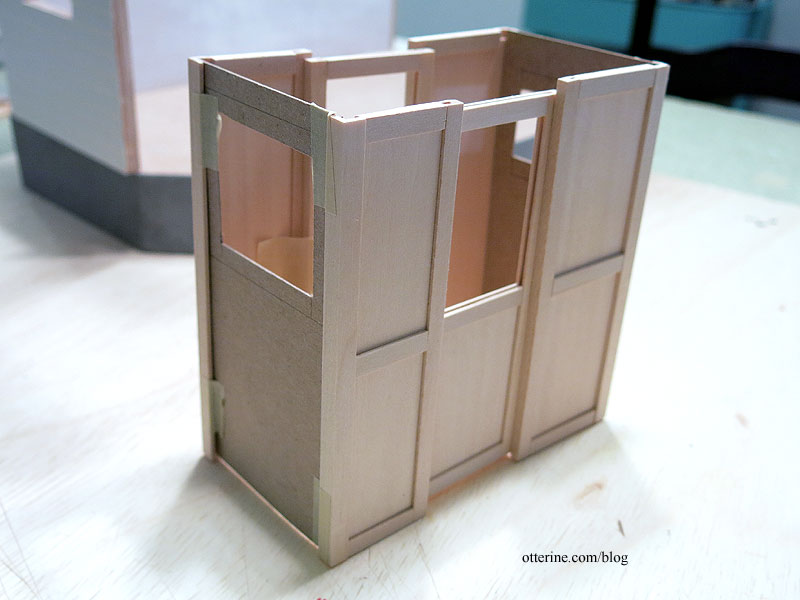
I checked the width against the rear axle assembly, which can be adjusted to fit, but I think the cabin size is good for proportion.


