
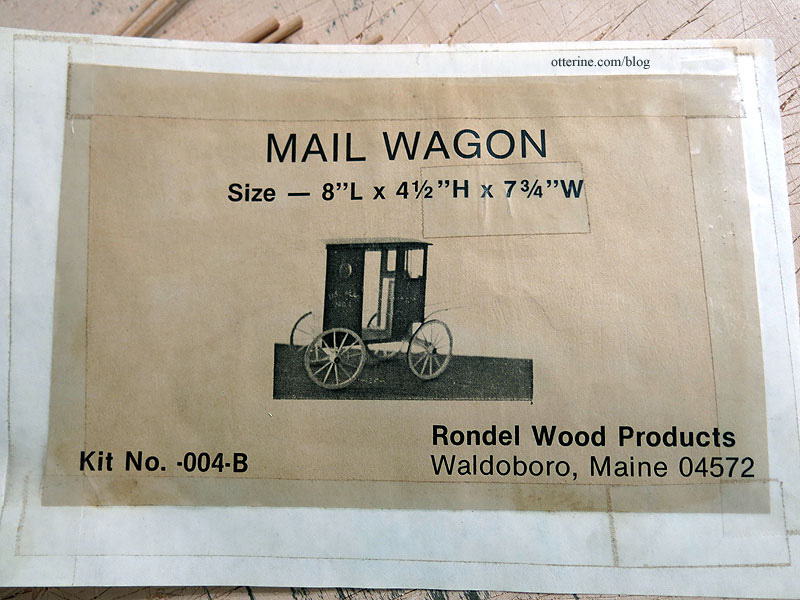
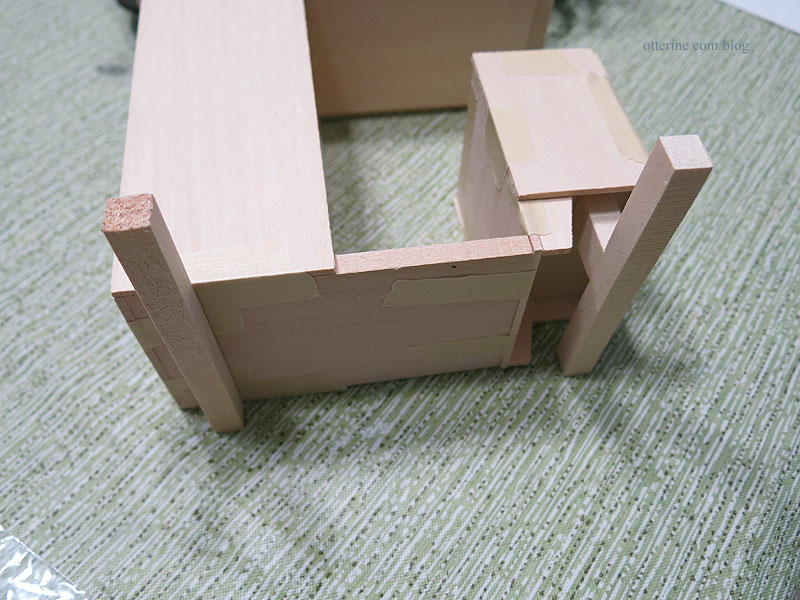
Today, I did a dry fit of the mail wagon. To say the instructions are lacking is an understatement. You are given a blueprint drawing and a typed list of instructions.
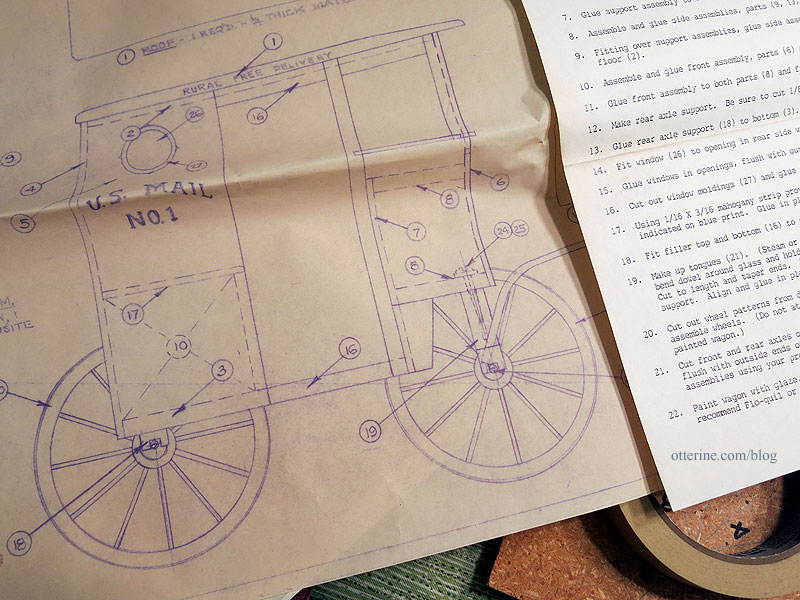
There are no photos or diagrams of the steps, and the kit photo is minuscule and not at all detailed.
I blundered my way through a dry fit, and one piece still made no sense and didn’t seem to fit properly. But, it does give me a good basis for size and how far away the wheels are supposed to be from the passenger compartment. It’s a very simplistic kit, so you know me…I’ll probably end up building most of it from scratch and using this as only a guide.
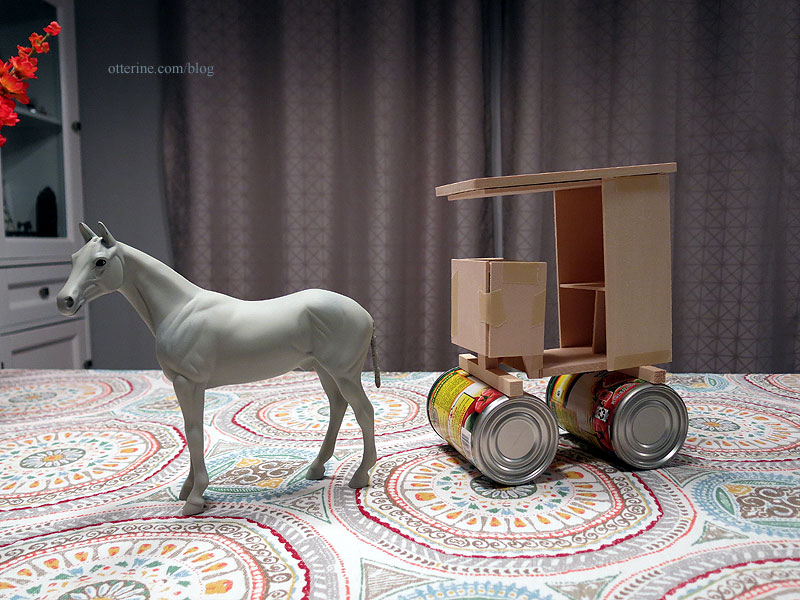
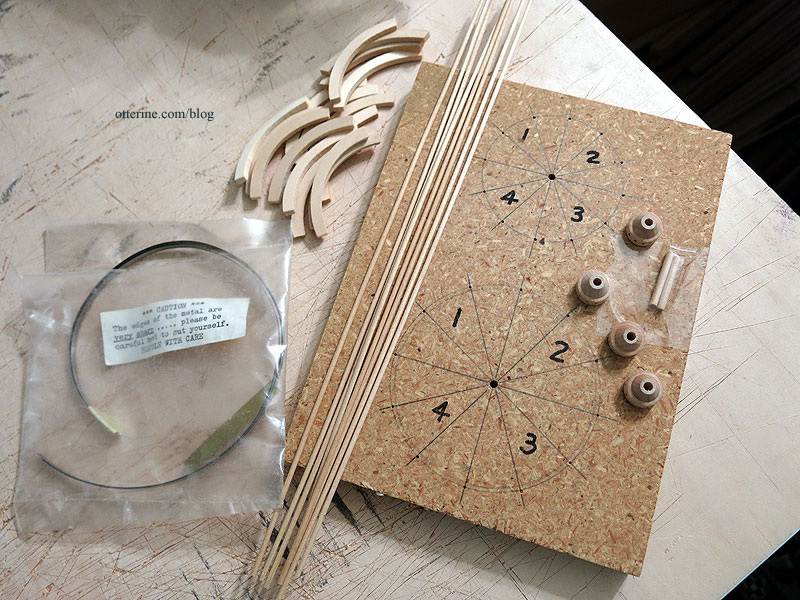
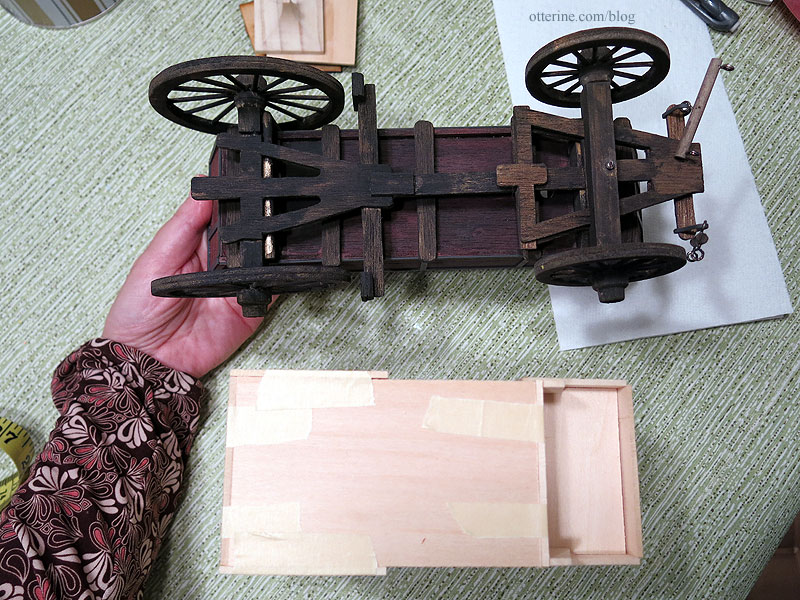
The wheels are incredibly detailed in their assembly, much like the real deal. If I can get them to work, the wheels alone will be worth having bought the kit.
However, this is the extent of the chassis – two wood blocks. The front wheels will turn, but the lack of detail is disappointing.
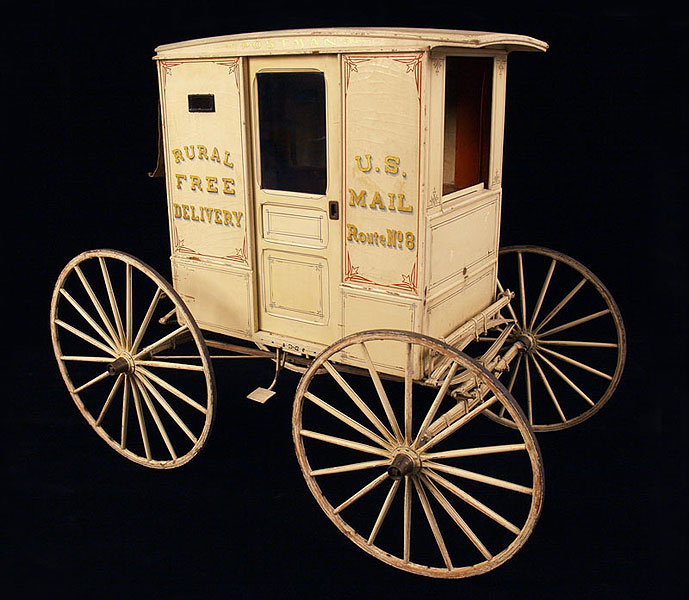
Here’s a real life mail wagon for example. This is more complicated than I want to attempt, but there has to be a happy medium.
The inexpensive wagon kit I put together for Baslow Ranch has better detailing without being overly complicated.
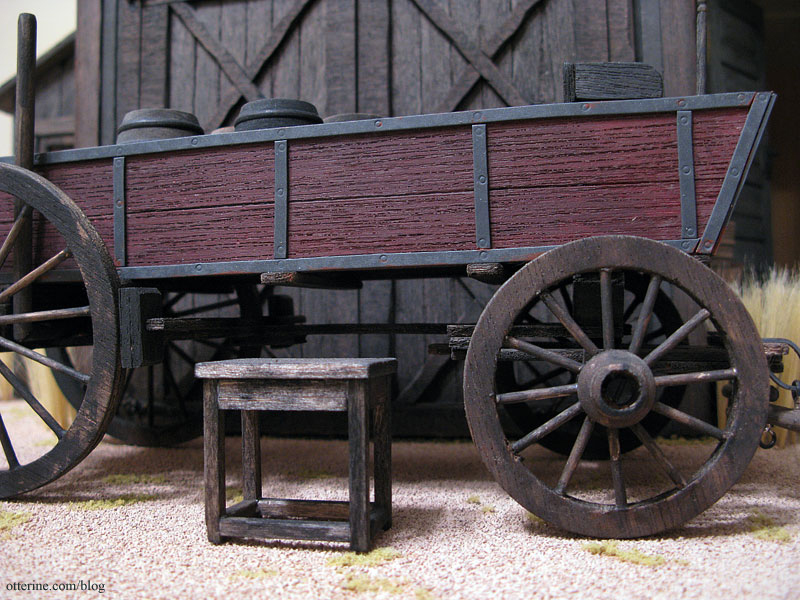
It’s longer than the mail wagon, but I could likely customize something better than two simple wood blocks. I do have another of these kits, but I could cut pieces myself using the general pattern.
I’m checking some other sources for ideas. Plus, I’m planning a trip to a local museum that has carriages for in-person study and better photographs.


