
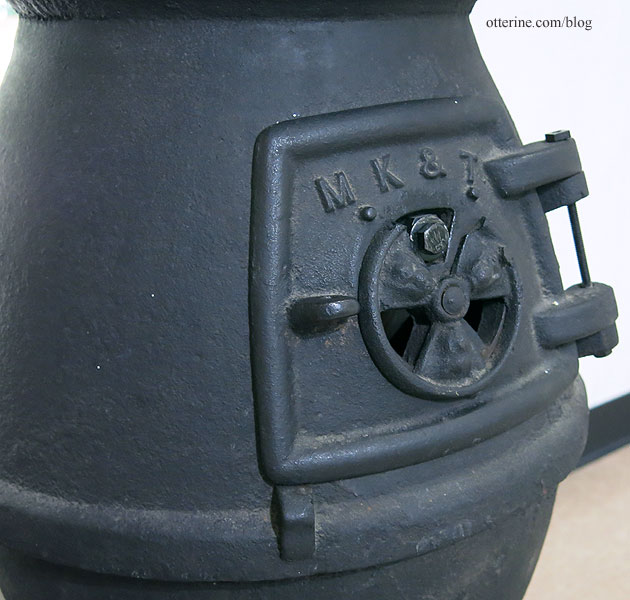
Continuing work on the potbelly stove. This is the reference photo for the finish I’m after (under the dust).
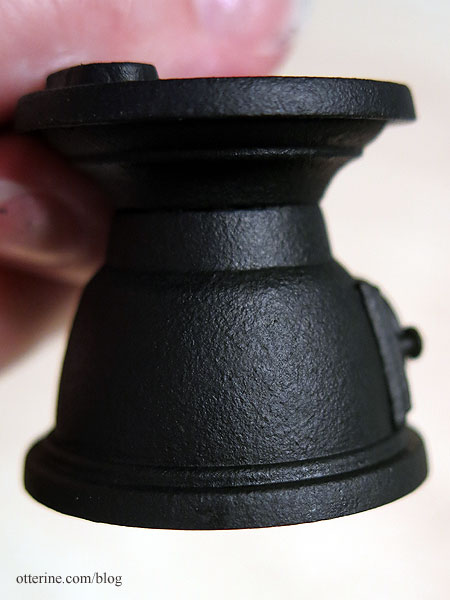
Even the sanding and flat black spray paint didn’t take away all of the sheen and smoothness of the plastic stove, so I stippled on a base coat of satin black by Americana. I then stippled on alternating layers of flat black and satin black, ending on flat black. Using the satin finish base made it look more like iron, which does have a slight sheen. My Baslow Ranch stove doesn’t have this texture, because I didn’t think of it at the time, but all the grime on it disguises that fact.
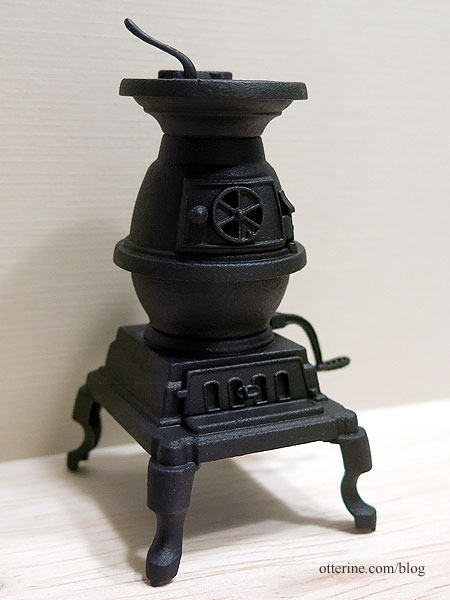
The stippling effect was important to do in thin layers to make sure the texture was in scale. I’ve turned plastic into iron. :]
I patched the open holes in the pot except the one for the wire using Squadron Products White Putty, then painted the patches black once dry.
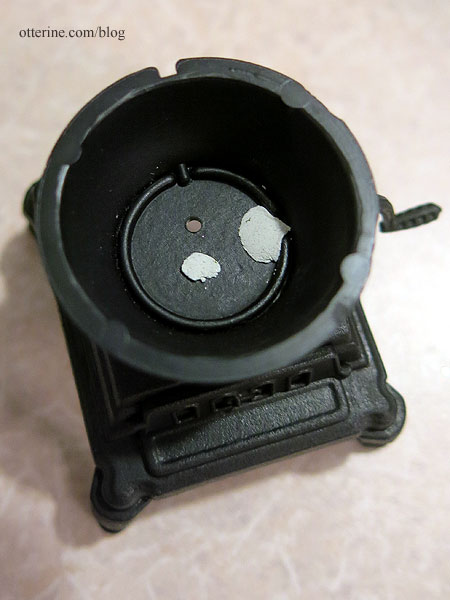
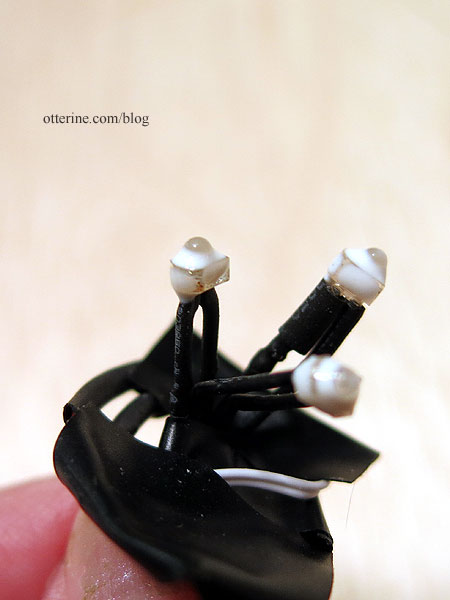
After feeding the wire through the remaining hole, I glued in the wire bundle with Aleene’s Quick Dry supplemented with super glue gel. I kept the lights on the 3V battery while working so I would know if any of the LEDs failed during the process.
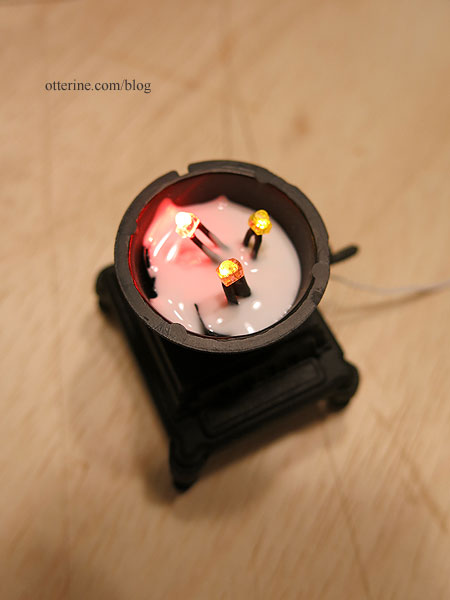
I had dabbed Winsor & Newton Masking Fluid on the LEDs to protect them for the next steps. Here the fluid is still wet; it dries clear.
Working in two layers, I added some Aleene’s Quick Dry glue then poured in some ice cubes from Alpha Stamps into the pot, using a toothpick to arrange and settle the pieces.
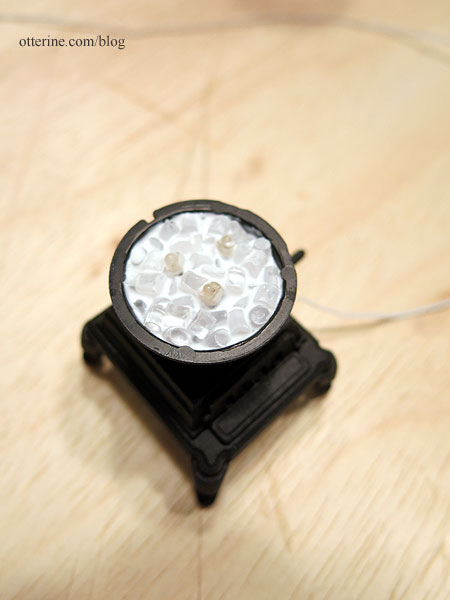
The upper layer of ice cubes is even with the bulbs.
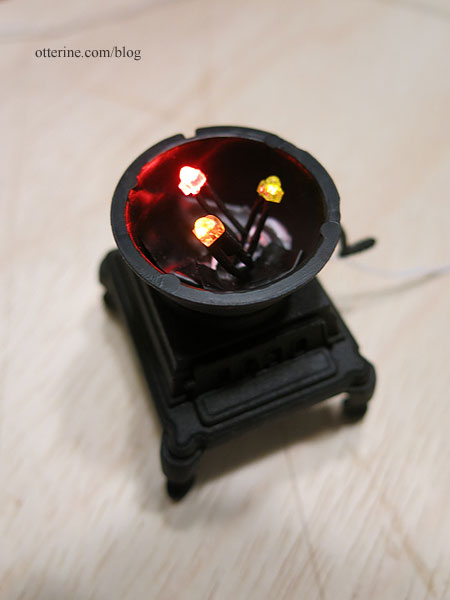
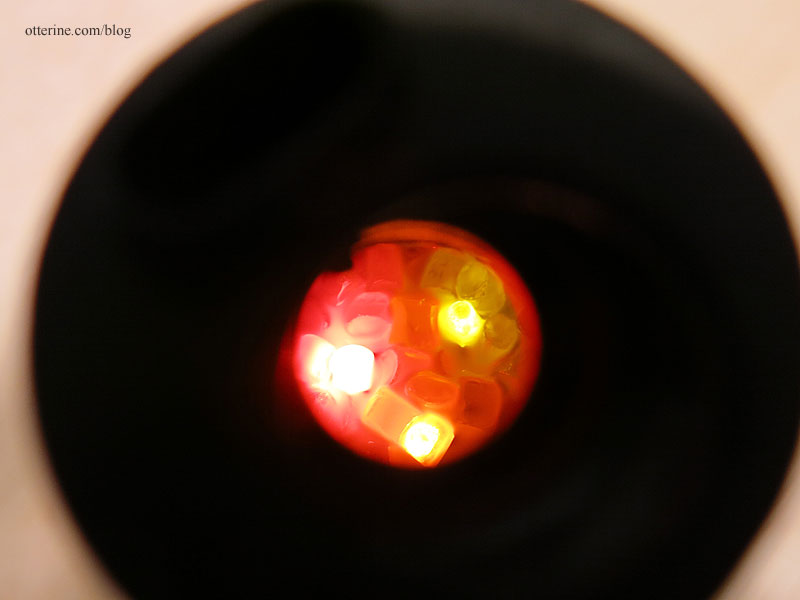
The steady red bulb is the strongest of the three (showing as near white on the left below), but the flickering yellow (upper right) and flickering orange (lower right) bulbs add some nice depth already.
Next up, turning Malt-O-Meal into burning embers. :D


