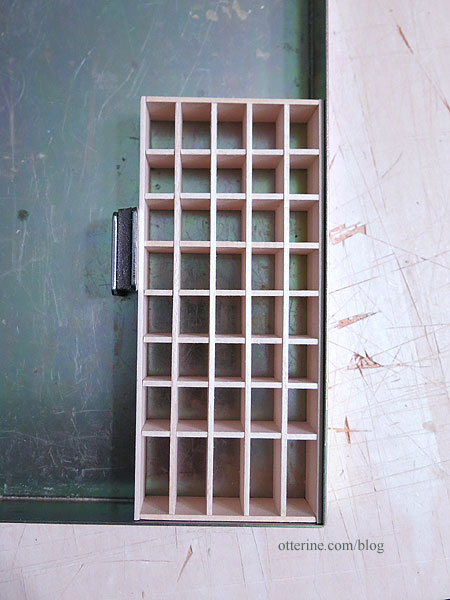
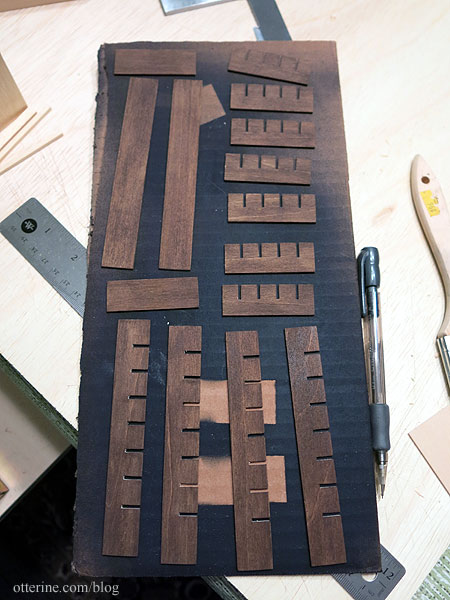
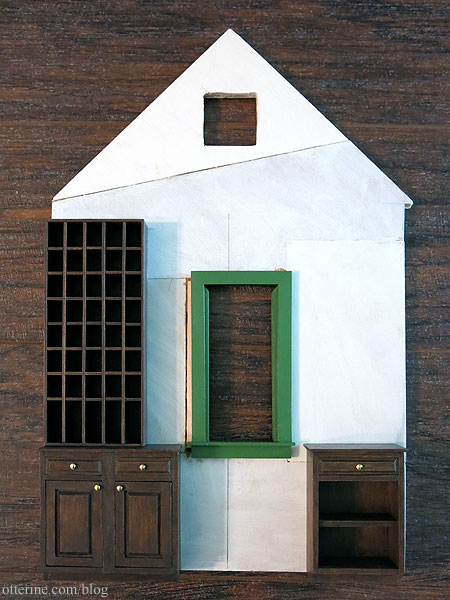
Continuing work on the back wall. I figured I would need more pigeon holes, because having a post office for only 15 mail customers seemed a bit of an extravagance. I modeled the additional pigeon holes after the ones made for the postal teller, making them a little deeper and having 40 on this back wall unit. I think I held my breath while cutting the thin slits to fit the parts together, but it worked! There was so much cutting and prep work beforehand, I was not looking forward to having to do it all over again.
I think 55 post boxes is more in line for a one-wagon rural post office. It might not be enough for a true post office, so I remind myself this is a mini approximation. :D
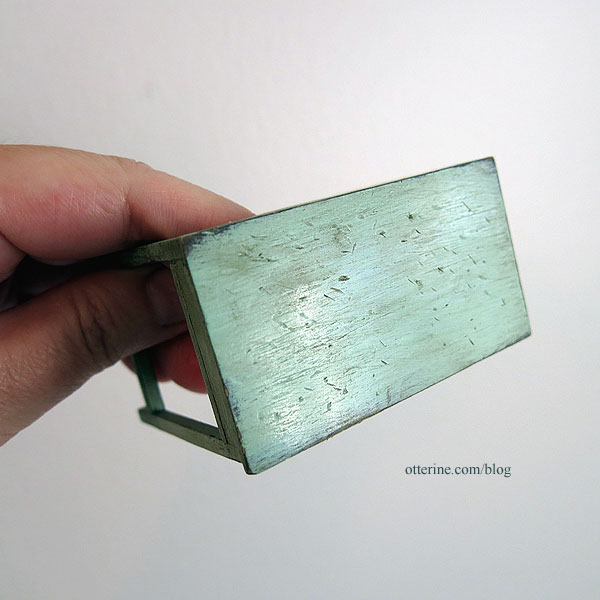
Instead of painting after assembly like I did with the postal teller, I painted and sealed the strips individually. This was so much easier than trying to get a good finish in the tiny pigeon holes. Wish I had considered this when I made the teller.
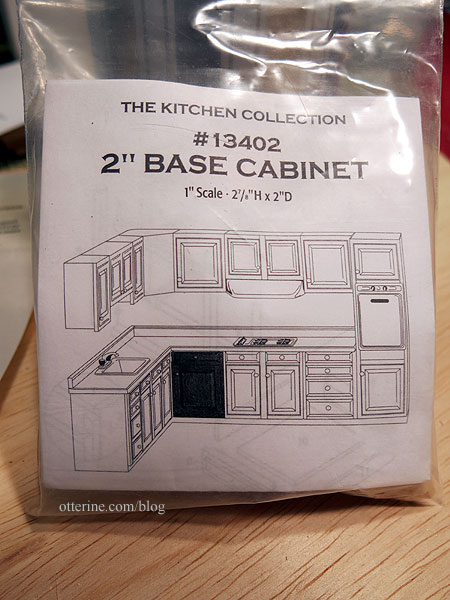
On the opposite side has shelves for packages. The postmaster could put a package slip in the box for mail that wouldn’t fit. I adapted a 2″ Houseworks kitchen cabinet for these shelves, mirroring the modifications I made on the opposite side of the window, but this one does have a working drawer.
I painted the cabinets to match the other woodwork. Right now, the pigeon holes are not attached to the base cabinet. I need to add the box numbers.
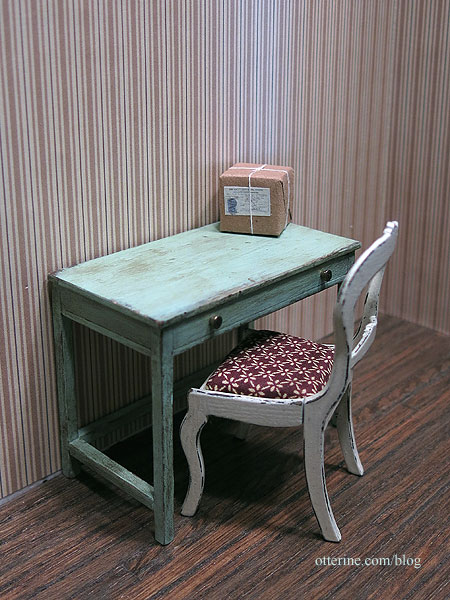
Our rural post office has good cabinets and a postal teller in newish condition, but the desk and chair are hand me down pieces. They are still perfectly usable, after all. :]
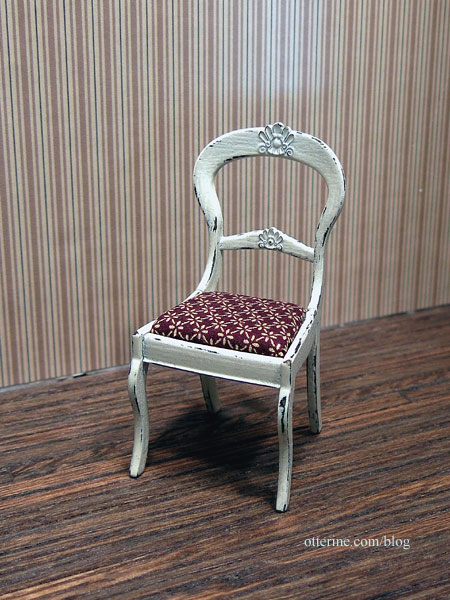
The Chrysnbon Victorian chair kit was a gift from Barbara.
The desk is adapted from a table pattern in the book Finishing Touches by Jane Harrop. I beat it up with every tool on my work table. Look at that delightfully ratty finish! :D